
Step 01
Bring In the Opening Idea
Upload images, video, or audio into your workspace, or describe the intro concept directly. Tell VideoAI what the opening should show and what the viewer should read.


Shape Your Opening
Create a focused video opening from your concept or media while keeping control of the scenes, brand details, and final format.
Partnering with global industry leaders to power your creativity output


VideoAI keeps the opening tied to the choices that shape its visual result.
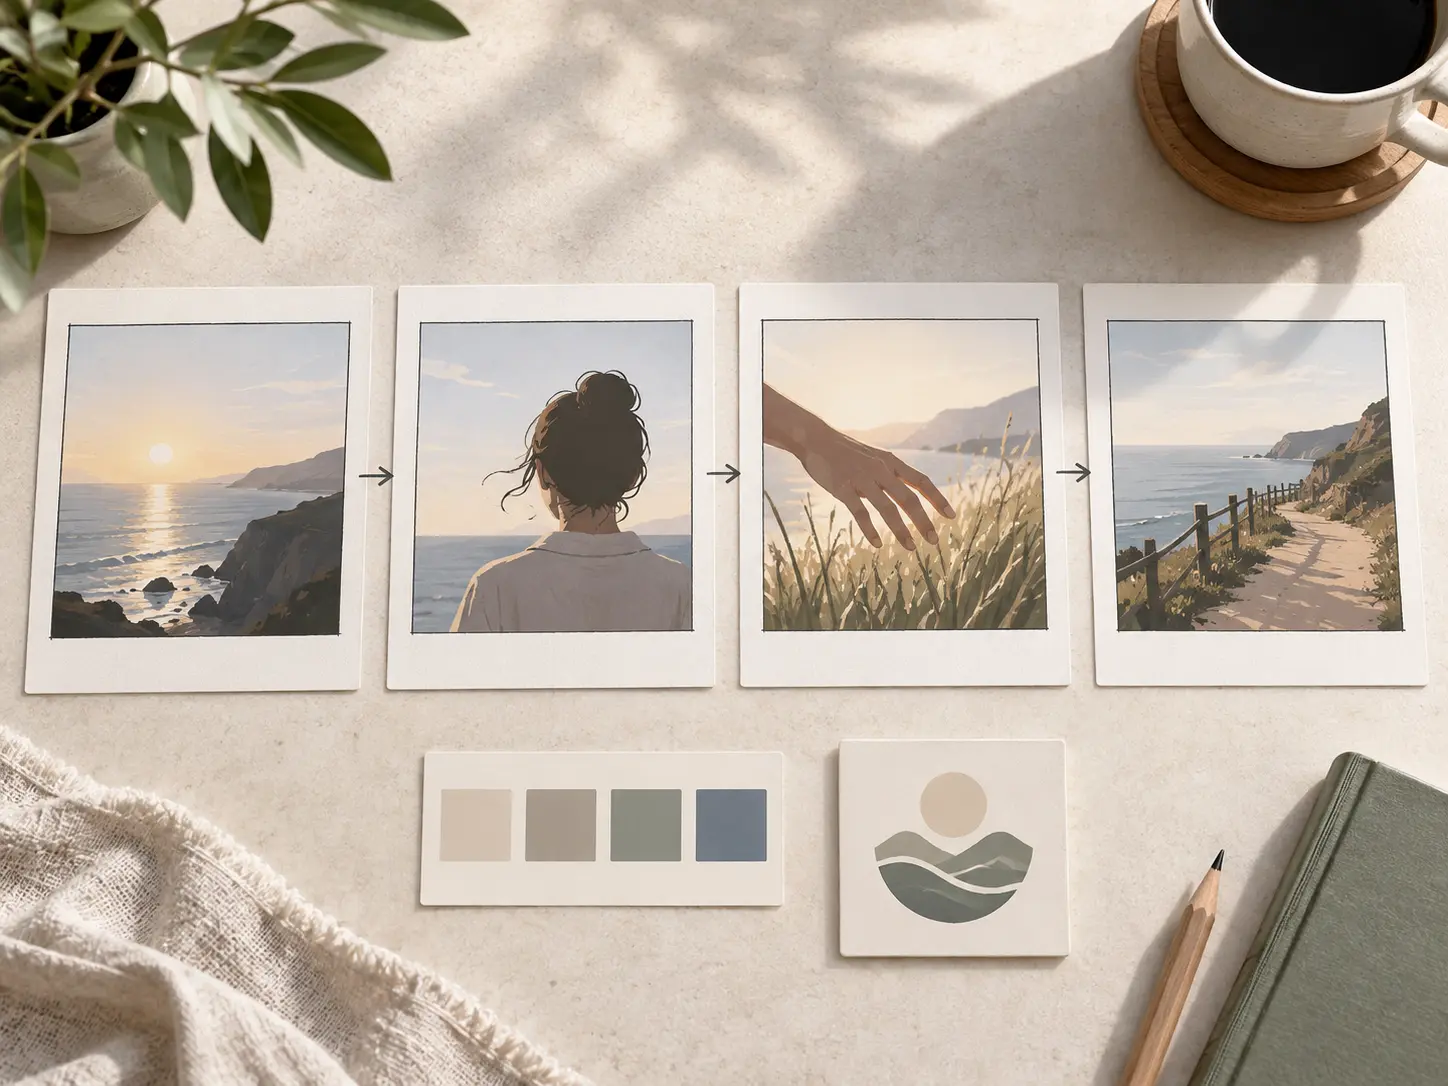
Choose a preset intro template in VideoAI when you want a defined starting point. With the intro editor, add the topic, rhythm, on screen text, and logo use in your prompt so it follows the direction you set.
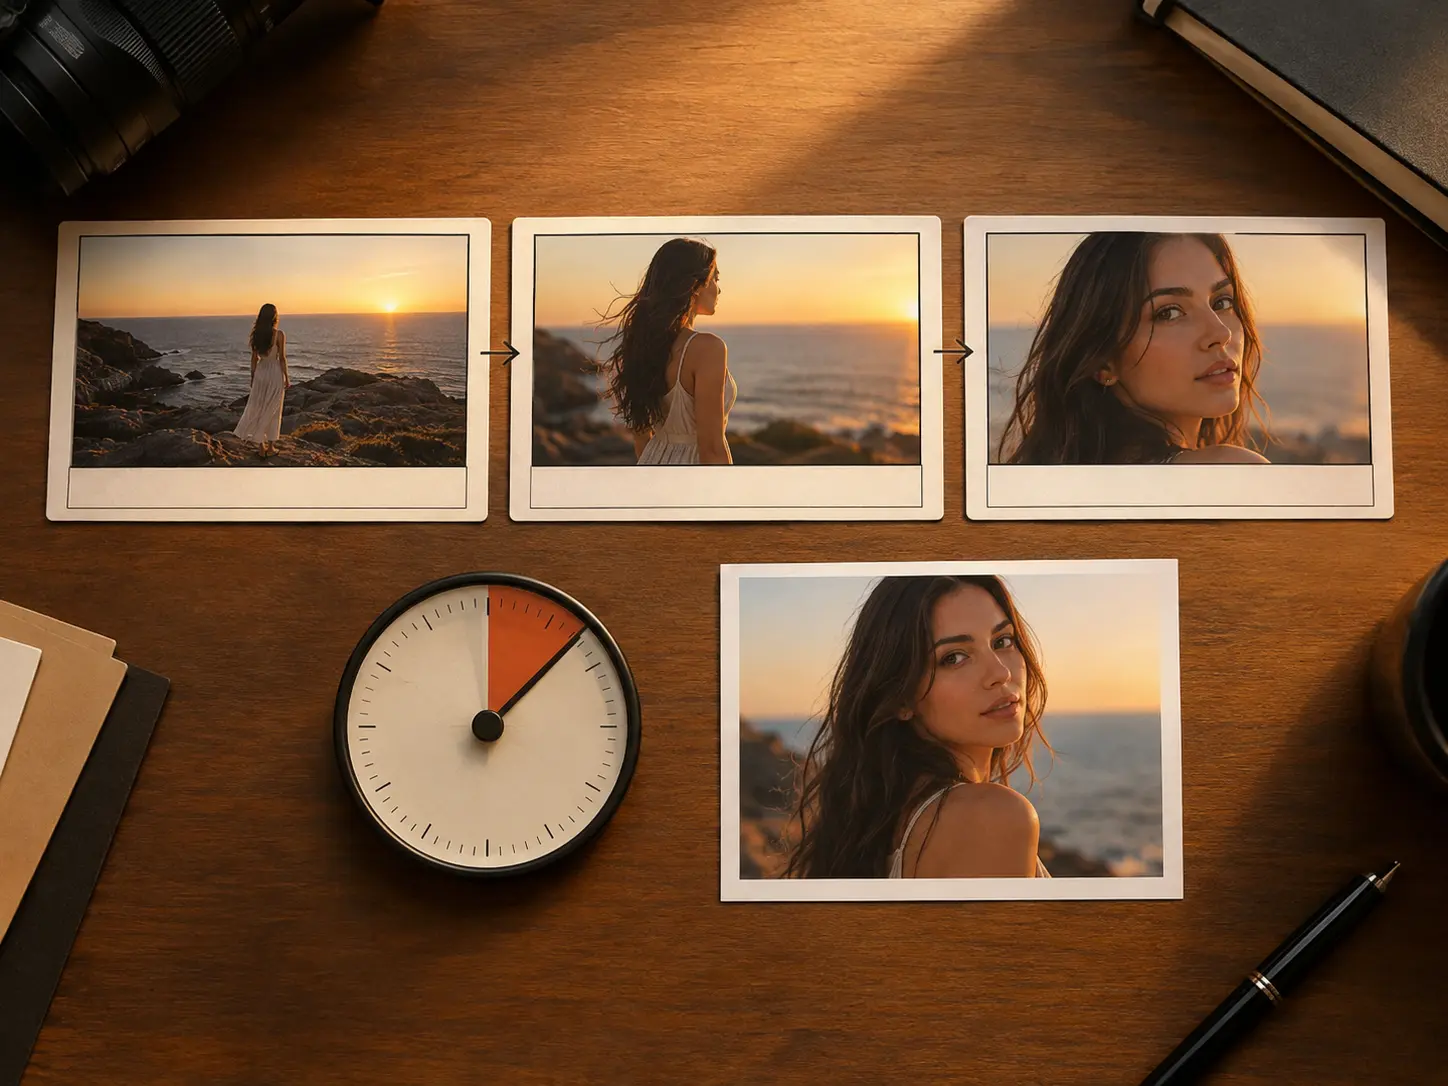
Keep the opening timing visible by arranging each scene by second. Describe the visual and action for every segment, then attach a first frame or scene reference image. The intro editor keeps your decisions close to the generated result.

Give VideoAI the channel name, title, or subscription prompt you want on screen, and upload a logo as a reference asset. The generated opening can carry those brand cues into the video.
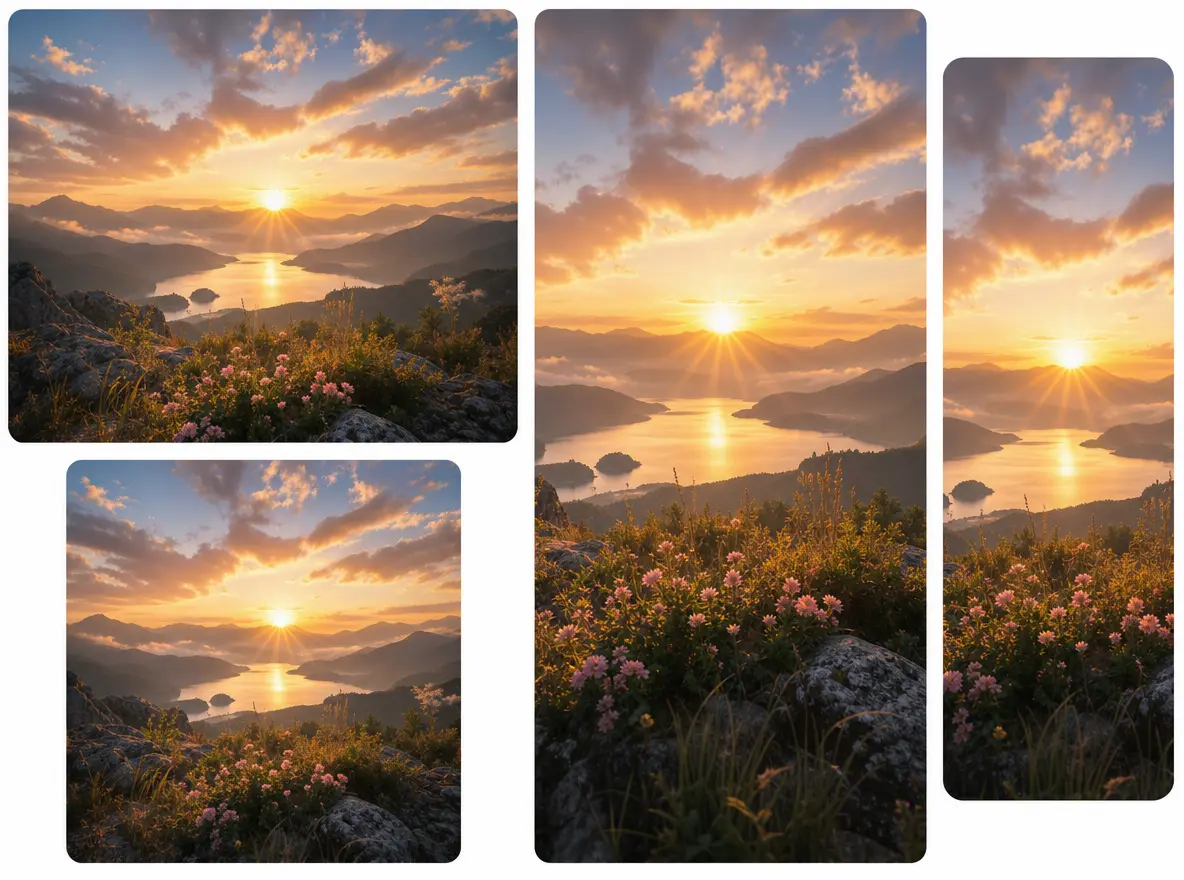
Choose 16:9, 9:16, 1:1, or 4:5 before you create the intro. Download a 4K MP4 when the finished opening is ready, with output shaped for landscape, vertical, square, or portrait placement.
Start with a concept, keep control of the scene decisions, and refine the generated opening with text.
Step 01
Upload images, video, or audio into your workspace, or describe the intro concept directly. Tell VideoAI what the opening should show and what the viewer should read.
Step 02
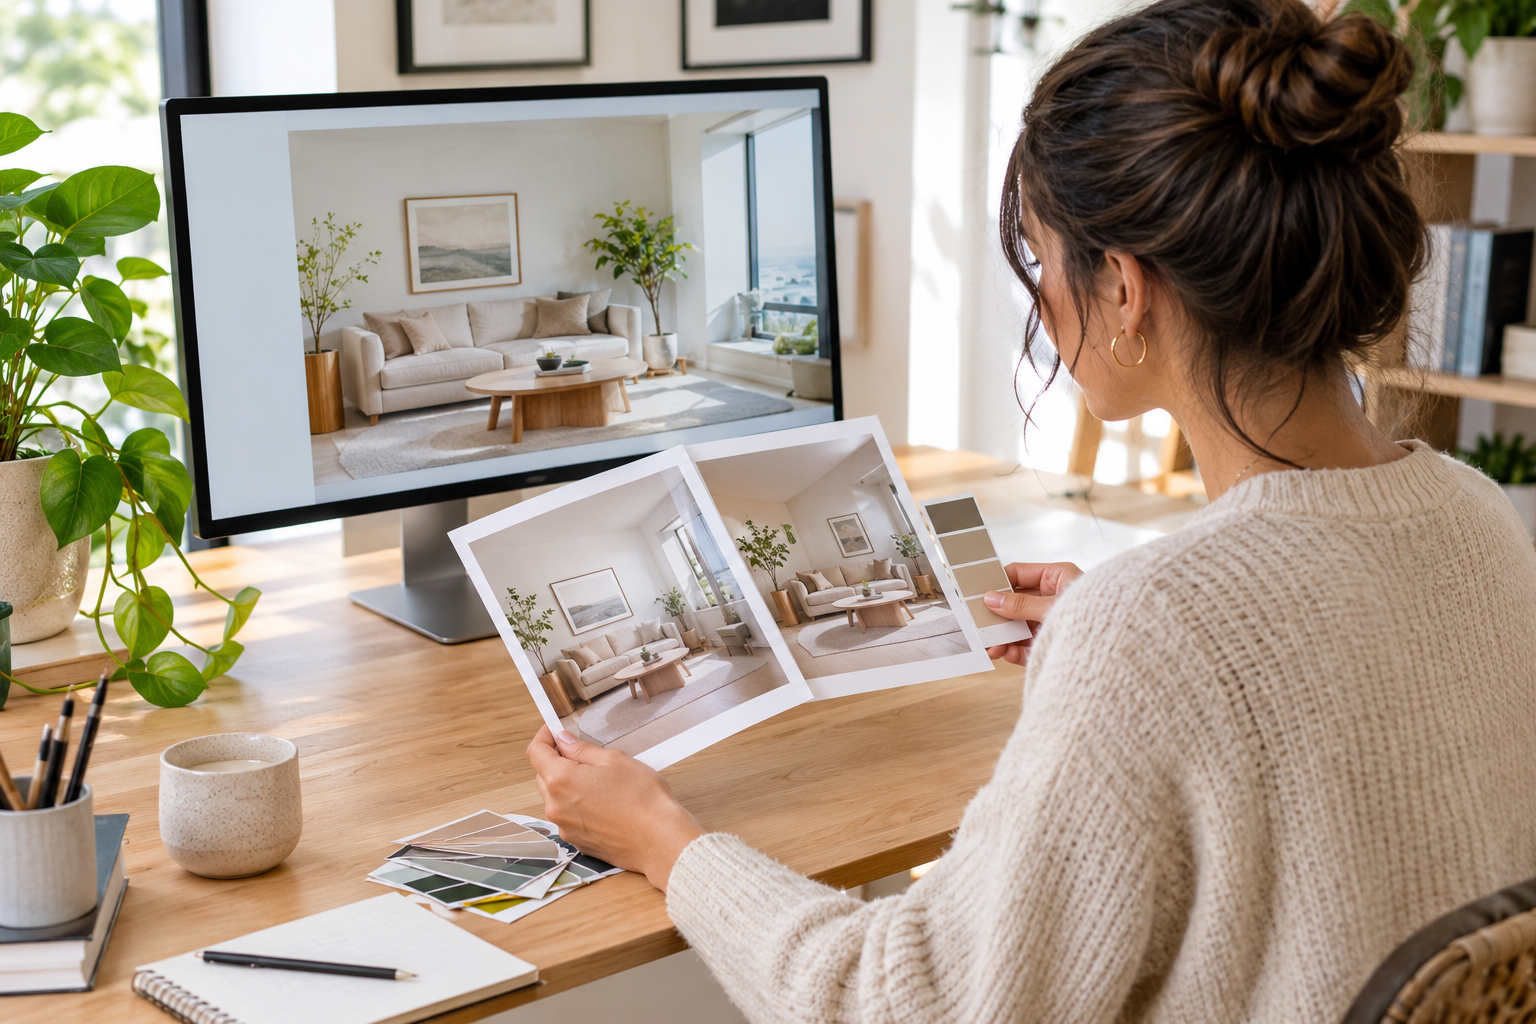
When you want tighter control, use the intro editor to choose a preset intro template or describe the theme, rhythm, on screen text, and logo use. Arrange each scene by second and attach a first frame or scene reference image.
Step 03
When the preview is ready, review the intro that VideoAI generated from your scene plan and reference assets. Use a text instruction to change the video, then download the final result as an MP4 in the chosen ratio.
Shape openings around the message, audience, and channel format you need to present.
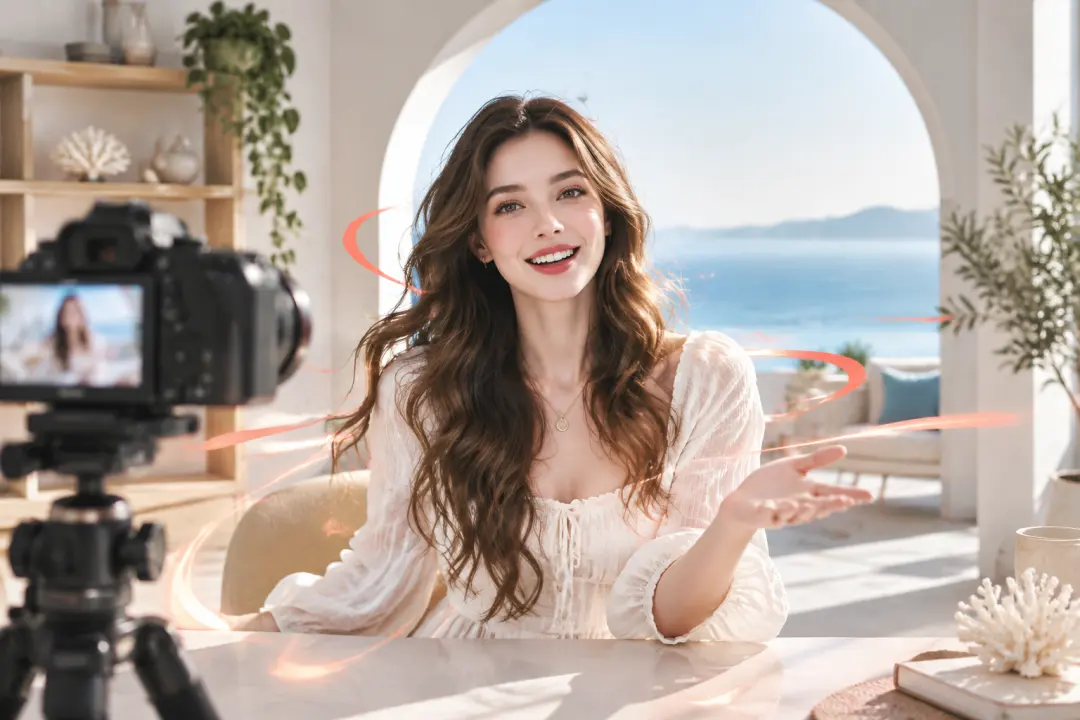
A channel intro edit needs a repeatable identity without slowing down the next upload. Start from a preset or your own concept, then use the intro editor to place the channel name and logo in the scenes and export a clear opening in the ratio your channel uses.

When a campaign team needs to test how a message lands before the full video is assembled, use a reference image, scene timing, and on screen title in VideoAI. Use the intro editor with a text instruction to edit intro scenes until the opening presents the intended message.
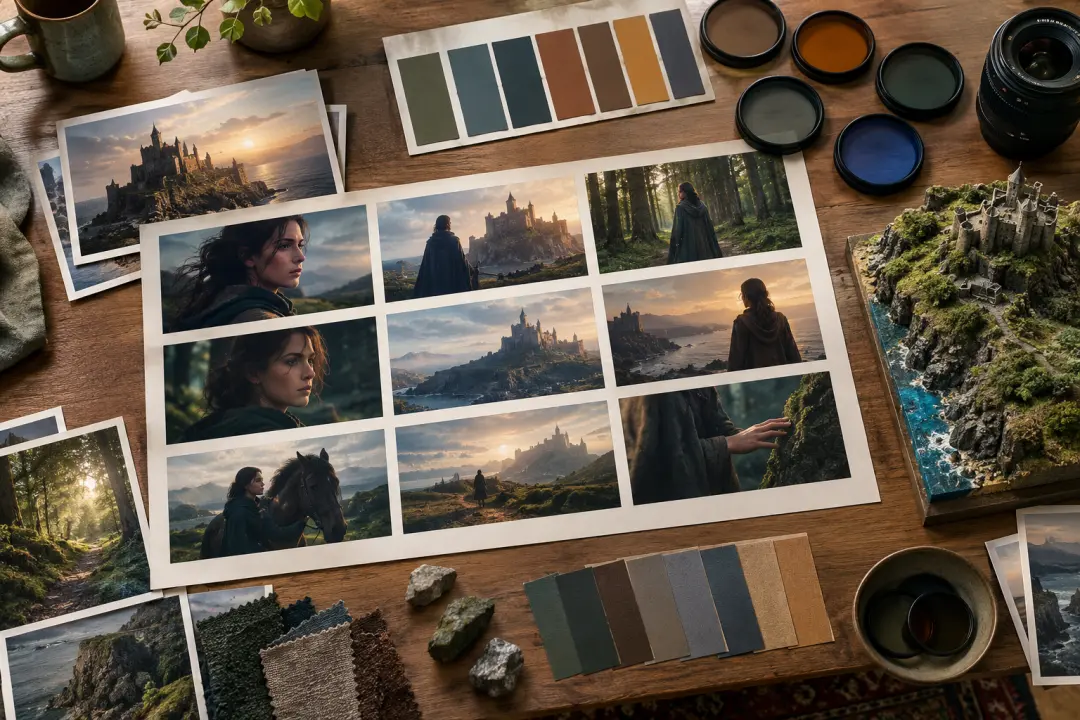
A creator needs to show a client a polished opening direction before more production work begins. Combine supplied images, video, audio, or a written concept, then refine the generated opening with text instructions so the review centers on the actual visual choice.

One idea may need landscape, vertical, square, and portrait versions for different placements. Set the frame ratio, keep the scene plan, and generate each version as a 4K MP4 for the destination.

They need a recognizable opening that can carry a channel name, title, or subscription prompt. VideoAI lets them begin with a template or concept, decide scene timing, and export the opening in the channel chosen ratio.

They need brand cues to stay visible while a campaign opening takes shape. The intro editor lets them upload a logo, provide reference assets, define on screen text and rhythm, then revise the generated opening with a text instruction.
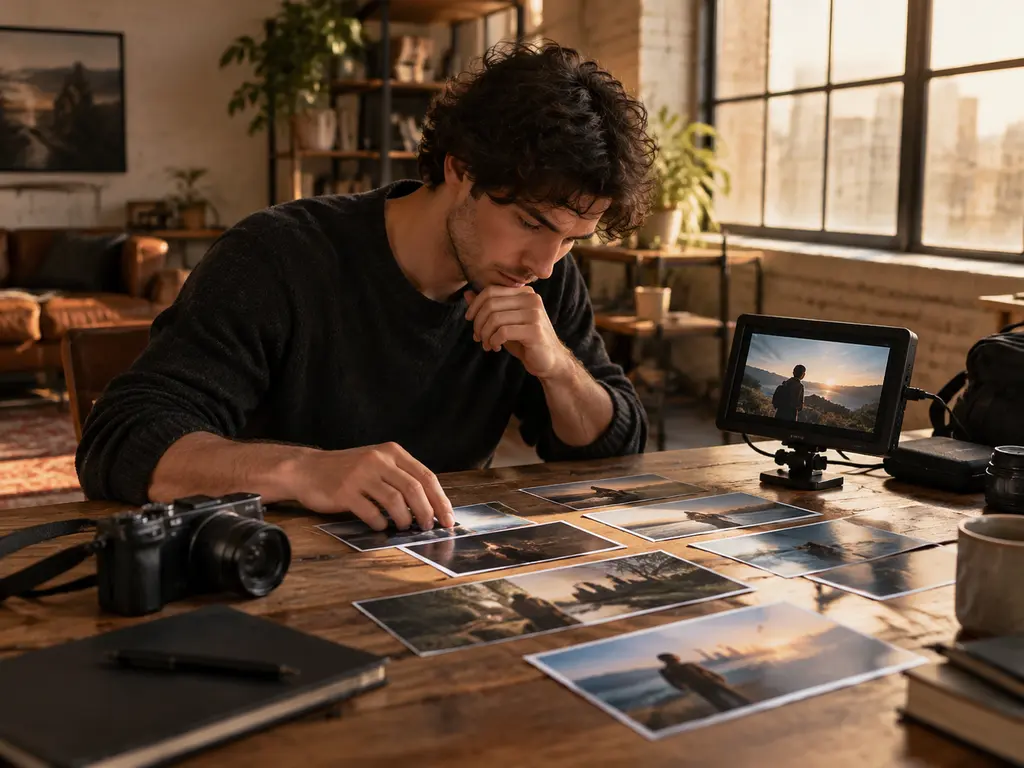
They often move from idea to client or social draft with limited production overhead. The intro editor gives them a place to combine images, video, audio, and prompts, then shape the result into an MP4 they can present or publish.

Choose a concept or upload your assets, then shape the scenes, brand text, and final ratio in VideoAI.
Get Started