
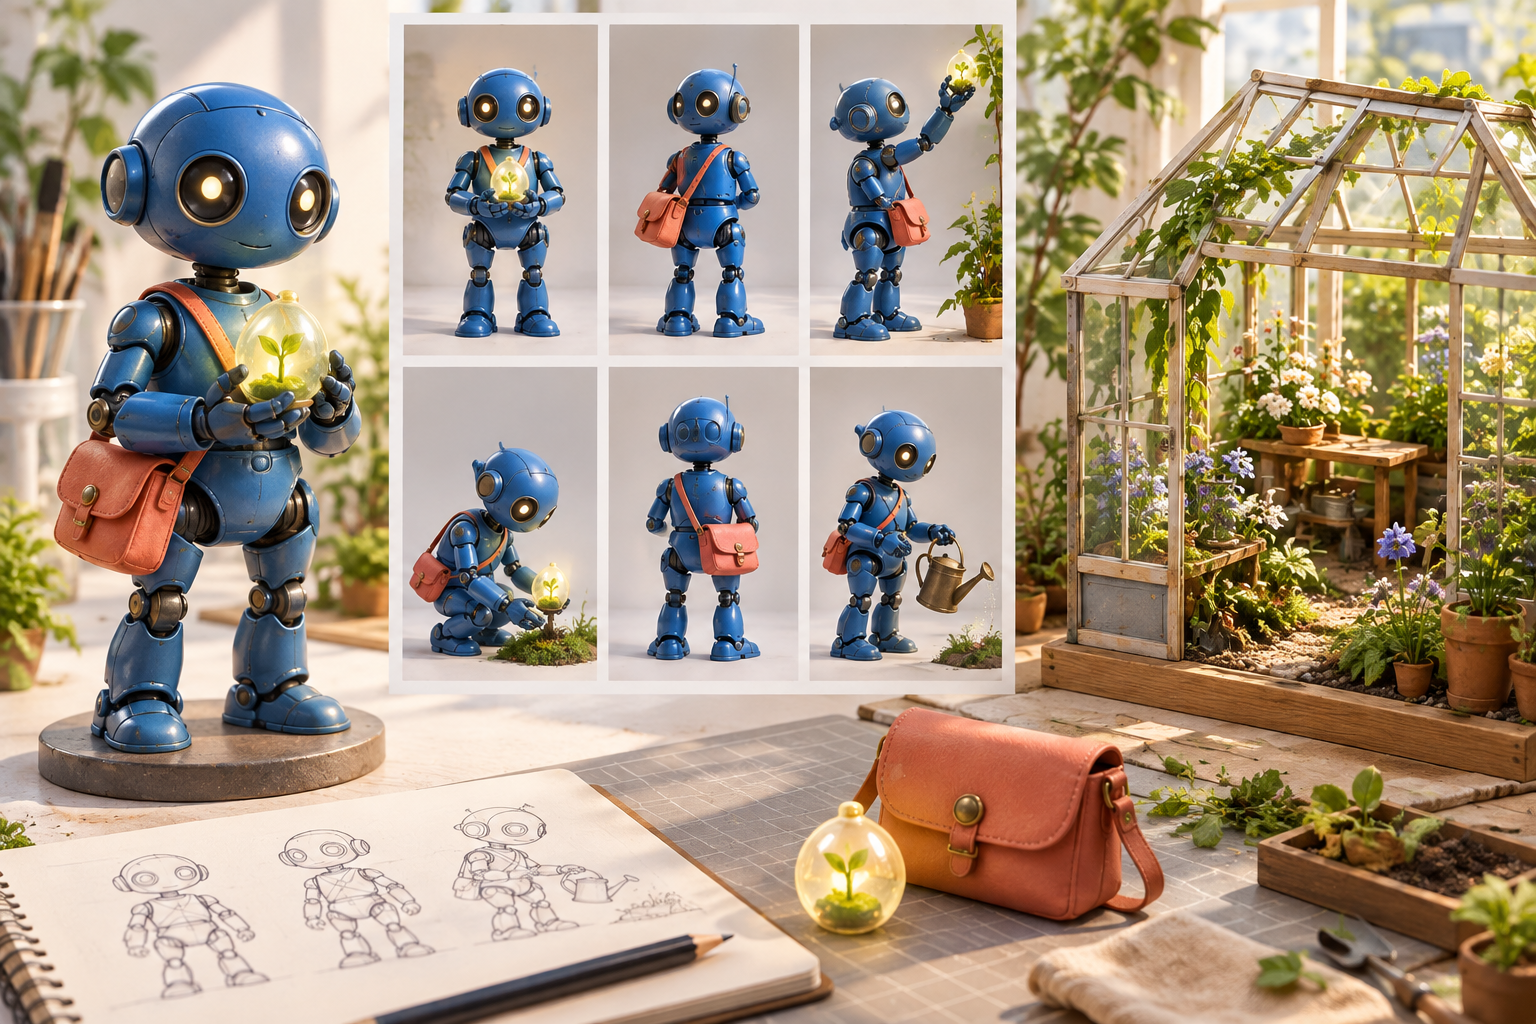
Step 01
Define your character and setting
Describe your character, its 3D-rendered appearance, the setting and the action. You can also upload a character image and use @ to assign it as the subject, first frame or scene reference.

Your character, your scene
Create a 3D-style character video from a prompt or reference image with VideoAI, then direct the scene, action, camera and sound before downloading your MP4.

Develop a 3D-rendered character with a defined look, deliberate scene pacing and details you can refine after previewing.

Rounded forms, soft lighting and a defined setting give your character a clear visual direction. Describe the appearance and environment you want, then choose a style direction for your character video in VideoAI.

Keep a familiar character at the center of changing scenes. Use several reference images to help preserve recognizable visual traits as you take the story from one shot to the next.

Give a gesture time to land before the next scene begins. Choose the duration, then describe each time segment with its action, camera movement and sound direction. Attach reference images where a scene needs a clearer visual guide.

A slower gesture or a different camera angle can change how a scene reads. Preview the generated video, then describe the adjustment in VideoAI and generate again. Refine the action, setting, camera or sound direction without starting over.
Build your 3D-style character video around one clear moment, then use references and timed descriptions to shape it.
Step 01
Describe your character, its 3D-rendered appearance, the setting and the action. You can also upload a character image and use @ to assign it as the subject, first frame or scene reference.
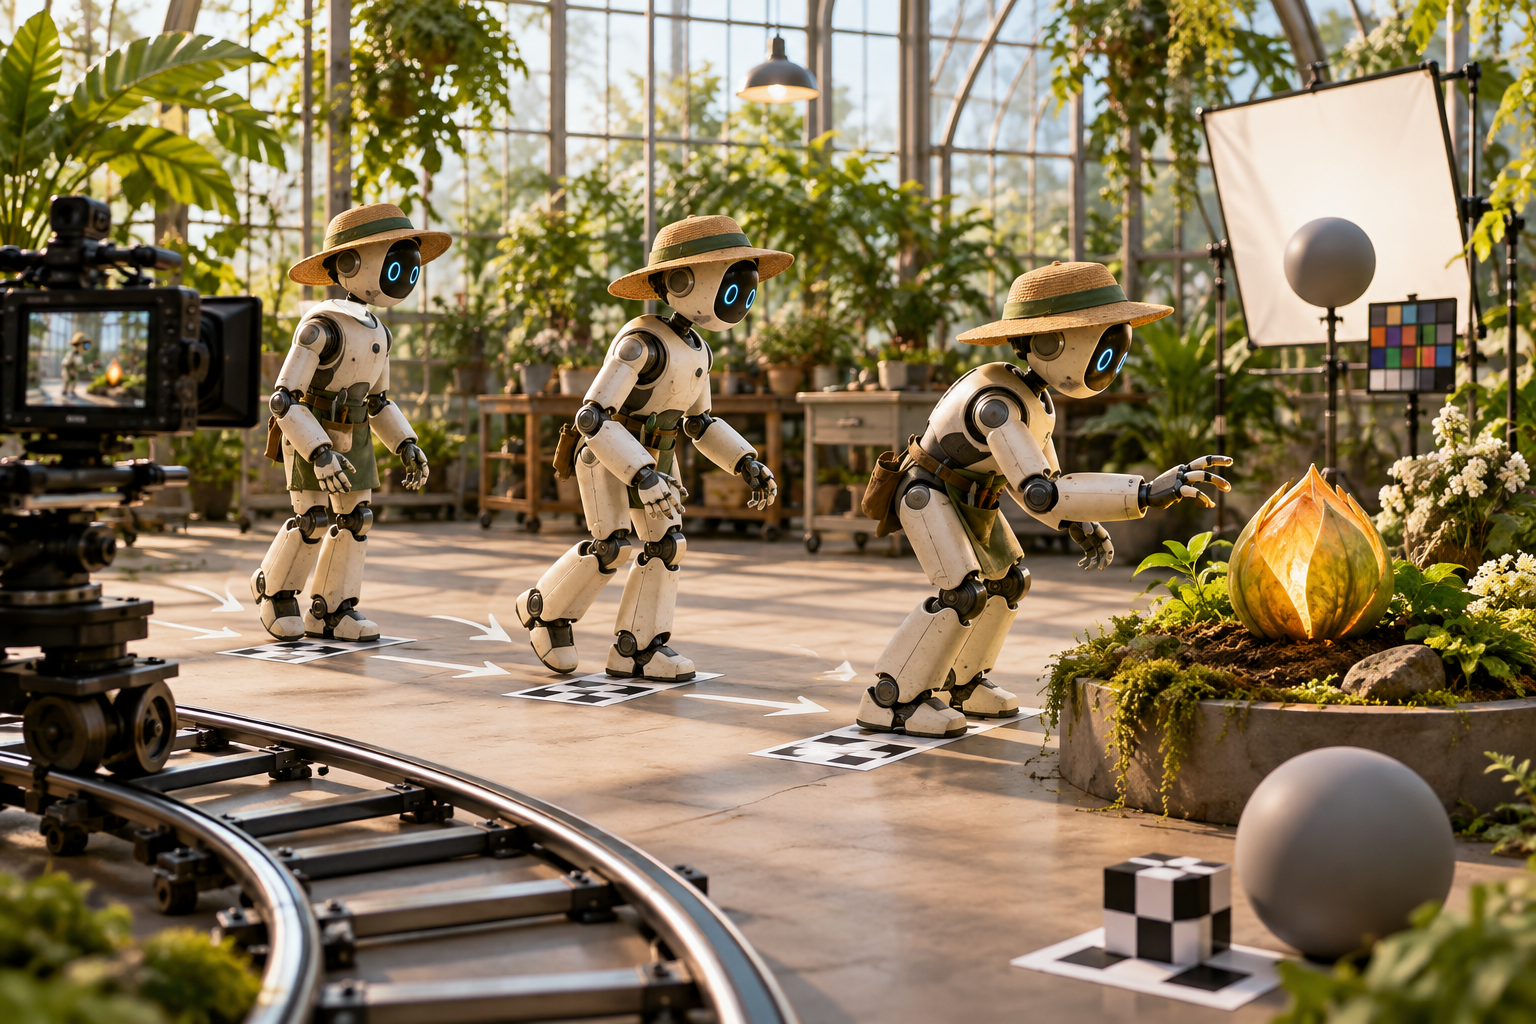
Step 02
Choose a style direction, duration and aspect ratio for your character video. Write what happens in each time segment, including action, camera and sound. Add a video and assign it as a motion reference with @ when a specific movement matters.
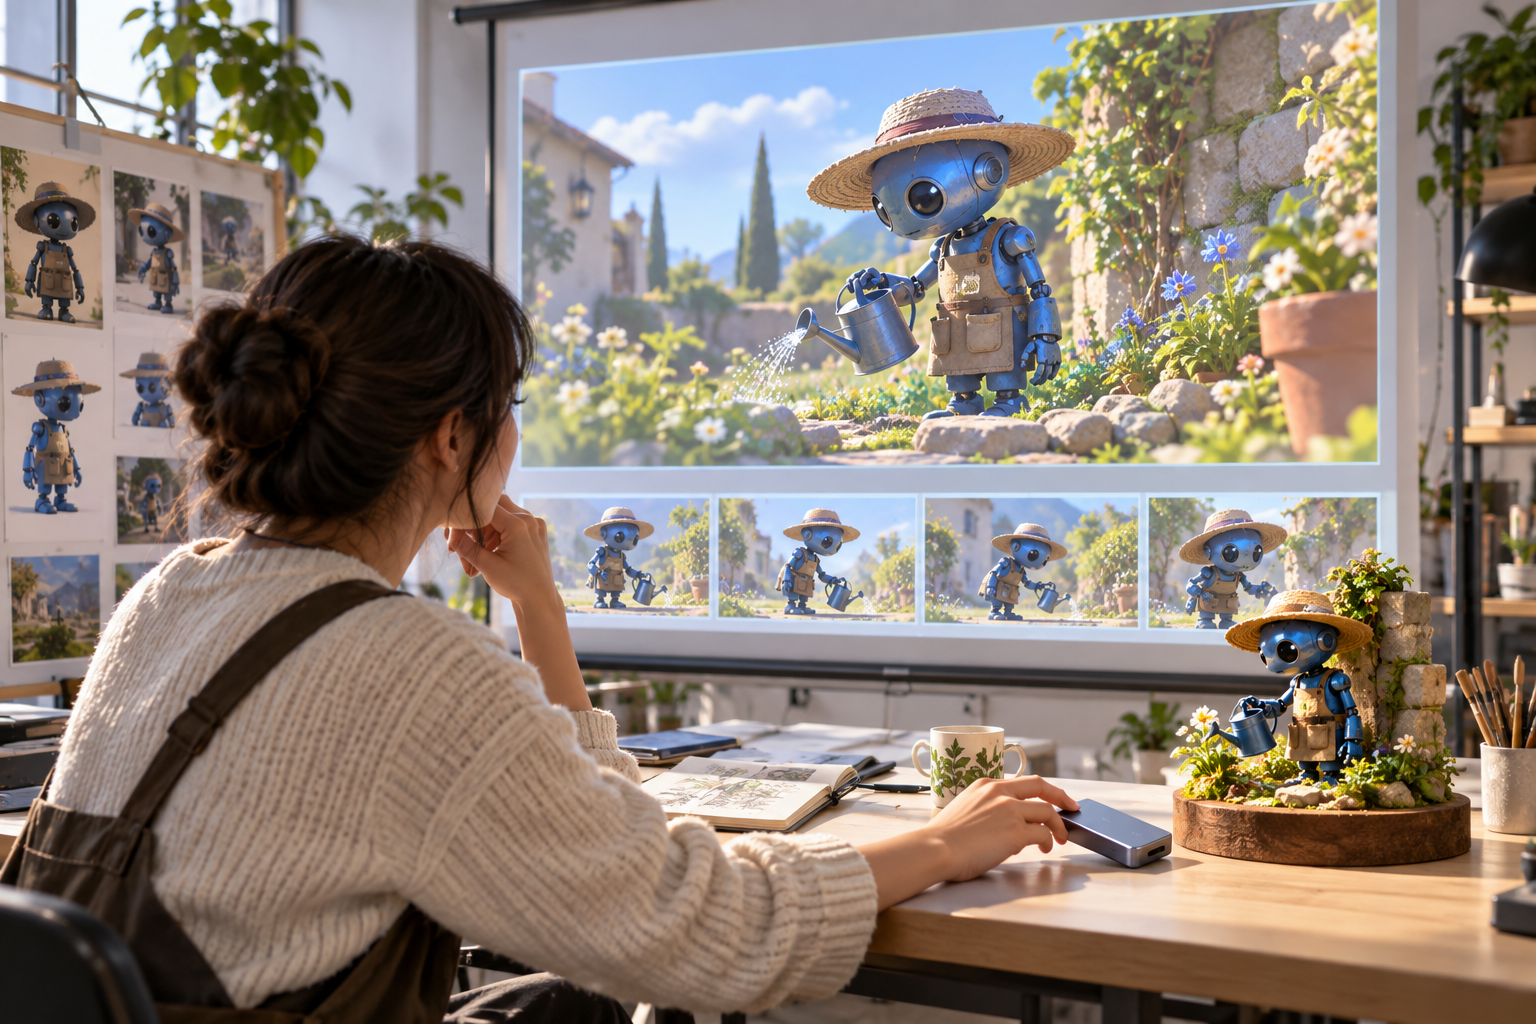
Step 03
Generate the video and preview its character, motion and scene continuity. Describe any changes in text and generate again. Download your finished MP4 in the aspect ratio you selected for its intended placement.
Start with the moment your audience needs to see, then give your 3D-style character an action that carries it.

A new social post needs a clear opening moment. Describe your character stepping into view and revealing an object, then choose 9:16 framing for a vertical clip built around that reveal.

When a campaign moves to a new setting, reuse several mascot reference images and describe the new scene. The references help keep the character recognizable as the background and action change.

For an explanation of a simple process, give each key action its own moment. Write the character's demonstration by time segment, so the resulting scene follows the order you chose.
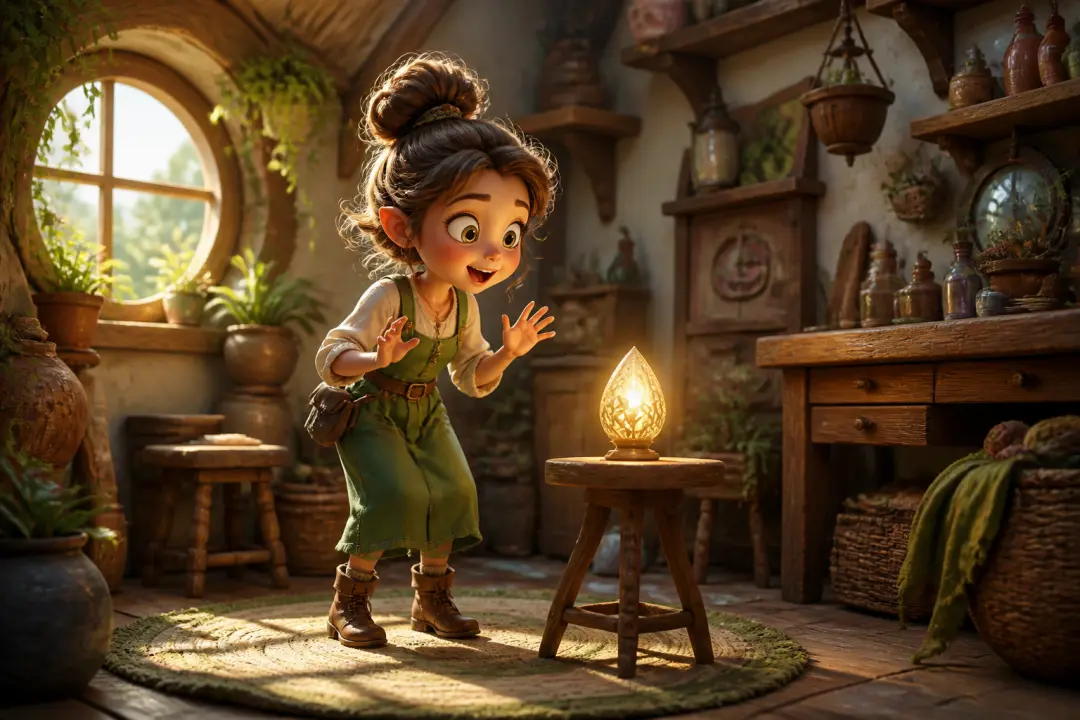
A short scene needs space for a character's response. Describe the setup, action and reaction in separate time segments, then direct the camera for each moment to make the story beat readable.
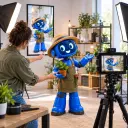
For a recurring social series, build each clip around one character moment. Choose vertical or square framing and direct the action and sound to suit the post.

Keep a mascot recognizable as campaign settings change. Bring several character references into VideoAI and describe each scene to help separate videos retain a familiar visual identity.
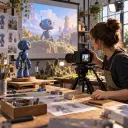
Turn a client's character reference into a short video for review. After previewing the result, use written feedback to request changes to the action, scene or camera and generate another version.

Bring your character idea to VideoAI and shape a 3D-style scene from a prompt or reference image.
Get Started