
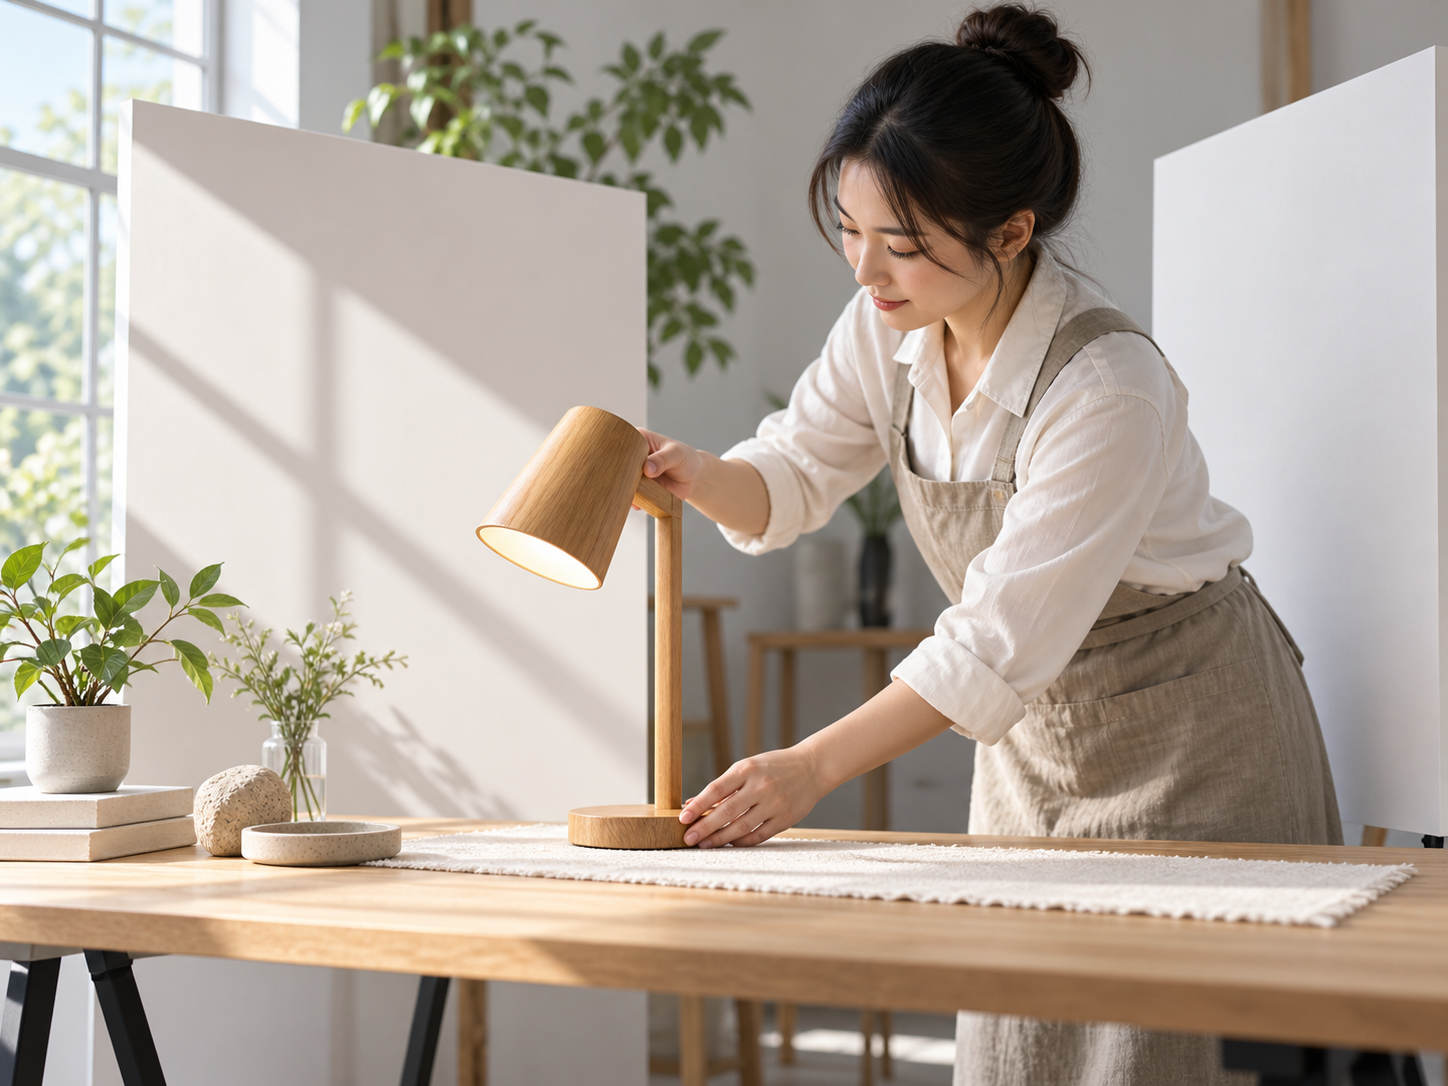
Step 01
Upload The Source Photo
Choose a sharp image with the full subject visible and enough separation from the old background. Mention the details that must not change.

Extend The Scene
Add background to photo edits by uploading a clear subject, describing the new setting, and checking the edge, light, and perspective before export. The workflow is designed for portraits, product shots, social graphics, and photos that need more space around the subject. Keep the original photo as a reference so the new background supports the subject instead of replacing its identity.
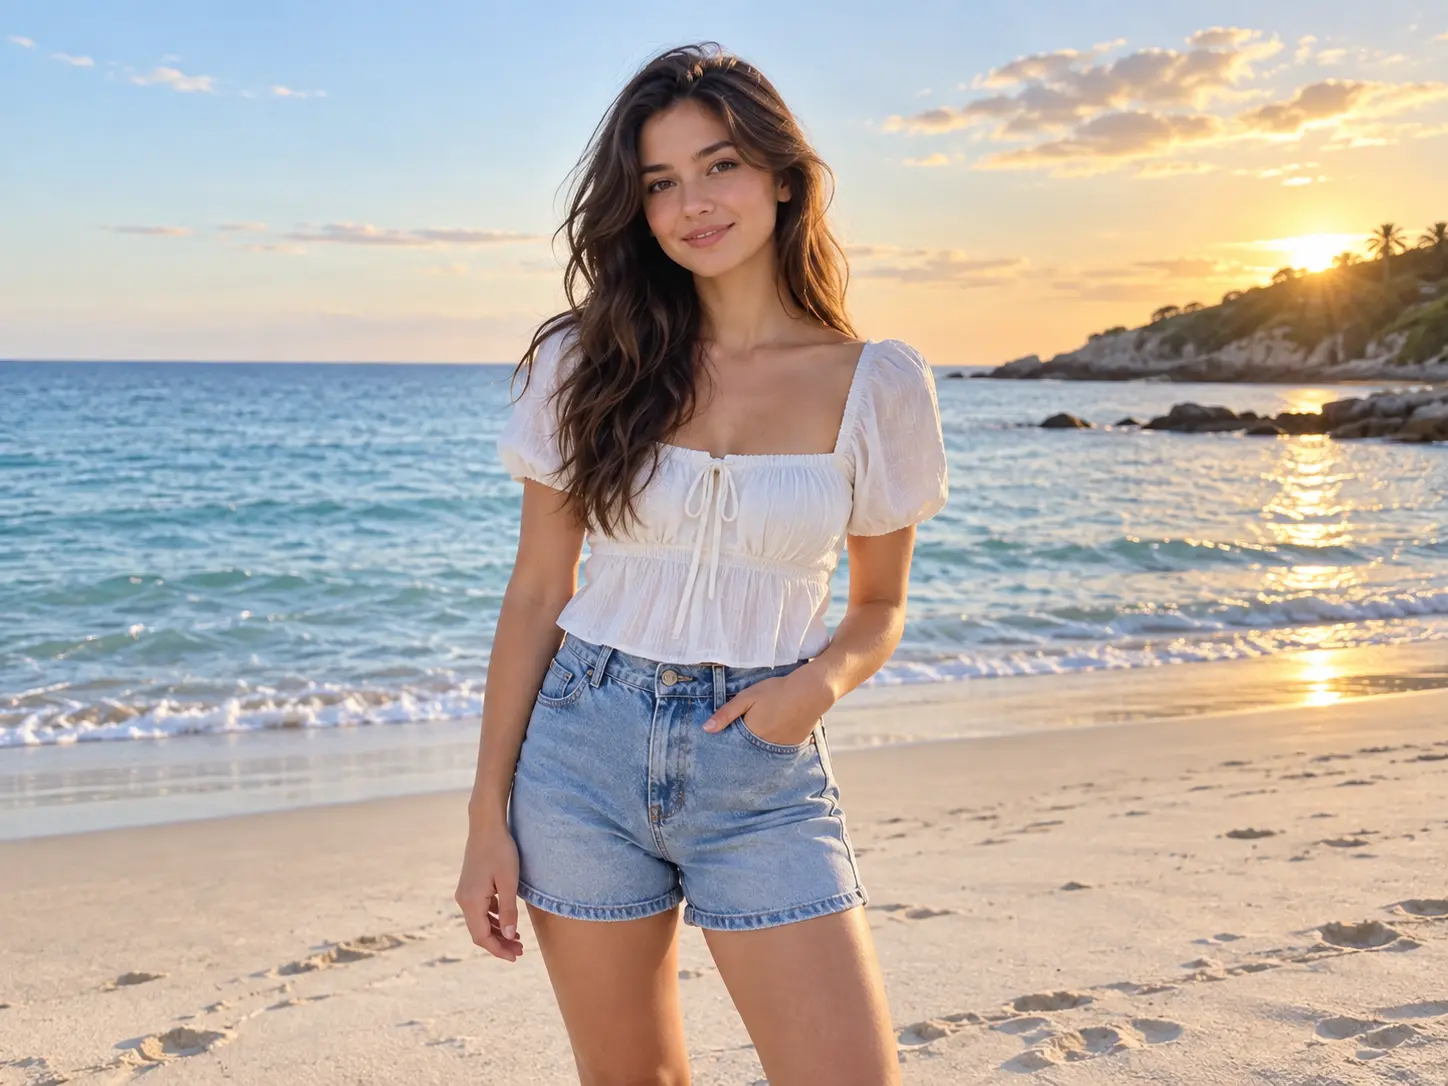
A believable scene needs more than a color behind the subject.
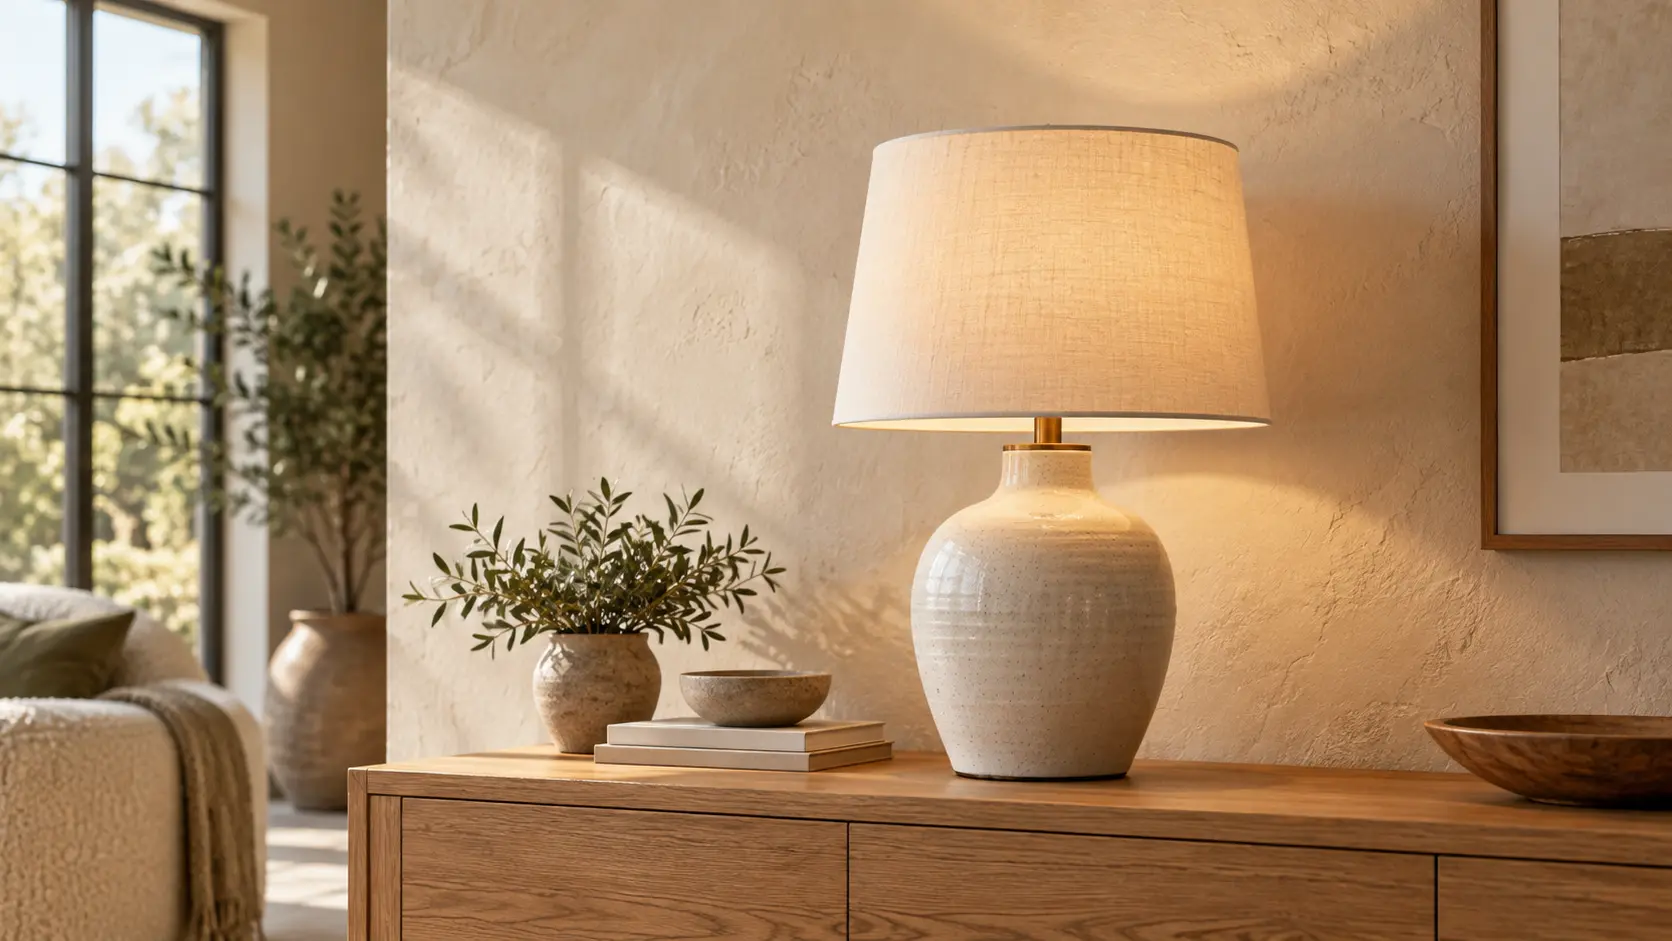
Name the room, landscape, material, time of day, camera height, and mood. Concrete details give the add background to photo workflow a clear scene to build instead of a generic backdrop.

Ask the tool to keep hair, fur, transparent objects, labels, and the subject silhouette intact. Review fine edges at full size because a halo can be hidden in a small preview.
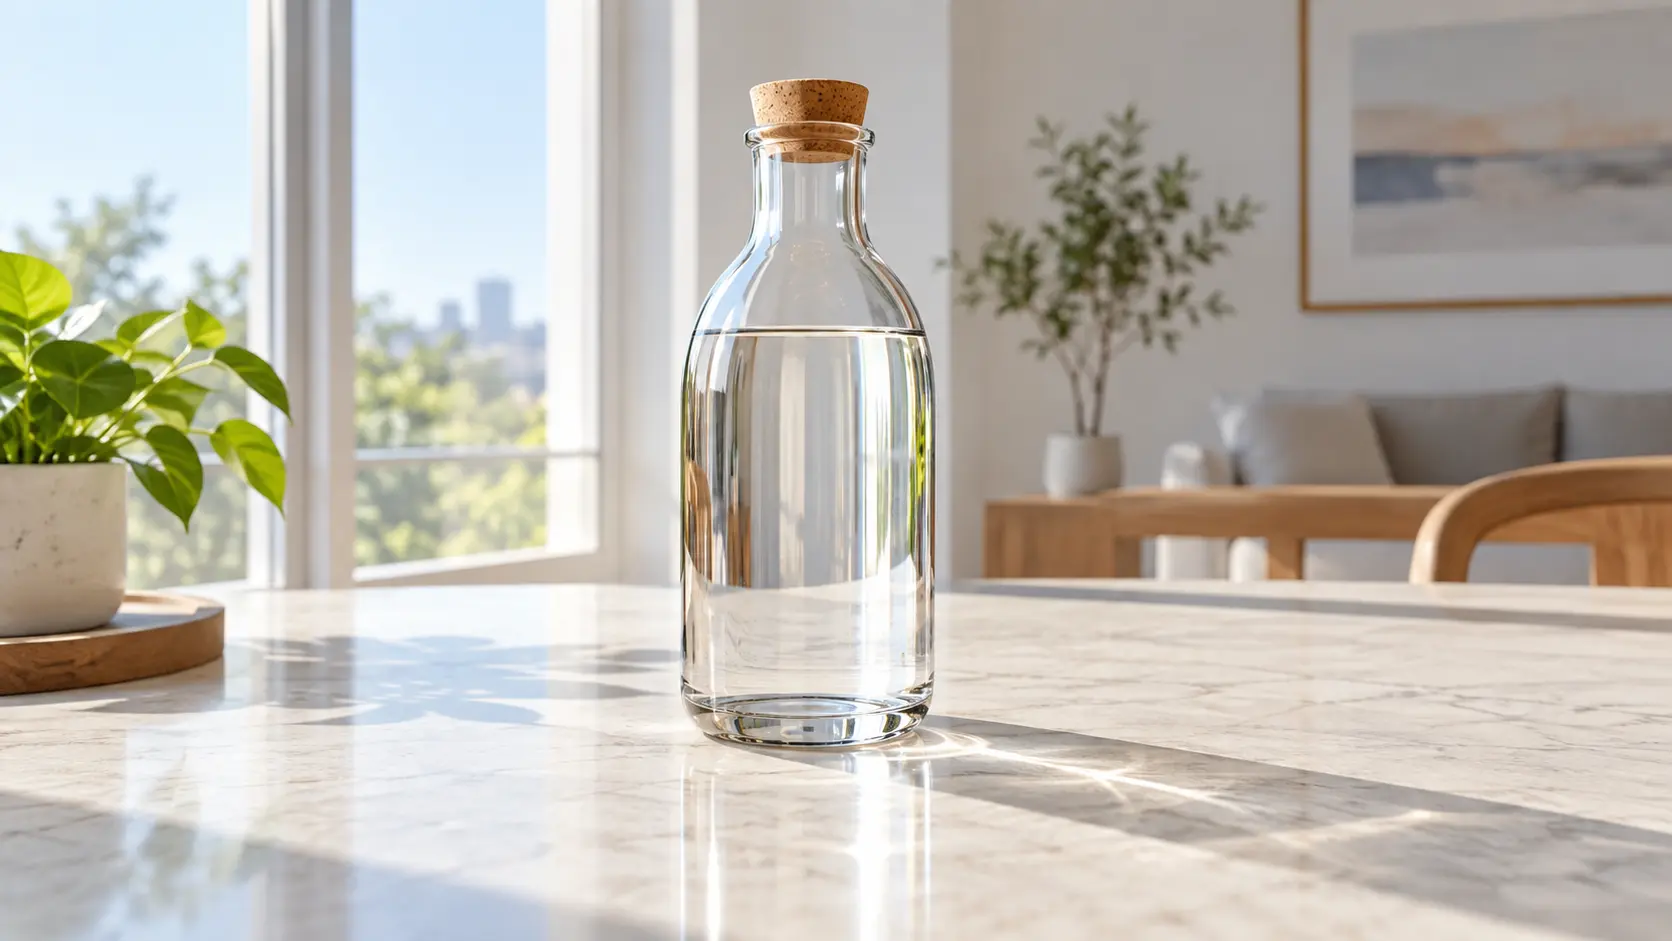
Set the light direction, floor line, contact shadow, and perspective to match the source. Those cues make an add background to photo result feel connected to the original image.
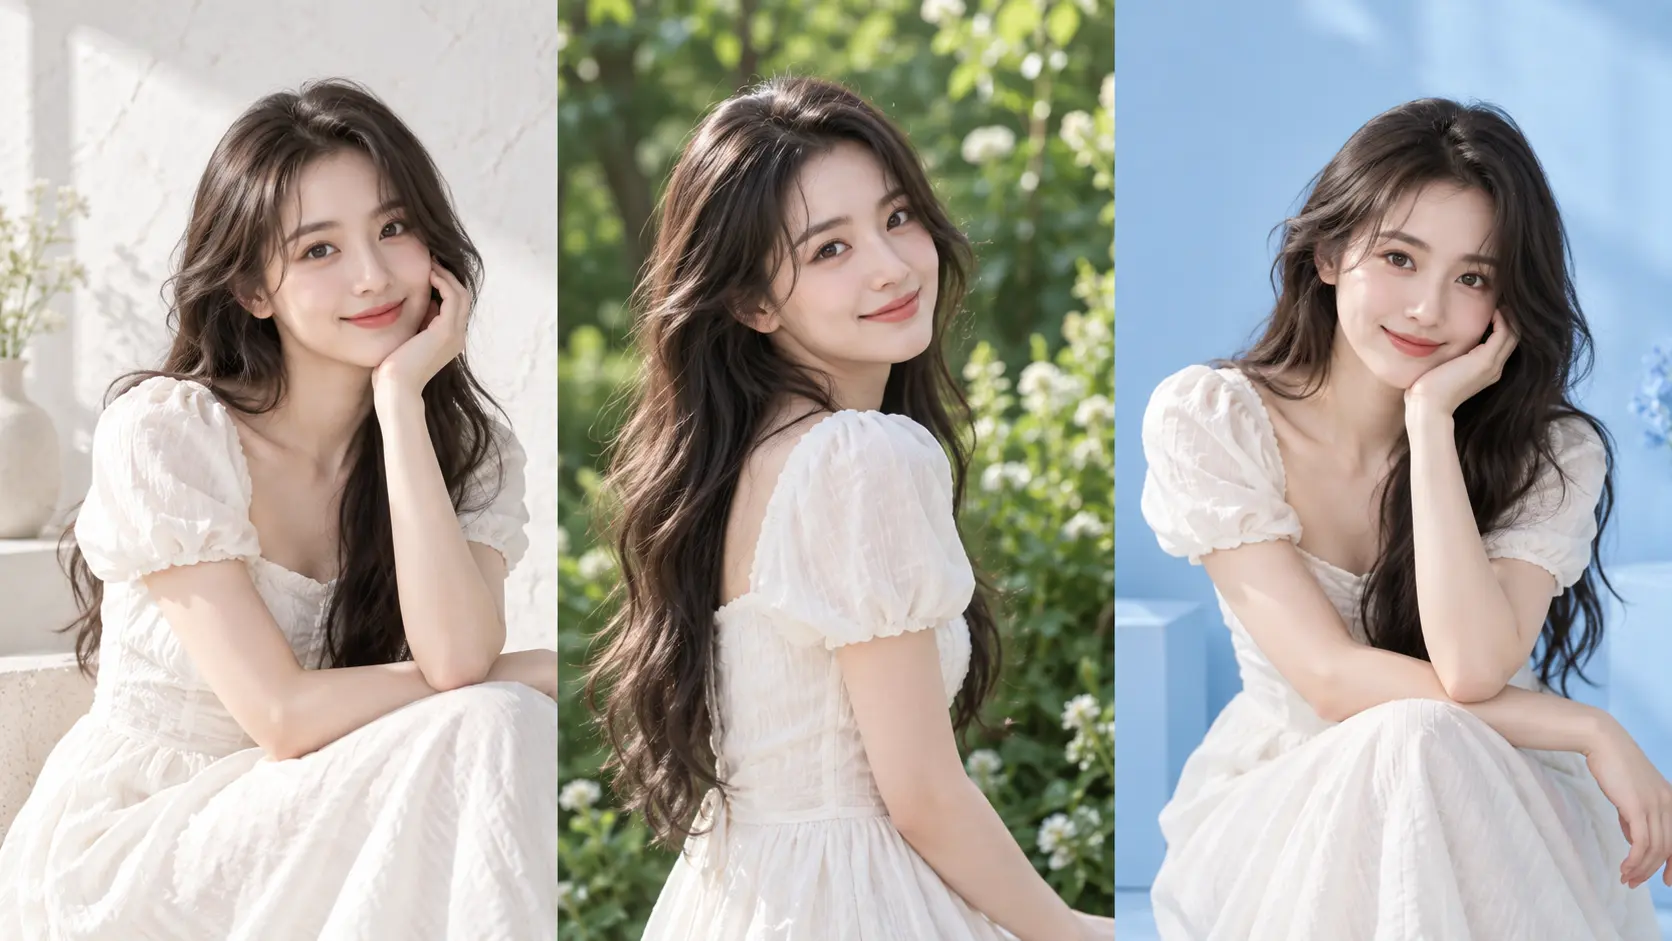
Specify whether the final image is square, portrait, landscape, or a banner. More described space around the subject gives the add background to photo workflow room to fit the destination layout.
Build the scene, check the subject, and export the strongest version.
Step 01
Choose a sharp image with the full subject visible and enough separation from the old background. Mention the details that must not change.
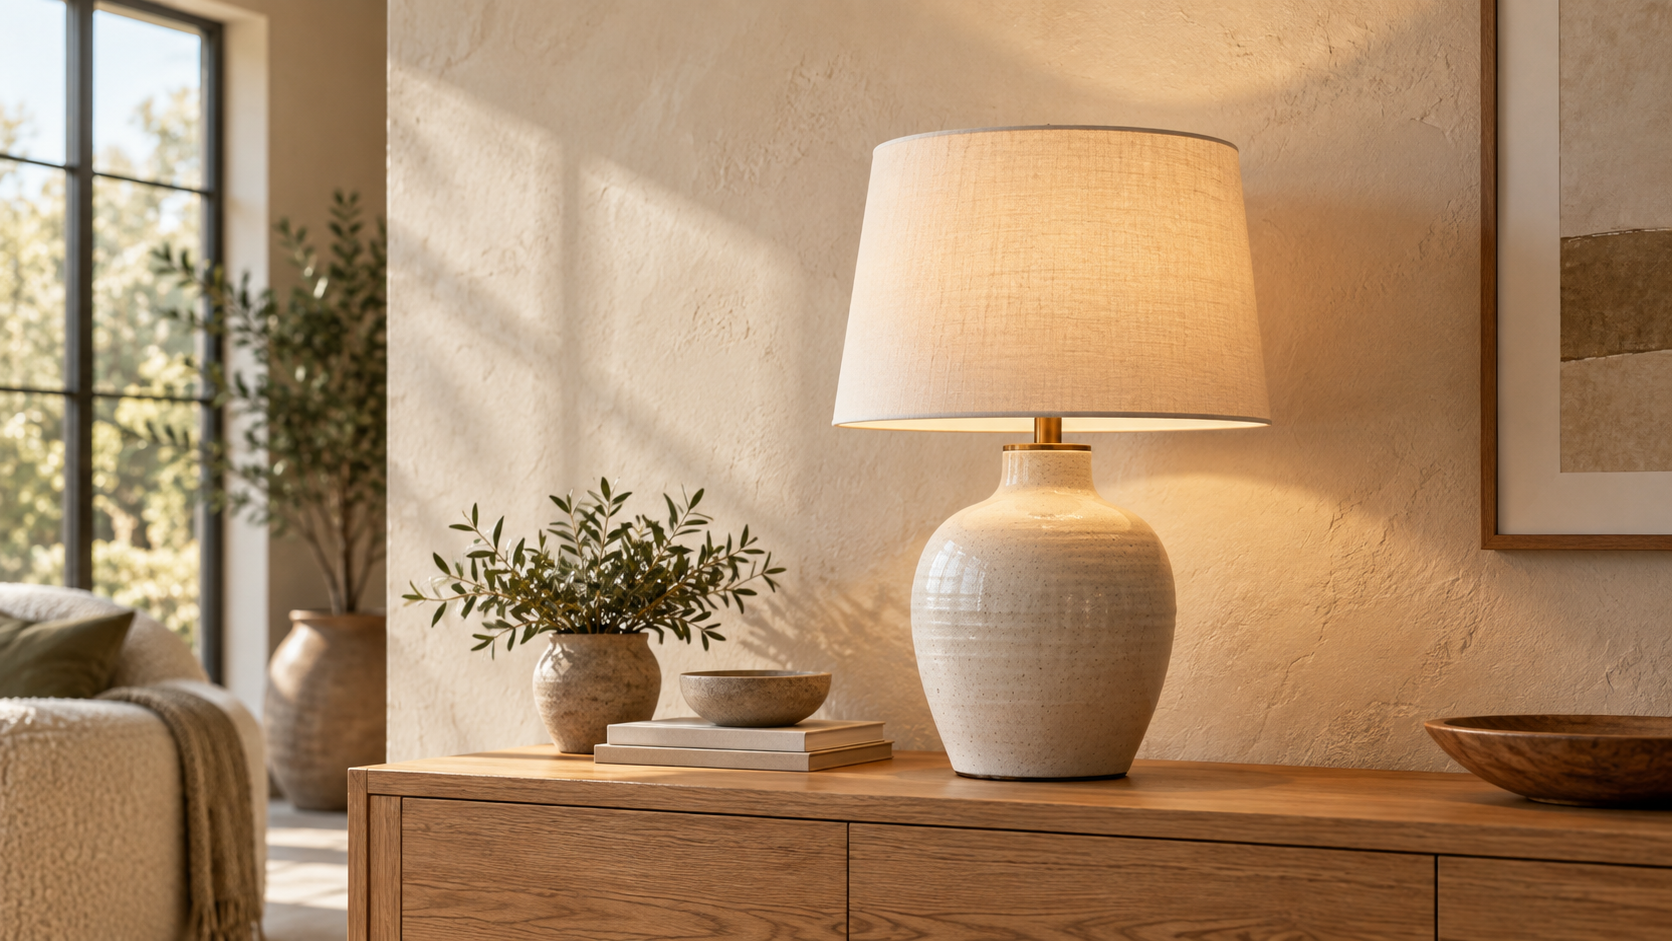
Step 02
Write the location, surface, colors, light direction, perspective, and open space you need. Keep the subject instruction separate from the scene description.
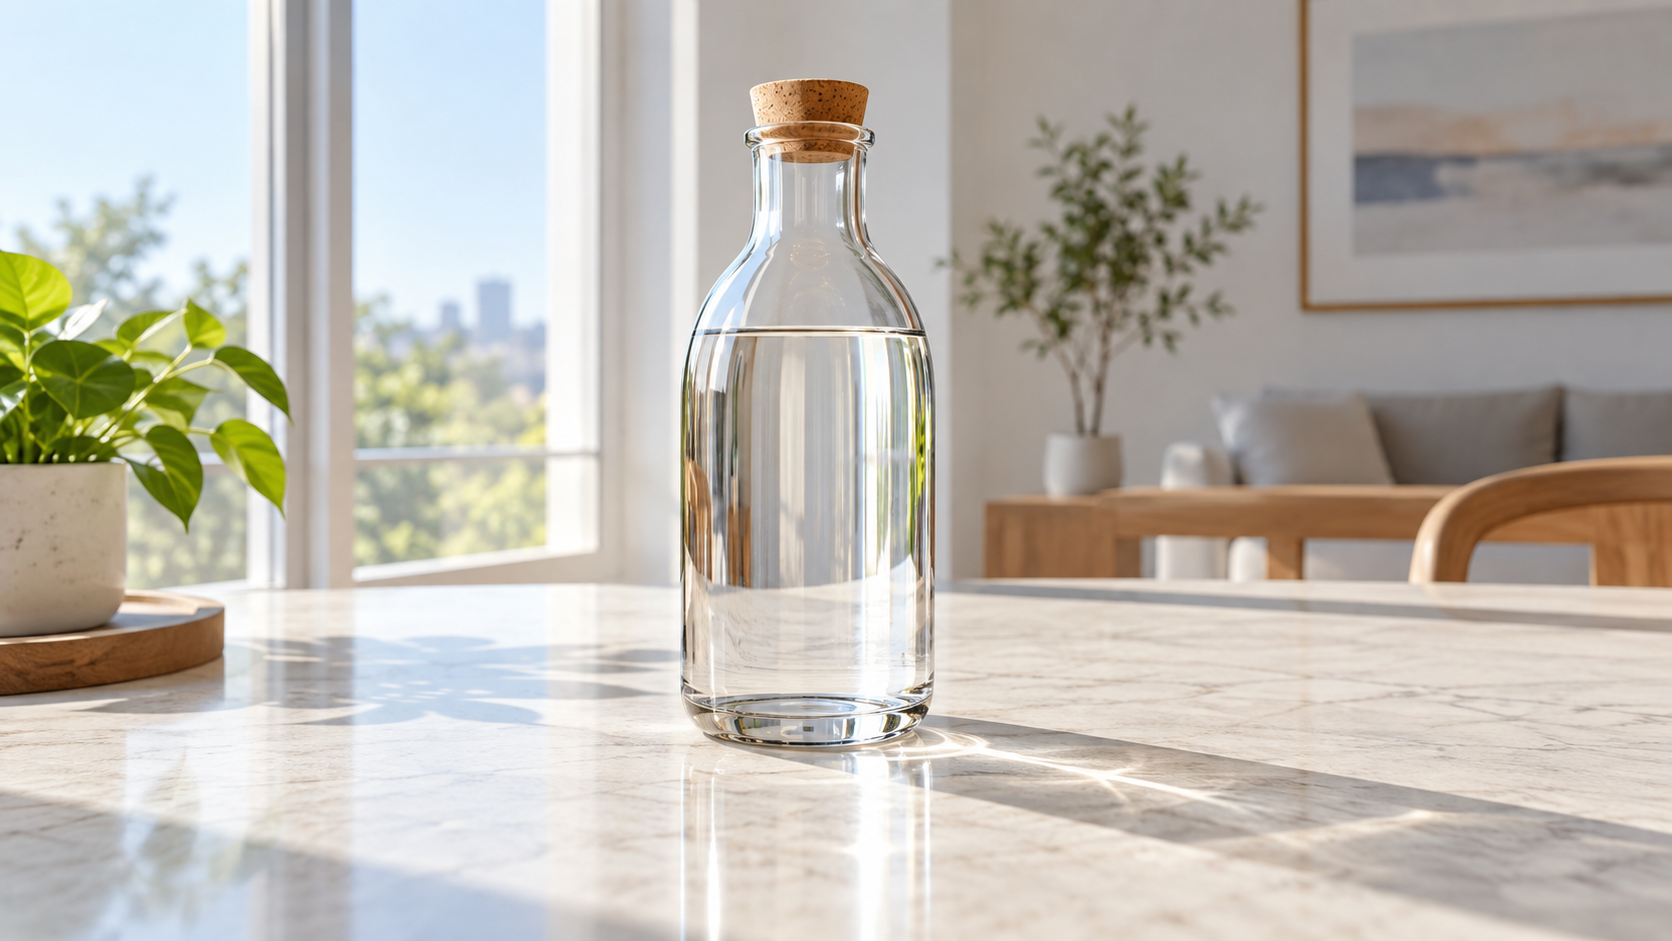
Step 03
Check hair, product corners, contact shadow, floor perspective, and crop. Refine one issue at a time, then download the version that fits your layout.
Add context, space, and a more useful setting to everyday images.
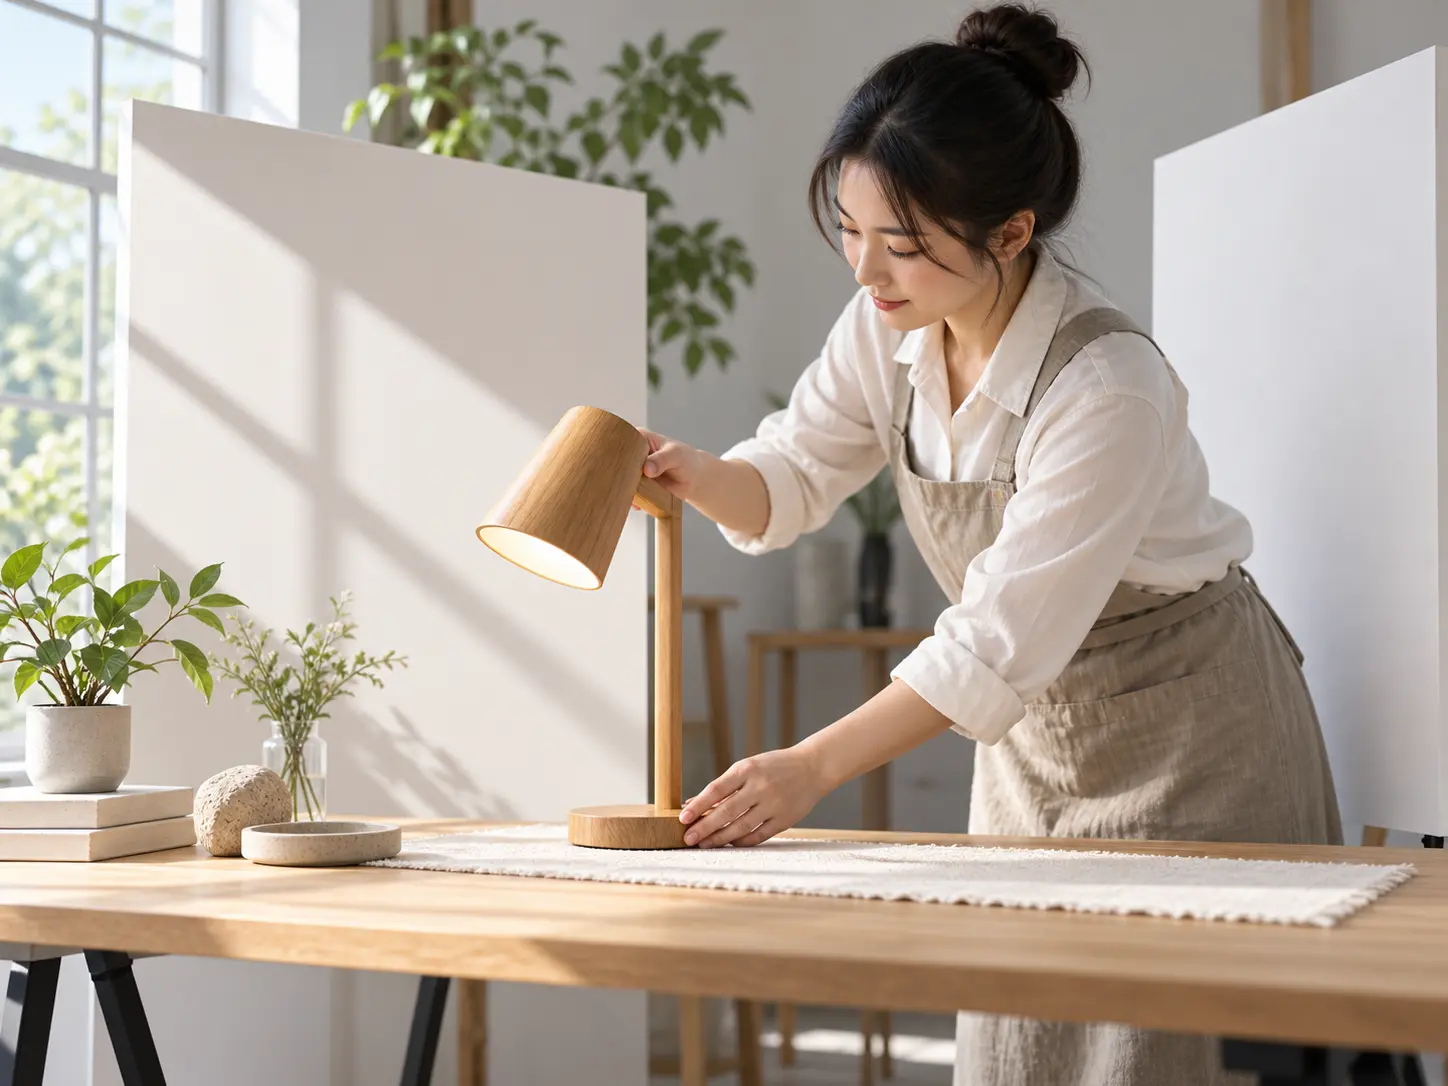
Place a product on a clean studio surface or seasonal scene while keeping the shape and label area stable.
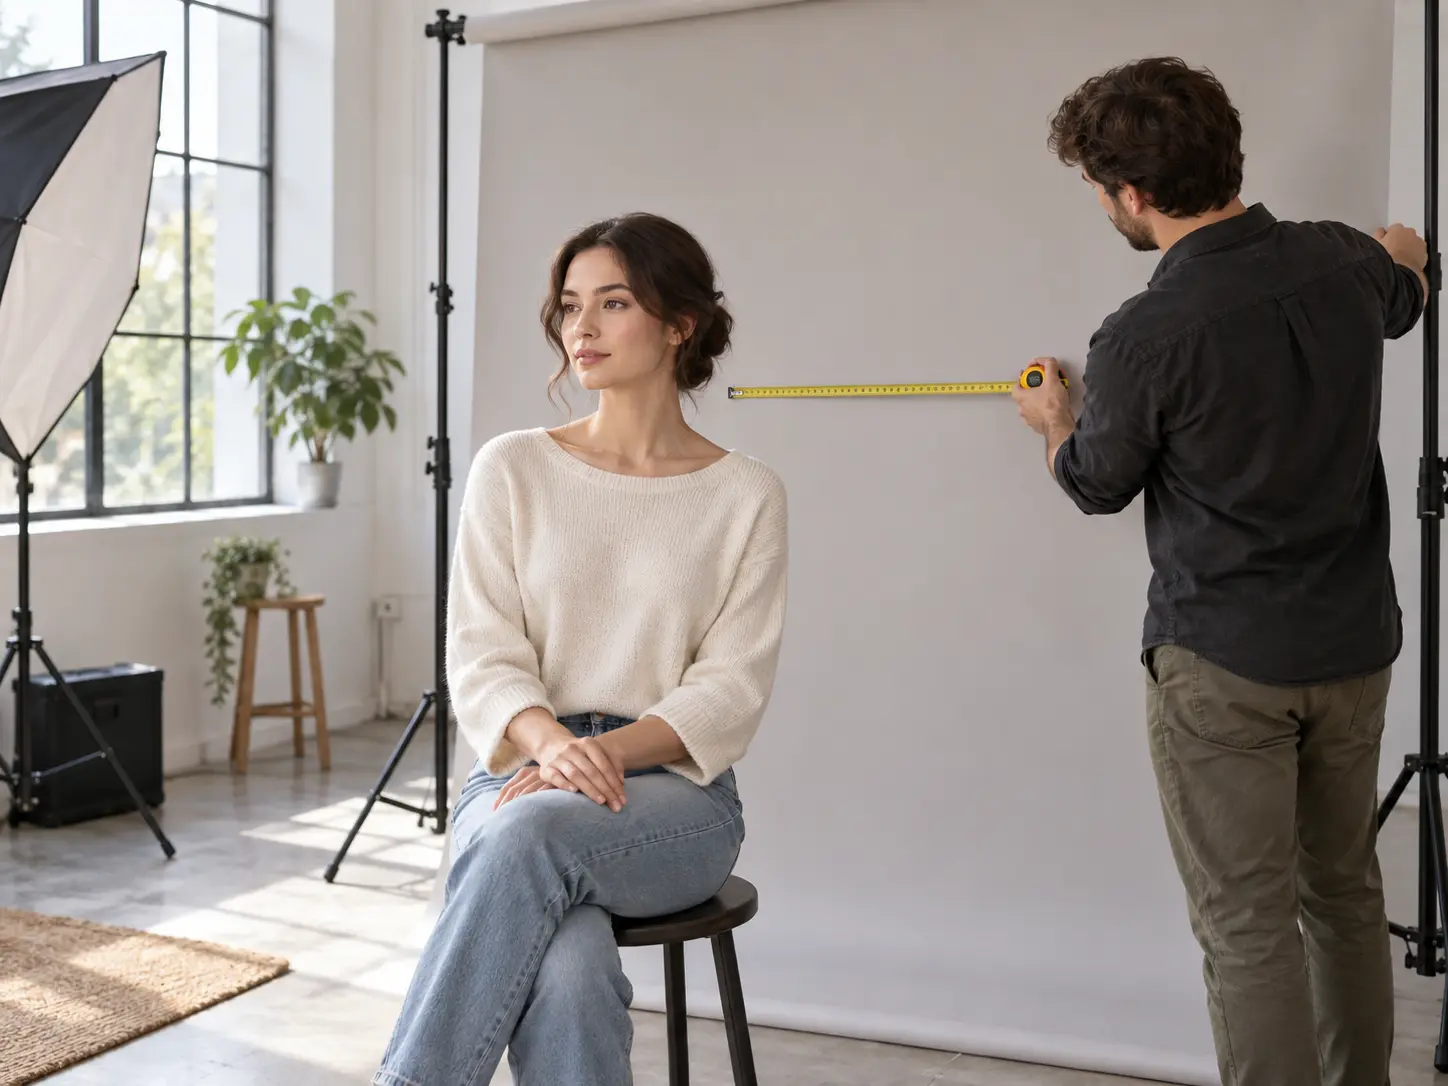
Move a portrait into a calm studio wall, outdoor setting, or brand color scene without rebuilding the person.
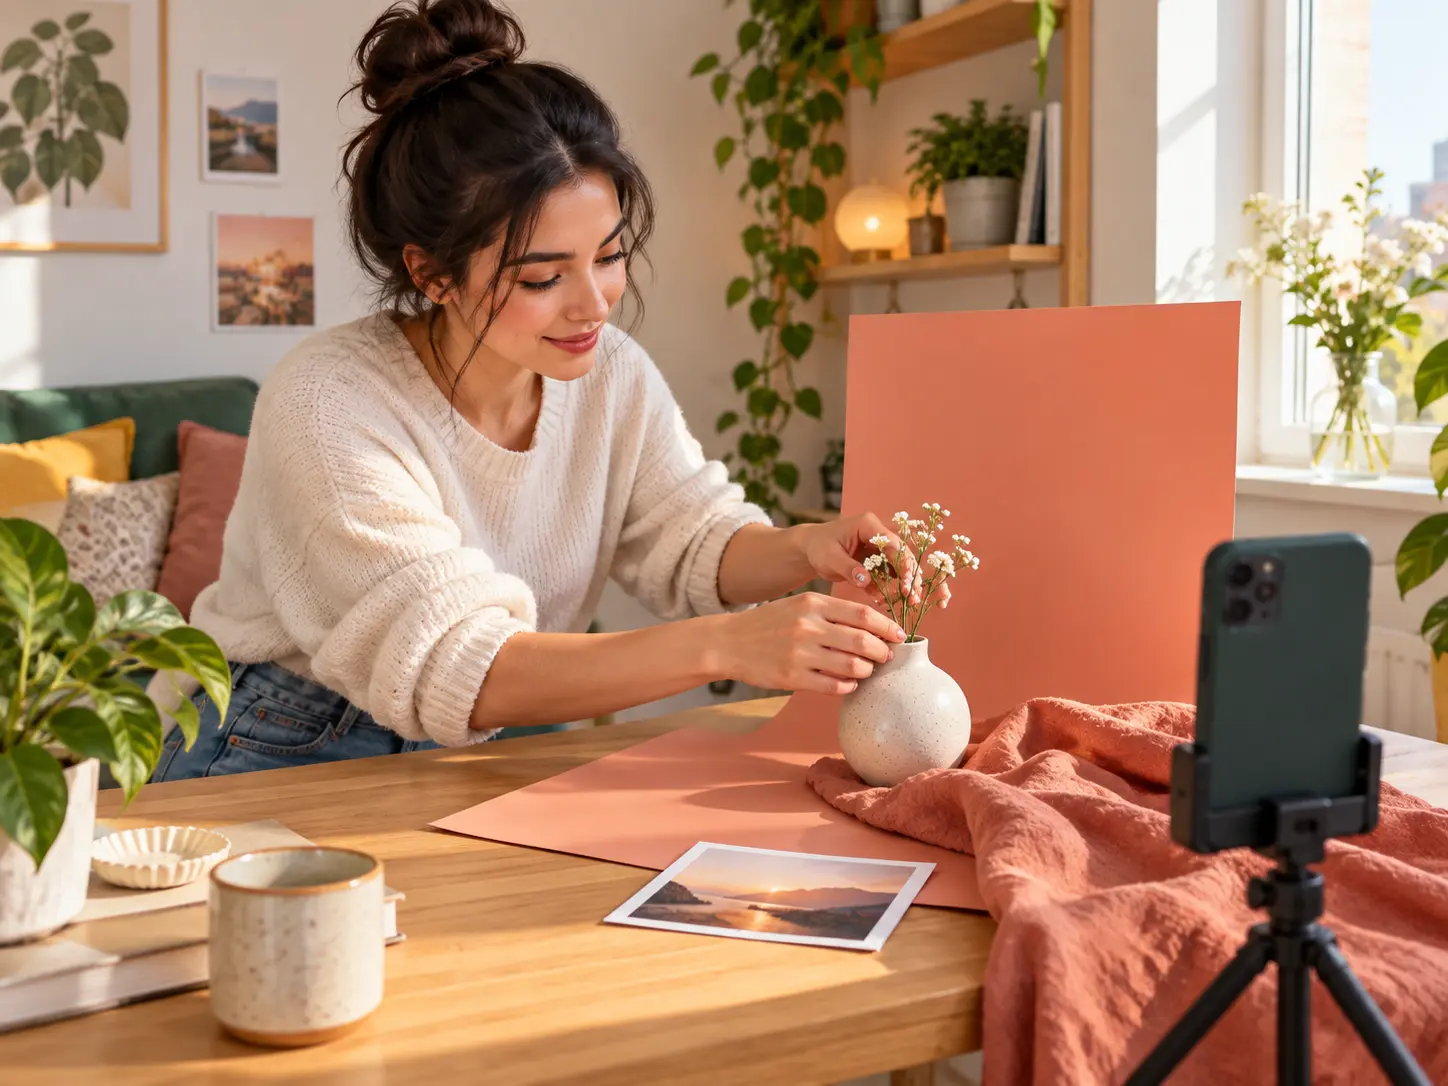
Create extra space for a quote, headline, or event detail while keeping the original subject readable.
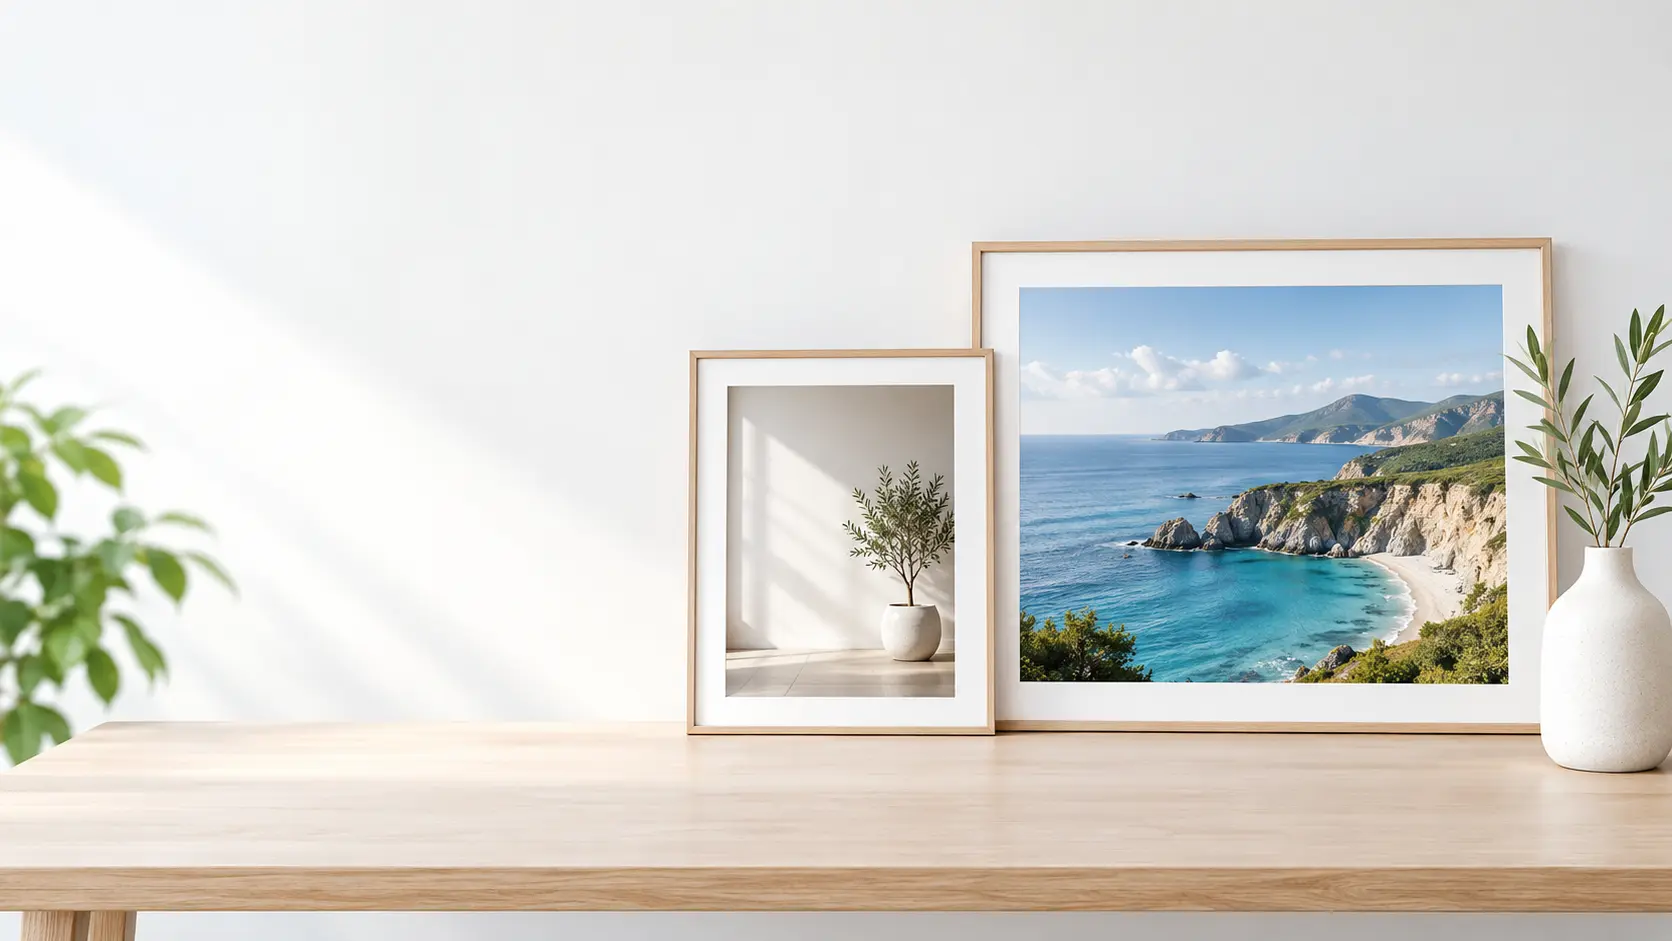
Upload a photo, describe the setting, and add a background that supports the subject and the final crop.
Get Started