
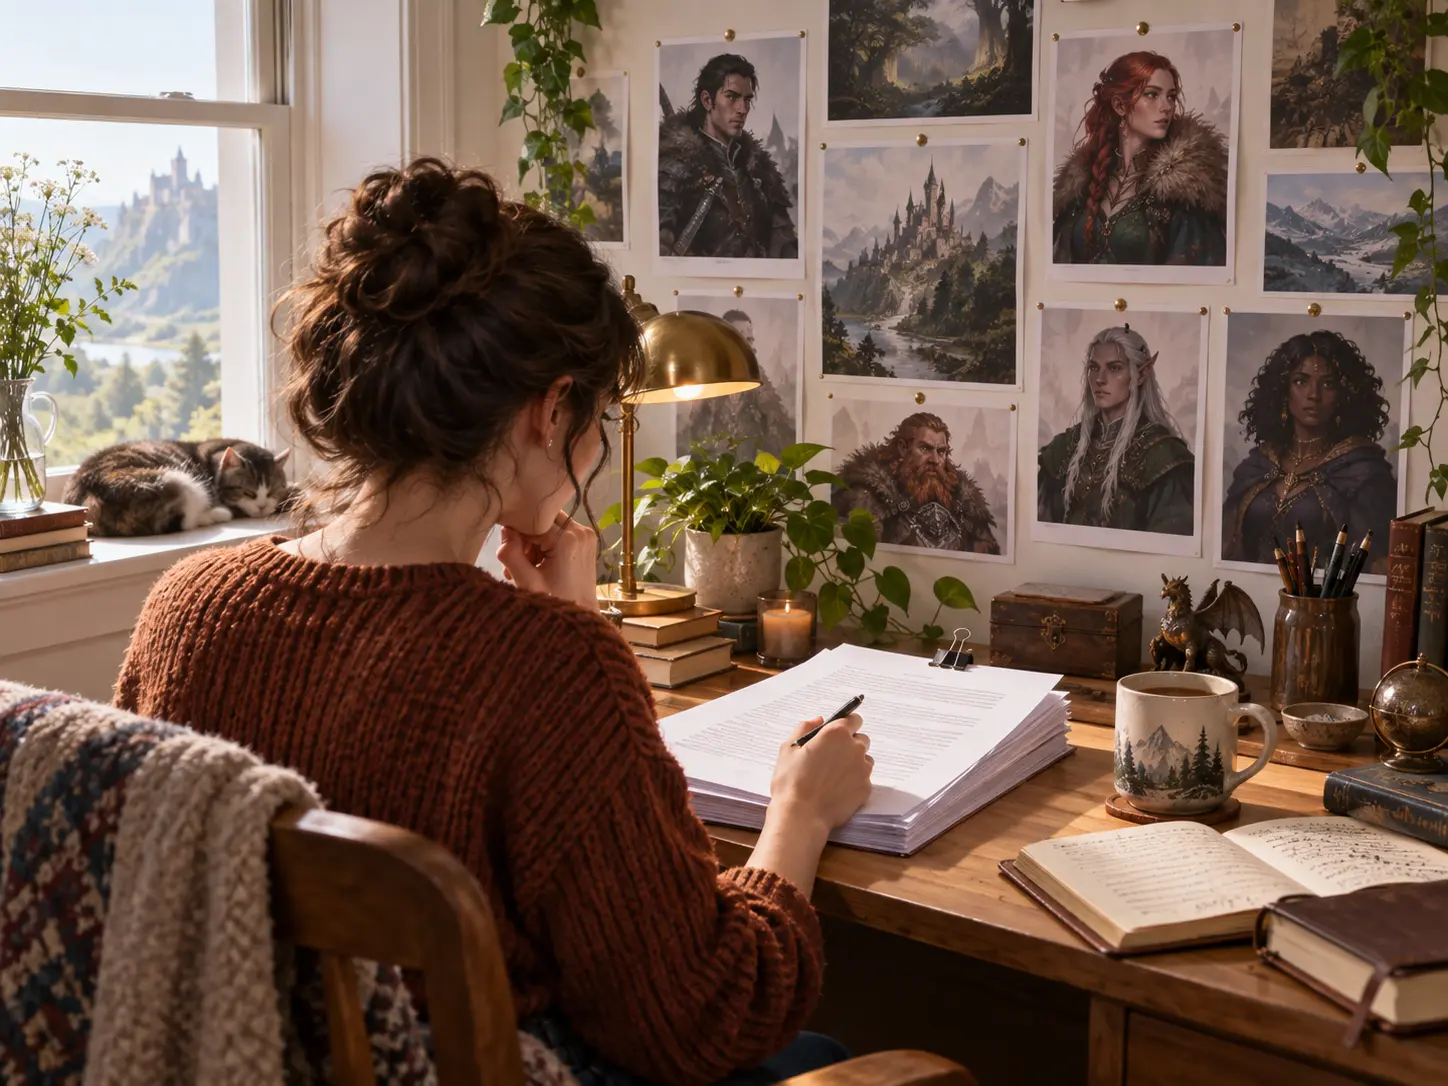

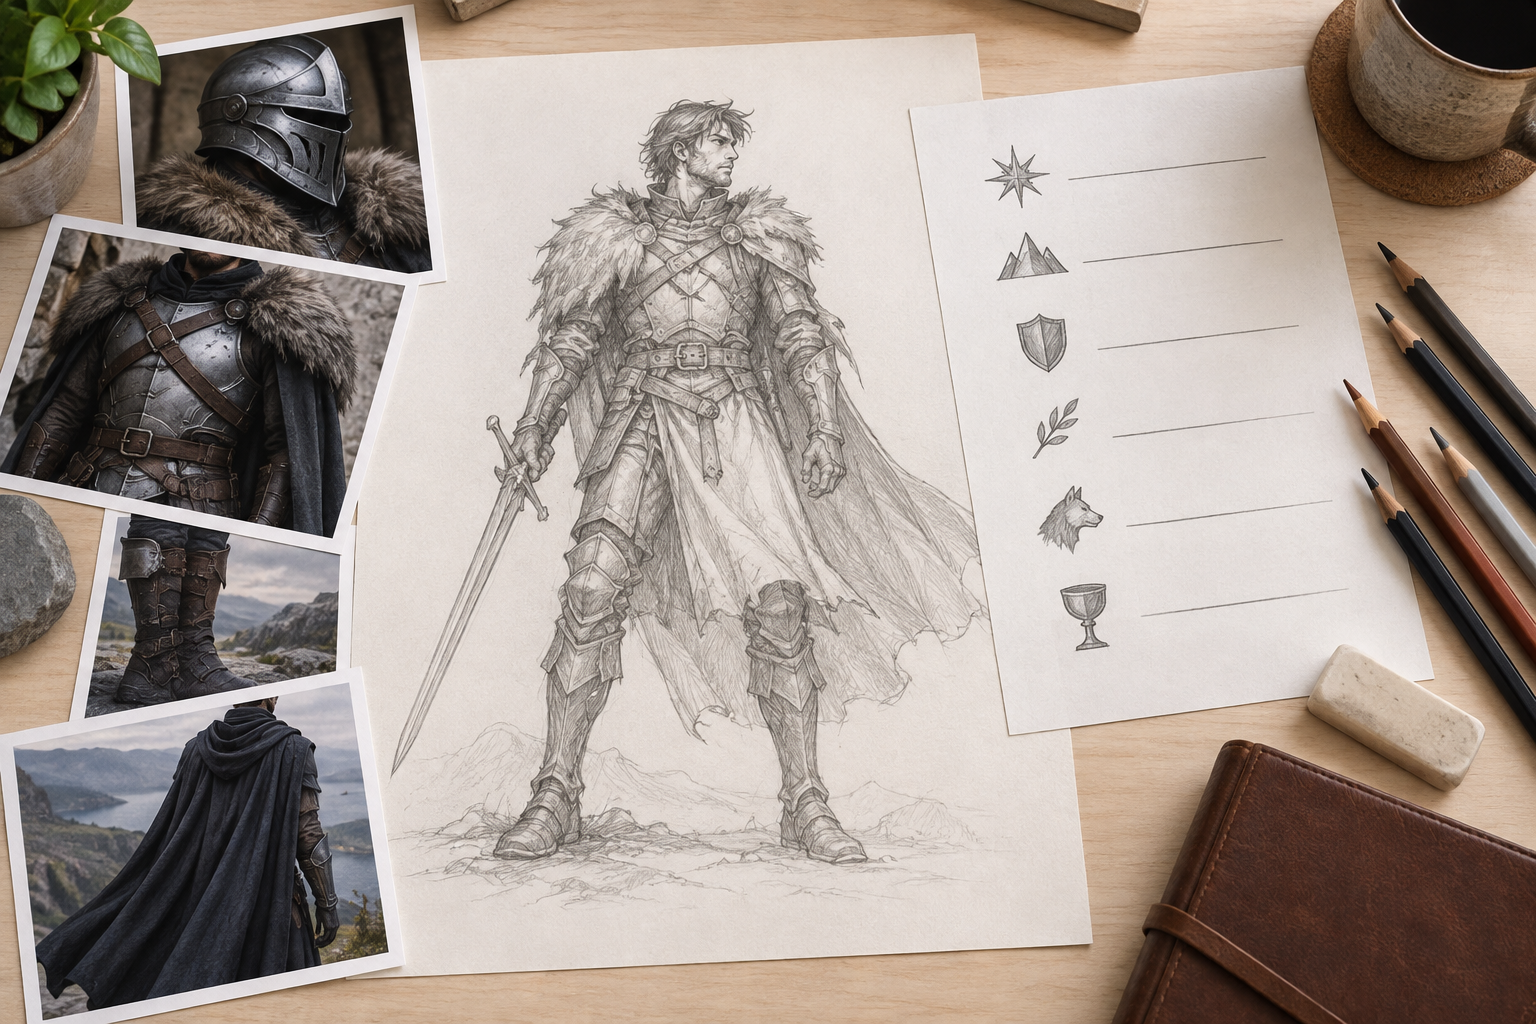
Step 01
Describe The Character
Write the ancestry, age, build, class, costume, colors, gear, and mood. Add the camera angle and how much of the body should be visible.

A fantasy character creator turns a written backstory into a clear portrait you can use for a tabletop campaign, a story project, or a role-play profile. Describe the ancestry, class, costume, equipment, age, and mood, then generate a first direction with VideoAI. Compare the results, adjust the detail that matters, and keep the version that matches the character you already have in mind. The same workflow covers a single hero, a supporting cast, and a full set of player characters.
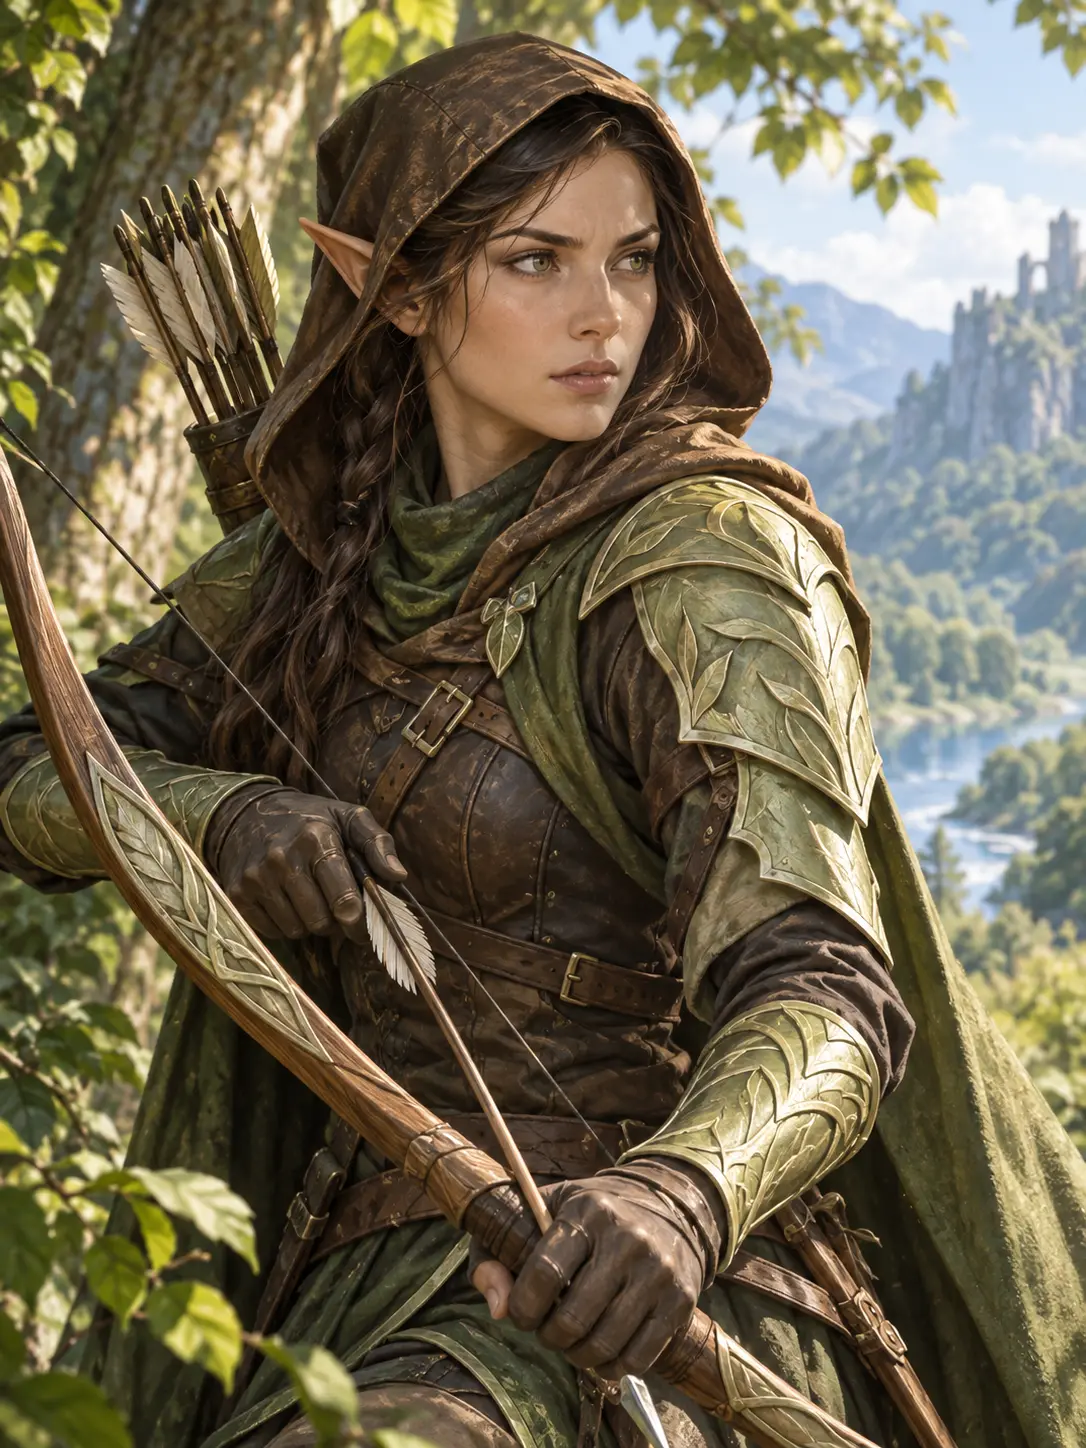
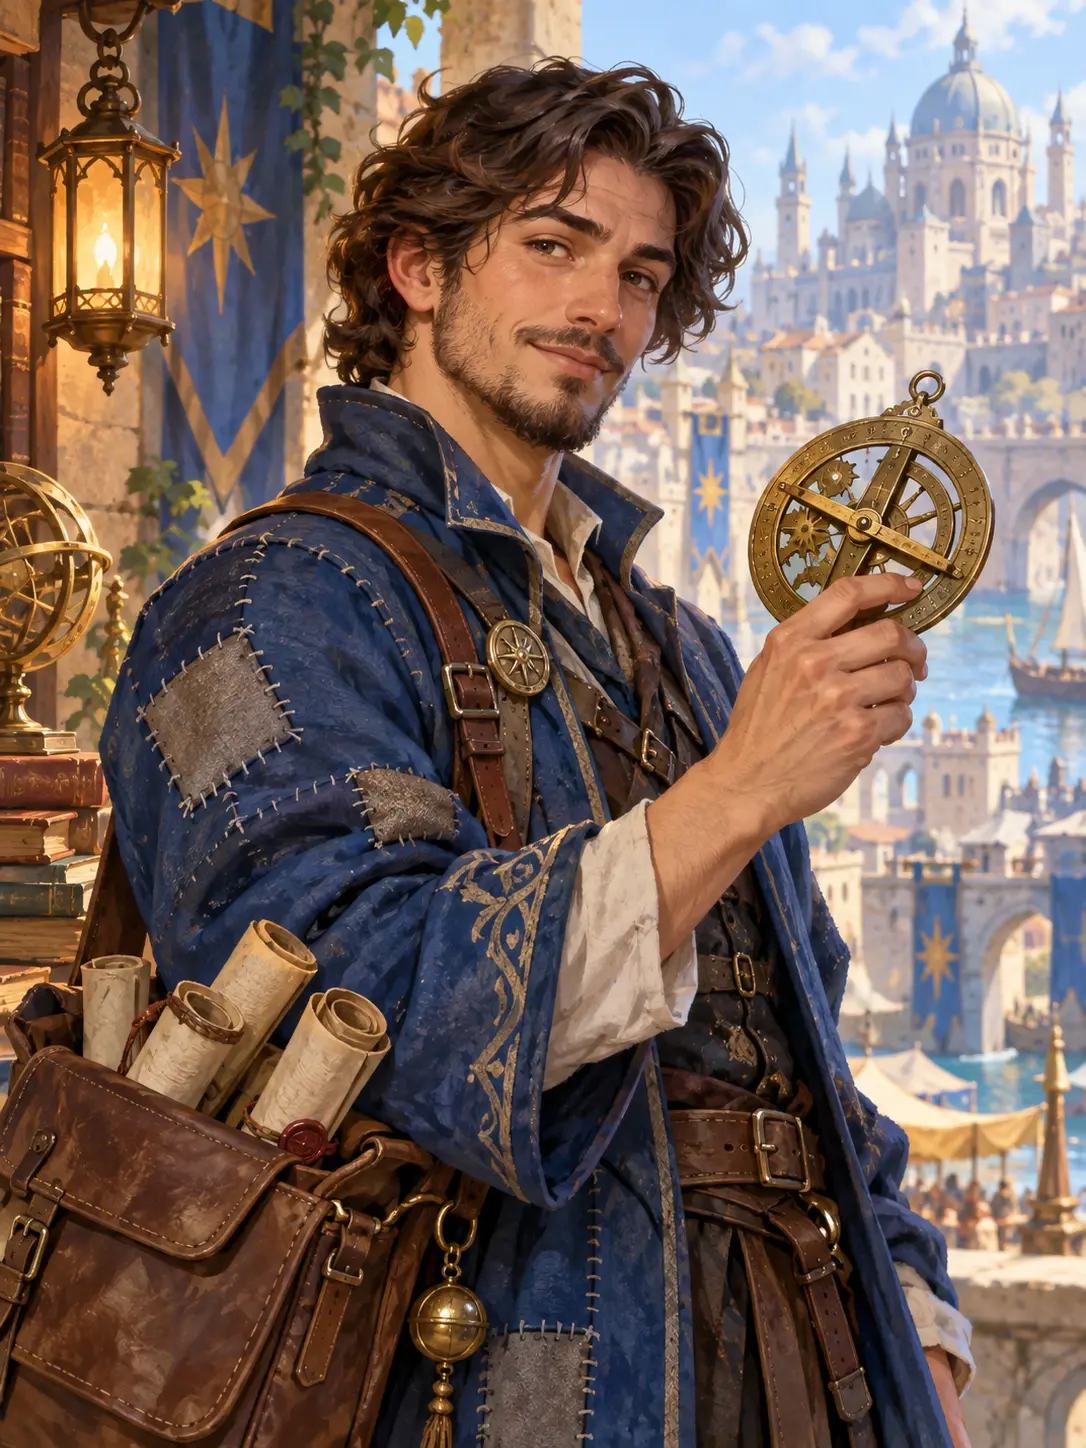
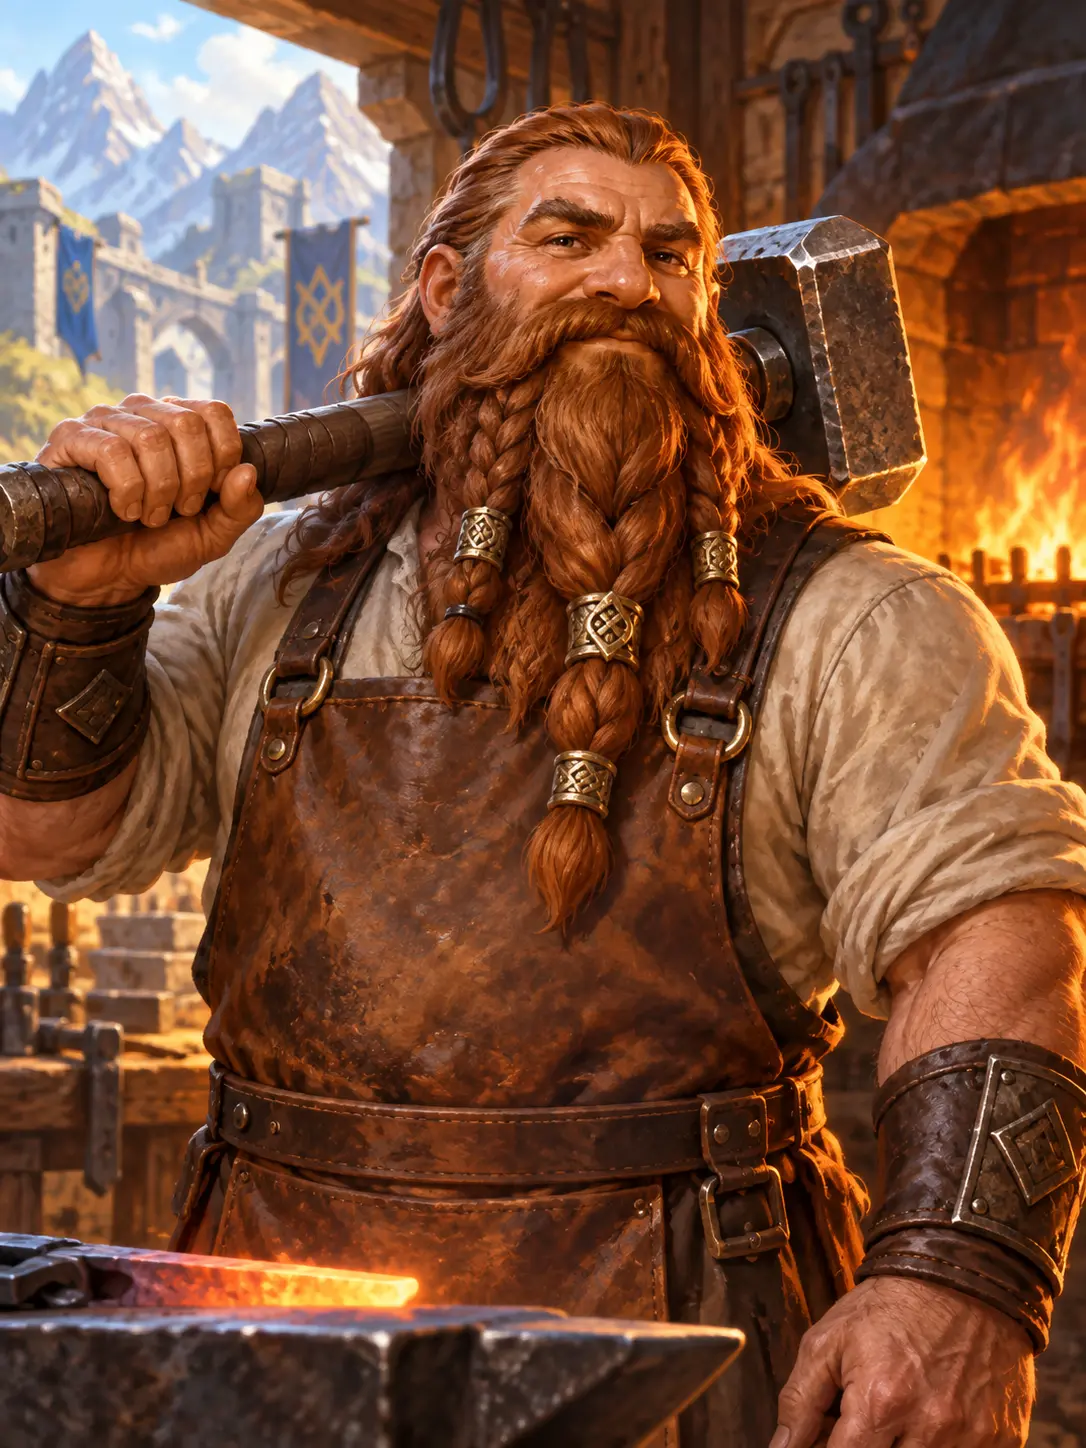
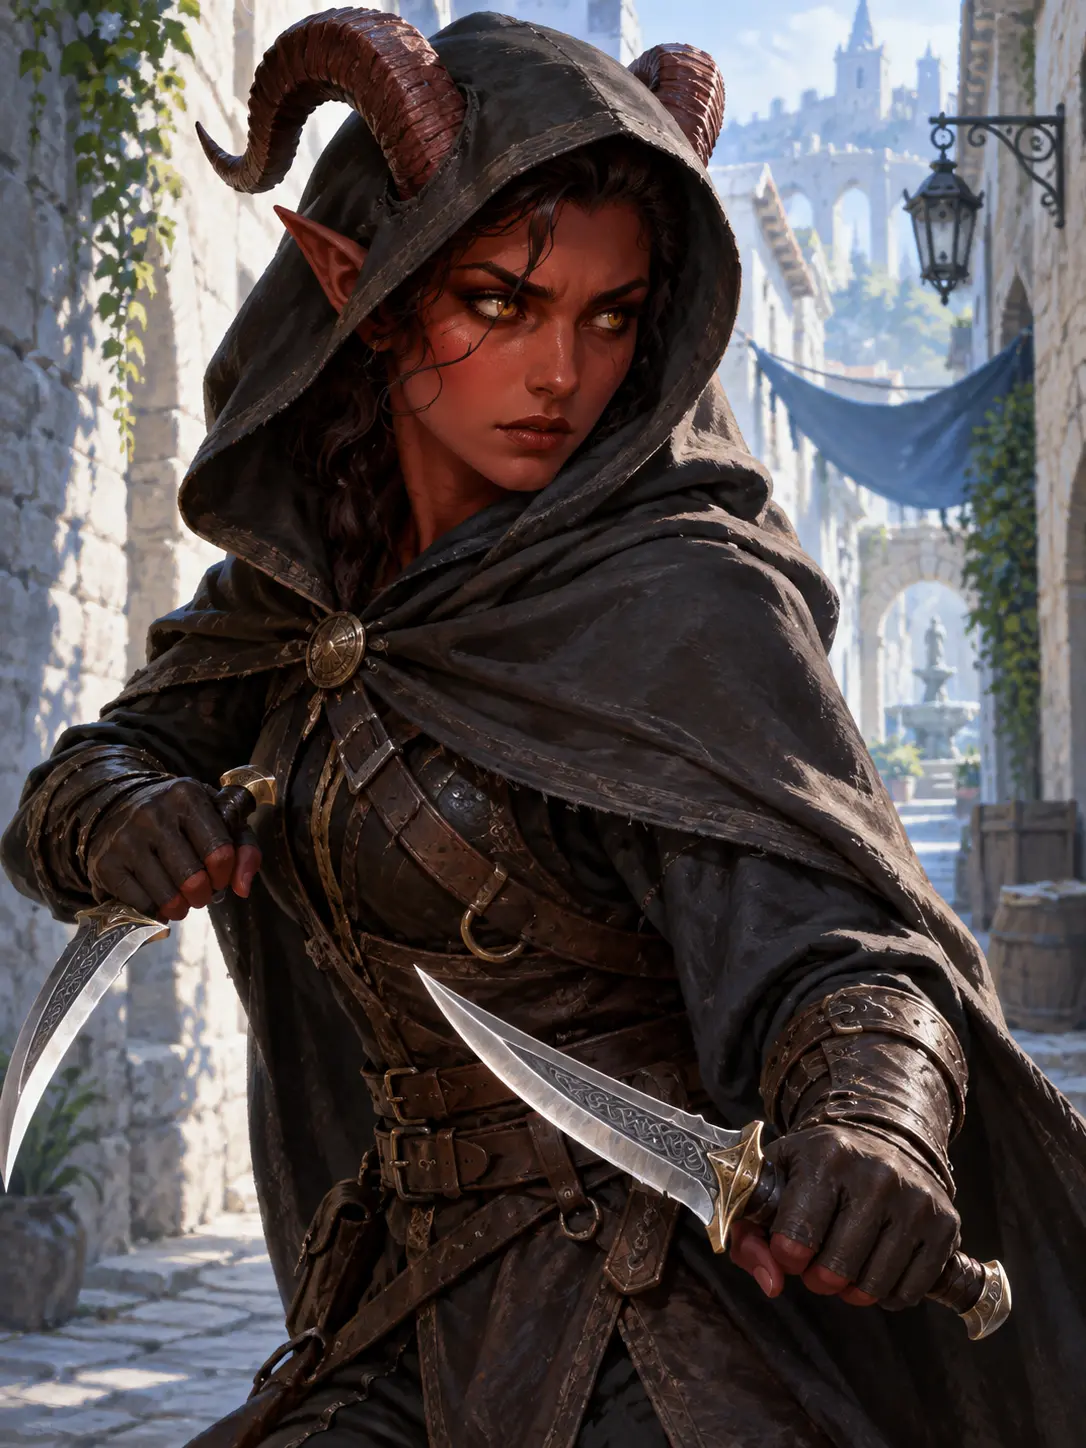
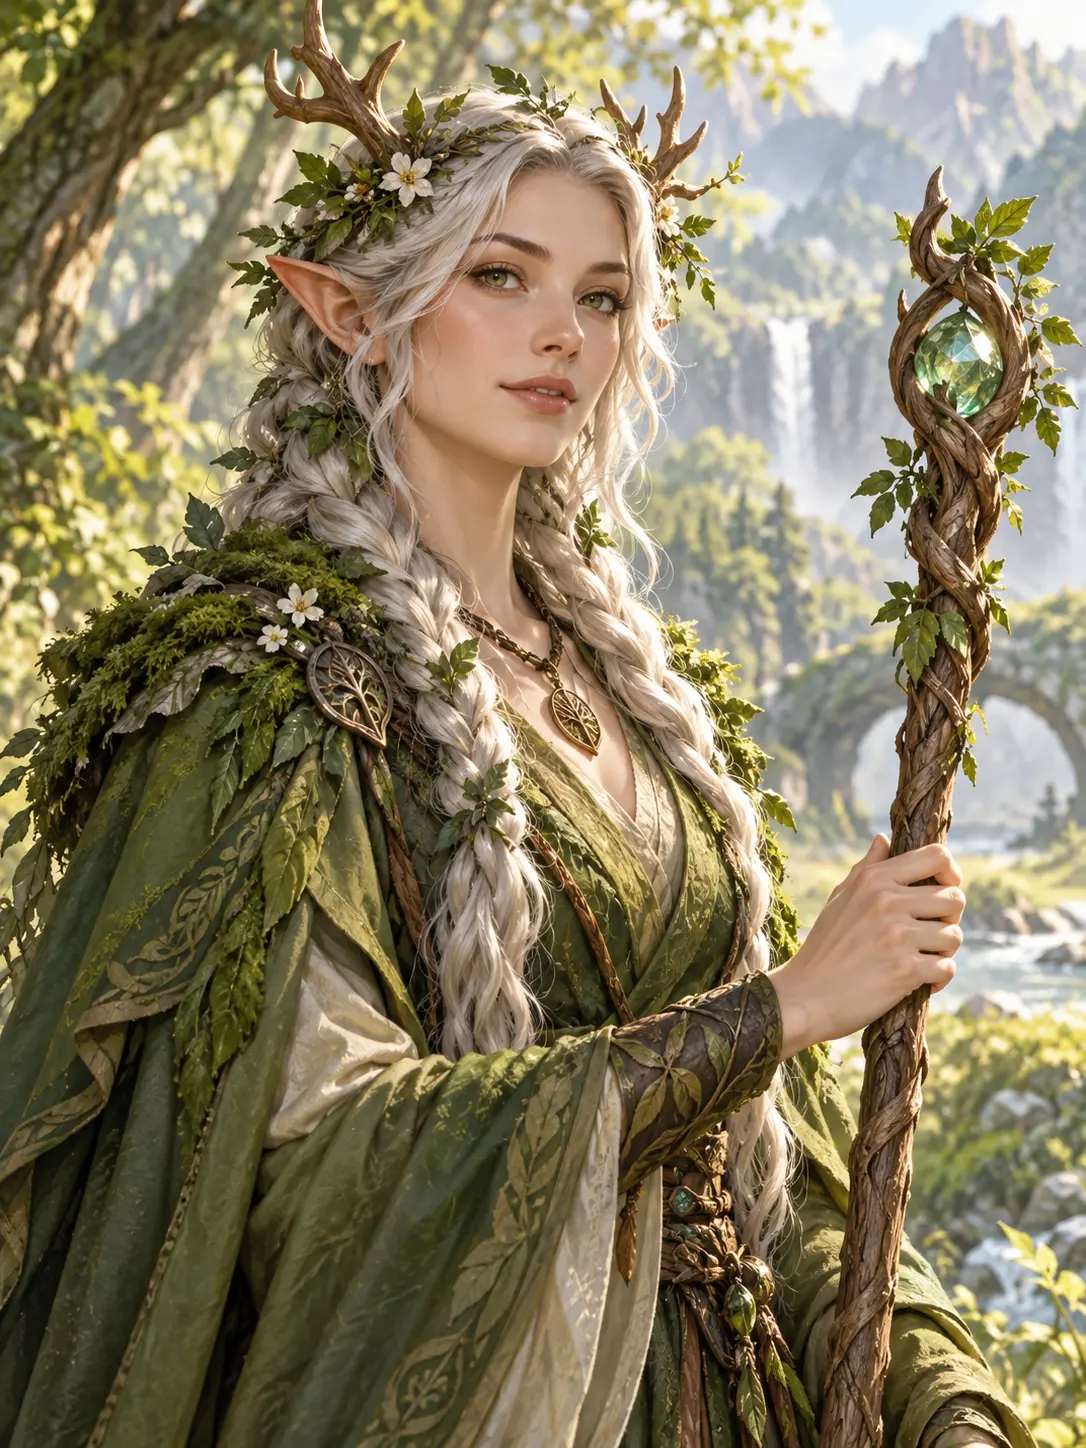
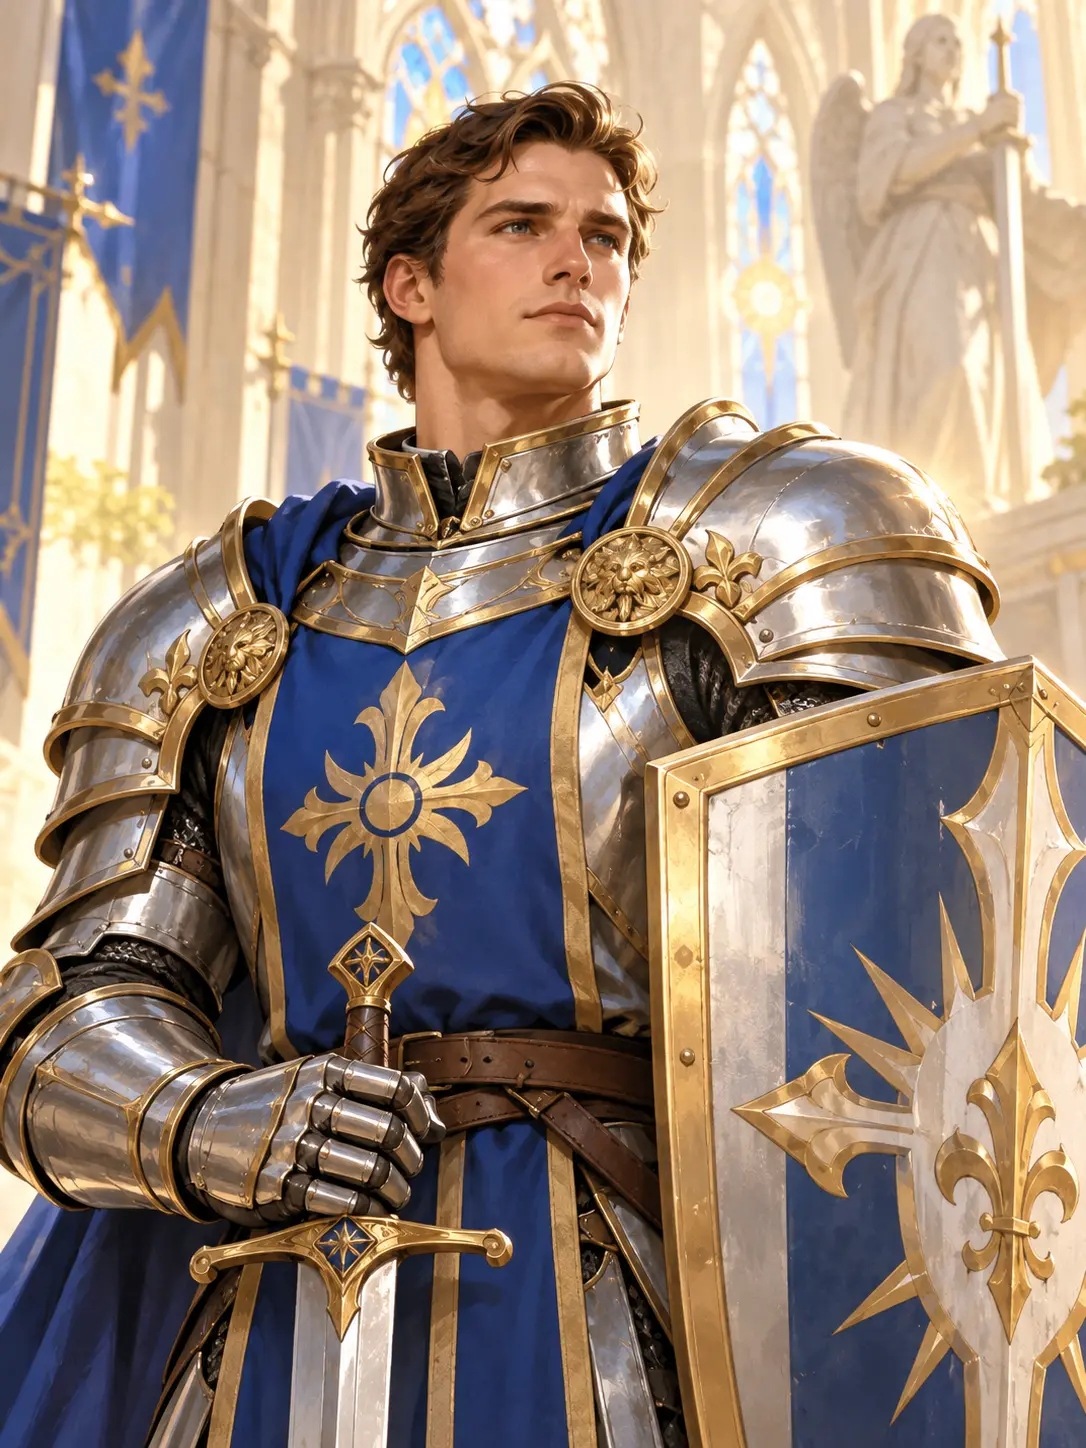
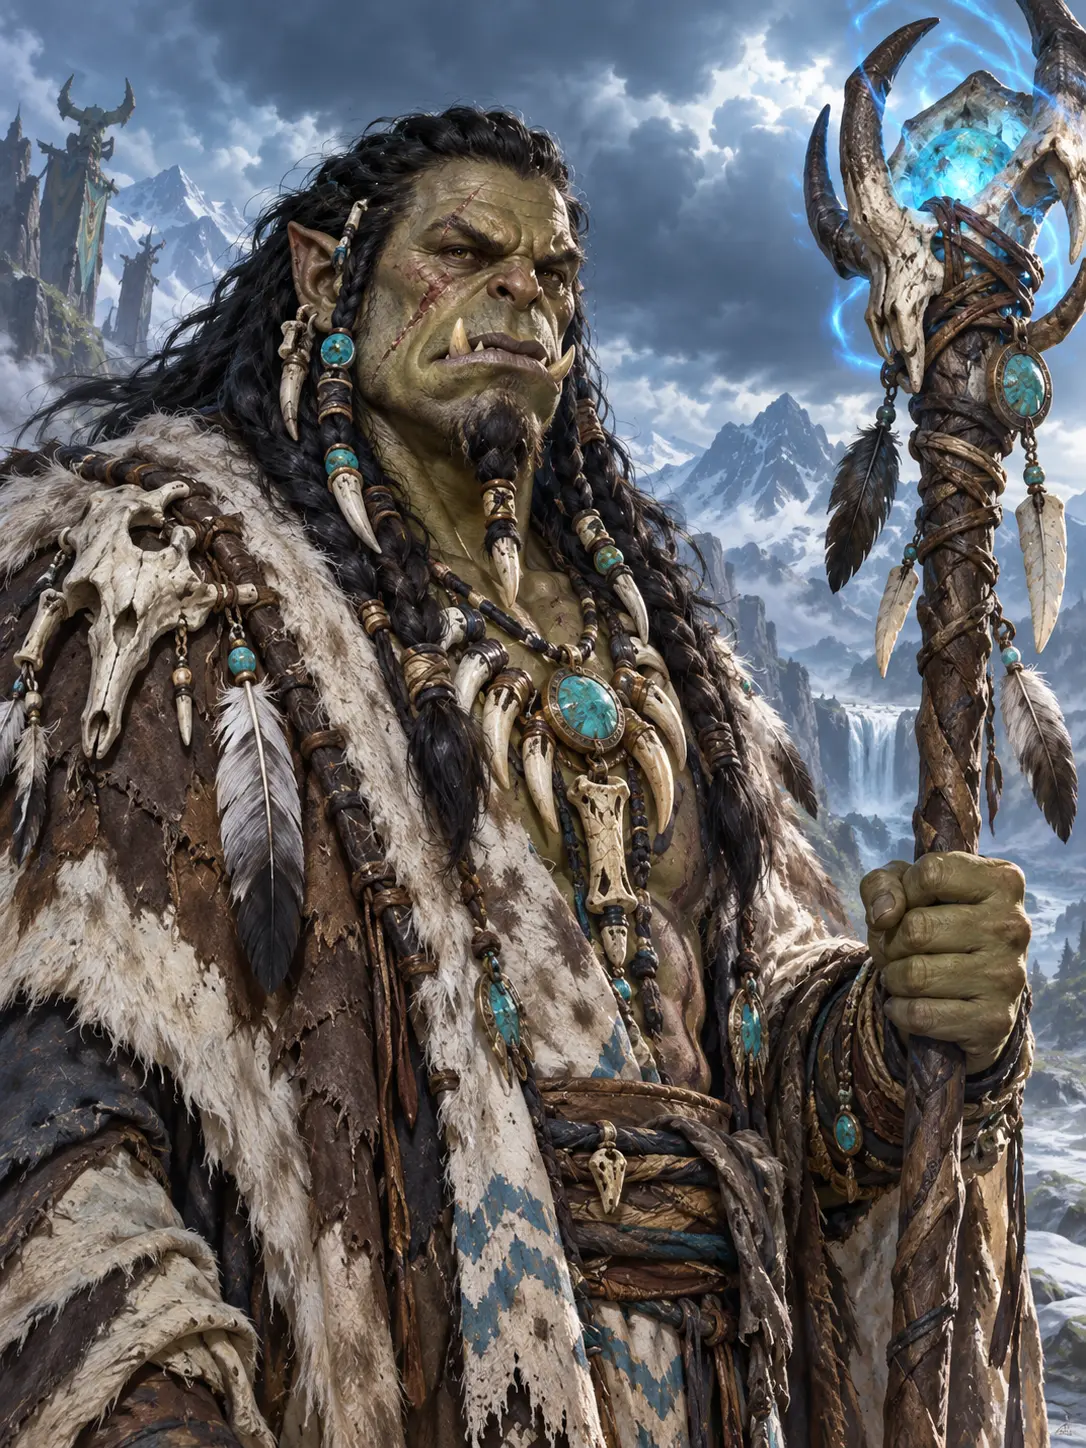
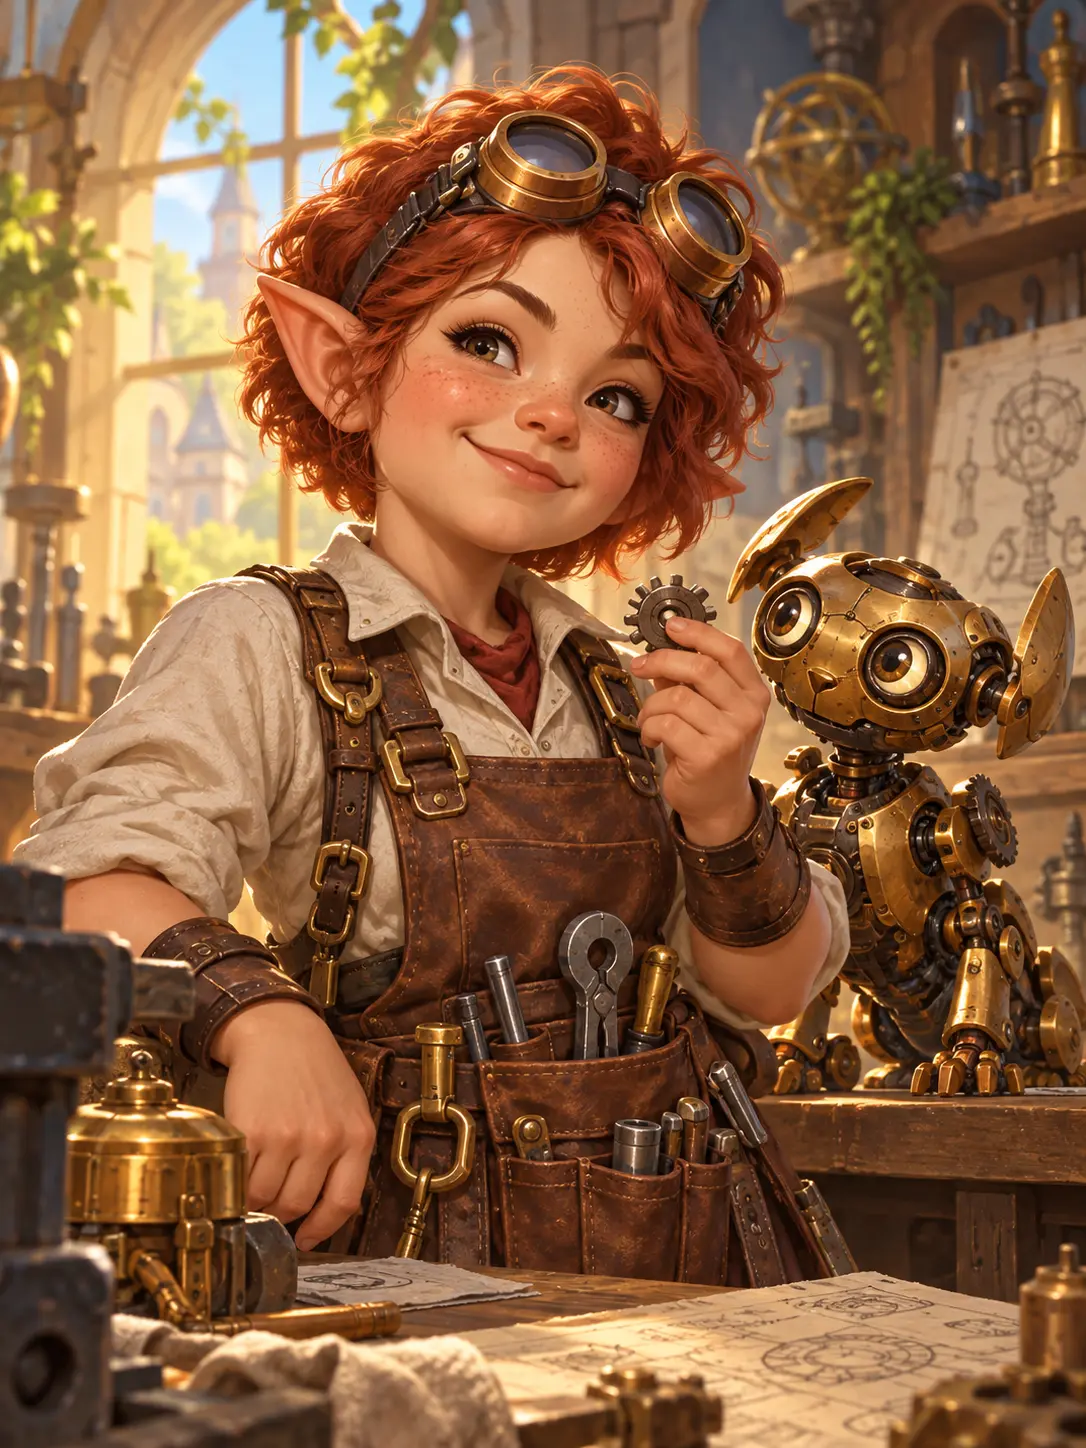
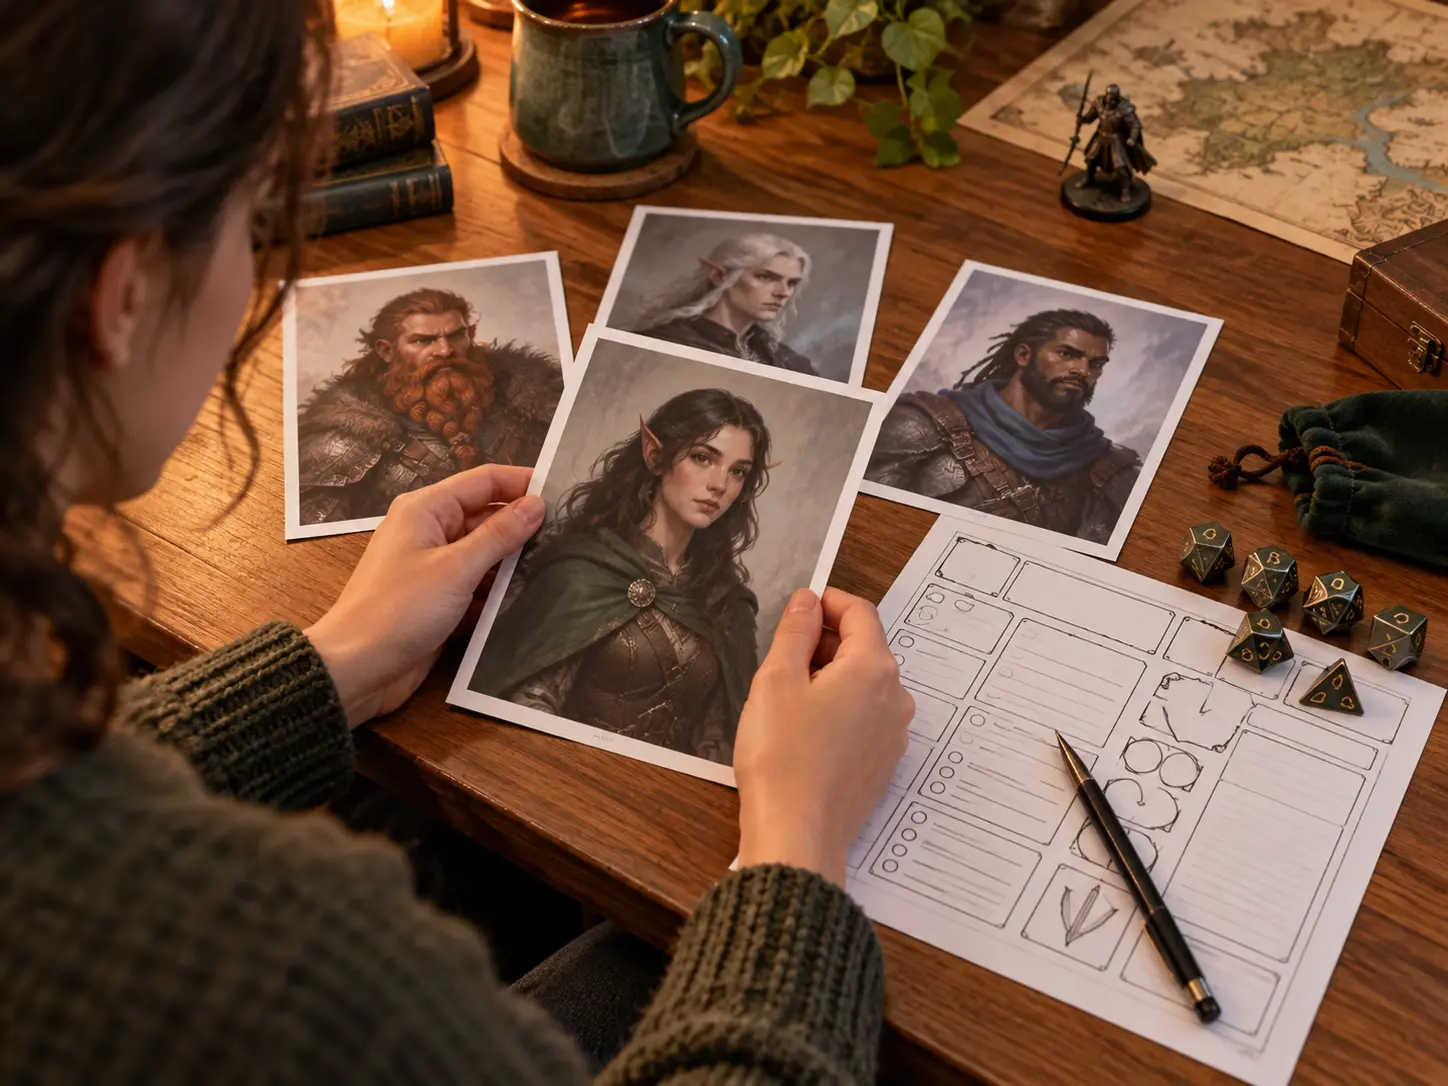
Players use the fantasy character creator to give a new sheet a face before the first session. Describe the ancestry, class, armor, and weapon, then keep the portrait consistent with the mini or token you already own. A clear silhouette and readable gear matter more here than fine background detail, because the image is often viewed at token size.
The useful controls are the ones that keep a character recognisable across several generations and useful inside a real project.
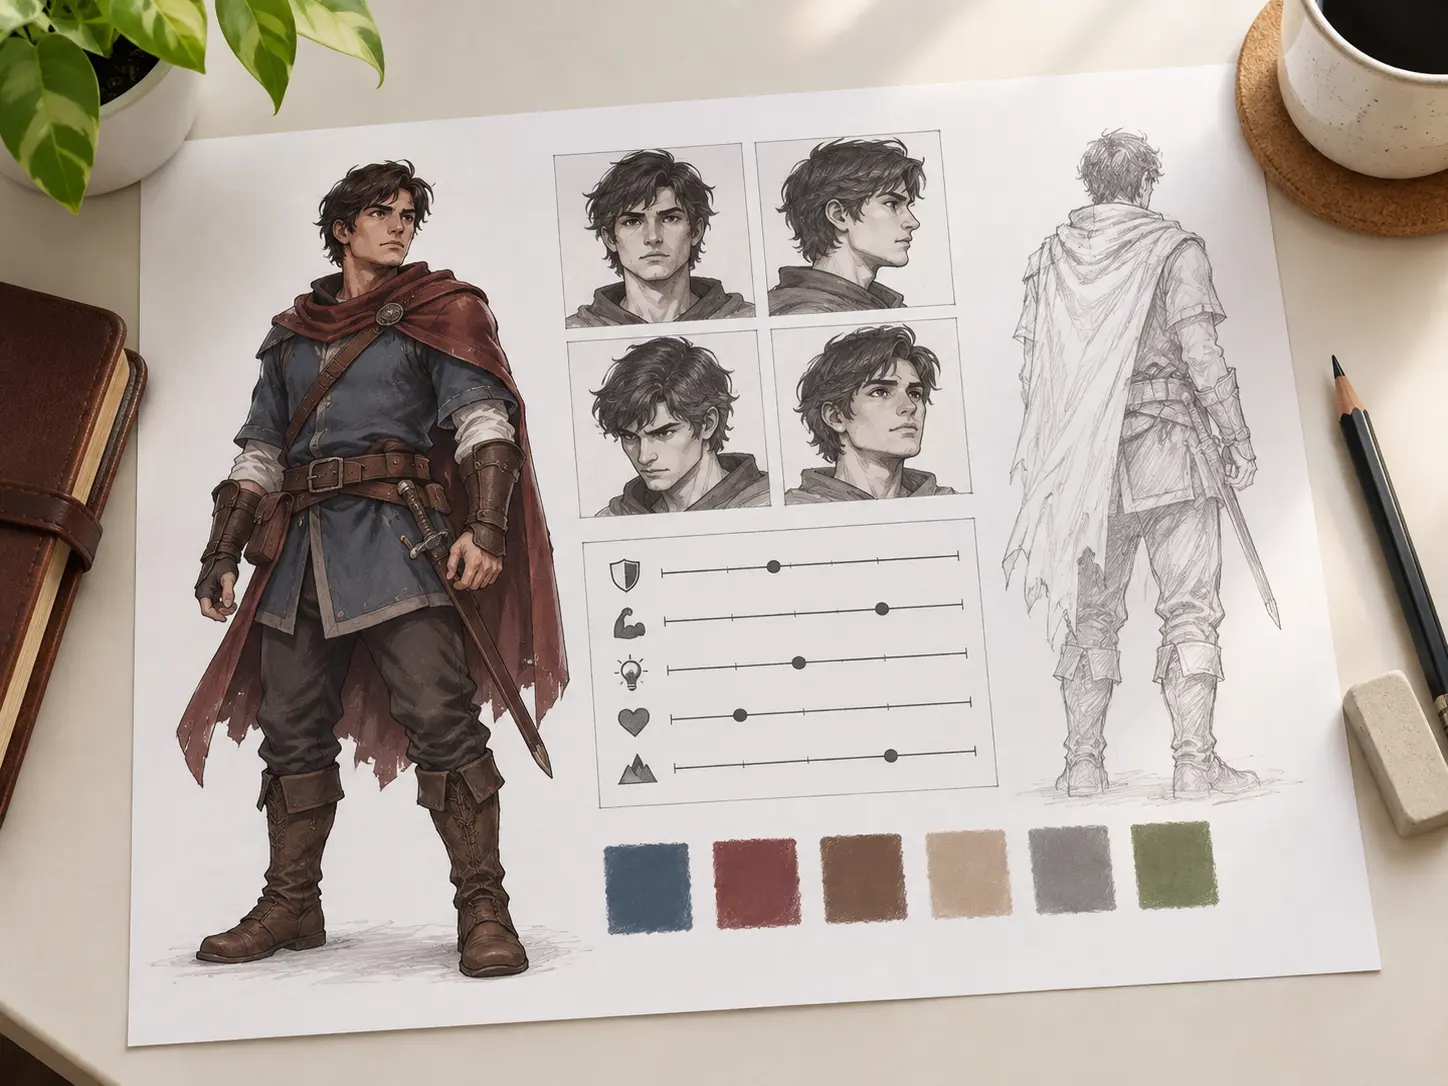
The prompt is where a fantasy character creator earns its keep. State the ancestry, age, build, class, clothing, equipment, and emotional tone. Add the camera angle and the amount of the body that should be visible. A brief that names six concrete traits gives the generator a clearer target than a request for an interesting hero. Save the brief and reuse it whenever you need a new pose or expression.
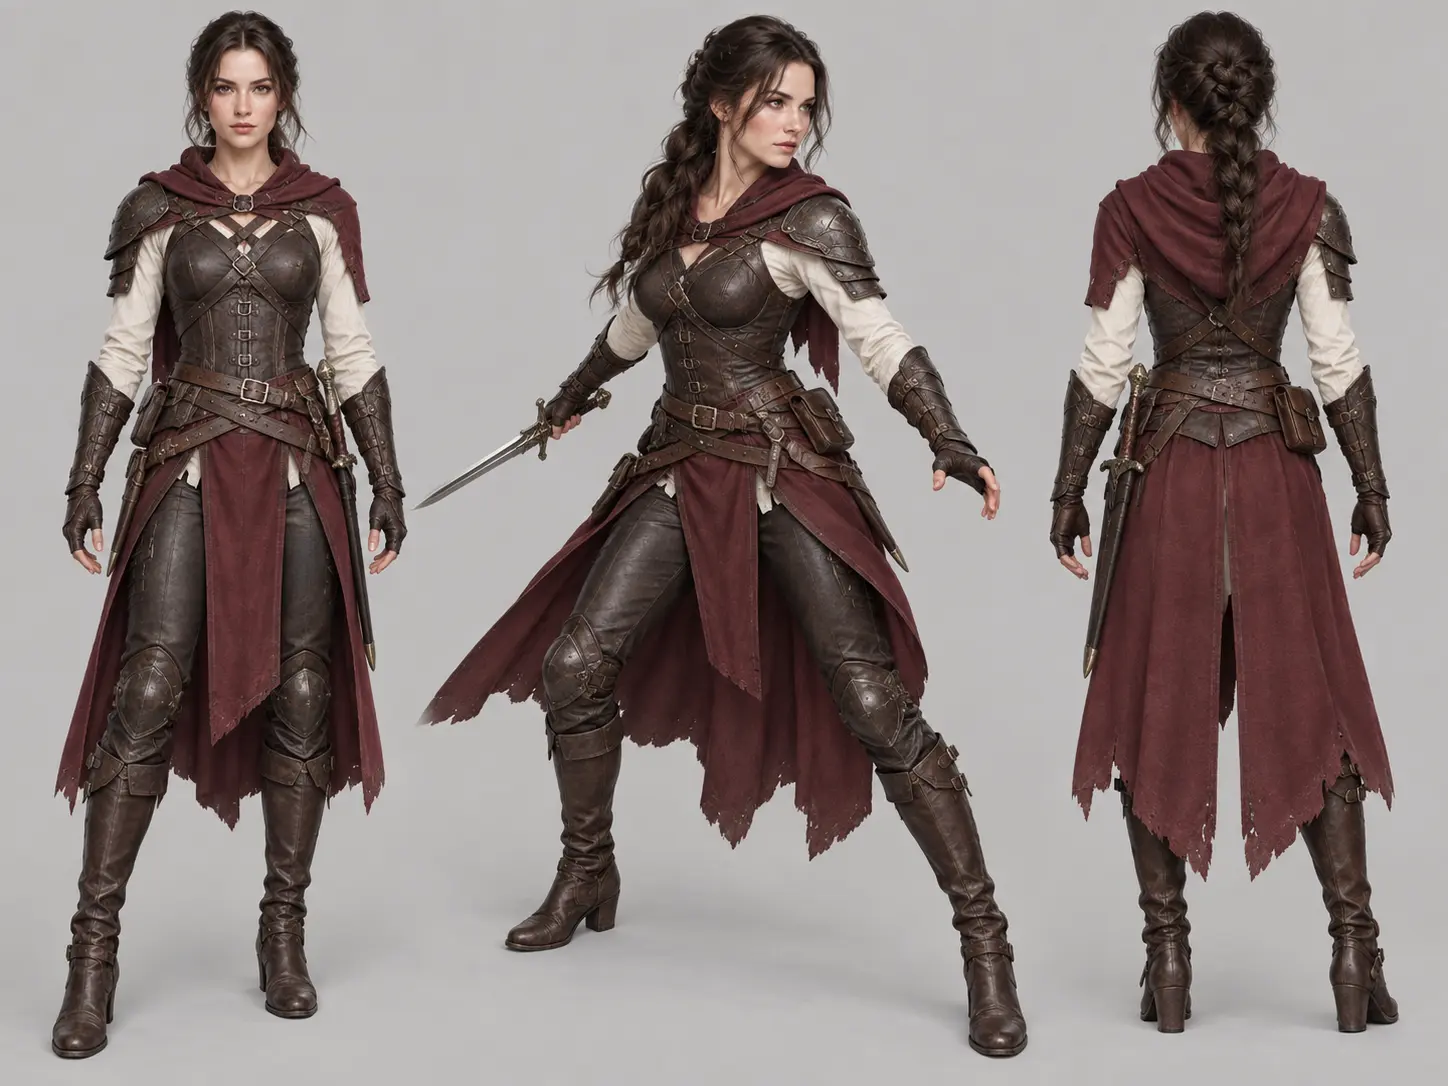
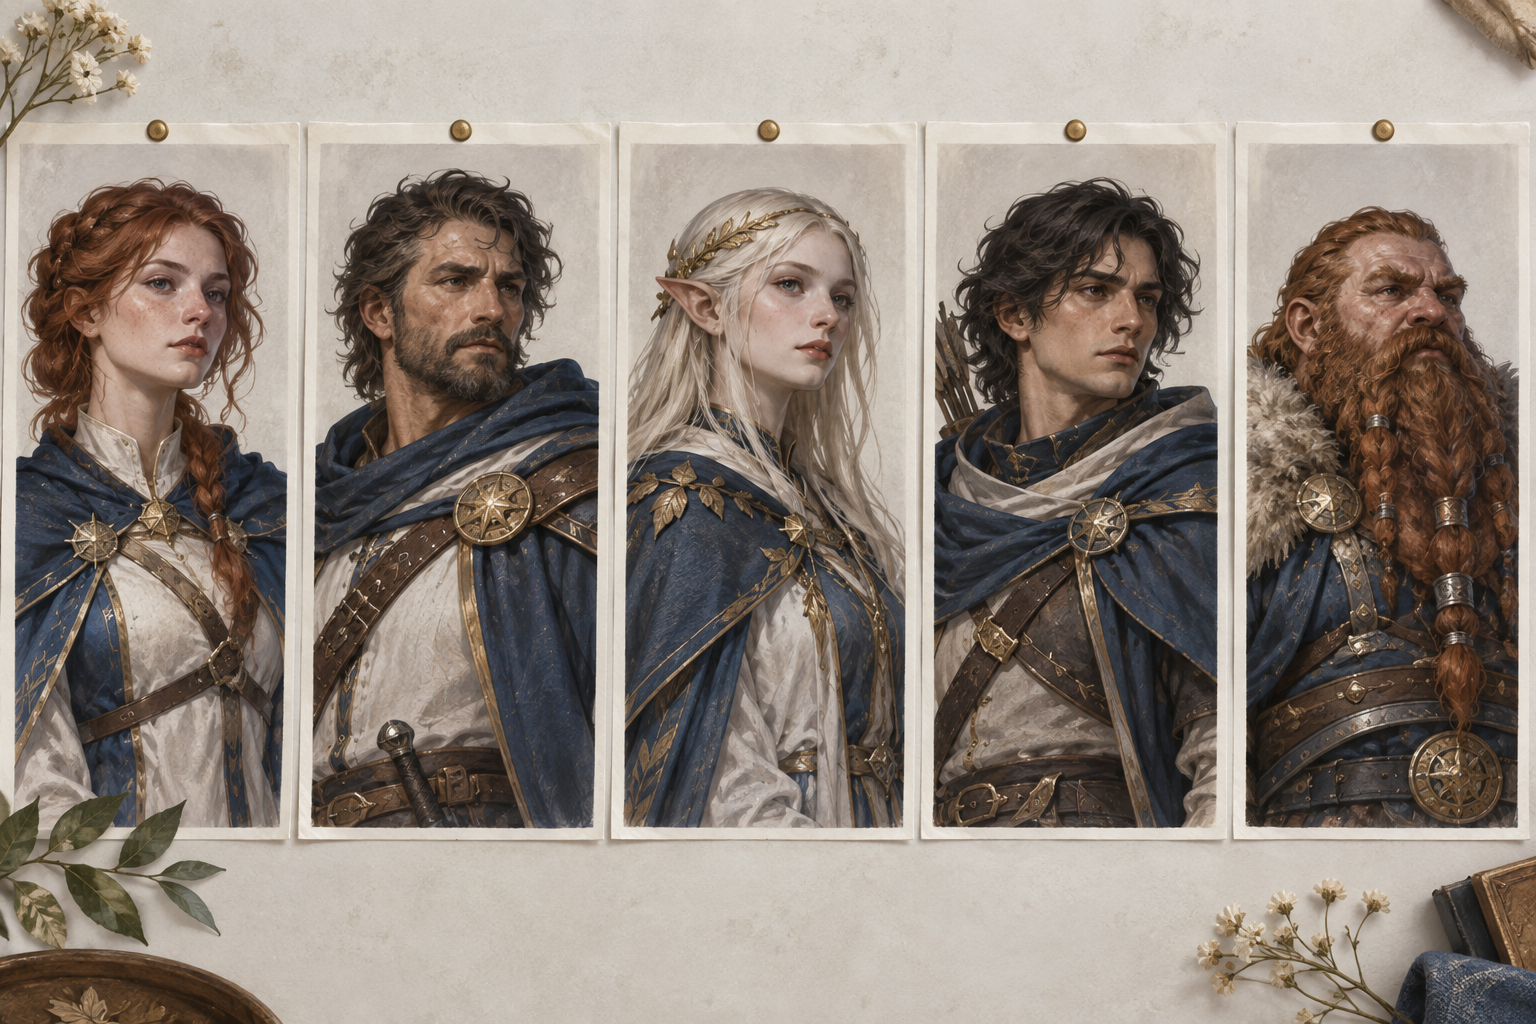
A character stops looking like the same person when the costume and palette change between images. Decide the two or three colors, the armor material, and one signature prop before generating the rest of the set. Repeat those rules in every fantasy character creator prompt and change only the pose or scene. This is what turns several separate results into a readable cast.
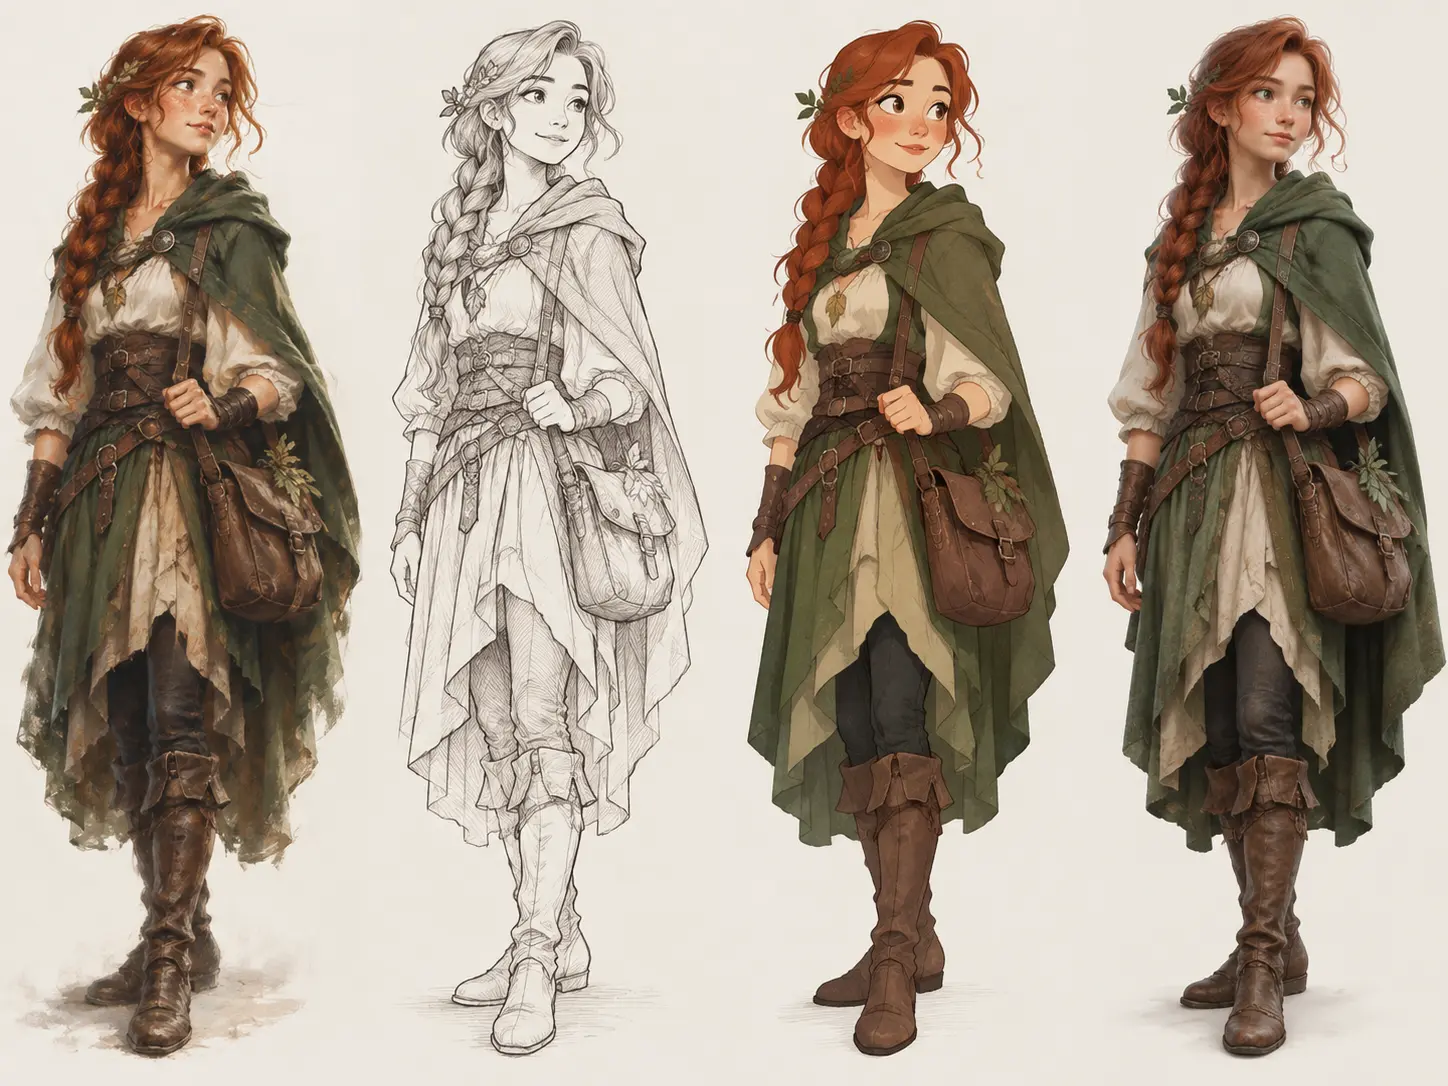
Painterly fantasy art, clean concept-sketch rendering, storybook illustration, and semi-realistic portraits each suit different projects. Pick the direction that matches the world before you build the cast. Ask for one style at a time and compare the results at the size they will appear. A consistent rendering style across the cast matters more than the individual polish of one portrait.
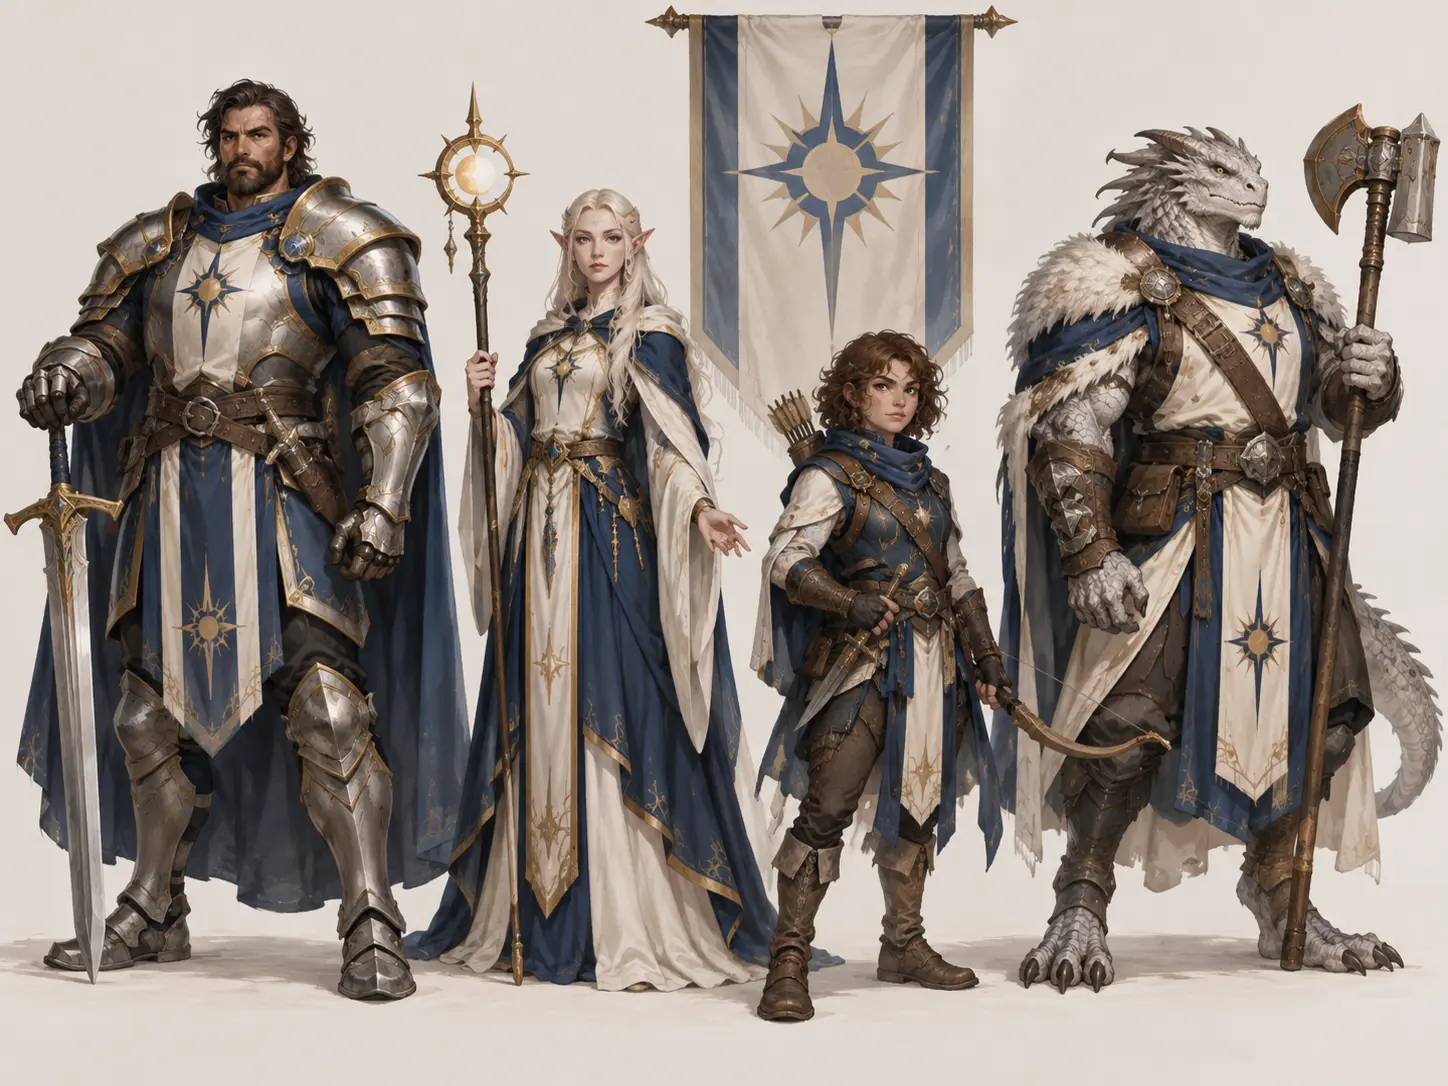
Once the rules are fixed, generate each character from the same brief structure and compare them side by side. Check that no two heroes share a silhouette, that faction colors stay distinct, and that the equipment matches the role. Rebuild any portrait that breaks the shared rules instead of editing the whole set around it. A consistent fantasy character creator cast is more useful than a folder of unrelated portraits, and it keeps every new portrait aligned with the established rules.
Three steps take you from a written backstory to a portrait you can use in a campaign, a manuscript, or a design reference.
Step 01
Write the ancestry, age, build, class, costume, colors, gear, and mood. Add the camera angle and how much of the body should be visible.
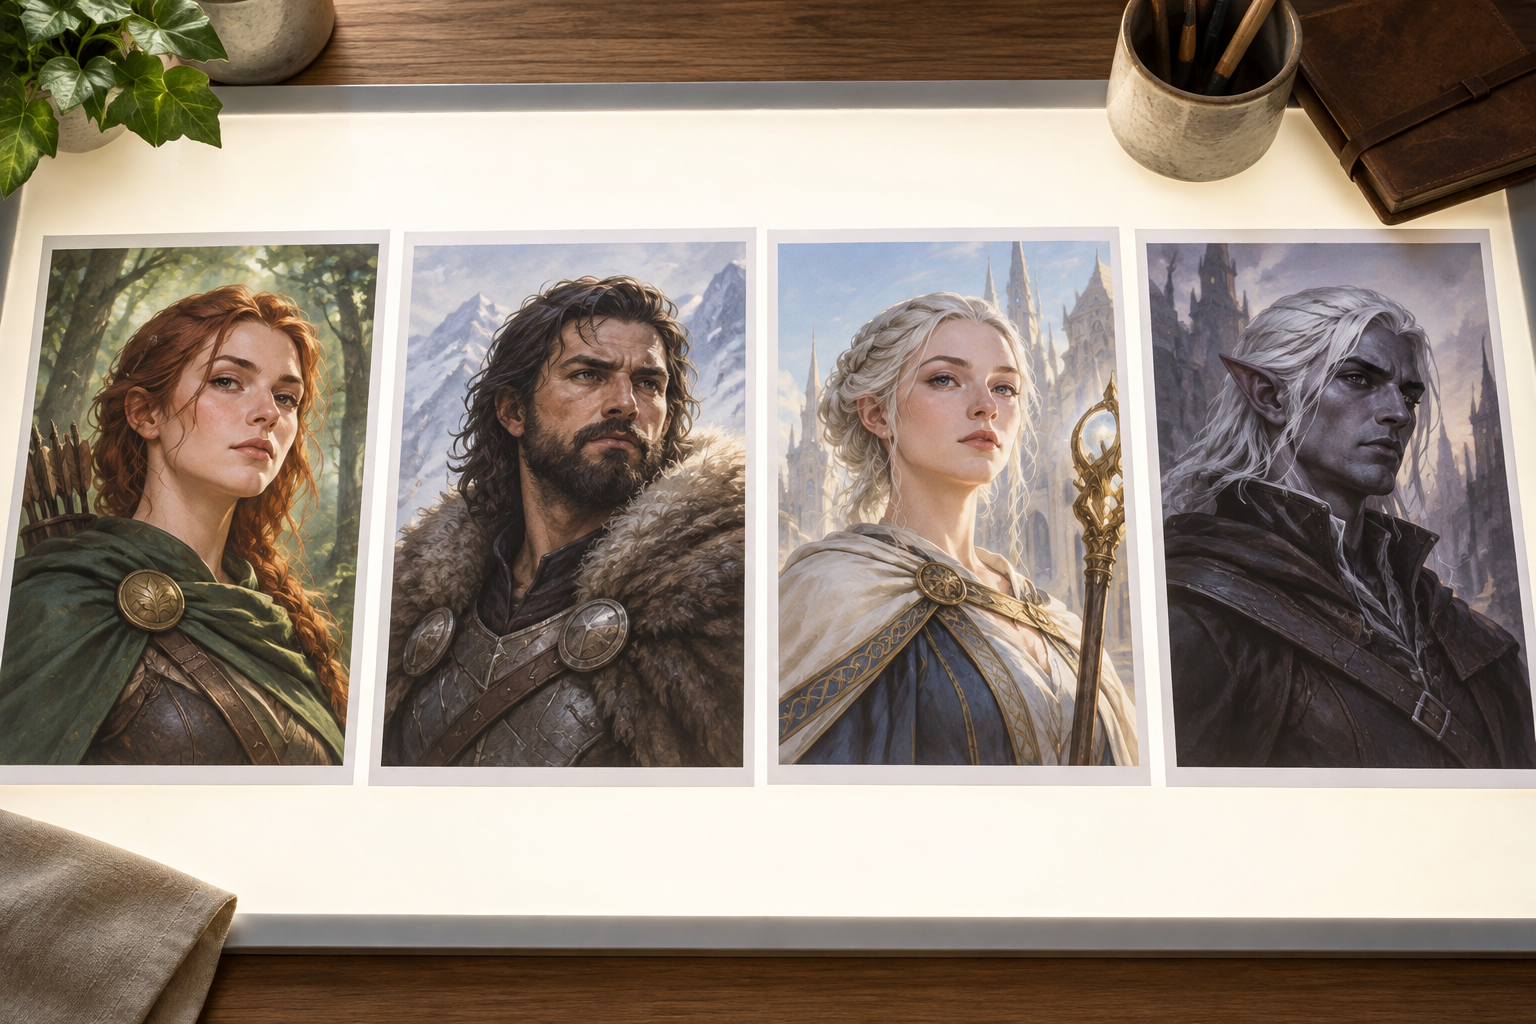
Step 02
Produce several directions from the same brief, then compare the silhouette, costume, and expression. Keep the result that matches the character rather than the one with the most detail.
Step 03
Adjust one trait at a time, lock the palette and costume rules, and generate the remaining cast from the same structure before exporting.
Each use case starts with a real destination, so the pose, costume, and level of detail are chosen for the place the artwork will land.
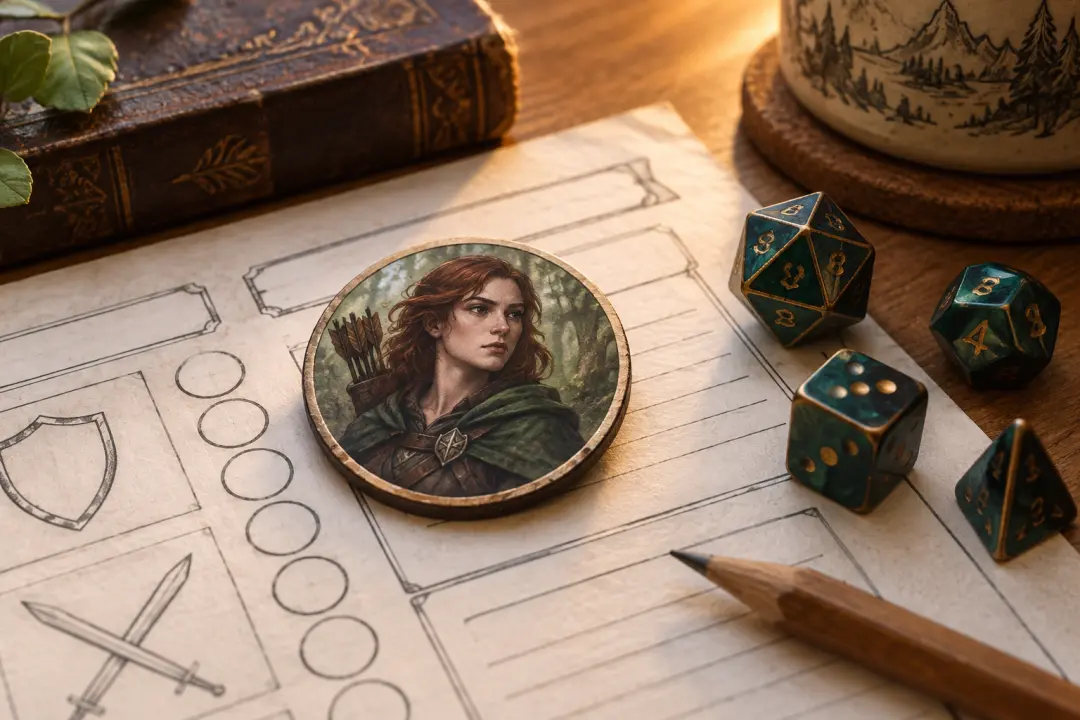
Build a portrait that still reads when it is cropped to a token. Ask the fantasy character creator for a clear silhouette, simple gear, and a plain background, then check the face at forty pixels before printing or uploading it to a virtual table.
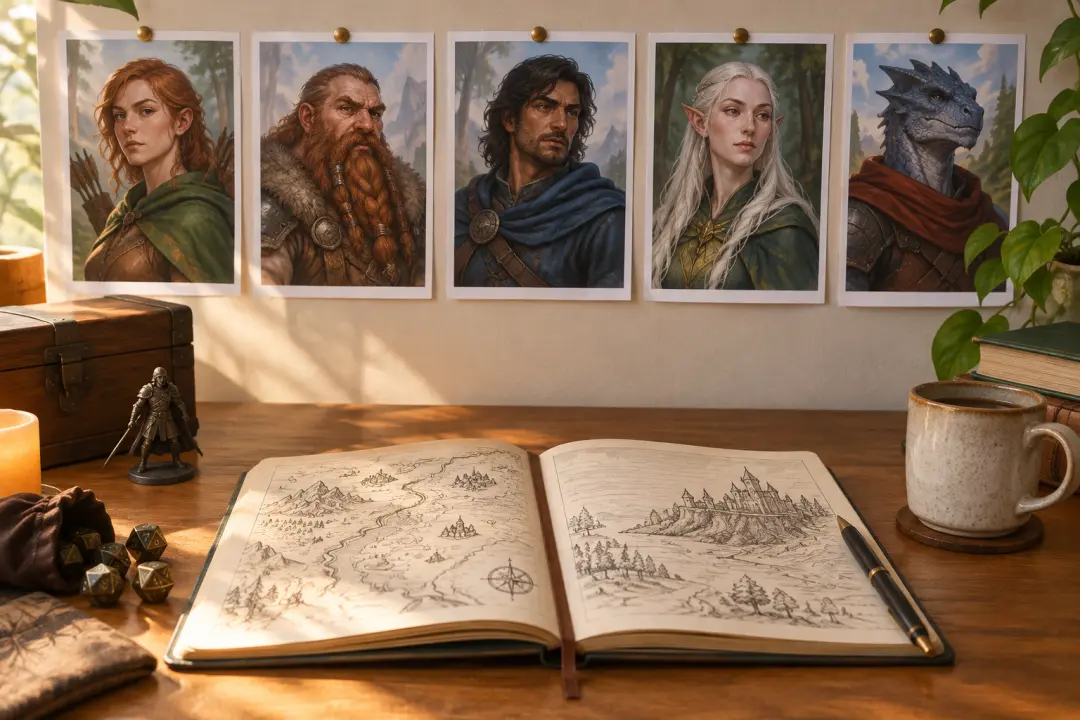
Give every named character a reference portrait and a written rule for costume and color. Use the fantasy character creator whenever a scene needs a new pose, and compare the result against the original portrait before adding it to the reference folder.
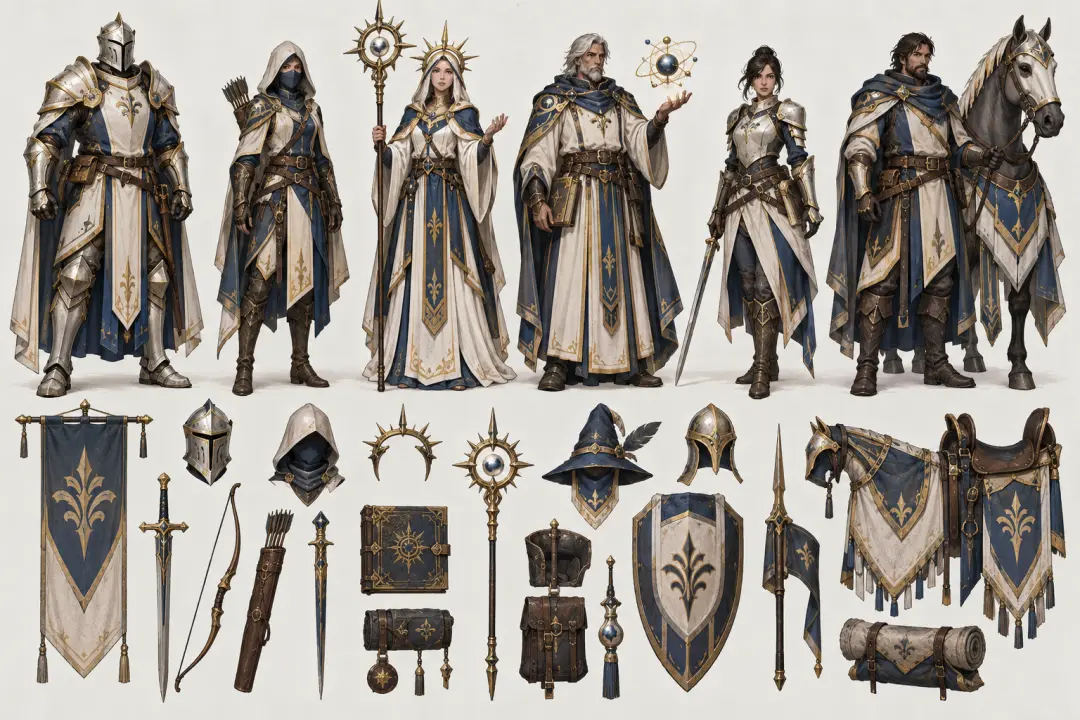
Generate supporting cast members that share a faction palette while keeping distinct faces and silhouettes. Build the rules once, then describe each role separately so guards, merchants, and rivals do not collapse into the same design.
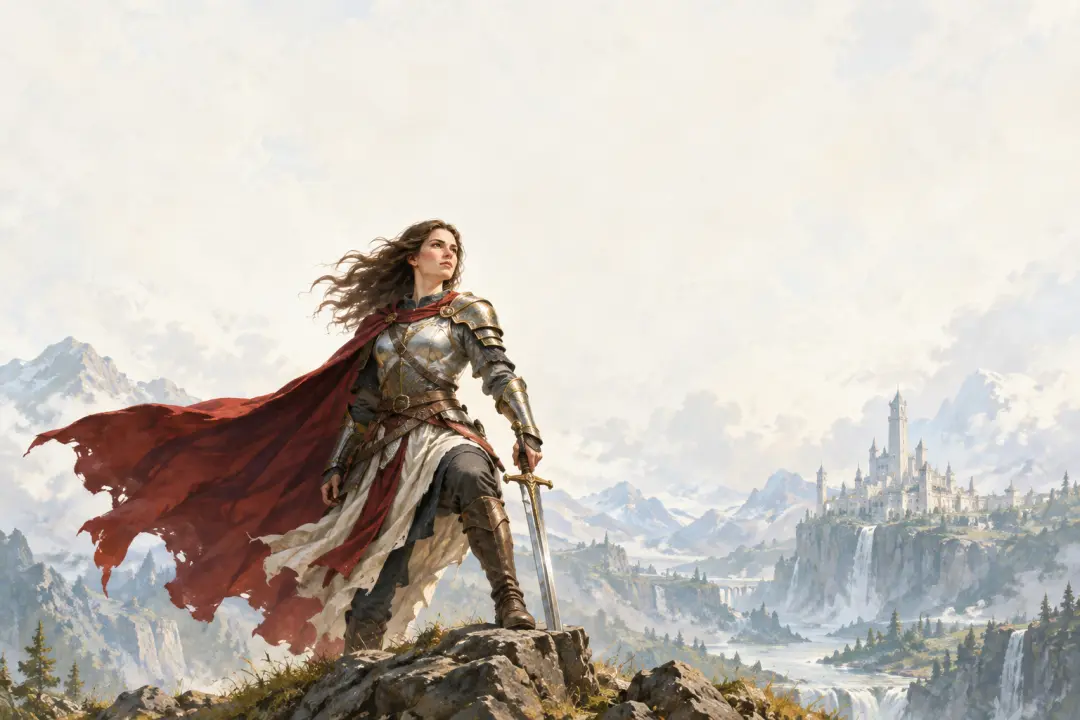
Explore a hero pose for a cover, poster, or title card, then refine the framing so there is space for type. Keep the background simple at this stage and reserve the full scene for a later environment pass.
The workflow keeps the decisions that matter close to the result, so a character study does not become a long production detour.
Generate a usable fantasy character creator portrait in one pass, then spend the time on the trait that matters. This keeps early casting decisions moving without lowering the quality bar.
Reuse the ancestry, costume, palette, and style rules that worked for the first portrait. A shared visual language is what makes a generated cast look deliberate rather than collected.
Judge each fantasy character creator result at the size it will actually appear. A readable silhouette and clear gear are usually worth more than detail that disappears in a token or thumbnail.
Describe the ancestry, class, and costume, then generate a portrait that matches the character you already have in mind.
Get Started