Change the Scene, Keep the Story

AI Photo Changer

An AI photo changer transforms an existing image with a written direction. Upload a portrait, couples photo, travel scene, or product shot, then describe what should change in the pose, background, lighting, color, or overall style while keeping the parts that matter. The AI photo changer helps you compare several versions before choosing the one that preserves identity and looks natural.

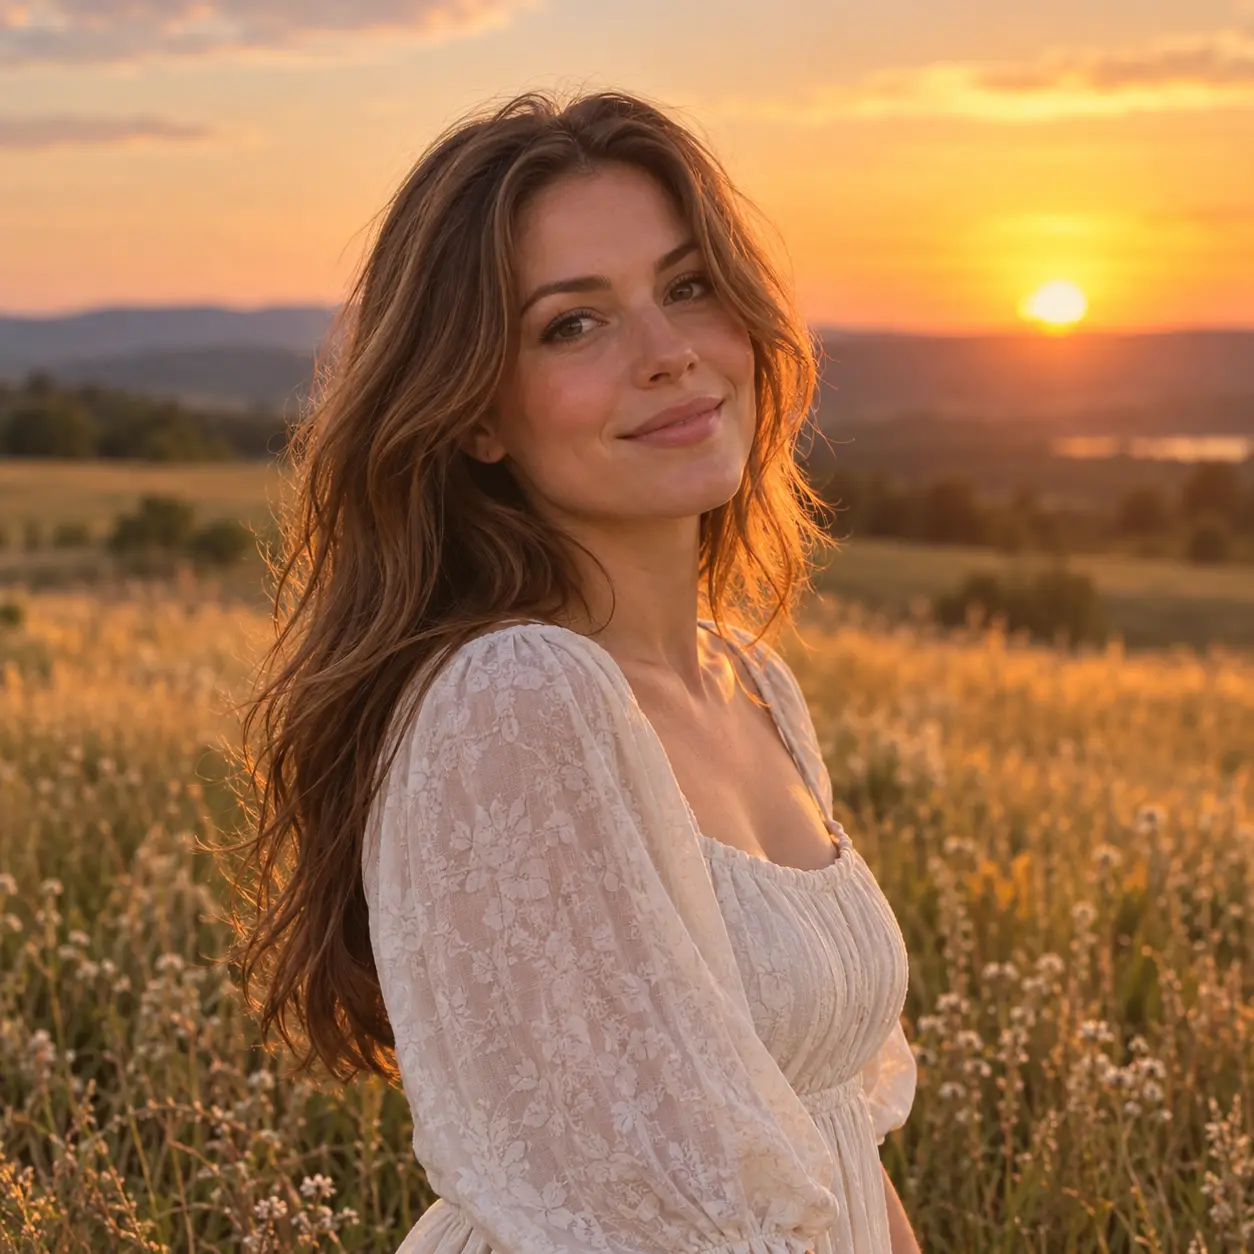
Portrait photo transforming into a warm sunset scene with a modern AI photo changer

What an AI Photo Changer Can Transform

Use written direction to change a scene, mood, or visual style while protecting the recognizable details of the original image.

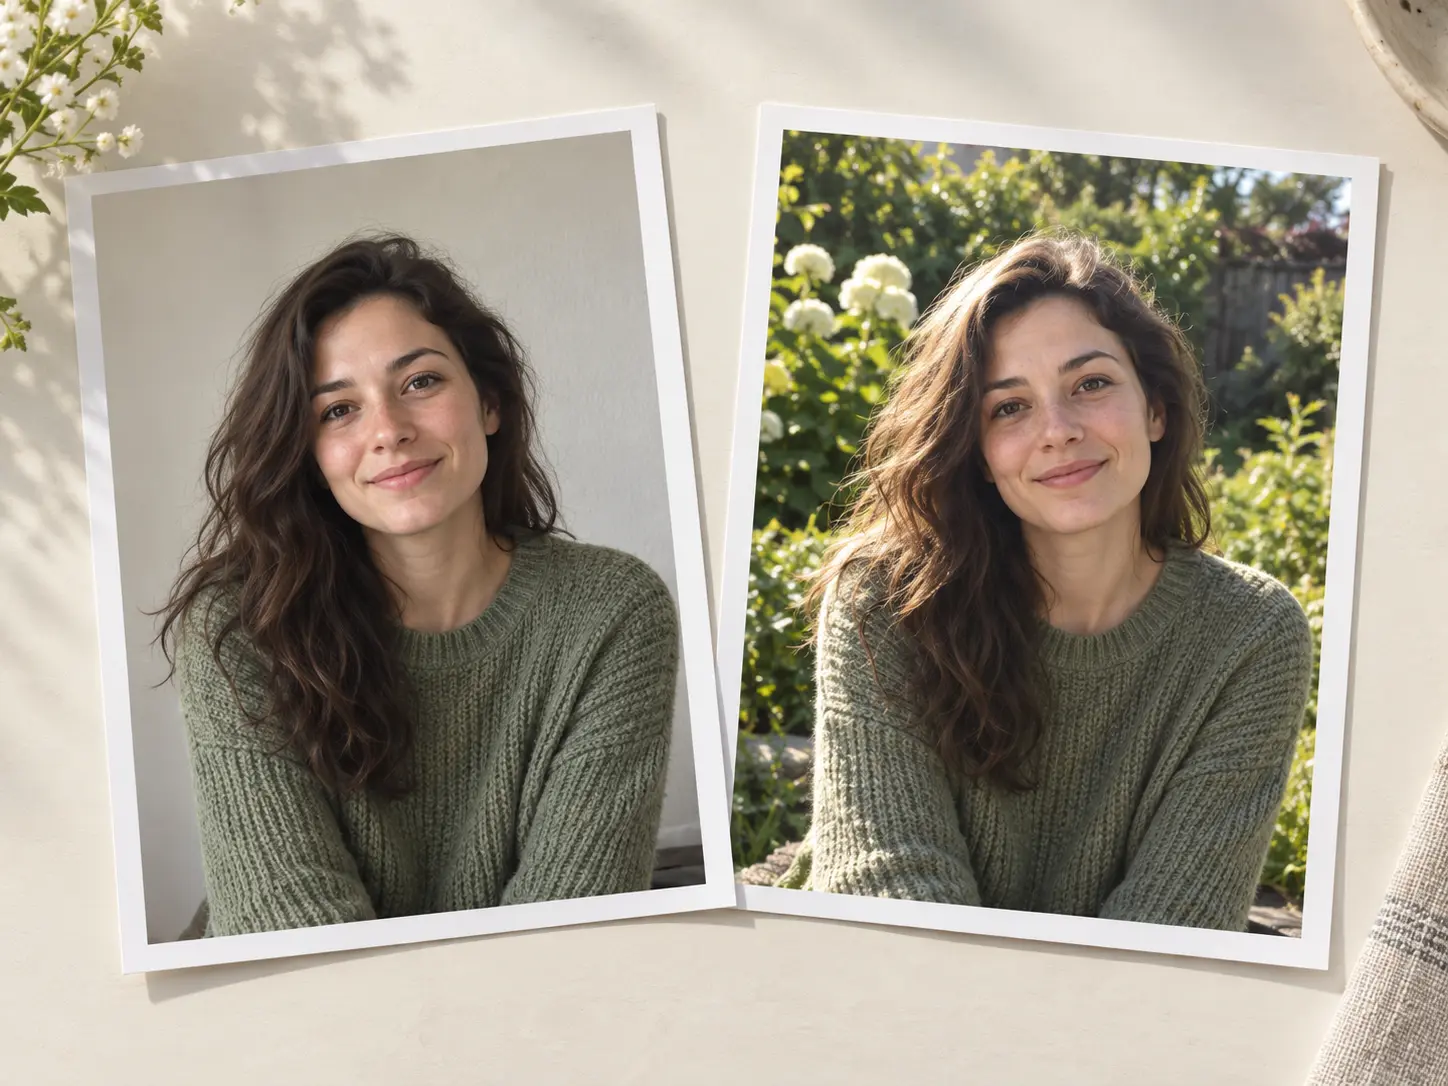
Portrait shown against a plain wall and a warm outdoor background direction

Replace or Rebuild the Background

Move a portrait from a plain room into a sunlit garden, quiet street, studio set, or coastal landscape. The AI photo changer can describe the new environment and match light, perspective, and color to the subject. Keep the subject’s outline clean and review edges where hair or clothing meets the new scene. A focused AI photo changer prompt should name the new scene and one visual rule, such as soft window light or a clean horizon line.

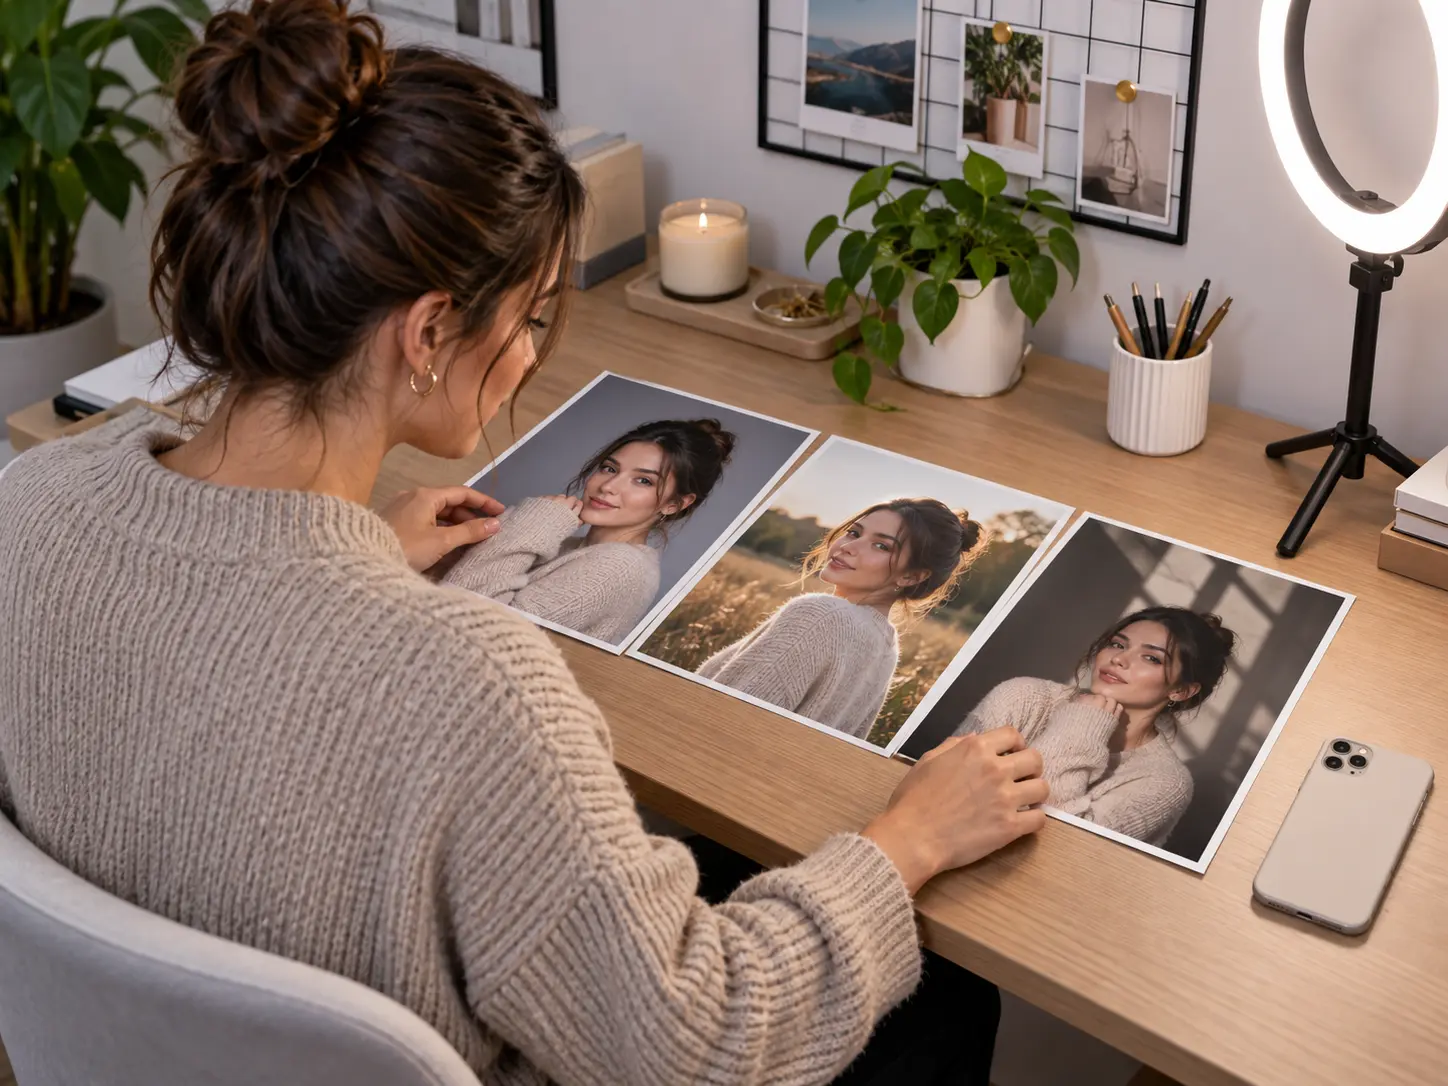
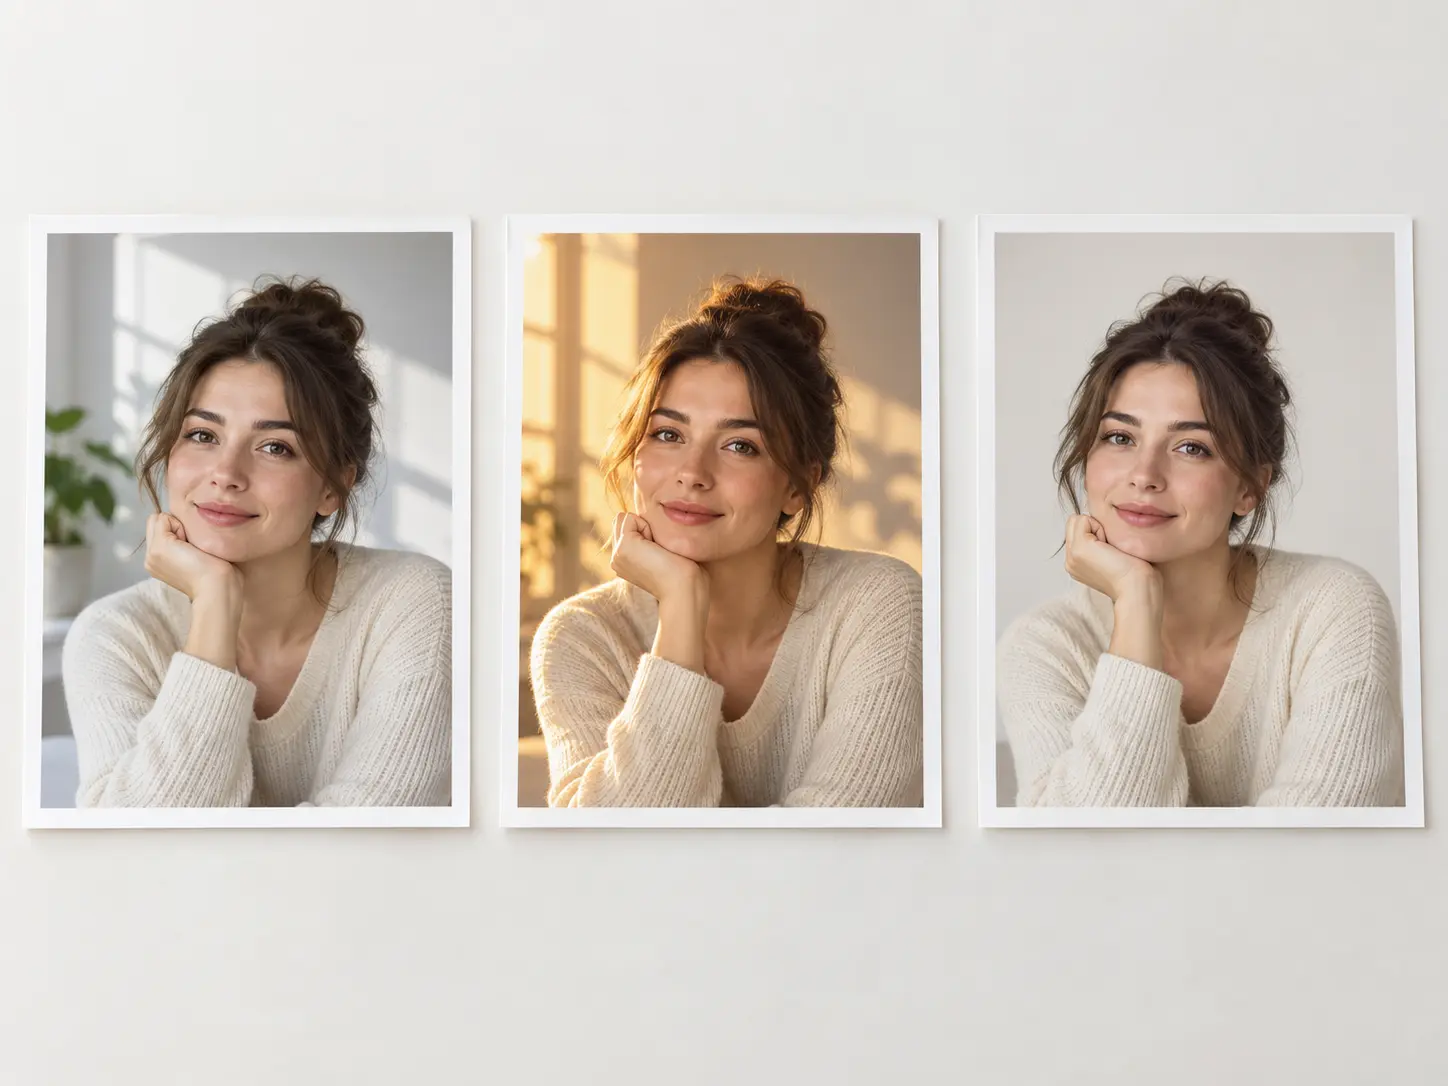
Three versions of a portrait showing soft window, golden hour, and editorial lighting

Adjust Mood and Lighting

Change a flat snapshot into soft morning light, warm golden hour, clean editorial lighting, or gentle window light. Lighting affects skin tone, shadows, atmosphere, and depth. A focused prompt helps the photo changer improve the mood without making the person look pasted into the new scene. Match the light direction to the subject before adjusting color because believable shadows do more for realism than a stronger filter.

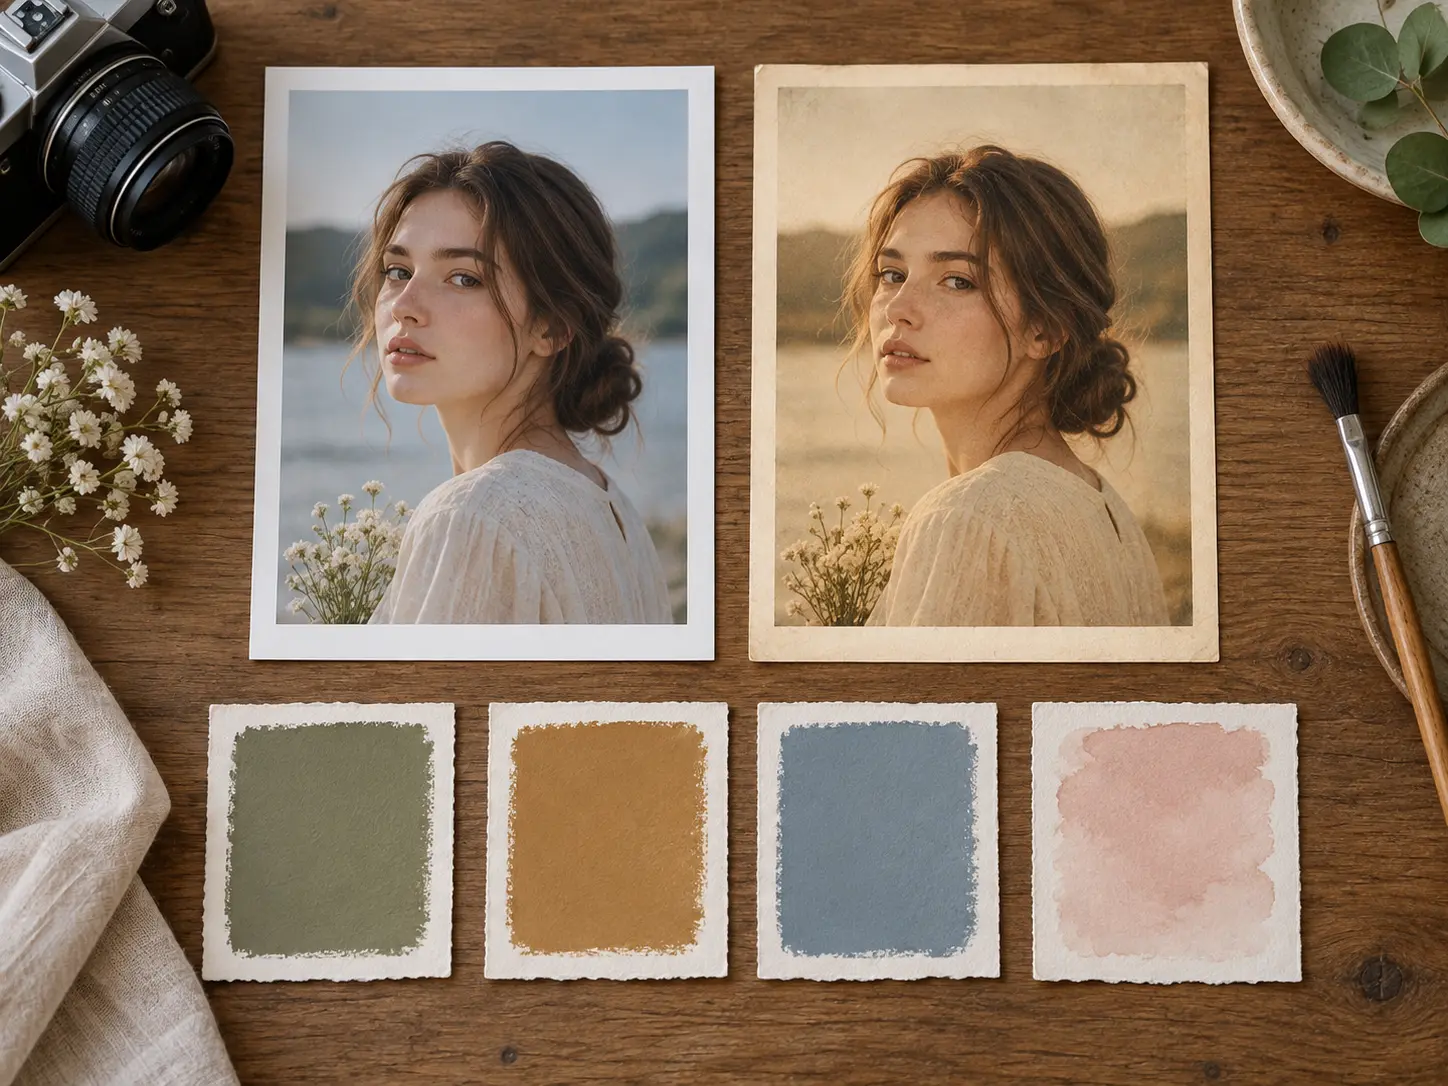
Color grading studies beside an original photo and a modern styled version

Rework Color and Style

Shift a photo toward natural film, soft watercolor, clean commercial photography, vintage color, or a brighter modern palette. Style changes should support the memory or message instead of overwhelming it. Compare the result with the original and preserve any colors that carry meaning. Keep one meaningful color from the original when possible so the edited image still connects to the memory or product.

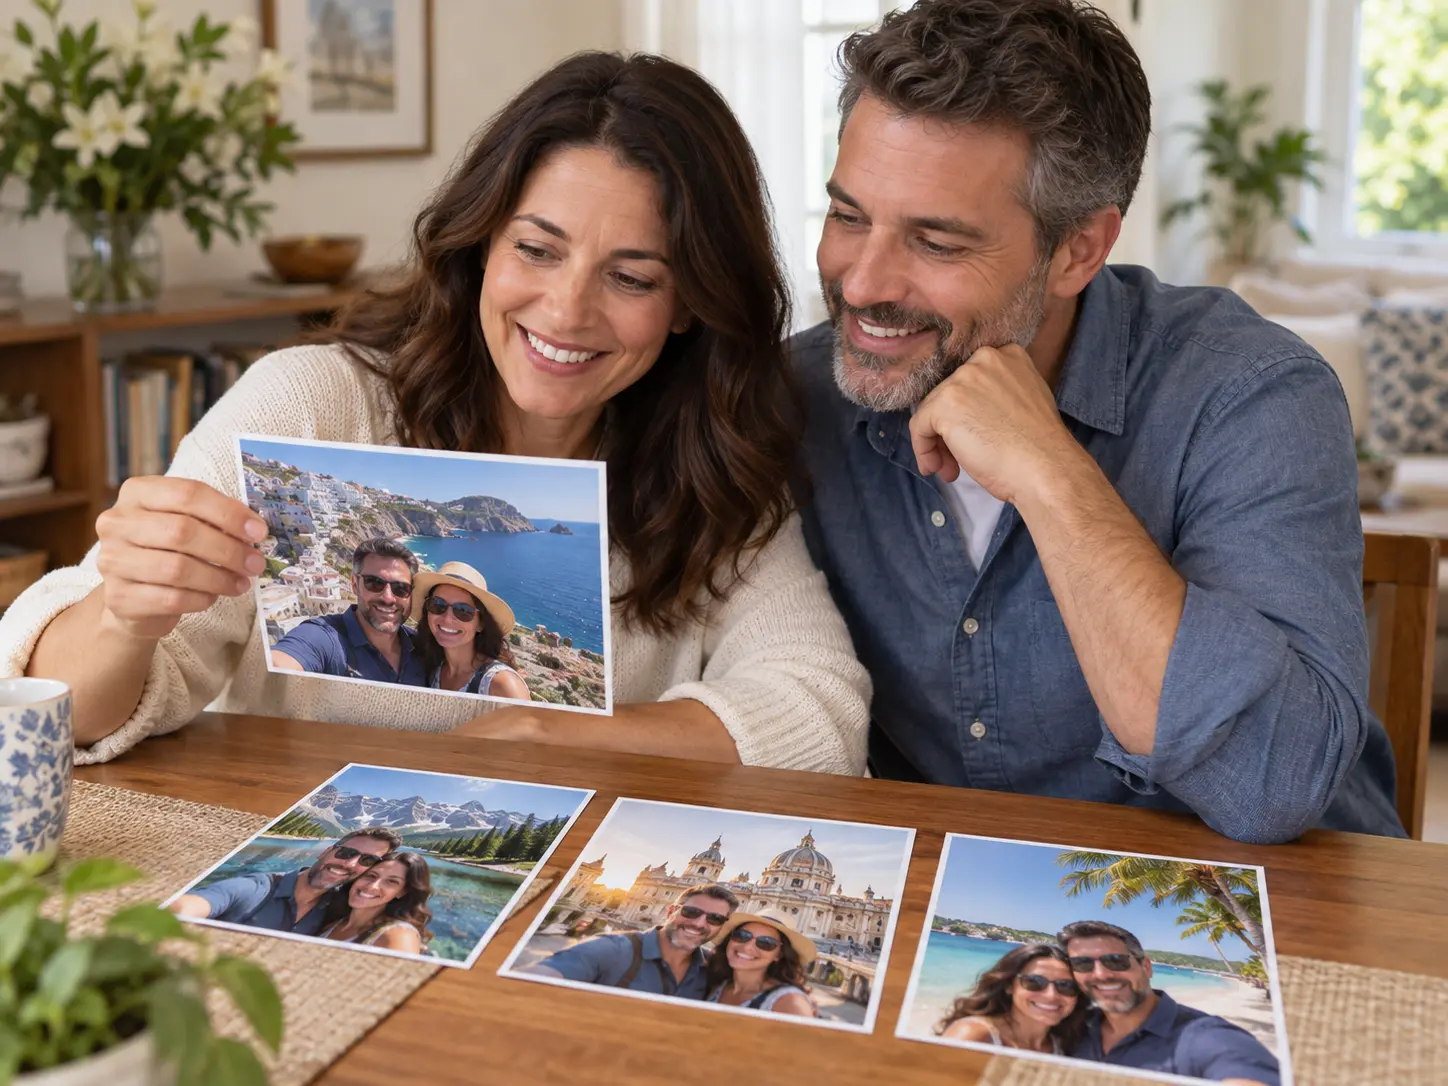
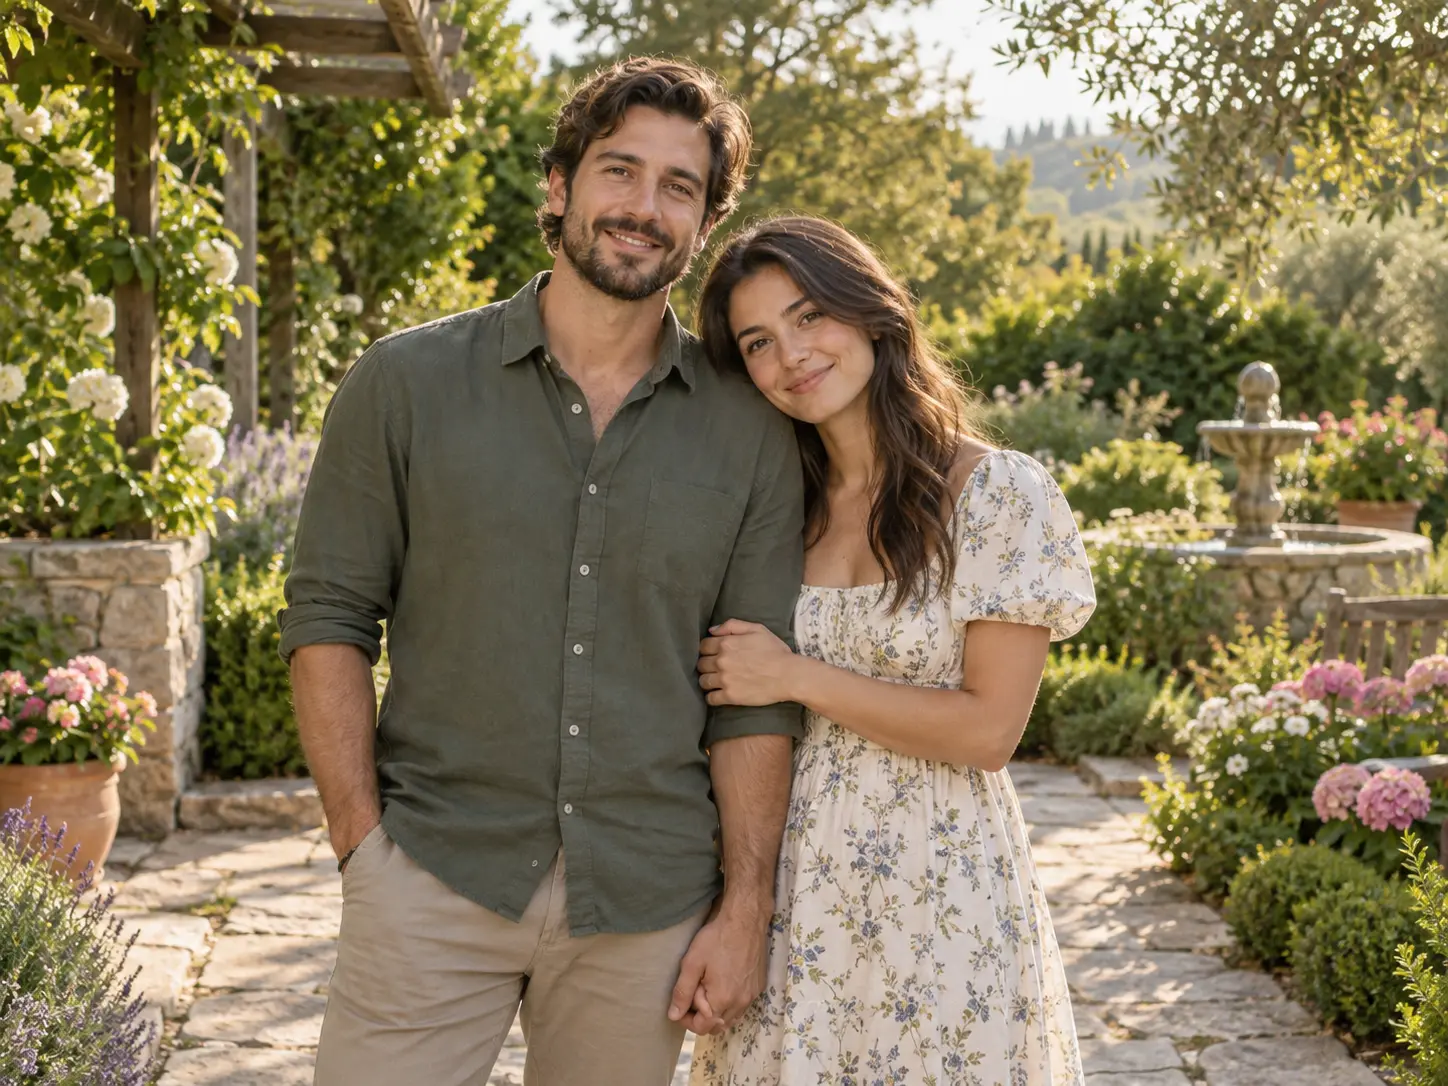
Couple portrait concept placed in a quiet garden with soft afternoon light

Change a Couple or Group Scene

Set two people in a new location, adjust the spacing between them, or replace a distracting background with a calmer scene. Group edits need extra attention around faces, hands, clothing, and contact points. Describe the relationship and desired mood so the new photo still feels natural. When the AI photo changer edits several people, keep their relative scale and spatial relationship fixed unless the brief clearly changes them.

How to Change a Photo With AI

Three steps keep the original photo as the reference while you move toward a clearly defined result.

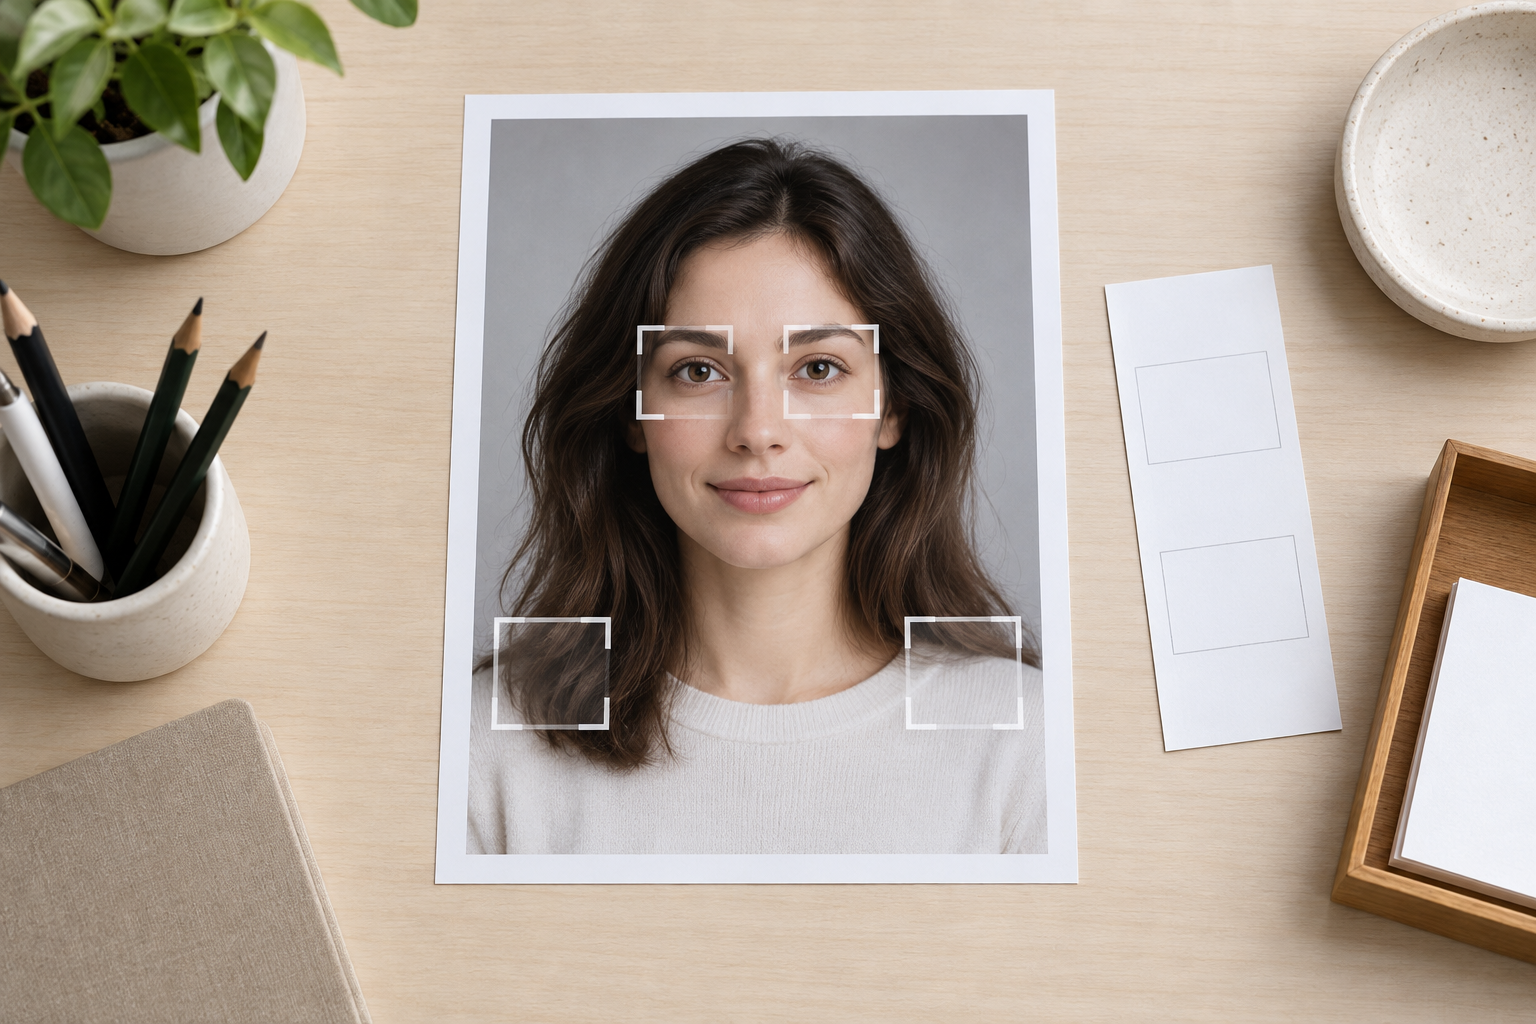
Original portrait displayed on a clean editing workspace with selection notes

Step 01

Upload the Original

Choose a clear, well-lit image and identify the person, object, or scene that must stay recognizable. Mention important details such as hair, clothing, expression, markings, or composition. A sharp source photo and a specific brief give the AI photo changer more reliable material to work with. Tell the AI photo changer which identity markers, clothing details, or product features must survive the edit.
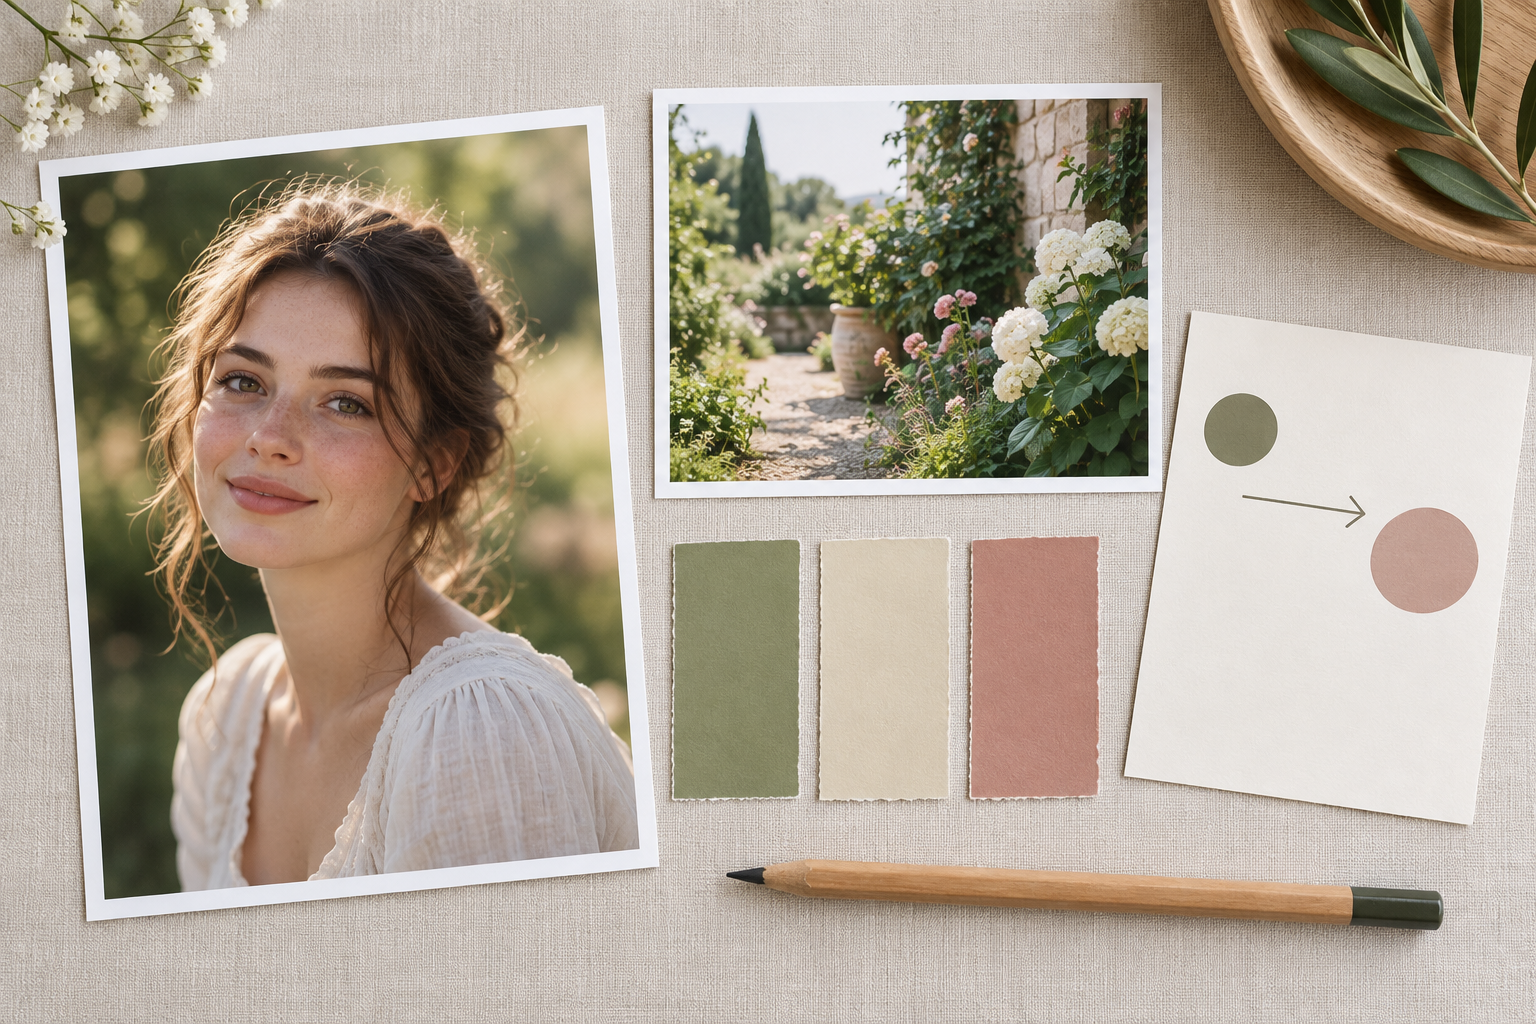
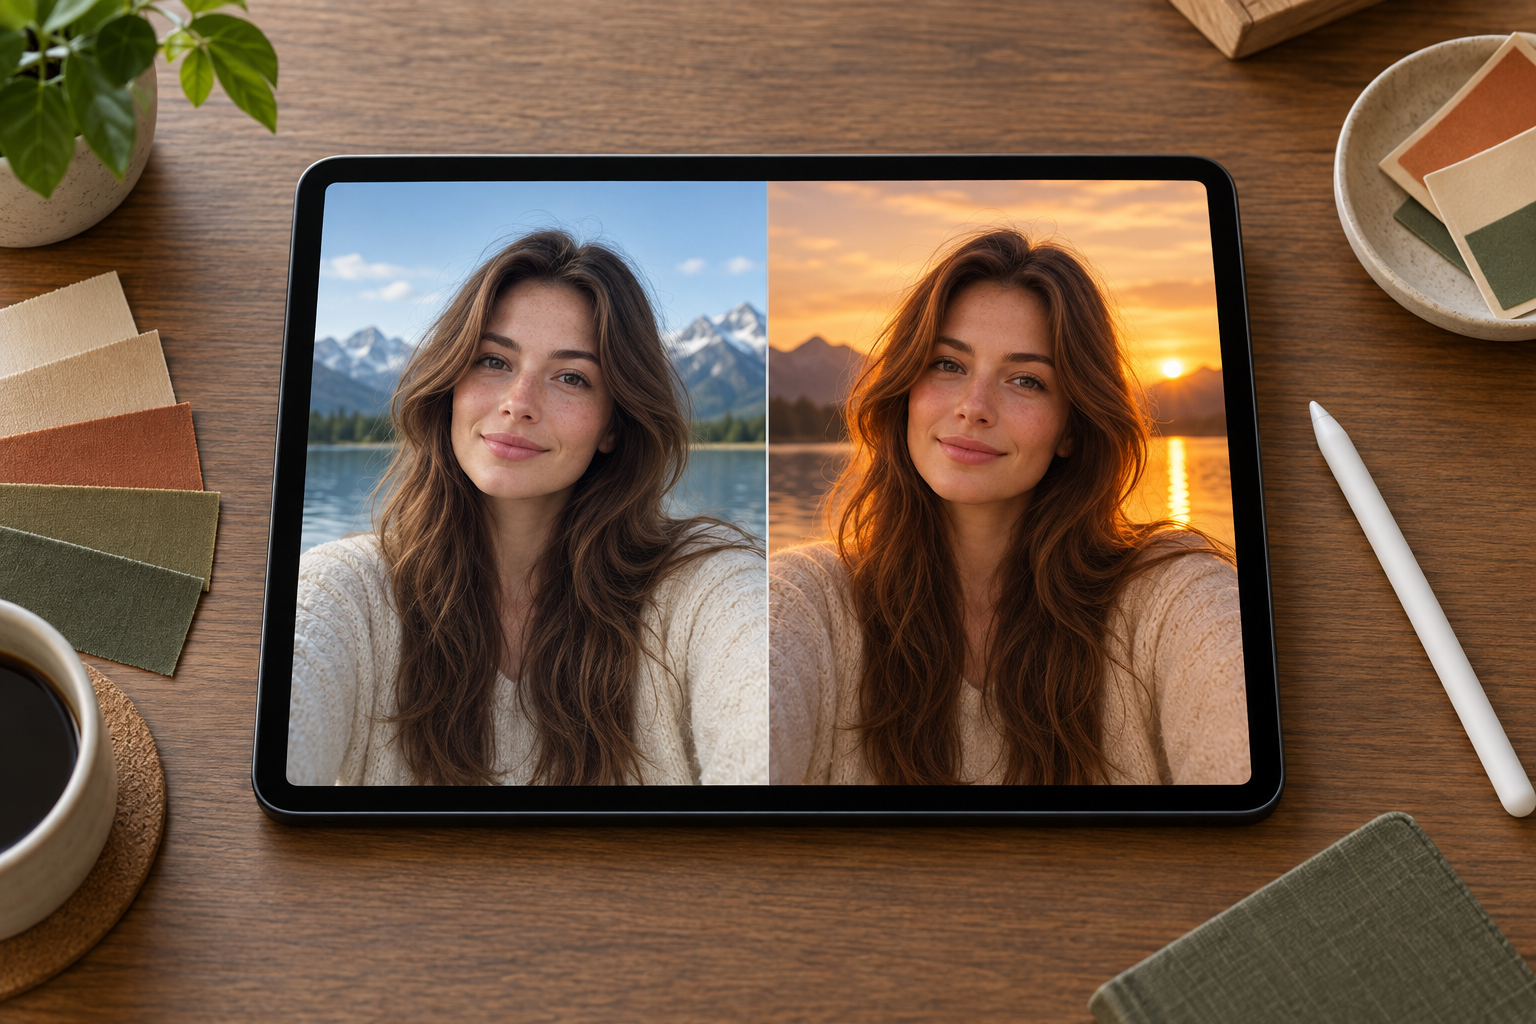
Photo editing brief with color swatches, scene references, and clear change notes

Step 02

Describe the Change

Name the new background, lighting, color direction, or style and explain what should remain fixed. Change one major idea at a time instead of asking for several conflicting edits. This makes the result easier to judge and helps preserve identity or product details. Write the change as one sentence with a clear subject, setting, and lighting direction so unrelated edits do not accumulate.

Original and changed photo shown side by side on a tablet for review

Step 03

Compare and Refine

Review the result beside the original for facial accuracy, edges, shadows, hands, and consistency in the scene. Ask for a focused correction when needed, then export the final image. Keep exact text or logos for a separate production step so every detail remains controlled. Compare the AI photo changer result with the original before exporting, especially around glasses, jewelry, and loose hair.

Common AI Photo Changer Ideas

Use the workflow when a photo needs a different context, mood, or presentation rather than a simple crop or color preset.

01

Portrait Backgrounds

Replace a distracting room or street with a cleaner setting while keeping the face, pose, and expression familiar and recognizable. Choose a setting that supports the person’s expression and leaves clean space around the head and shoulders for a profile crop.

02

Couples and Family Photos

Create a warmer scene, improve lighting, or place a favorite memory in a more meaningful environment for a gift or announcement. Keep faces at similar scale and check the light on both people so the scene still feels like one photograph.

03

Travel and Lifestyle Scenes

Test a new destination, season, or mood from an existing photo, then refine the light and perspective so the scene feels believable. Preserve one landmark or environmental cue that explains the place, then simplify details that distract from the subject.

04

Product and Content Visuals

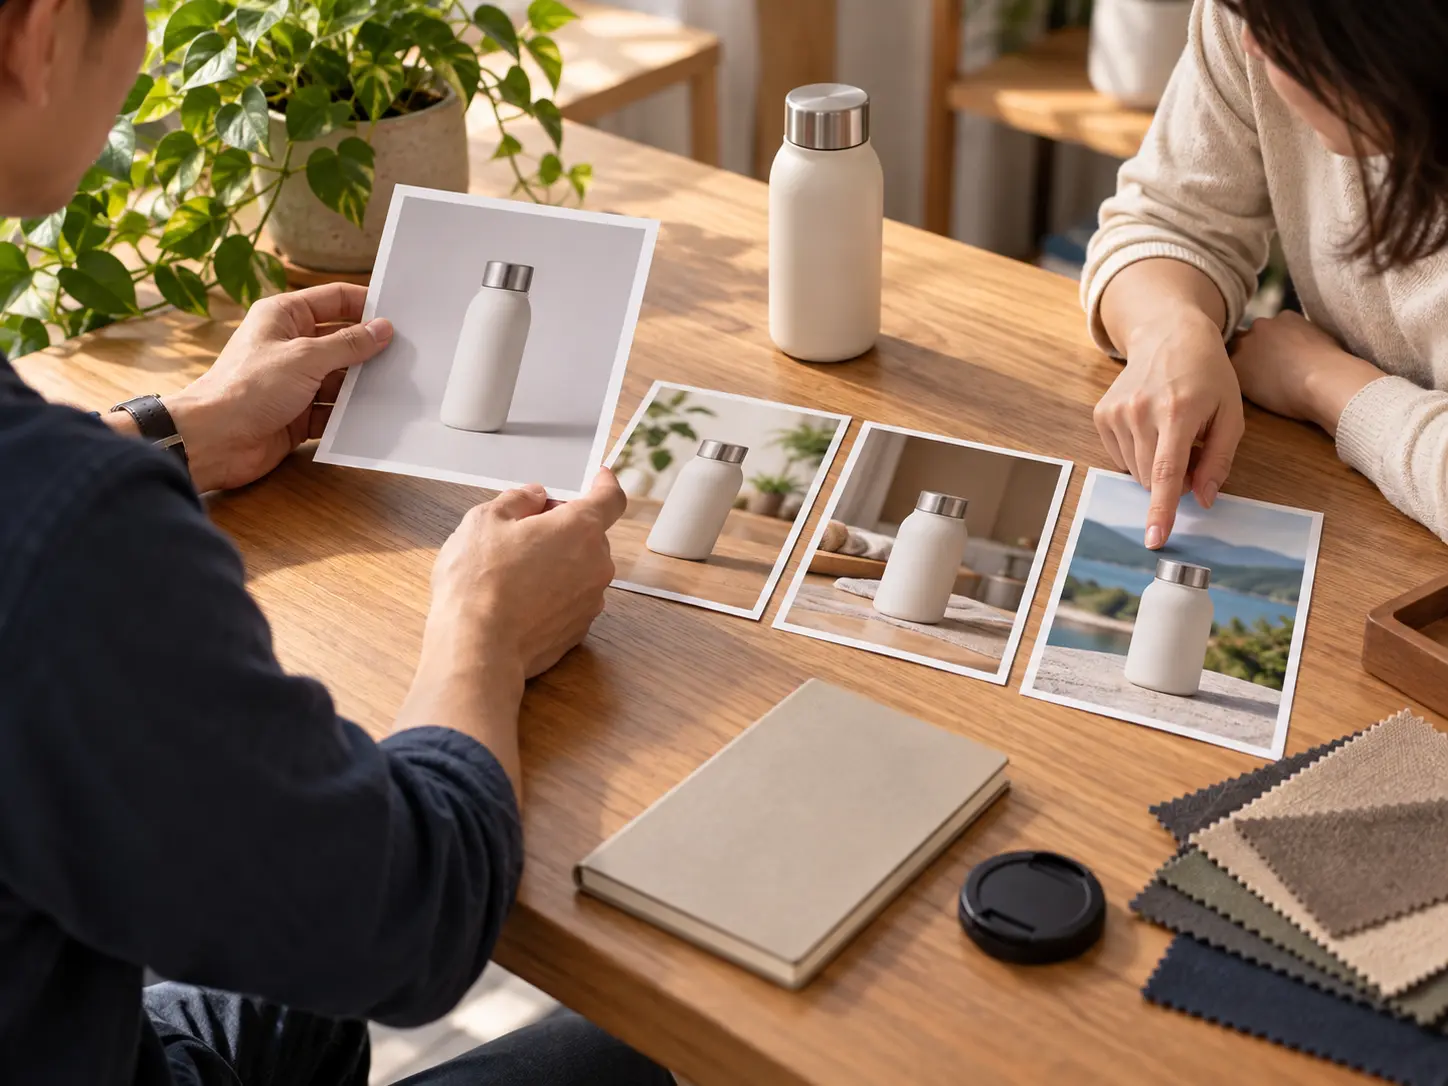
Explore a different background or campaign look for a product photo, then use approved final text and branding from your own design files. Keep product shape, color, and package edges stable while changing only the scene, lighting, or campaign mood. Leave room for approved copy and verify the final asset with the client or brand owner before publication.

Who Uses an AI Picture Changer

Family members reviewing edited photo gifts together at a bright table

Families and Gift Makers

Give a favorite family or couples photo a new setting and mood for an anniversary, holiday, card, or framed gift.

Benefits of an AI Photo Changer

A controlled edit can extend one image into several useful creative directions without losing the original subject.

01

Reuse Existing Photos

Start with an image you already own and give it a new setting or mood instead of arranging another shoot. This is useful when the original photo still carries the memory, identity, or product detail you want to keep.

02

Explore Before Committing

Test backgrounds, lighting, and style directions quickly, then choose the version that best serves the final message. Compare the source and the result side by side before deciding which direction communicates the intended change most clearly.

03

Keep the Subject Central

The original photo provides the identity and composition while the written direction changes the surrounding scene.

04

Create Variations

Generate several versions for social posts, cards, presentations, or mockups from one clear source image.

AI Photo Changer Questions

Upload the original, then ask the AI photo changer to describe what should change, and state what must remain accurate. A strong brief separates the subject from the background, lighting, color, and style. Generate one direction, compare it with the source, and refine only the details that need correction. Use a single-person photo when testing the workflow for the first time because fewer faces make identity changes easier to judge.

You can ask the AI photo changer to preserve facial structure, expression, hair, and pose while replacing the surroundings. Some edge or lighting changes are still possible, so compare the result closely. Use a clear source photo and mention any features that must not shift. Ask for a clean edge and matching light, then inspect the neck, hairline, shoulders, and any area where the subject meets the background.

The AI photo changer may help create a concept, but combining real people requires care and permission. It can change the spacing, setting, or visual direction of an existing image, but difficult poses and contact points may need manual review. Do not imply that a generated composite documents a real event. Only combine people who have agreed to the use, and label a clearly generated composite when viewers could mistake it for a real event.

Yes. Ask the AI photo changer to describe the new sky, time of day, weather, and color temperature, then ask the photo changer to match light direction and reflections on the subject. Review the scene for unrealistic shadows or edges, especially on hair, glass, water, and reflective surfaces. Check reflections in windows, water, glasses, and metal because those surfaces reveal whether the new sky and light source are consistent.

This AI photo changer gives new accounts 10 starter credits for an initial try. This is not unlimited free use, so check the current credit price before starting multiple variations. The first generation is a good way to test whether the tool matches your photo and intended change. Use the first credit on the intended photo rather than a random test image so you can judge whether the edit works for the real task.

The AI photo changer can explore a visual concept, but keep exact logos, labels, packaging text, and legal claims outside generated lettering. Add those elements from approved brand files. Review commercial rights and make sure you have permission to use the original product image and any reference material. Keep packaging text, labels, claims, and brand marks in an approved design file rather than asking the changer to reproduce them.
Photo changing workspace with an original portrait, color swatches, and a bright scene reference

Turn One Photo Into a New Direction With an AI Photo Changer

Upload the original, describe the change, and keep refining until the subject and new scene feel balanced.

Get Started
AI Photo Changer - Transform Any Photo Using AI Prompts