

Faceswapper
A faceswapper replaces or blends the face in an existing photo. Upload the target image, then add a clear source face that supplies the new identity. The tool matches pose, lighting, skin tone, and expression so the result reads as one photo. Use it for social posts, character ideas, family edits, and campaign mockups.
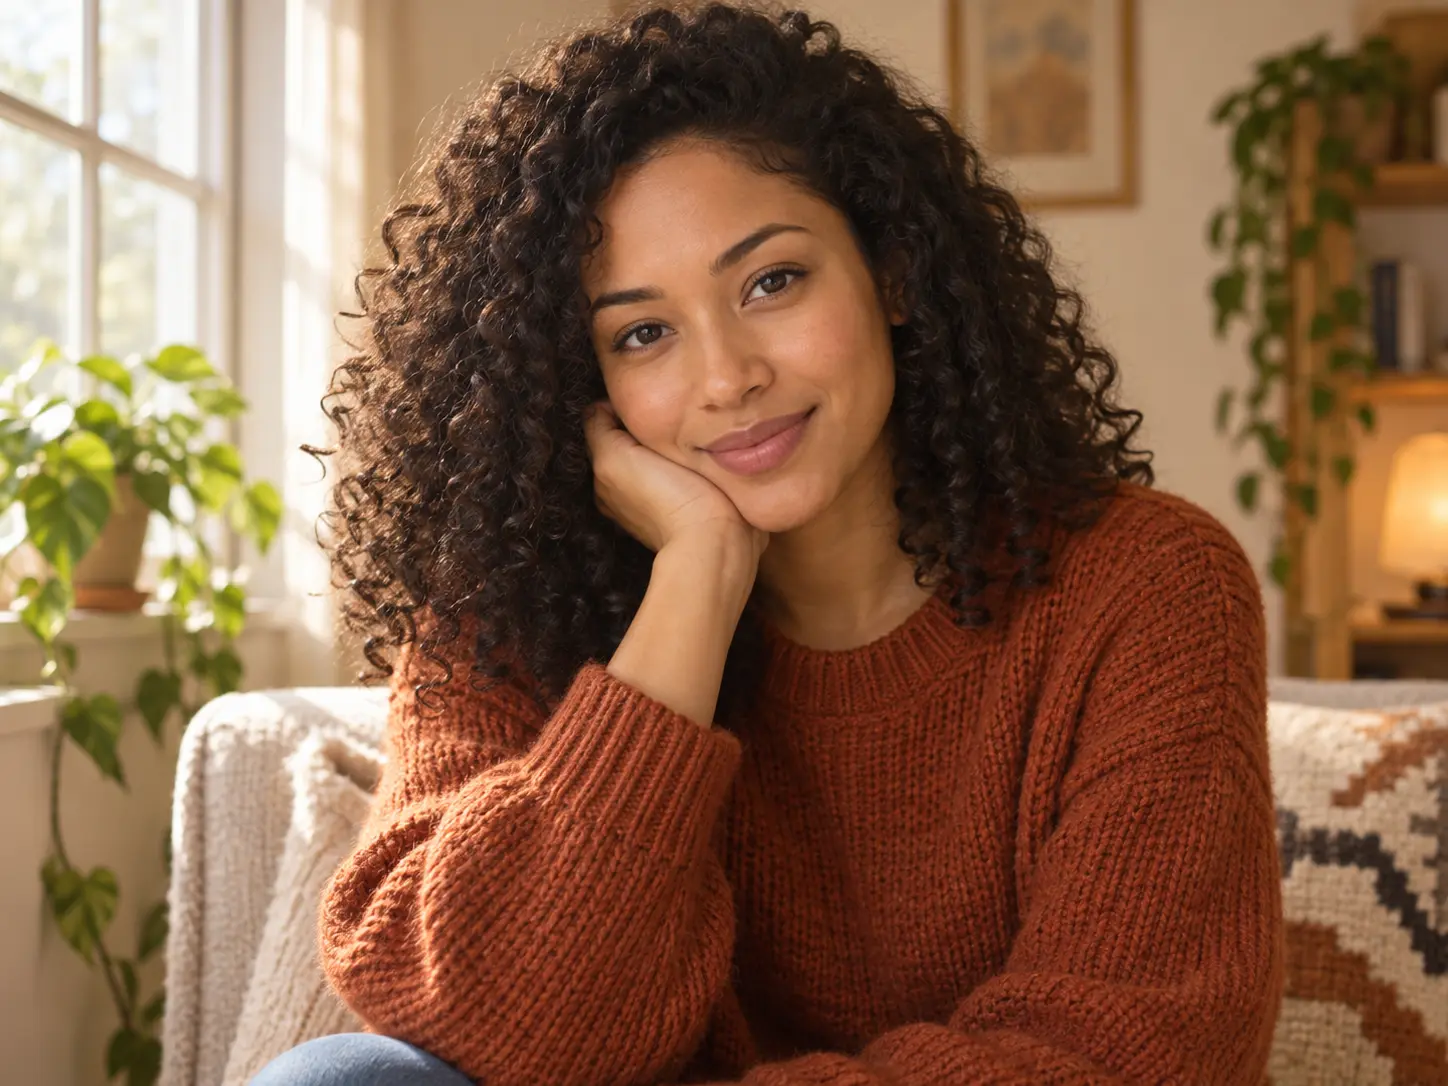

No picture on hand? Try with one of these
What The Faceswapper Gets Right
A useful faceswapper handles the whole edit: the blend must survive the jawline, hair edge, and existing light.
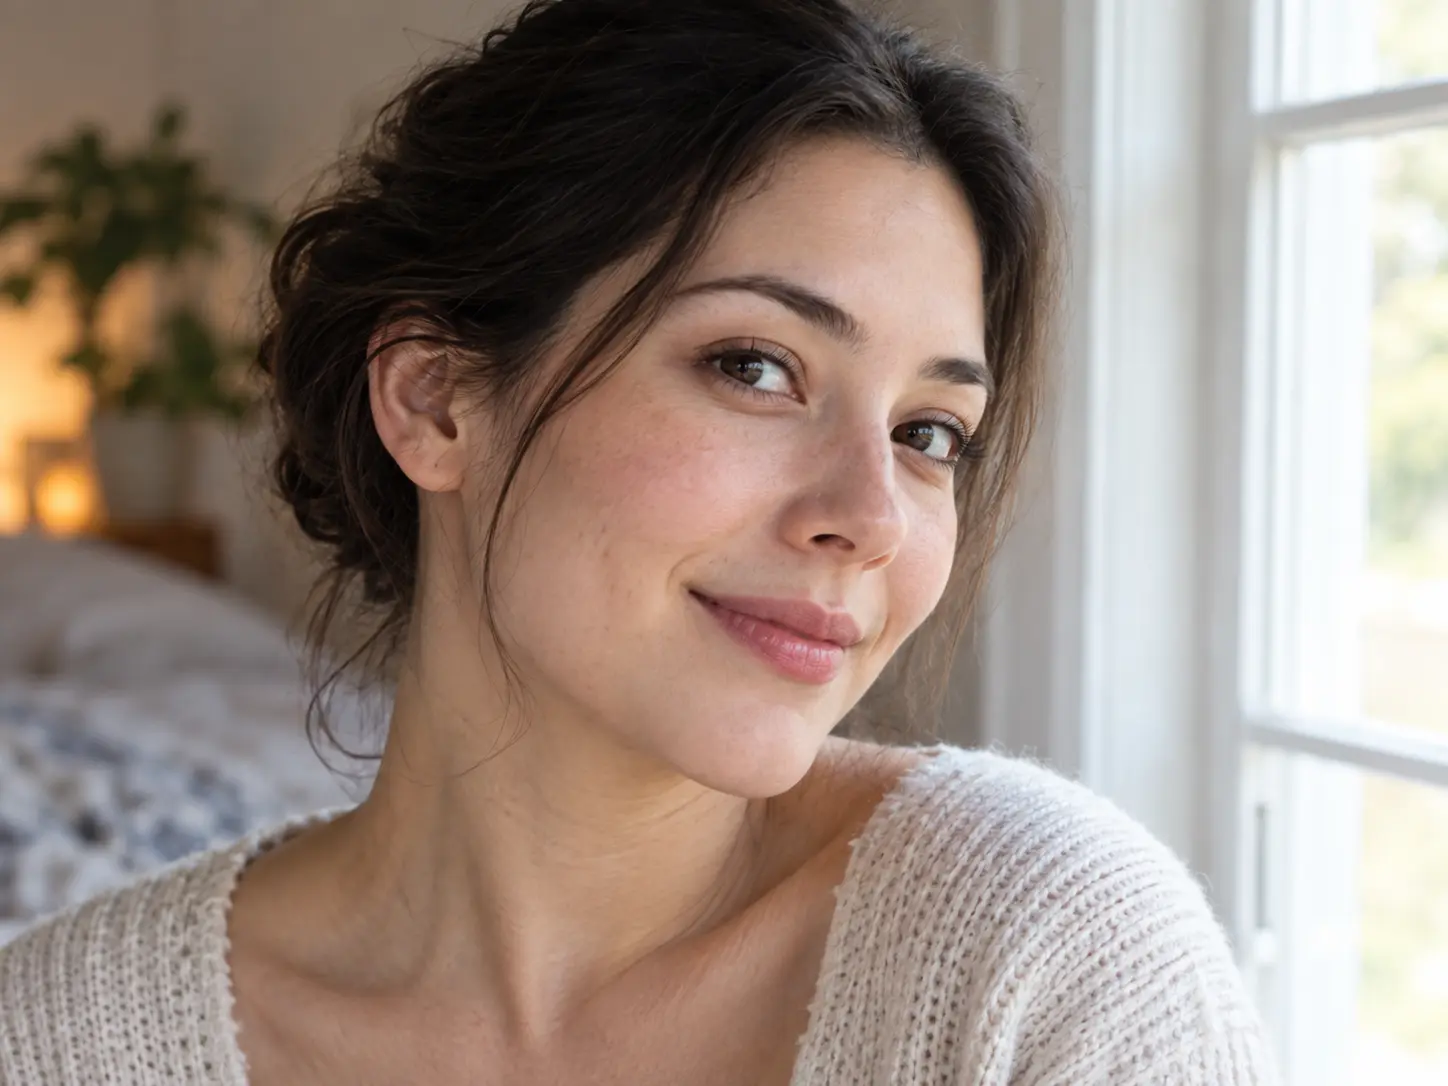
Natural Blend At The Contact Edge
The hard part is the edge where new features meet the original hair, jaw, and neck. A faceswapper should match the light direction, the warmth of the scene, and the softness of the source image, so skin tones transition naturally instead of sitting on the face like a flat mask.

Keeps The Target Photo Intact
You usually want to change the person, not the composition. The faceswapper should preserve the target pose, clothing, camera angle, and background while replacing facial identity, which matters for portrait edits, product campaigns, and group photos.
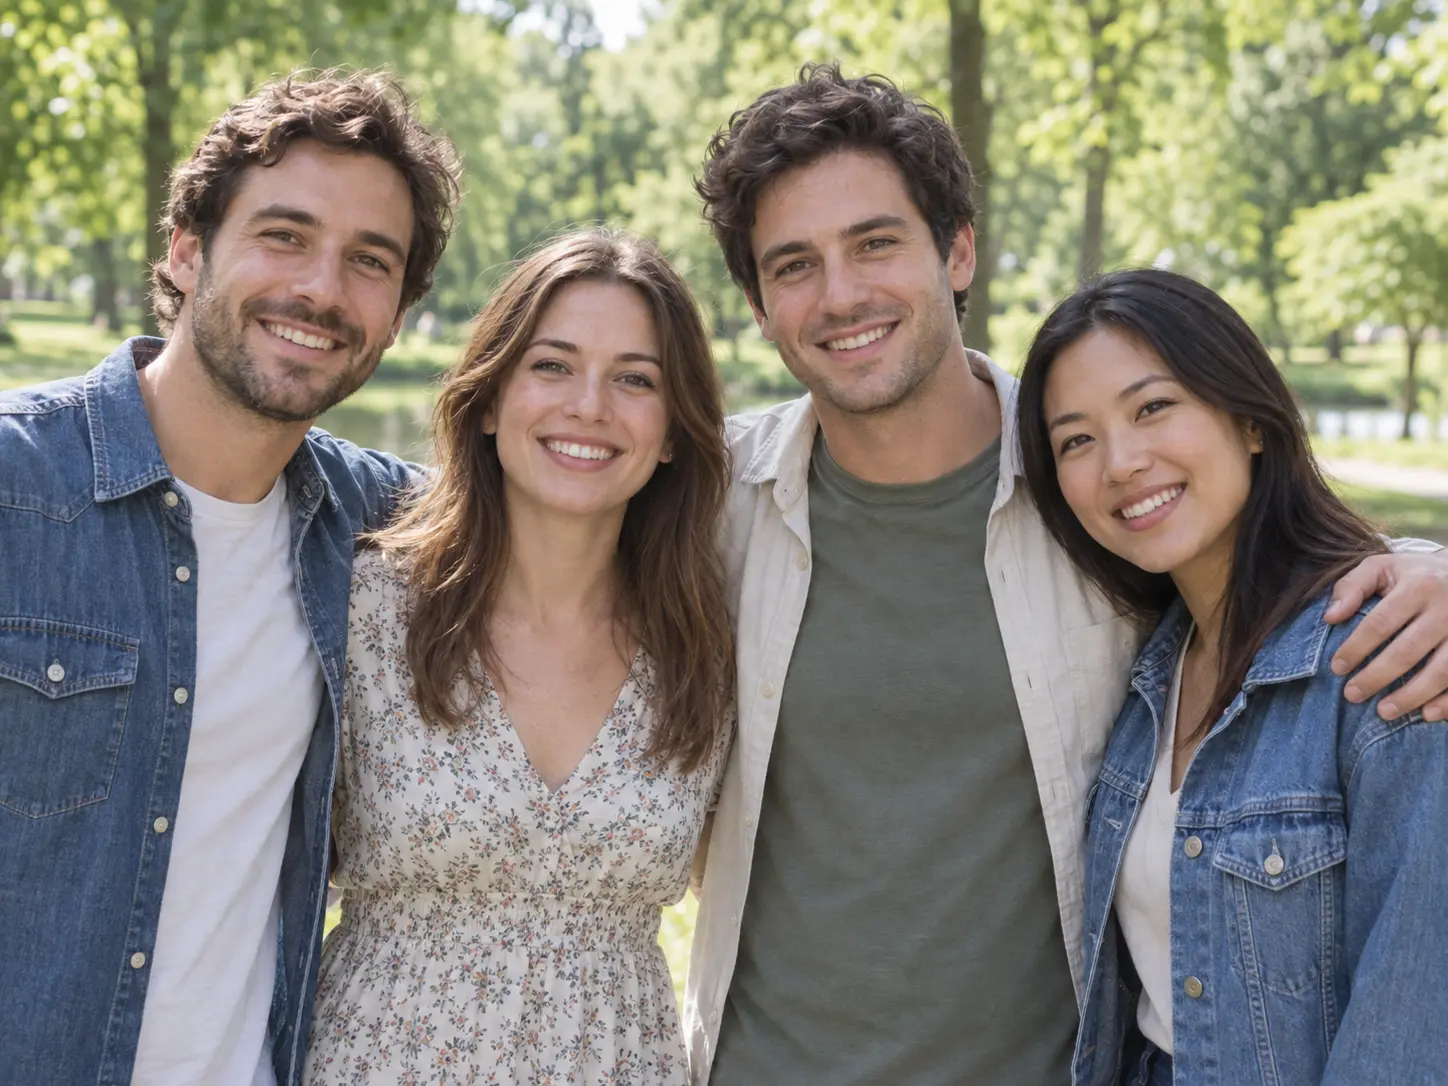
Works With Single And Group Photos
Use it when one portrait needs a different face, or when a group photo needs a single change. Keep the other expressions and positions untouched, inspect the result at full size, and get permission from the people involved before editing or sharing their image.
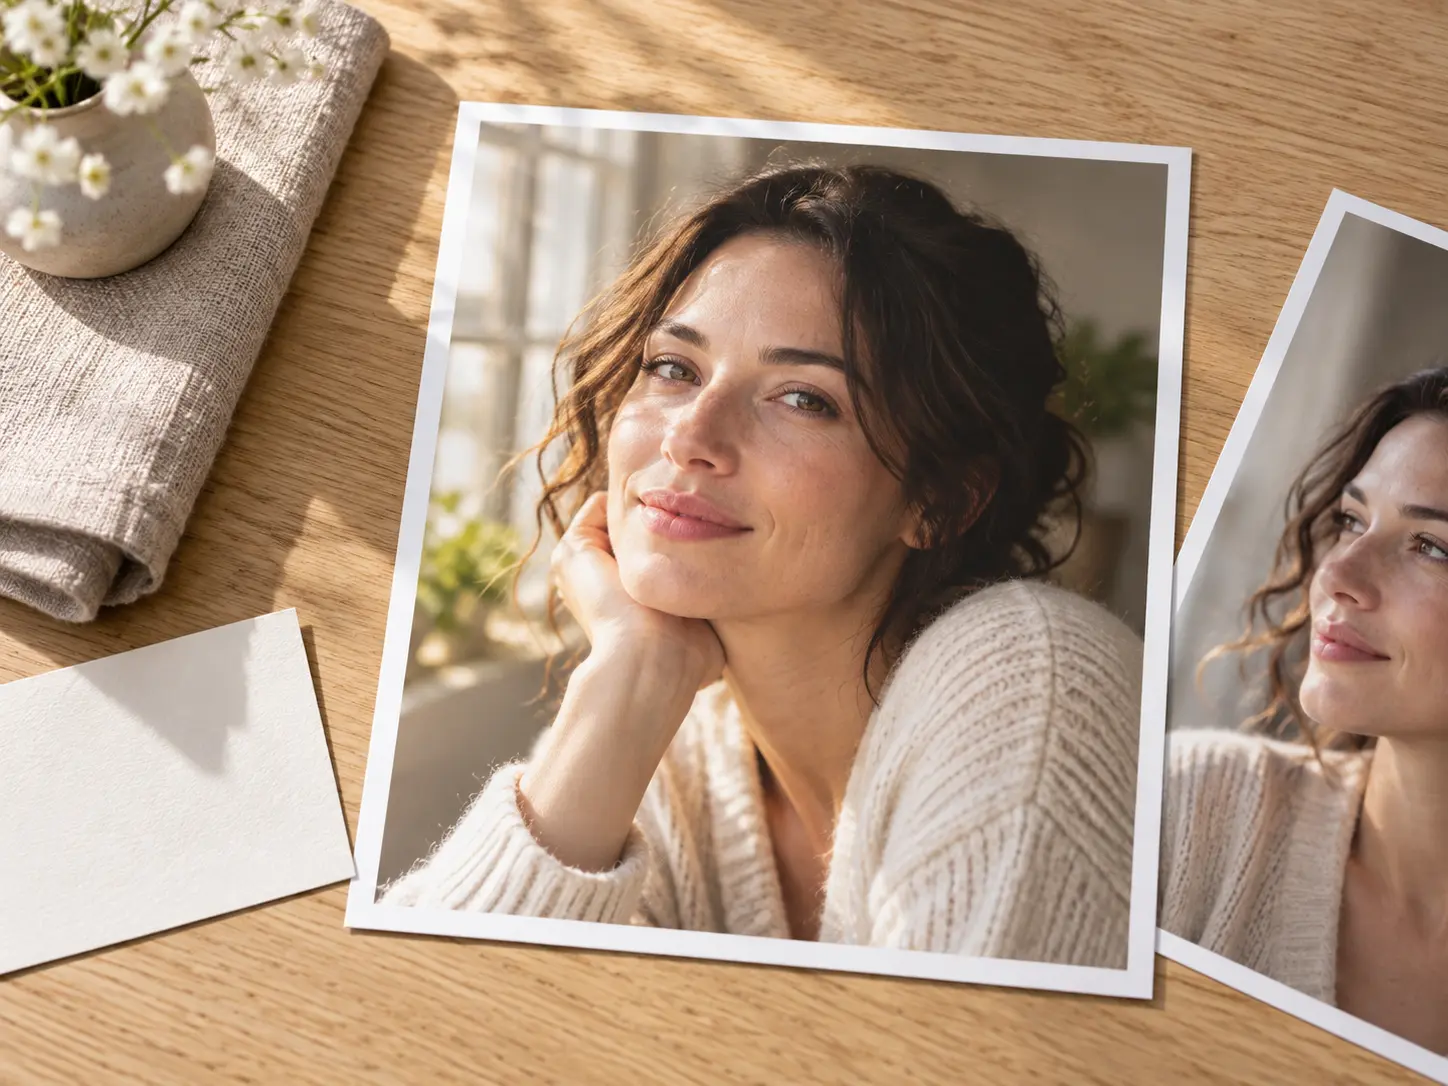
Gives You A Controllable Result
A strong faceswapper workflow is iterative. Start with two clear photos, check the first result, and adjust the source angle or crop one change at a time. A frontal source blends more reliably into a frontal target, so keep the version that looks most natural.
How The Faceswapper Works
Two images, three short steps. Each one gives the faceswapper a different piece of information: the scene, the identity, and the final blend.
Upload The Target Photo
Choose the image where the face should change. This target supplies the pose, clothing, camera angle, and lighting that the faceswapper must preserve, so start with a sharp, unobstructed face.
Add A Clear Source Face
Upload the face you want to use. The faceswapper reads features, skin tone, and expression from this reference, so a front-facing portrait in even light beats sunglasses, blur, or an extreme side angle.
Generate, Compare, And Download
Run the faceswapper and compare it with the original target. Check the jawline, hair edge, eye position, and shadows, adjust the source photo if the blend misses, then download the result.
When To Use A Faceswapper
A faceswapper is most useful when the scene is already right and only the person needs to change. These four workflows show where the edit saves time.
Social Media And Meme Edits
Place a friend, character, or consented participant into a scene that already has the right pose and background. Prepare two clear portraits with similar lighting, then compare the blend before sharing.
Character And Story Concepts
Test how a chosen face reads inside a costume, poster, or illustrated world before commissioning final artwork. Keep the reference consistent so the character stays recognisable inside the target style.
Family Portraits And Memory Montages
Build a family composition when the best photo of one person comes from a different moment. This is sensitive work, so get permission from everyone involved and use it for private keepsakes or labelled creative edits.
Campaign And Profile Variations
Mock up personalised concepts before choosing a final direction. Swap a consented model into a controlled portrait, keep the product fixed, and treat the blend as a concept until usage rights are confirmed.
Why A Structured Faceswapper Workflow Works Better
A believable edit depends less on repeating the effect and more on two useful inputs, a full-size check, and keeping the original safe.
Better Inputs Create Fewer Retries
Sharp images, even light, and a visible head angle give the faceswapper clearer information, which usually means fewer rounds of correction after a weak result.
Full-Size Review Catches Obvious Errors
A small preview can hide an uneven hairline or a colour shift around the neck. Review at full size, and if something looks wrong, change the crop or source instead of layering edits.
Consent And Context Stay Under Control
Use photos you own or have permission to edit, say what the image will be used for, and label playful swaps as generated edits. Keep the originals so you can explain or remove the result.
See The Blend Before You Share It
Upload the target photo, add a clear source face, and compare a natural faceswapper edit at full size.
Get StartedExplore Related Portrait And Image Tools
Faceswapper Questions
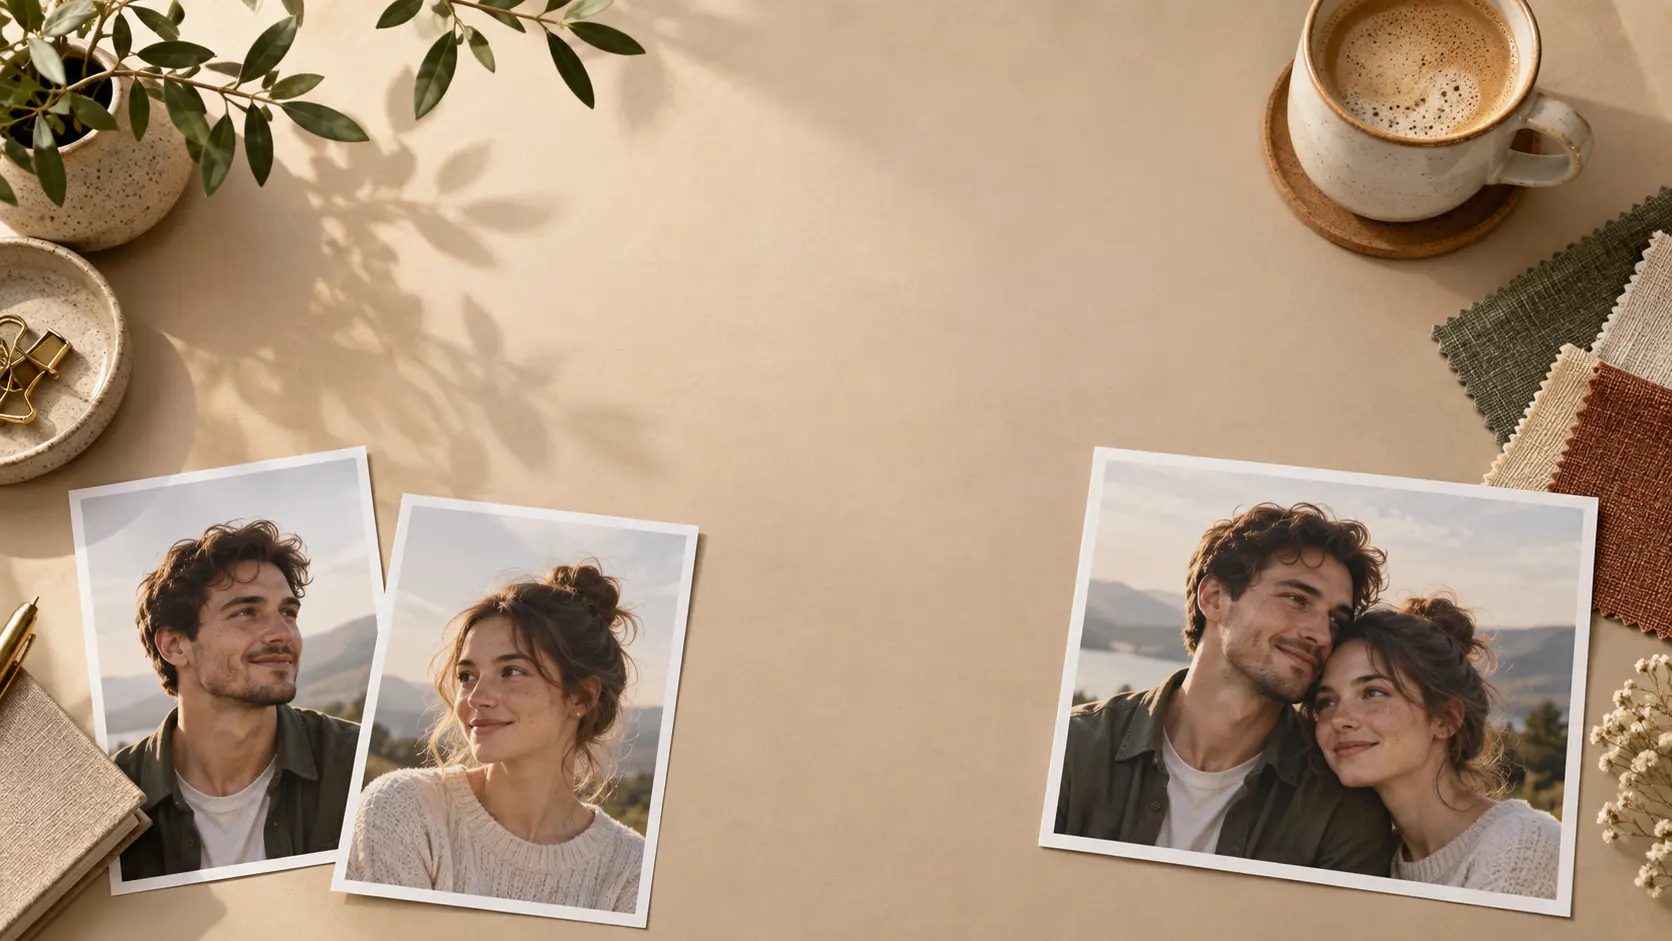
Create A Face Swap From Two Photos
Add a clear source face to your target image and let faceswapper produce a blended result you can review before download.
Get Started