
Step 01
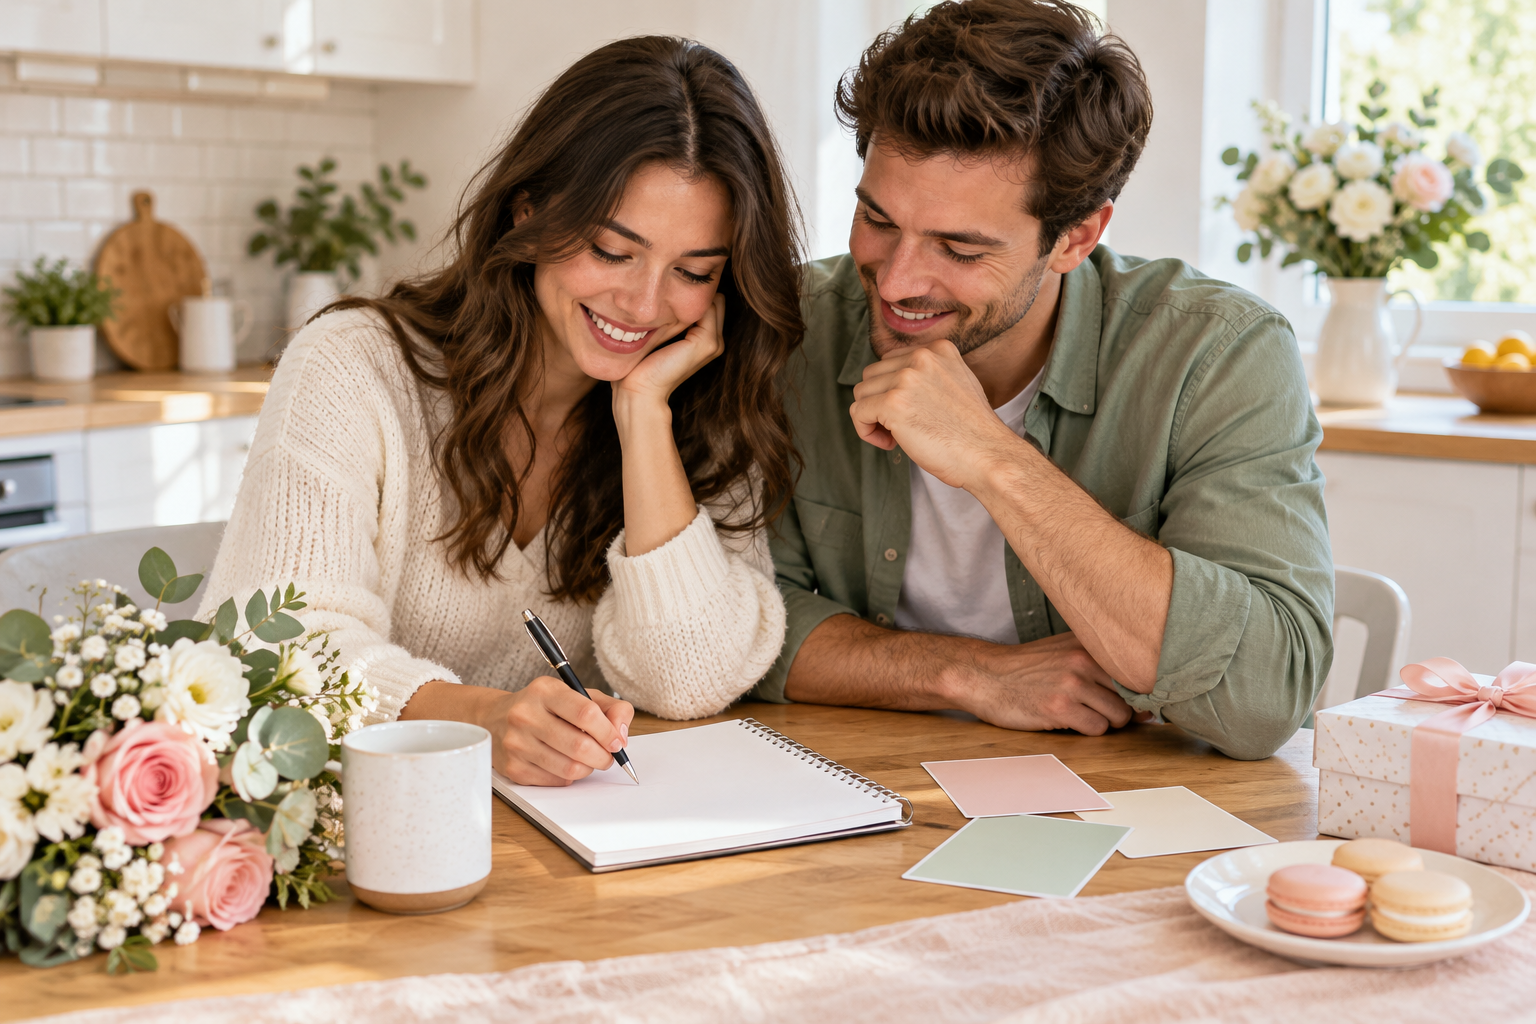
Describe the Scene
Start with the occasion, the setting, the season, and the overall mood, then add wardrobe and palette details. One clear direction usually gives a better first result than a long list of unrelated ideas.

Design a Celebration Scene
An AI wedding photos generator turns a written scene into an elegant, realistic-looking celebration image. Describe the setting, the light, the wardrobe, and the mood, then generate a direction you can review at full size. Add a reference when you want the palette or styling to echo a real place. Use the AI wedding photos generator to explore ceremony, engagement, and maternity concepts, then refine one detail at a time. Generate a few coordinated scenes for a mood board, an invitation, or a card.
Use the left and right arrow keys, touch, or drag to browse showcase examples.
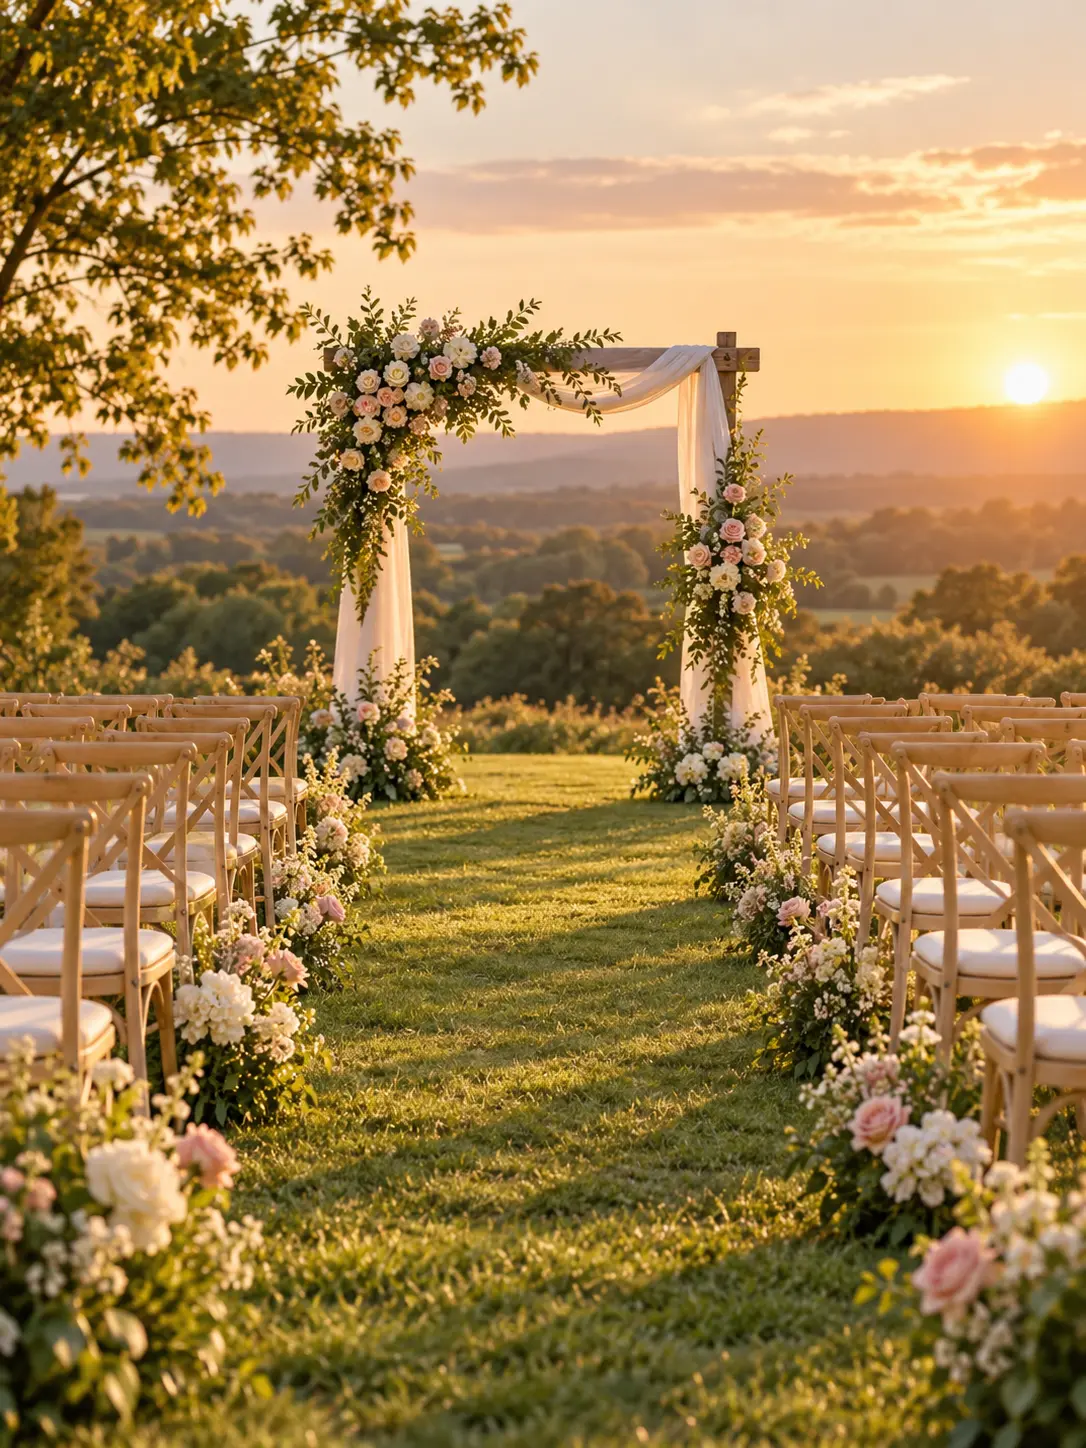
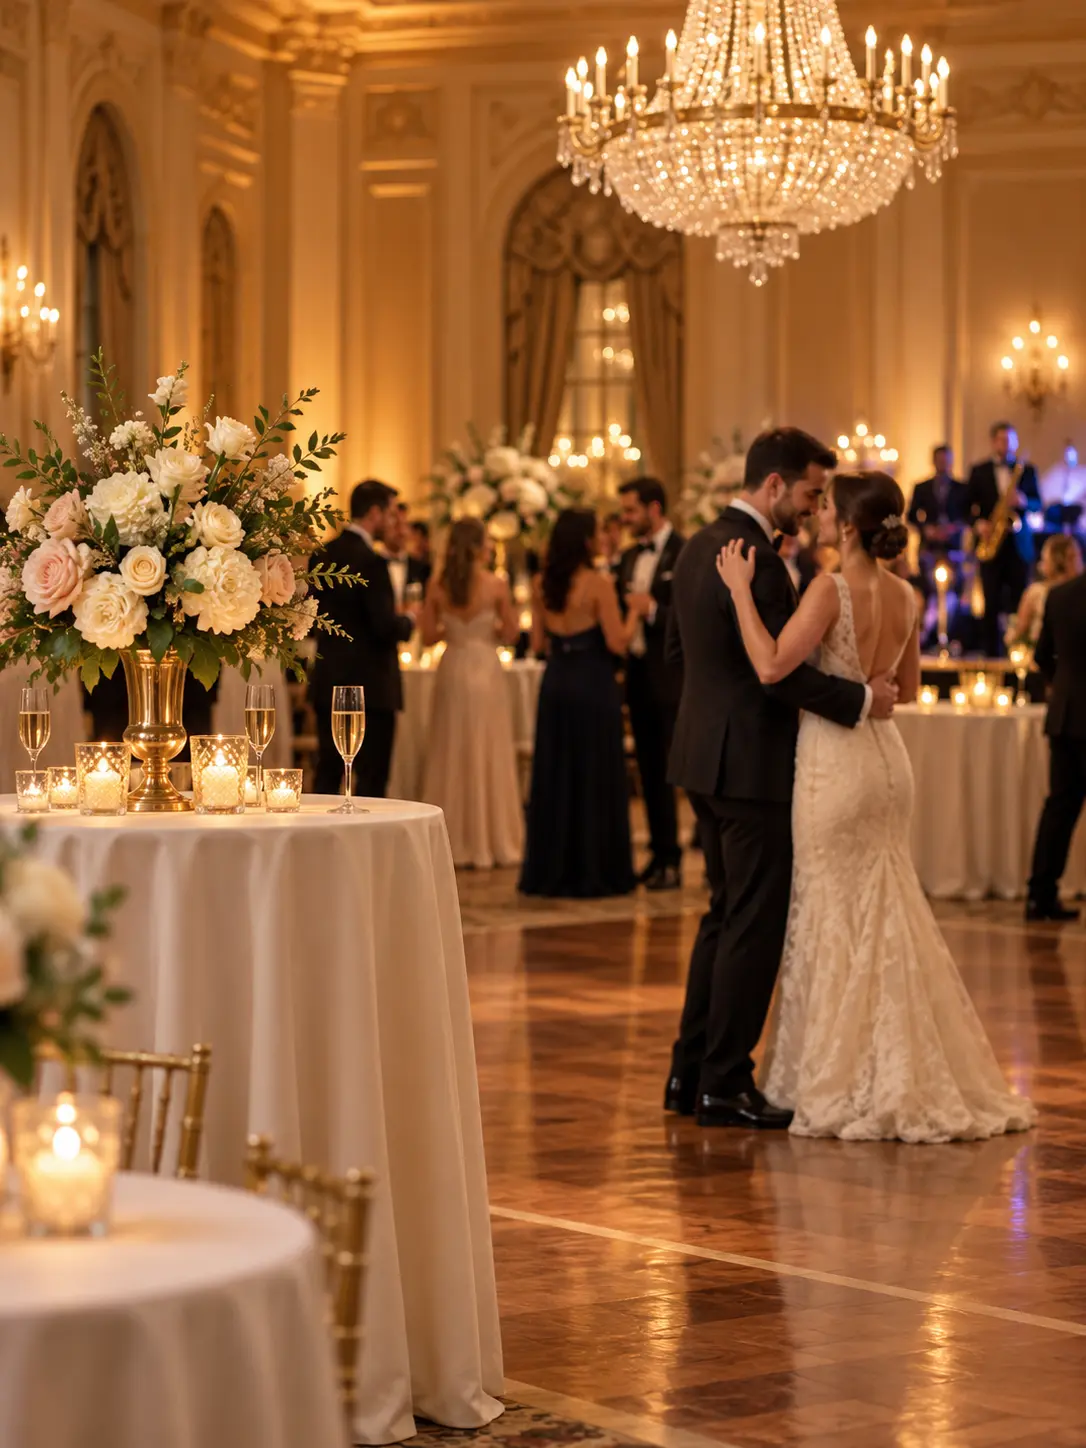
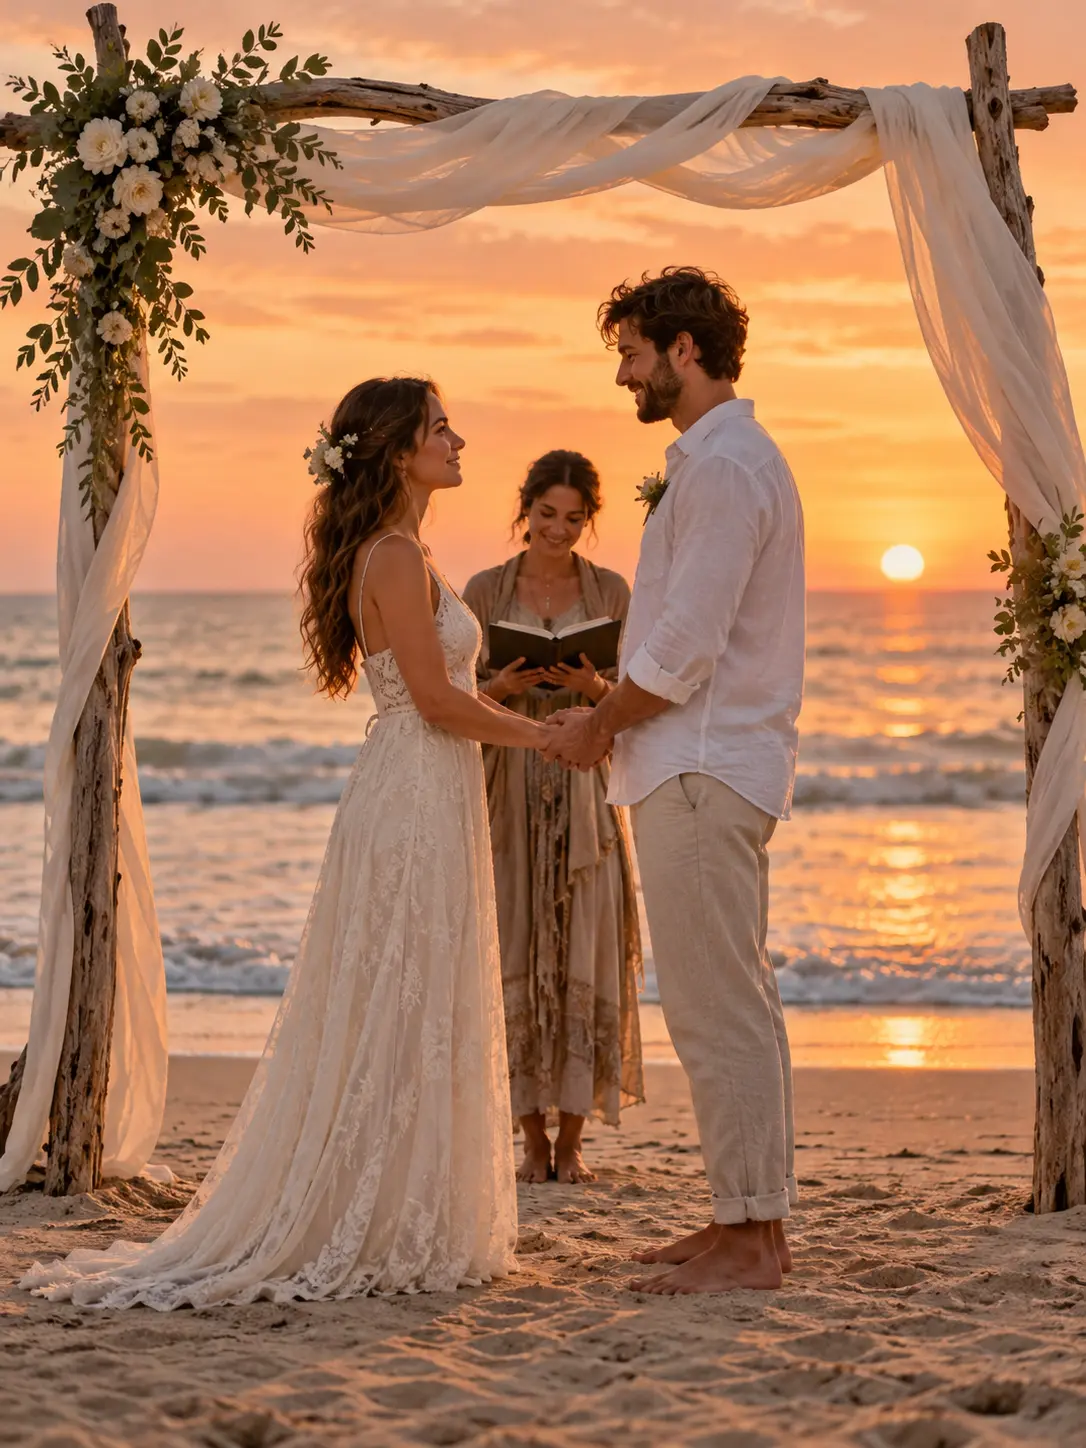
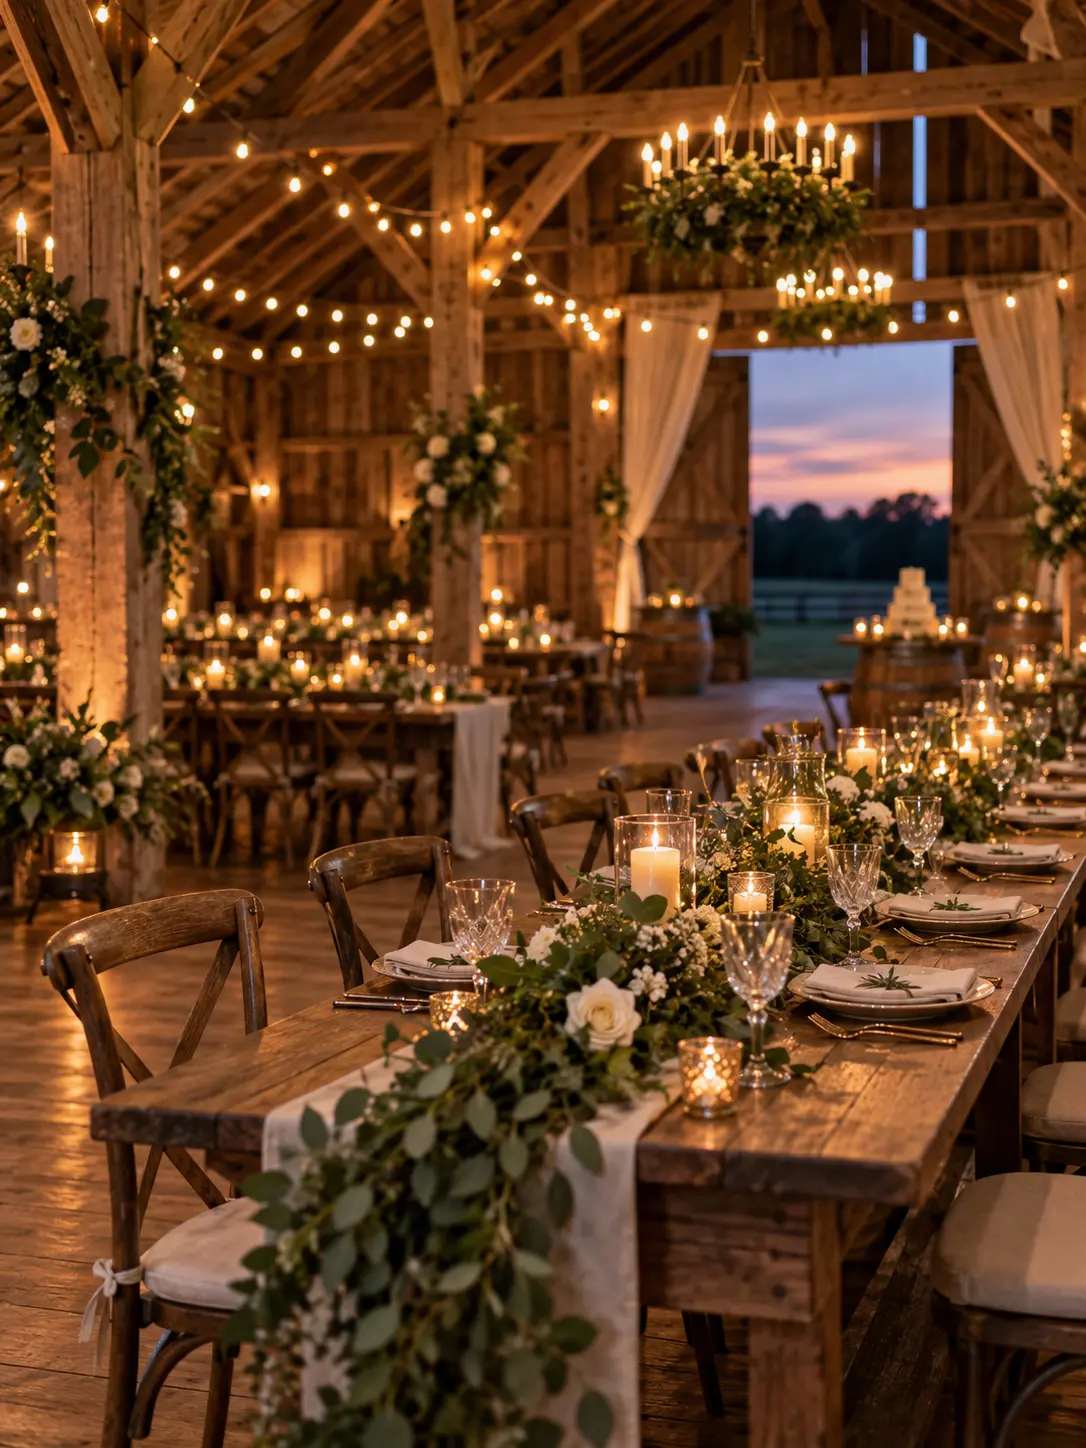
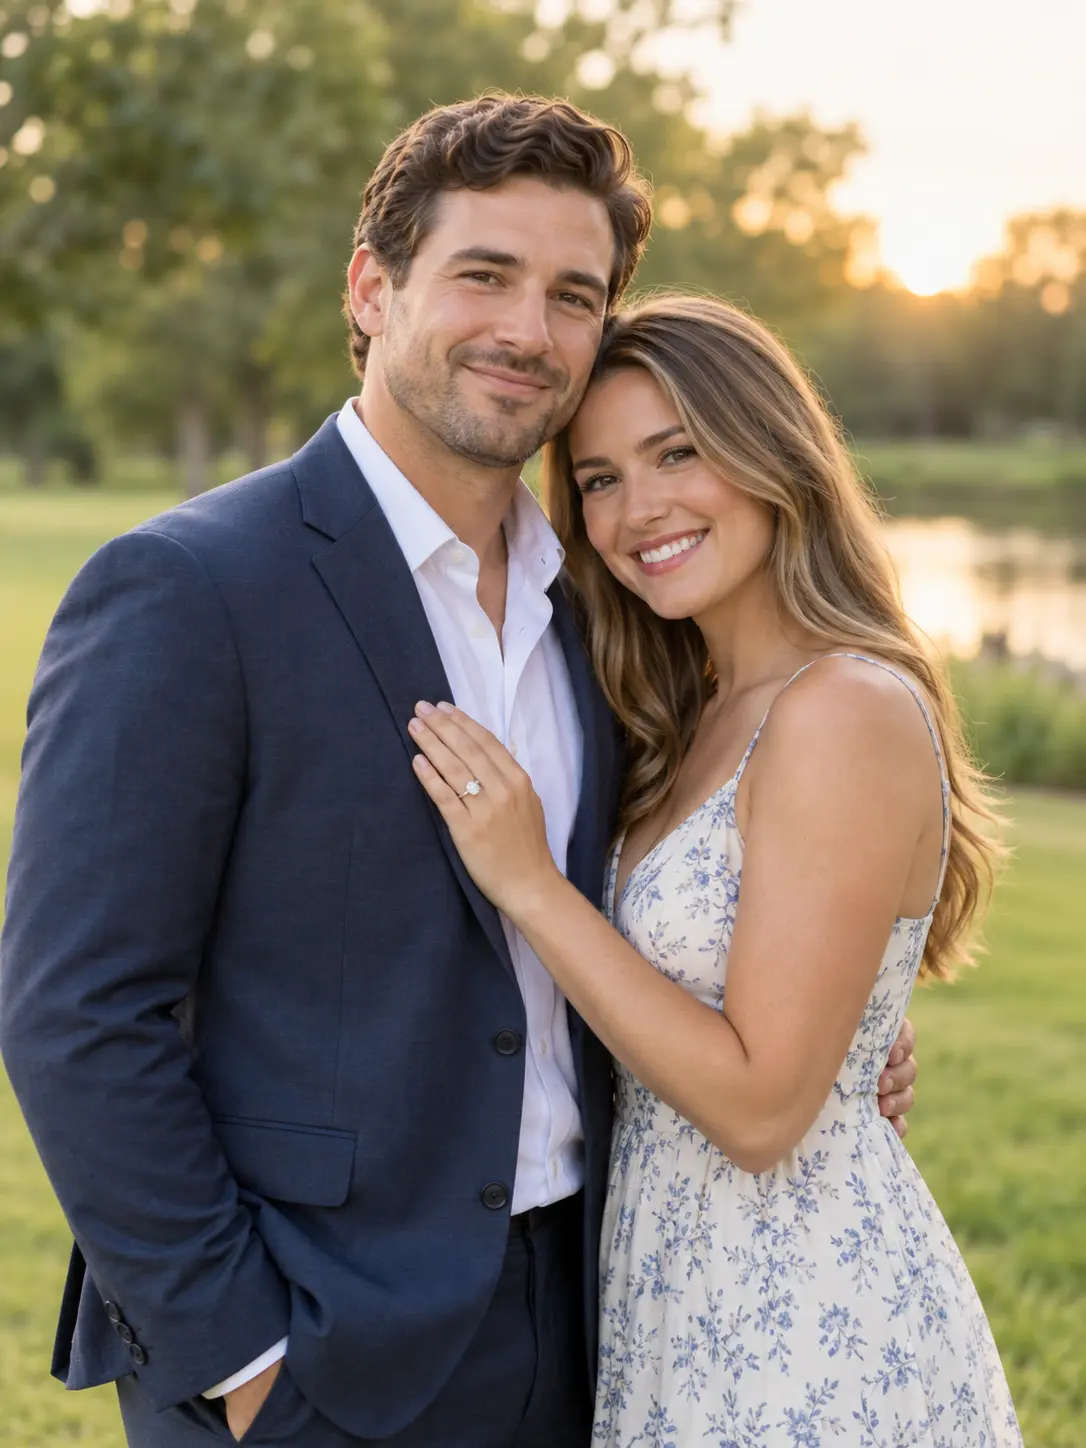
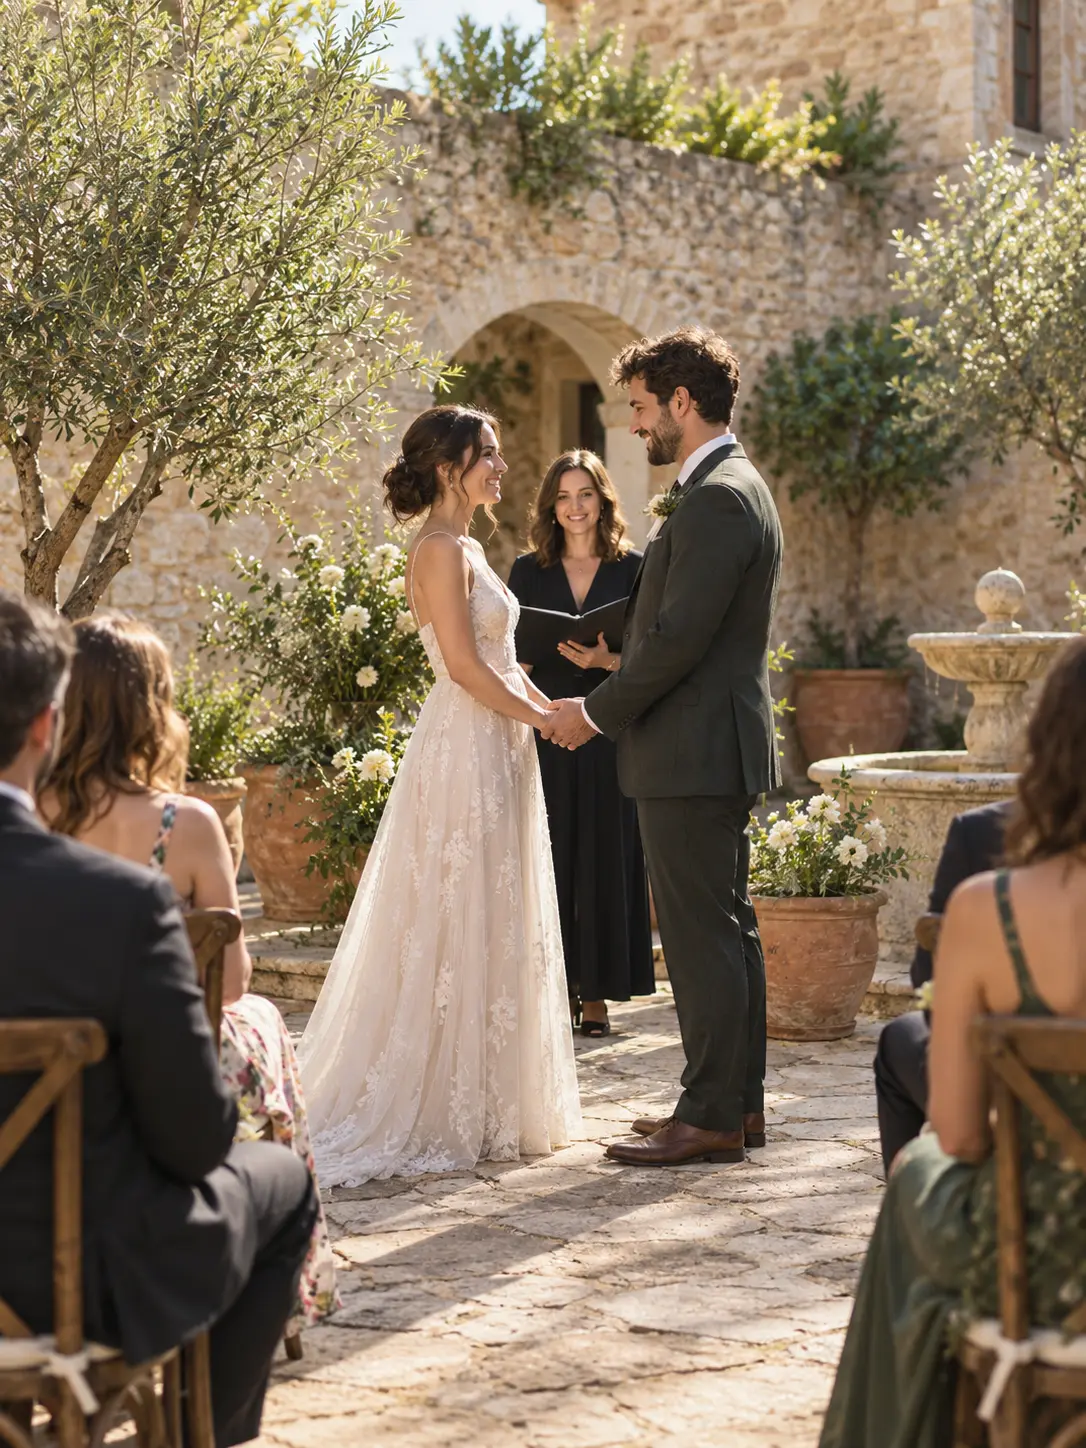
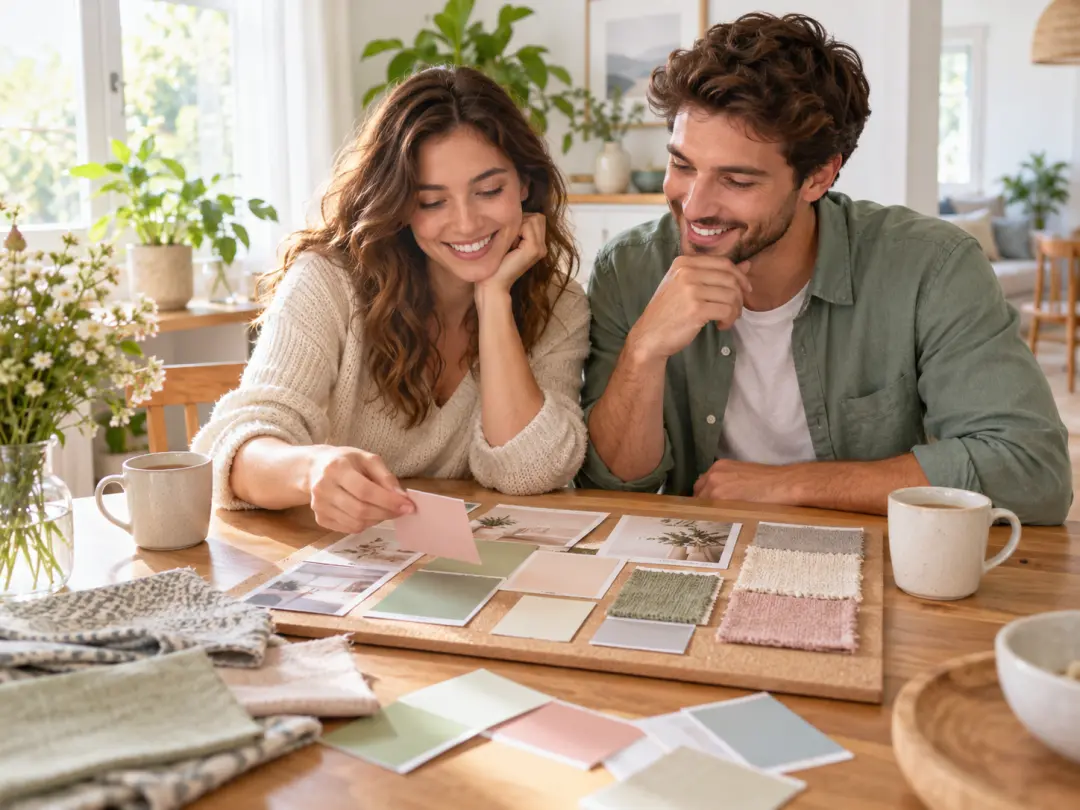
A couple can preview a ceremony style, a color palette, or a scene that feels close to their venue before booking anything. Describe the setting you have in mind and generate a few directions for a mood board. The image is a concept rather than a record of a real event, so it stays a planning reference, and you can compare looks quickly without scheduling a photo session.
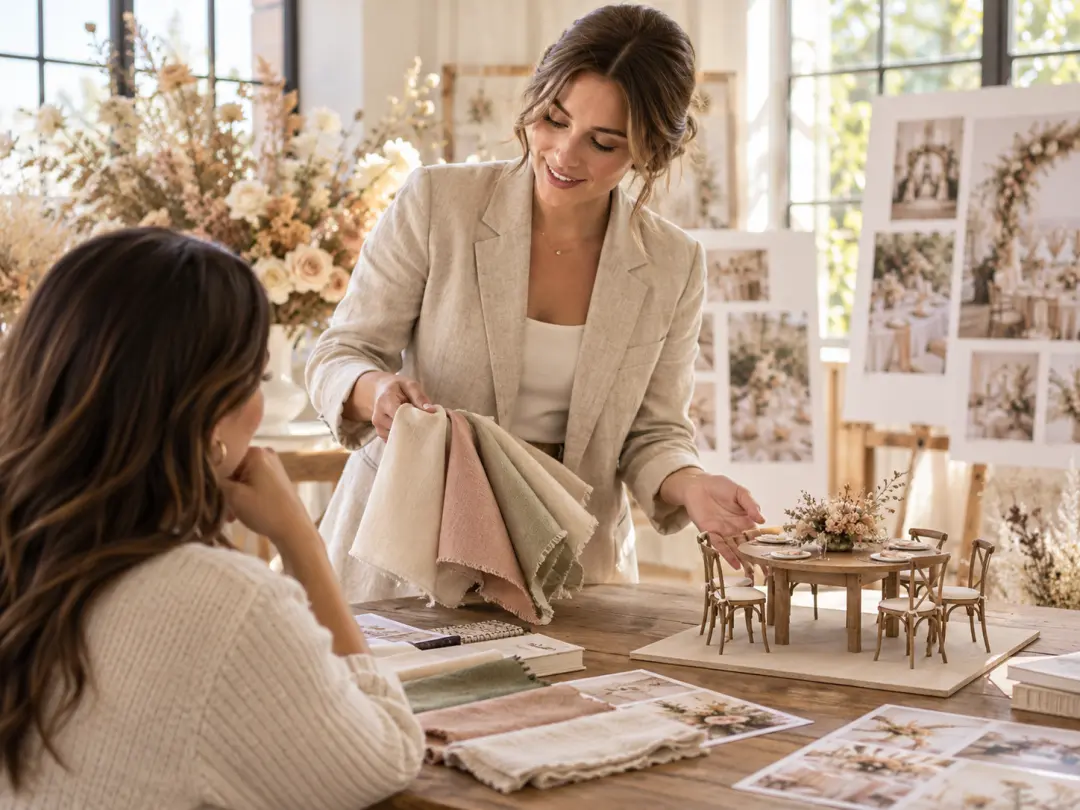
A planner can turn a written client brief into visual options for a venue, a season, or a reception mood. Presenting several images makes the discussion concrete, because the couple can point at one direction and explain what feels right. Keep the reference photo and the prompt beside the result so the chosen look is easy to repeat or extend for the next presentation.
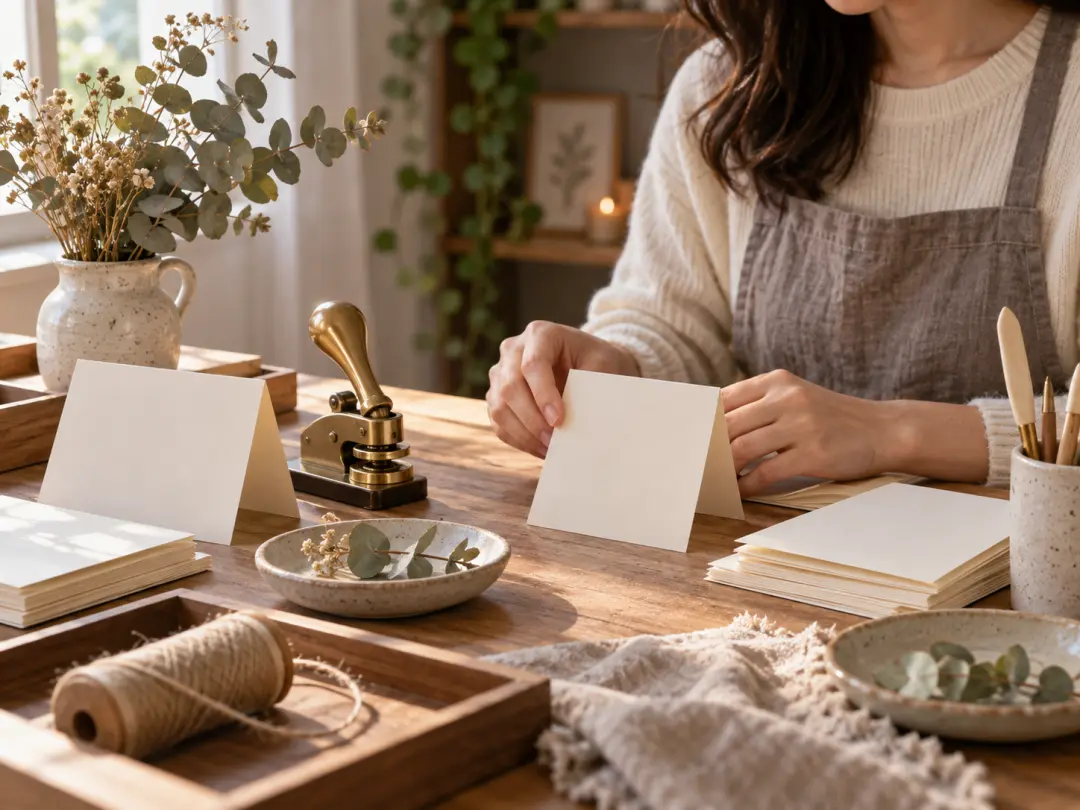
A designer or small shop can create a set of celebration visuals that share one palette and lighting for save-the-date cards, thank-you cards, and shop listings. Generate a base image, then keep the composition simple so text and layout have room. Matching several images with the same prompt and reference keeps a card collection visually consistent across the whole order or product line.
The AI wedding photos generator is built around four practical decisions: how realistic the scene should feel, how closely it follows your palette, which celebration style it serves, and how the final frame will be used. Starting with clear decisions makes the first result easier to judge and the next revision more predictable.
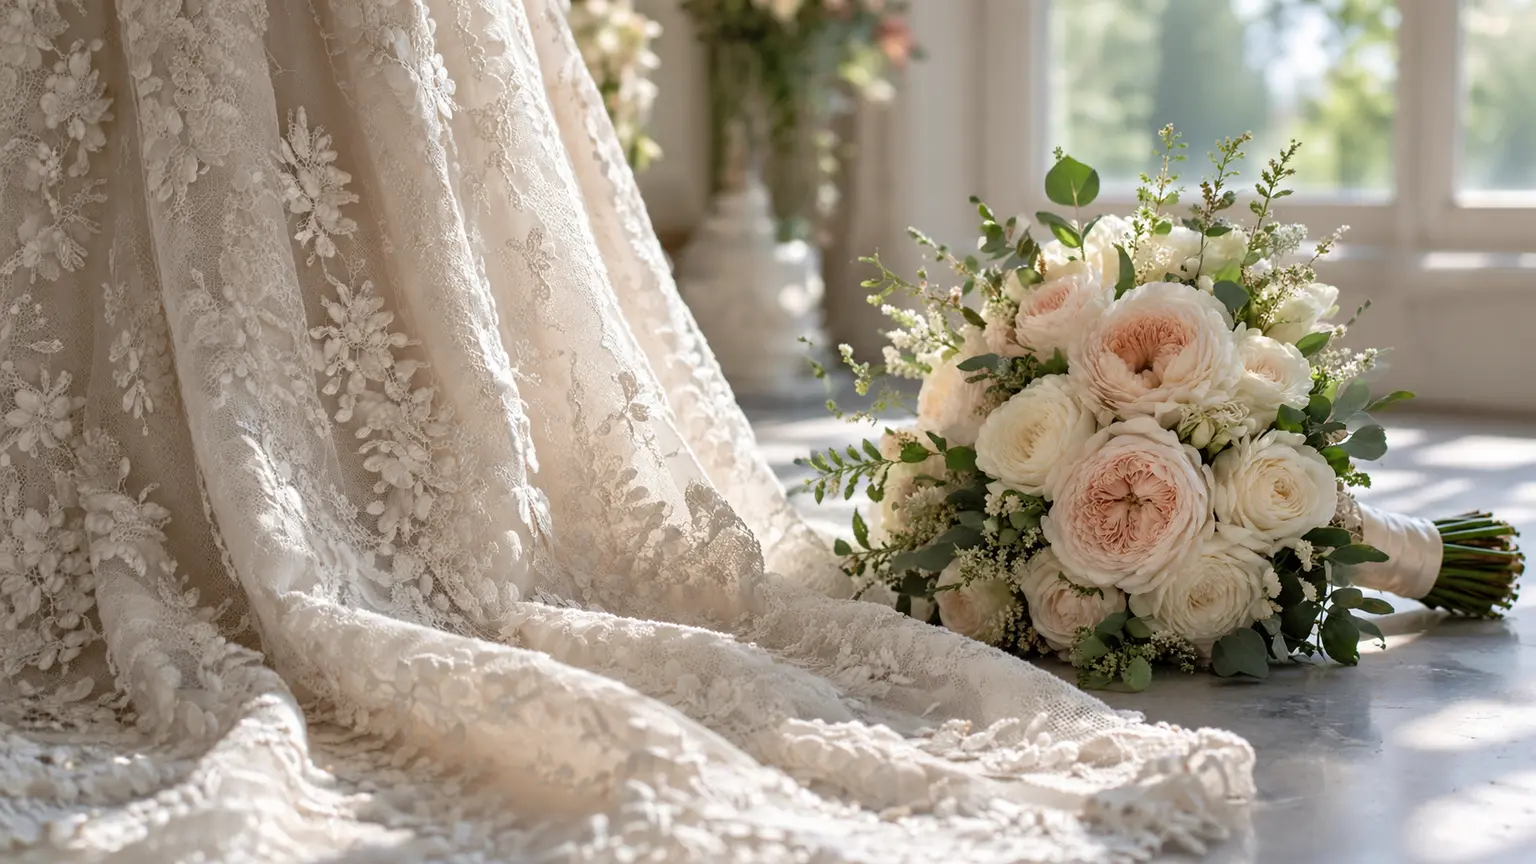
The first job of the AI wedding photos generator is a scene that looks like a photograph rather than a flat illustration. Describe the light, the surface textures, the depth of the setting, and the camera angle so the result holds up when it is viewed at full size. Soft window light, fabric folds, background bokeh, and natural skin tones do most of the work. Keep competing details low at the start, check faces and hands carefully, then add smaller details in a later pass.
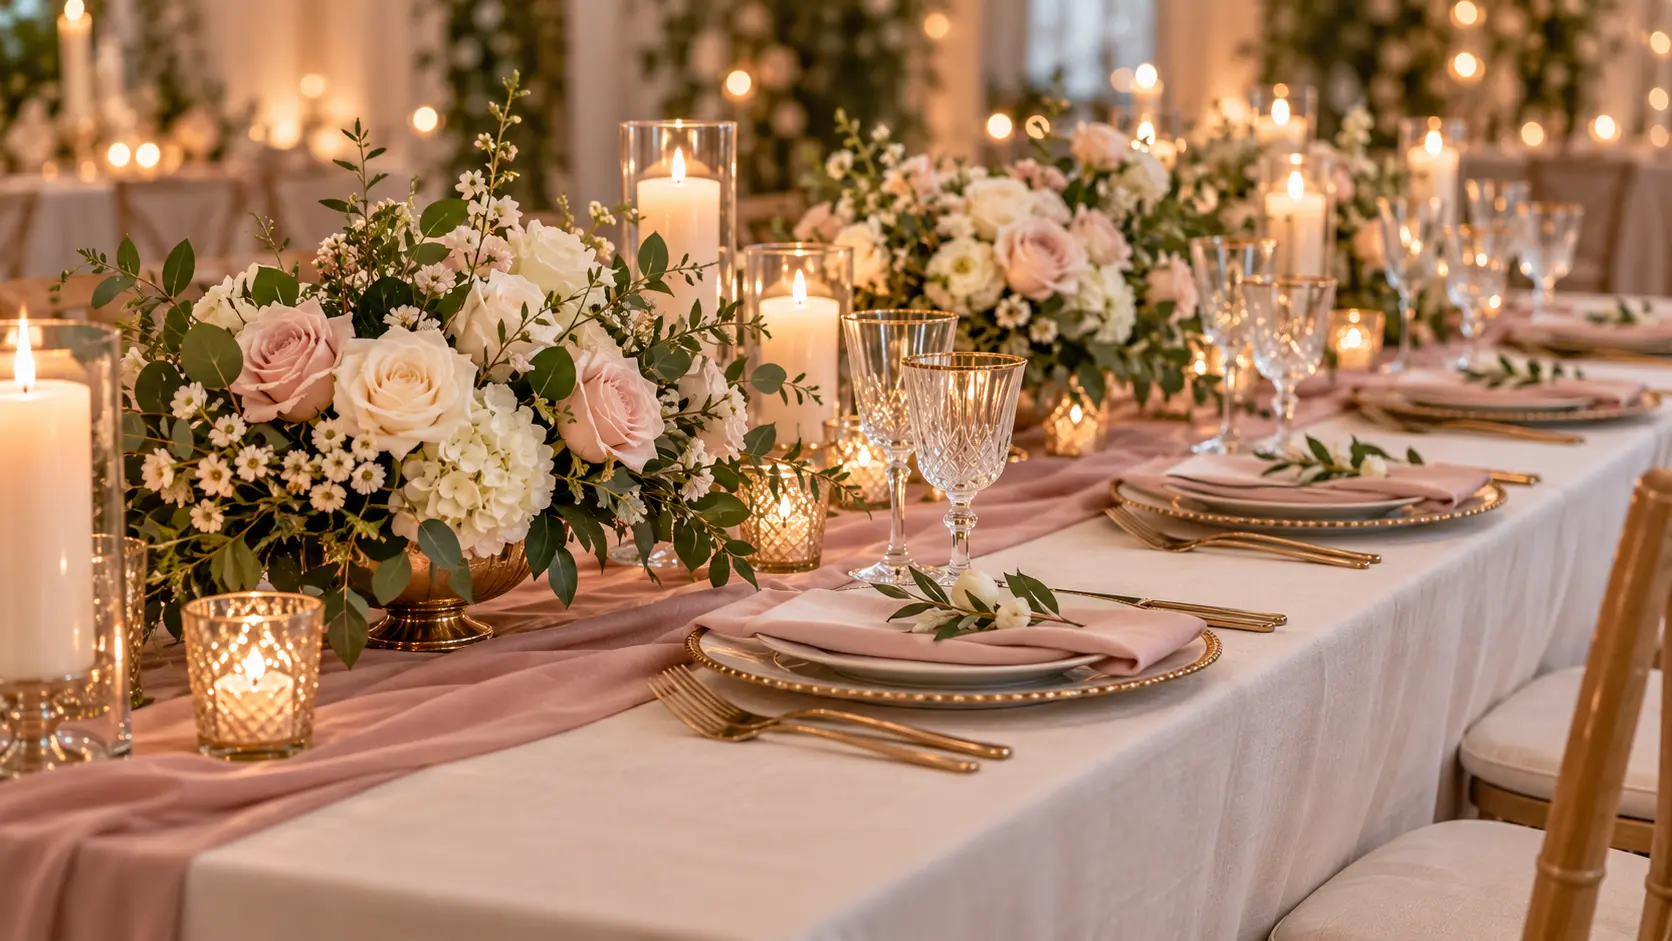
A celebration photo should feel like part of a larger look. Reference the venue, the flowers, or a written color direction and keep that palette consistent across every image you generate. Ask for tones such as warm ivory, dusty rose, deep emerald, or soft champagne, and describe the overall mood as airy daylight or moody evening elegance. Holding the palette steady while changing the scene gives a couple or a designer a set of images that belongs together.
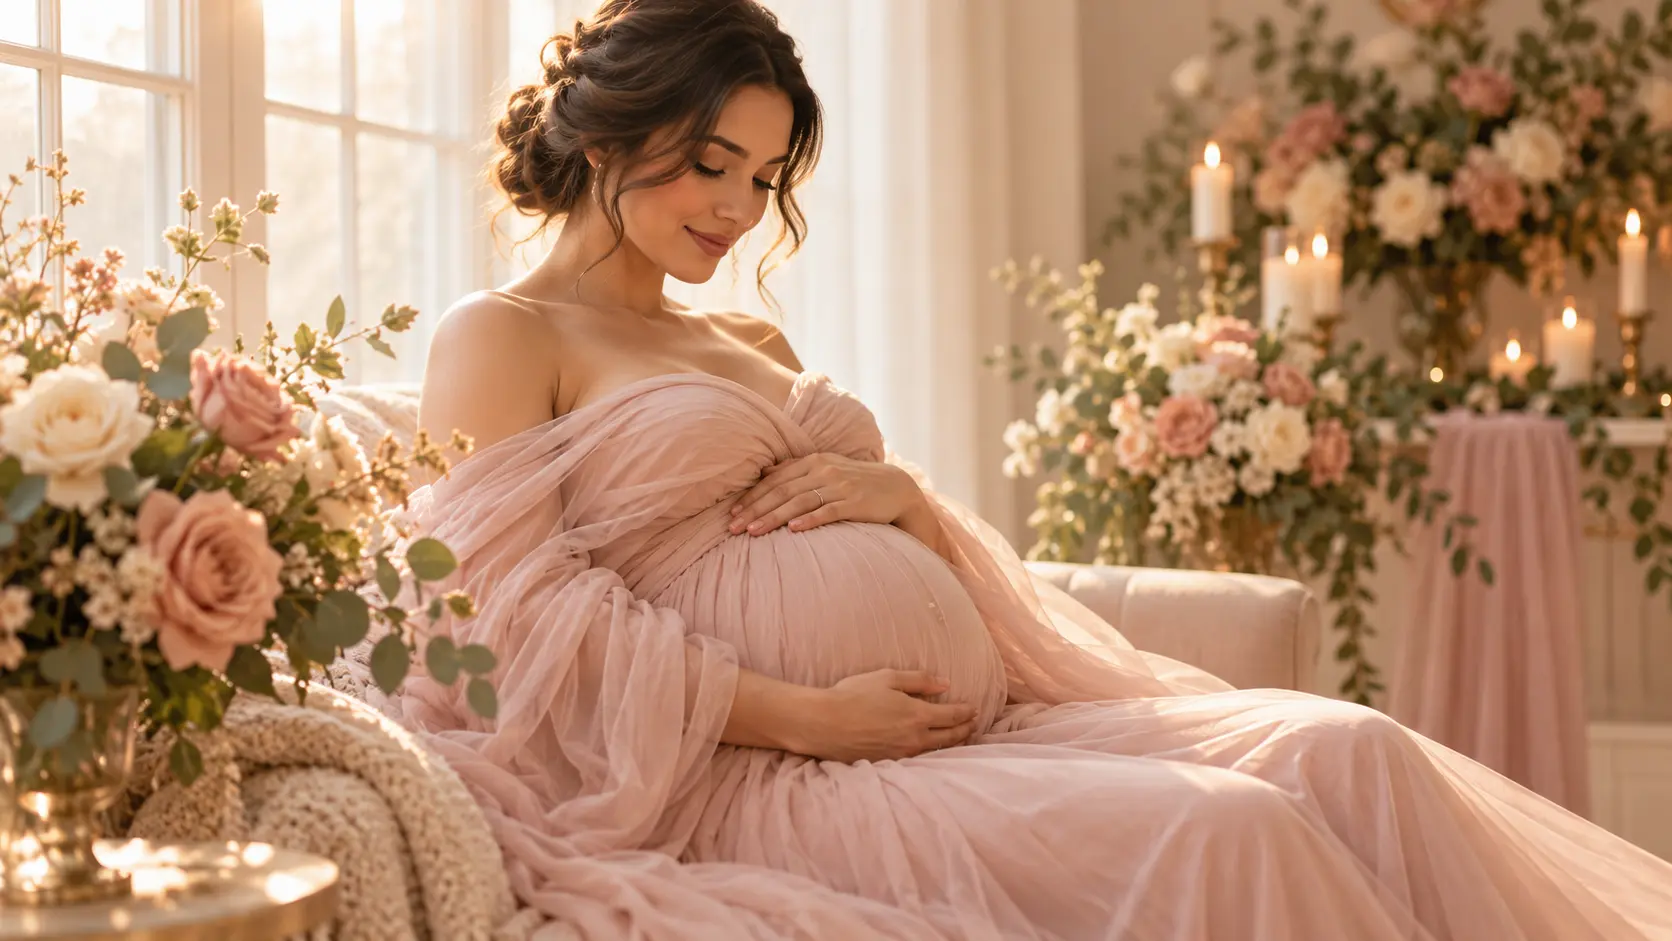
The same workflow covers a wedding ceremony, an engagement portrait, a maternity announcement, or a thank-you card image. Change the wardrobe, the setting, the season, and the camera framing while keeping the color direction fixed. This flexibility is useful when an order needs several coordinated visuals or when a client wants to compare an indoor venue against an outdoor one. Describe the occasion first, then add the personal details, so the generated image stays centered on the right milestone.
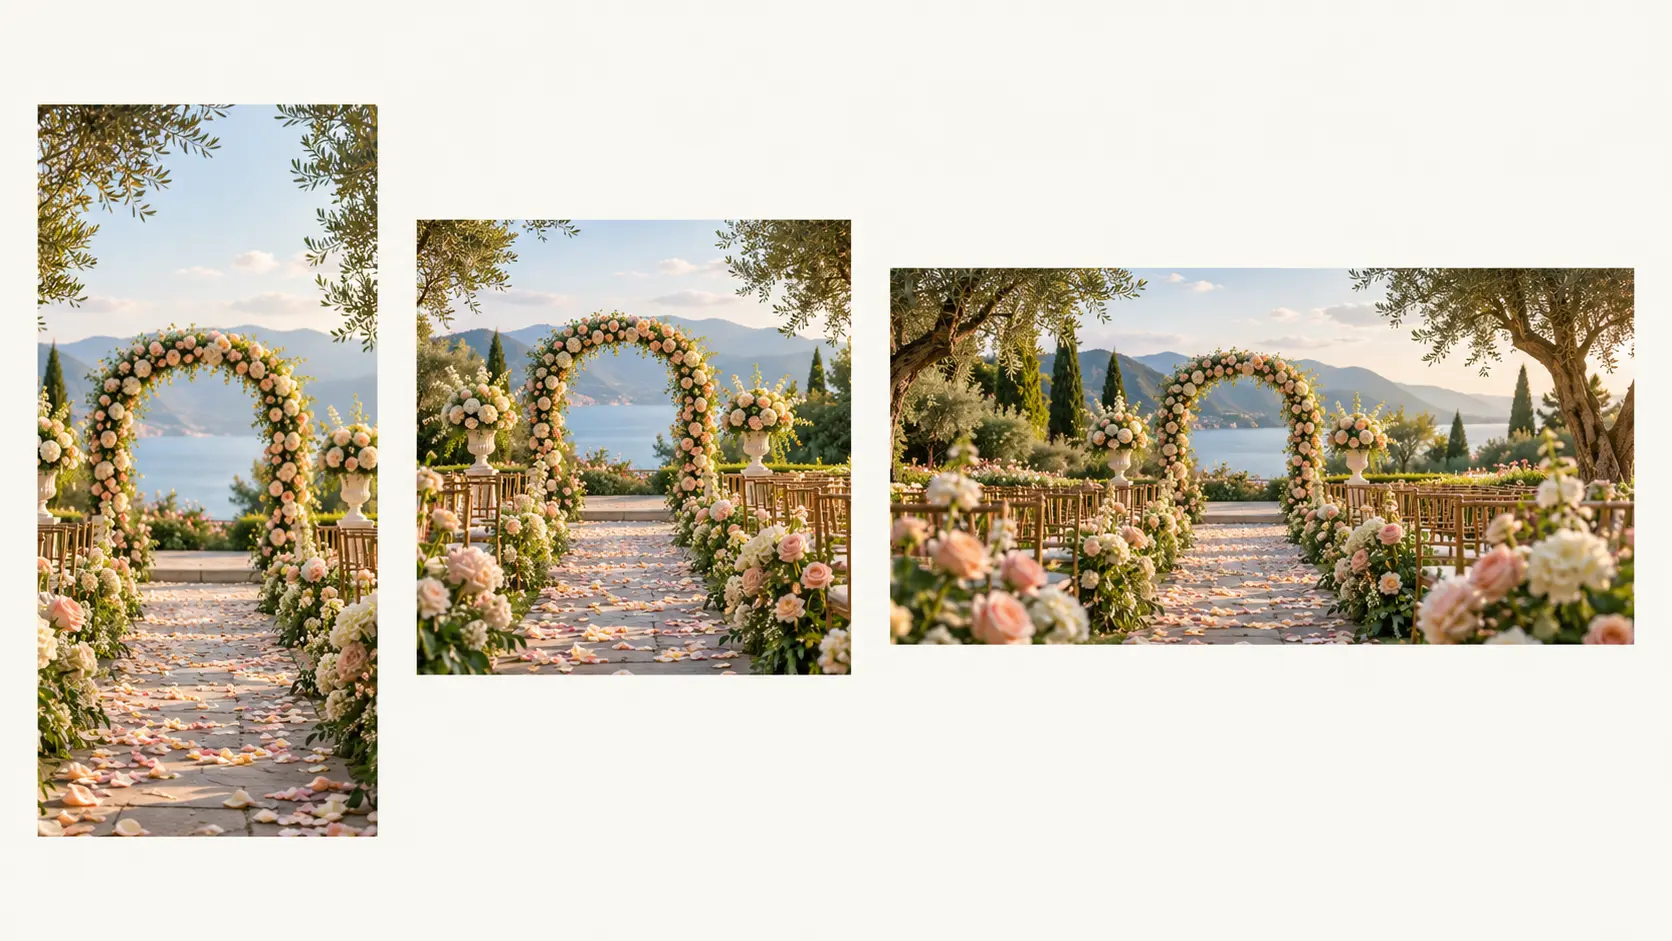
A celebration image has to fit its final home, whether that is a vertical card, a square social post, or a wide banner. Describe where the main subject should sit and how much empty space should stay above it, then choose the ratio closest to the placement. The AI wedding photos generator can hold a centered portrait, an off-center editorial frame, or a wide venue view while you keep the same styling. Checking the crop at thumbnail size first shows whether the composition still reads after text or a border is added.
The AI wedding photos generator workflow is simple and stays in your control: describe the celebration, generate and compare directions, then refine and download the image that fits the brief.
Step 01
Start with the occasion, the setting, the season, and the overall mood, then add wardrobe and palette details. One clear direction usually gives a better first result than a long list of unrelated ideas.
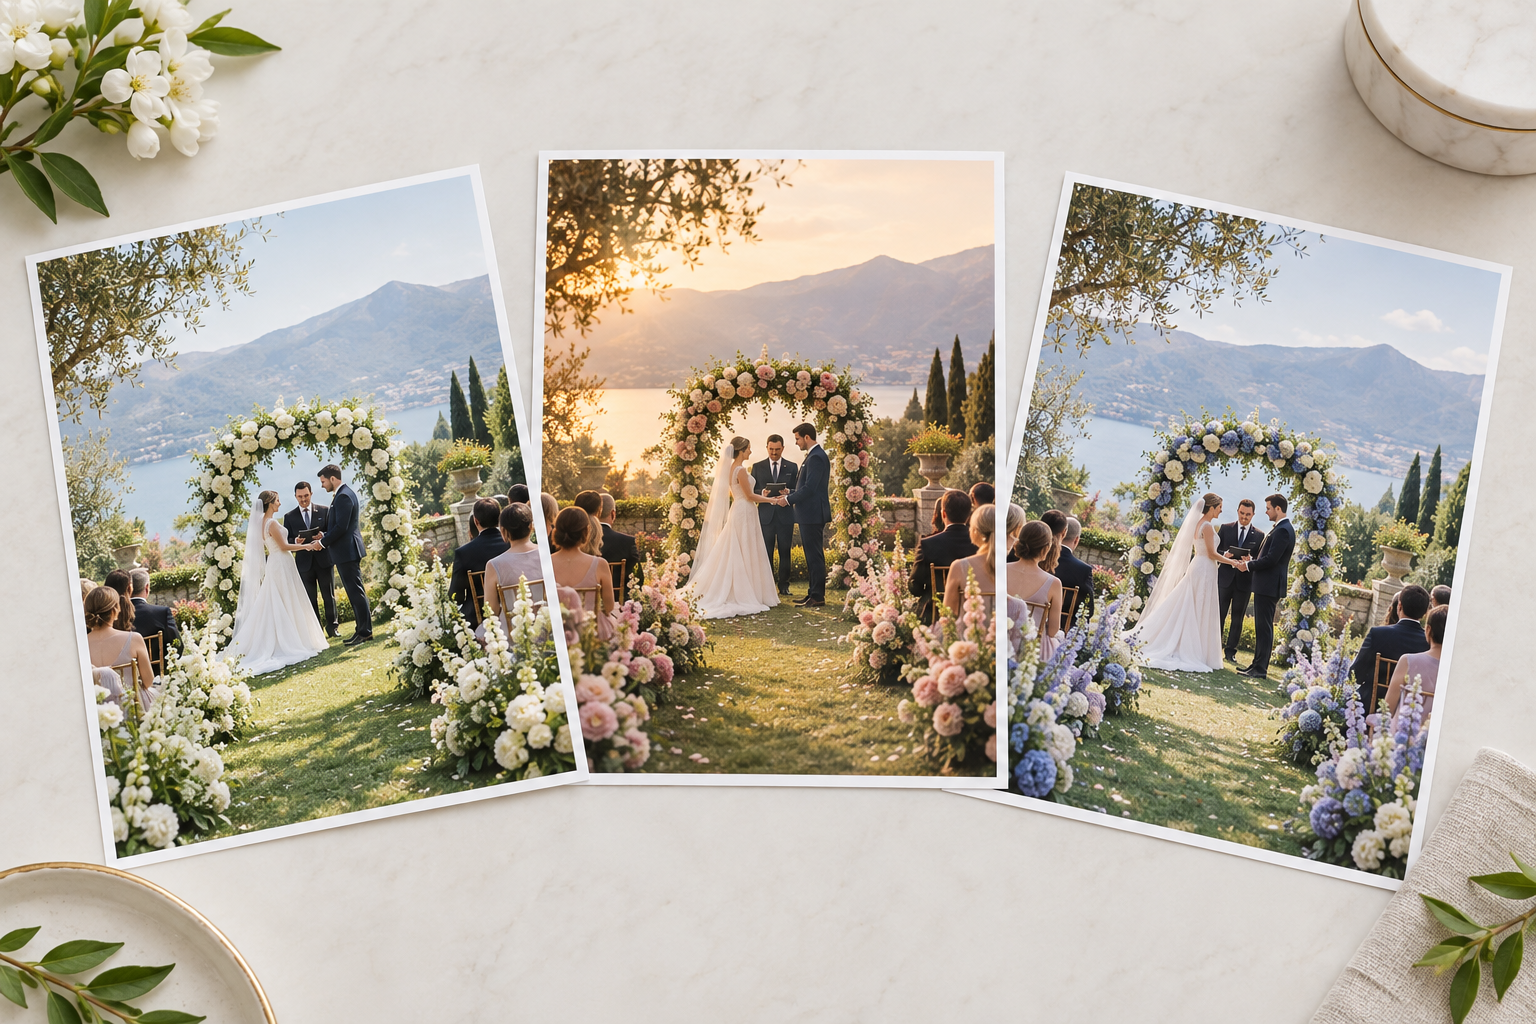
Step 02
Generate a few directions and compare them at full size. The AI wedding photos generator keeps the brief consistent while you judge the composition, the light, and the color first. Then look closely at faces, hands, and background details before you decide which image to keep.
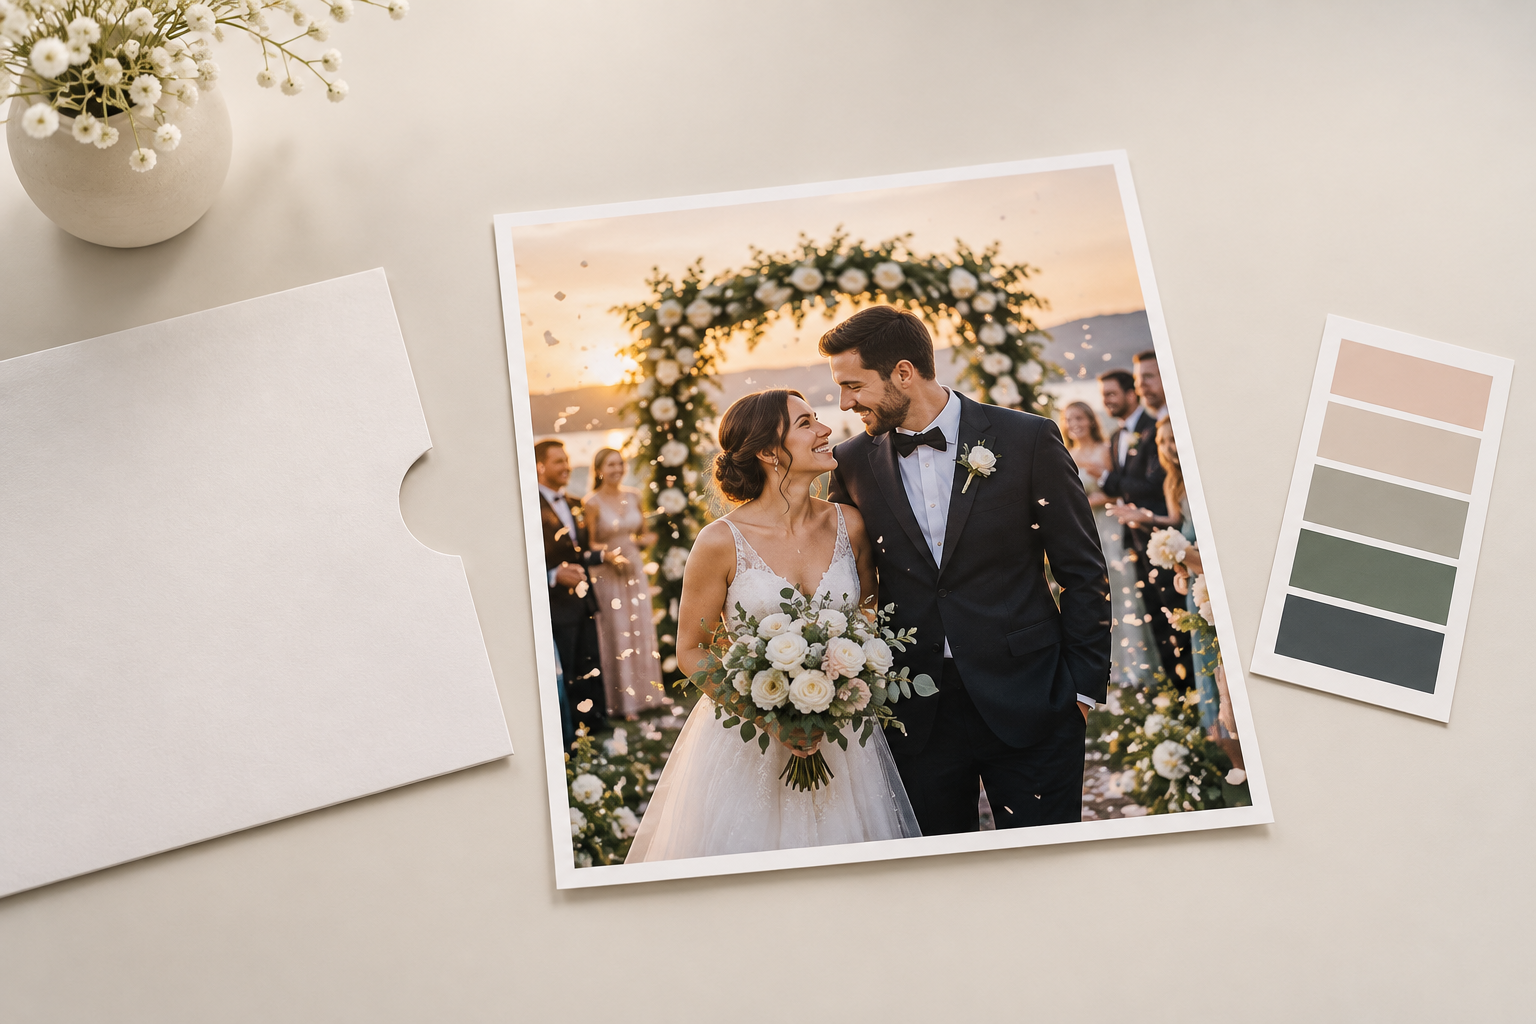
Step 03
Change one detail at a time, such as the pose, the venue, or the palette, until the image matches your brief. When the scene looks right, choose the aspect ratio you need and download the finished file.
Use a generated celebration image whenever a clear visual draft helps you choose a direction before you commit time or budget to a shoot.
Preview a season, a setting, and a palette for a save-the-date before you book a photographer or order prints.
Compare an outdoor garden, a coastal sunset, and an indoor ballroom to see which direction suits the celebration.
Create a soft celebration image with clear space for text, then place it on a thank-you card or a printed keepsake.
Ask the AI wedding photos generator for an engagement portrait or a maternity announcement image in the same styling as the rest of the celebration set.
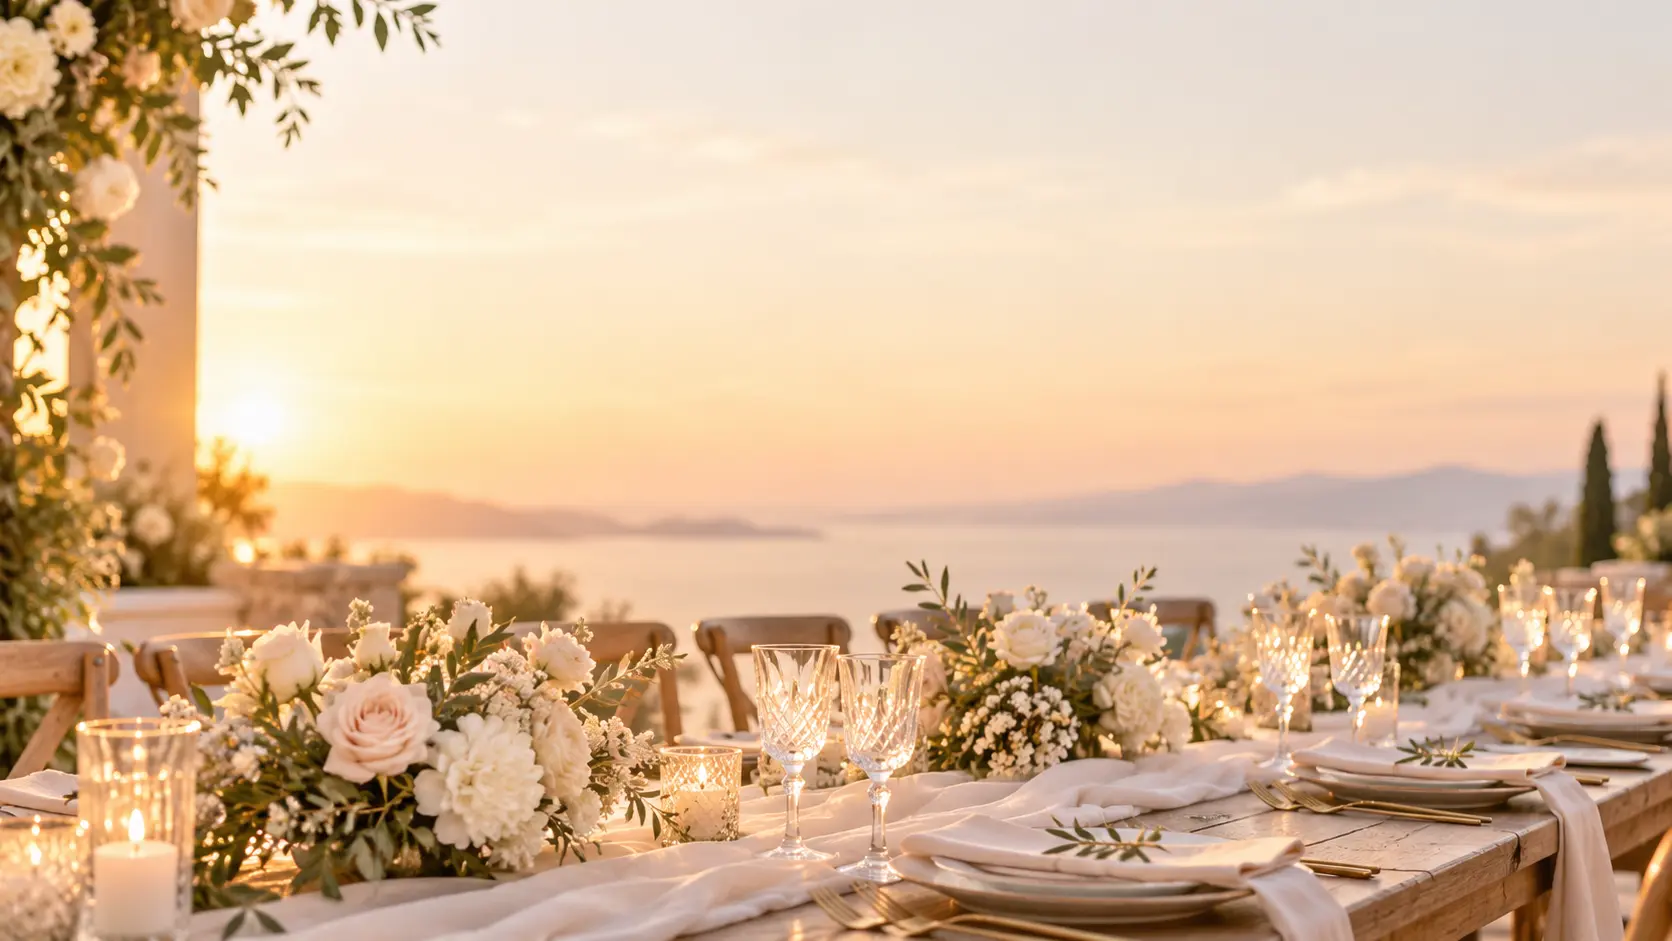
Describe the celebration, choose the palette and setting, and let the AI wedding photos generator deliver a realistic concept image for your mood board, invitation, or card.
Get Started