
Step 01
Describe The Space
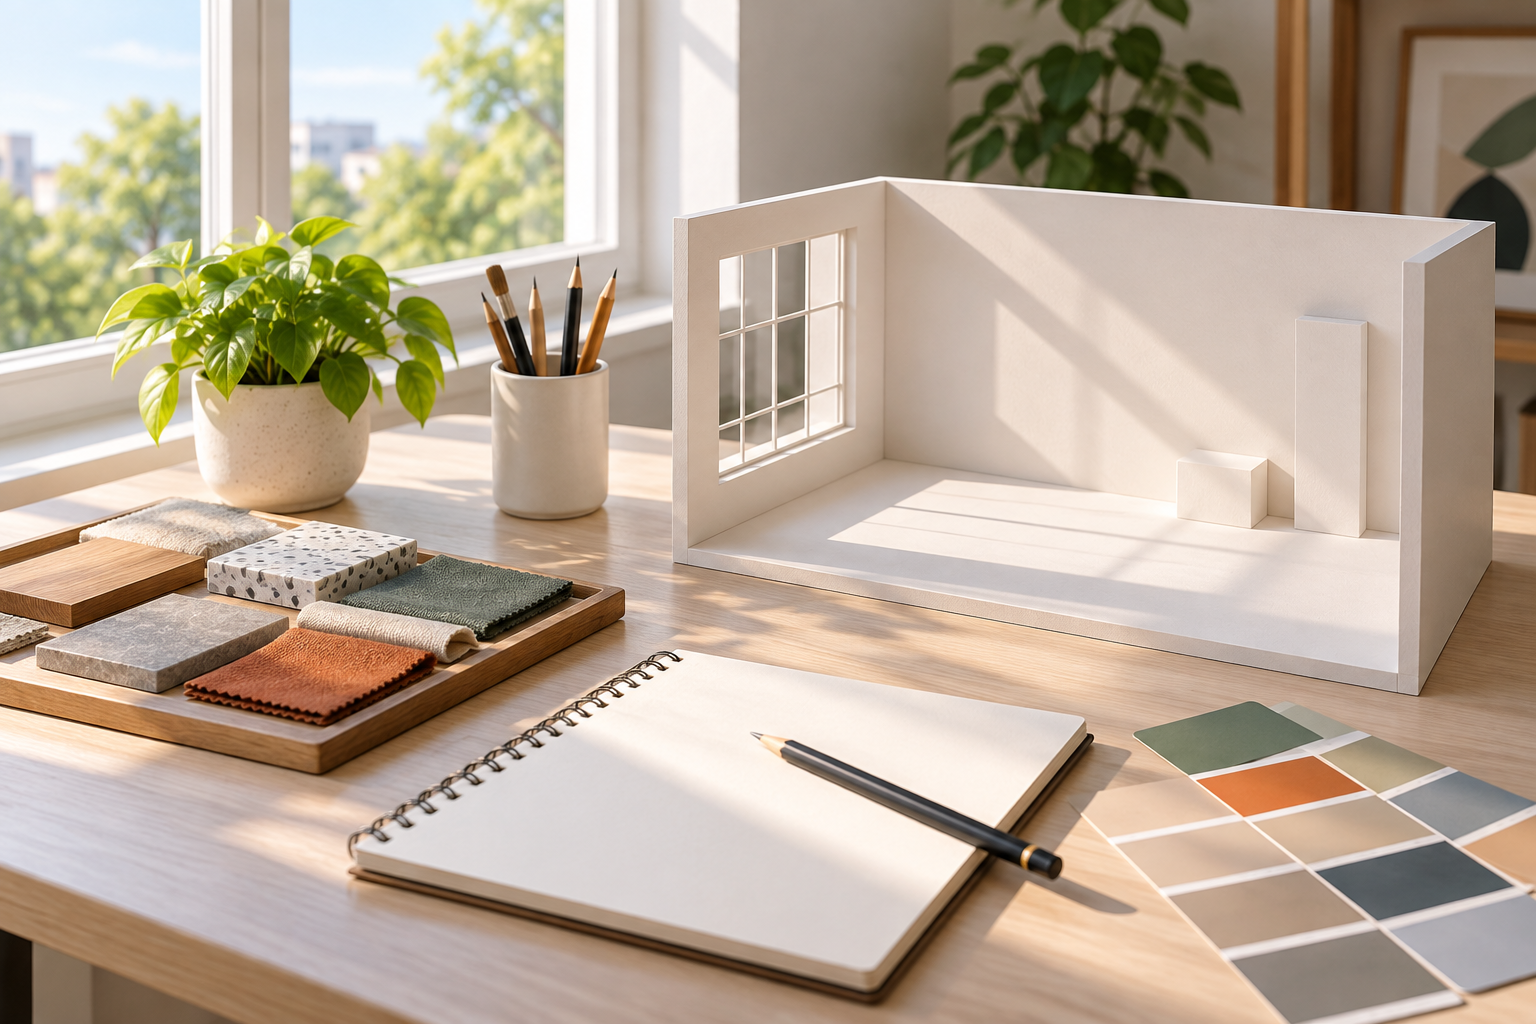
Write the materials, colors, lighting, camera angle, mood, and empty space you want. Mention the final ratio before generating.

Build A New Setting
A background maker turns a written scene into a usable setting for a product, portrait, social post, or campaign image. Describe the surface, light, camera angle, colors, and empty space you need, then add a reference when the result must stay close to a real subject. Generate a few directions and keep the one that fits the final crop.
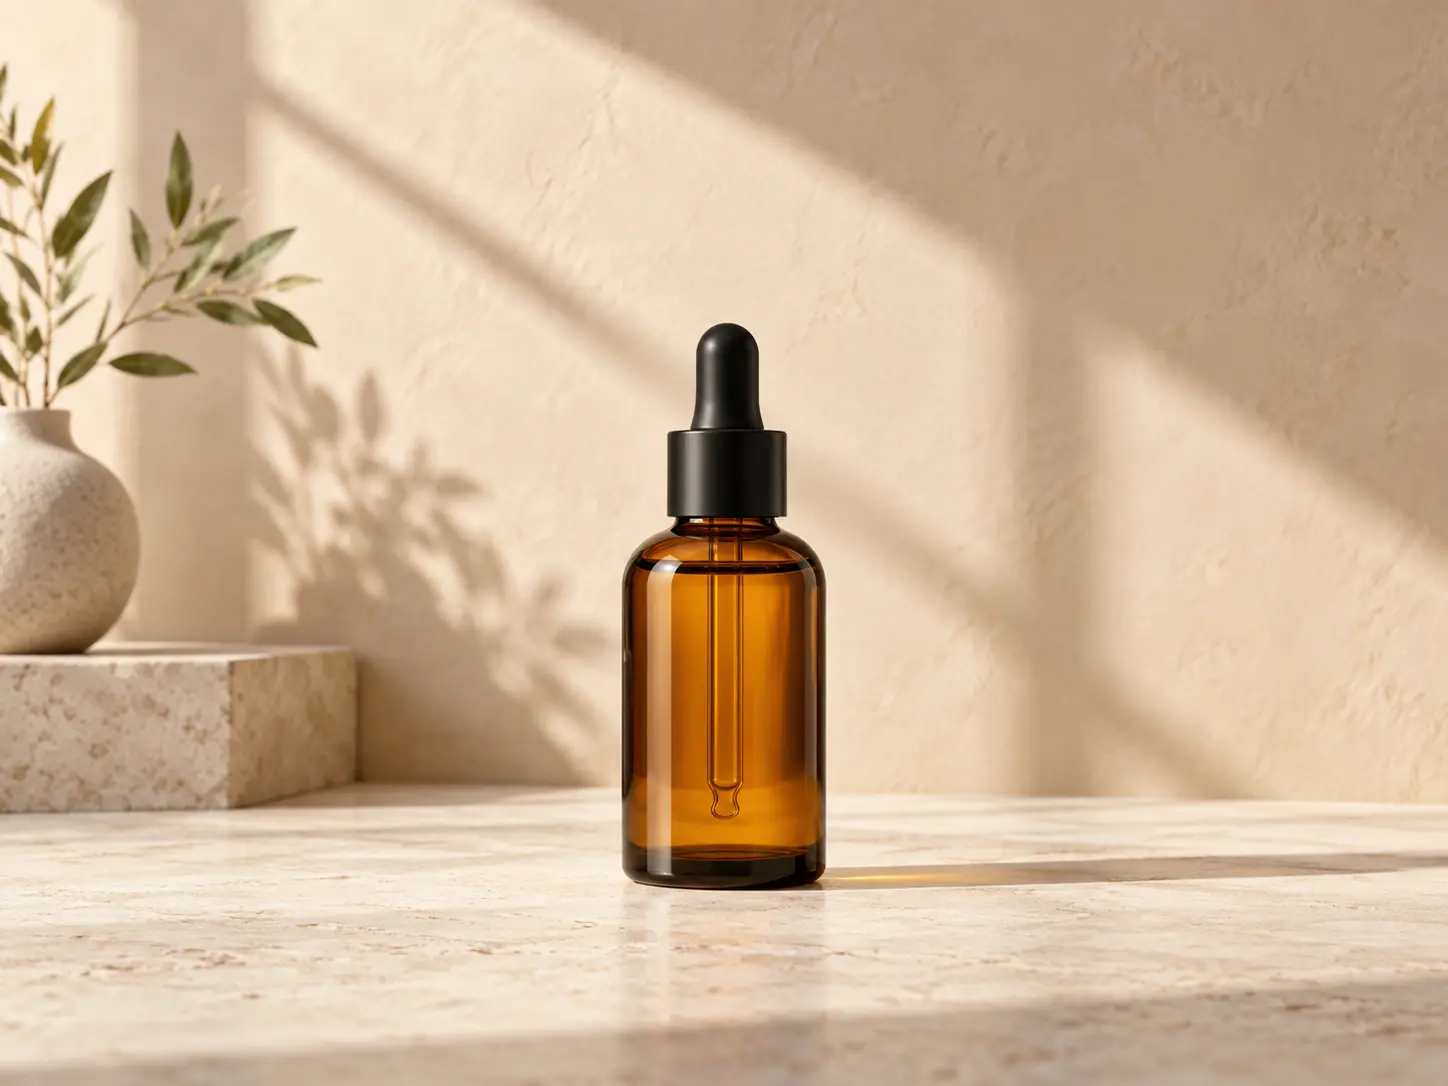
Build a setting that supports the subject and the destination layout.
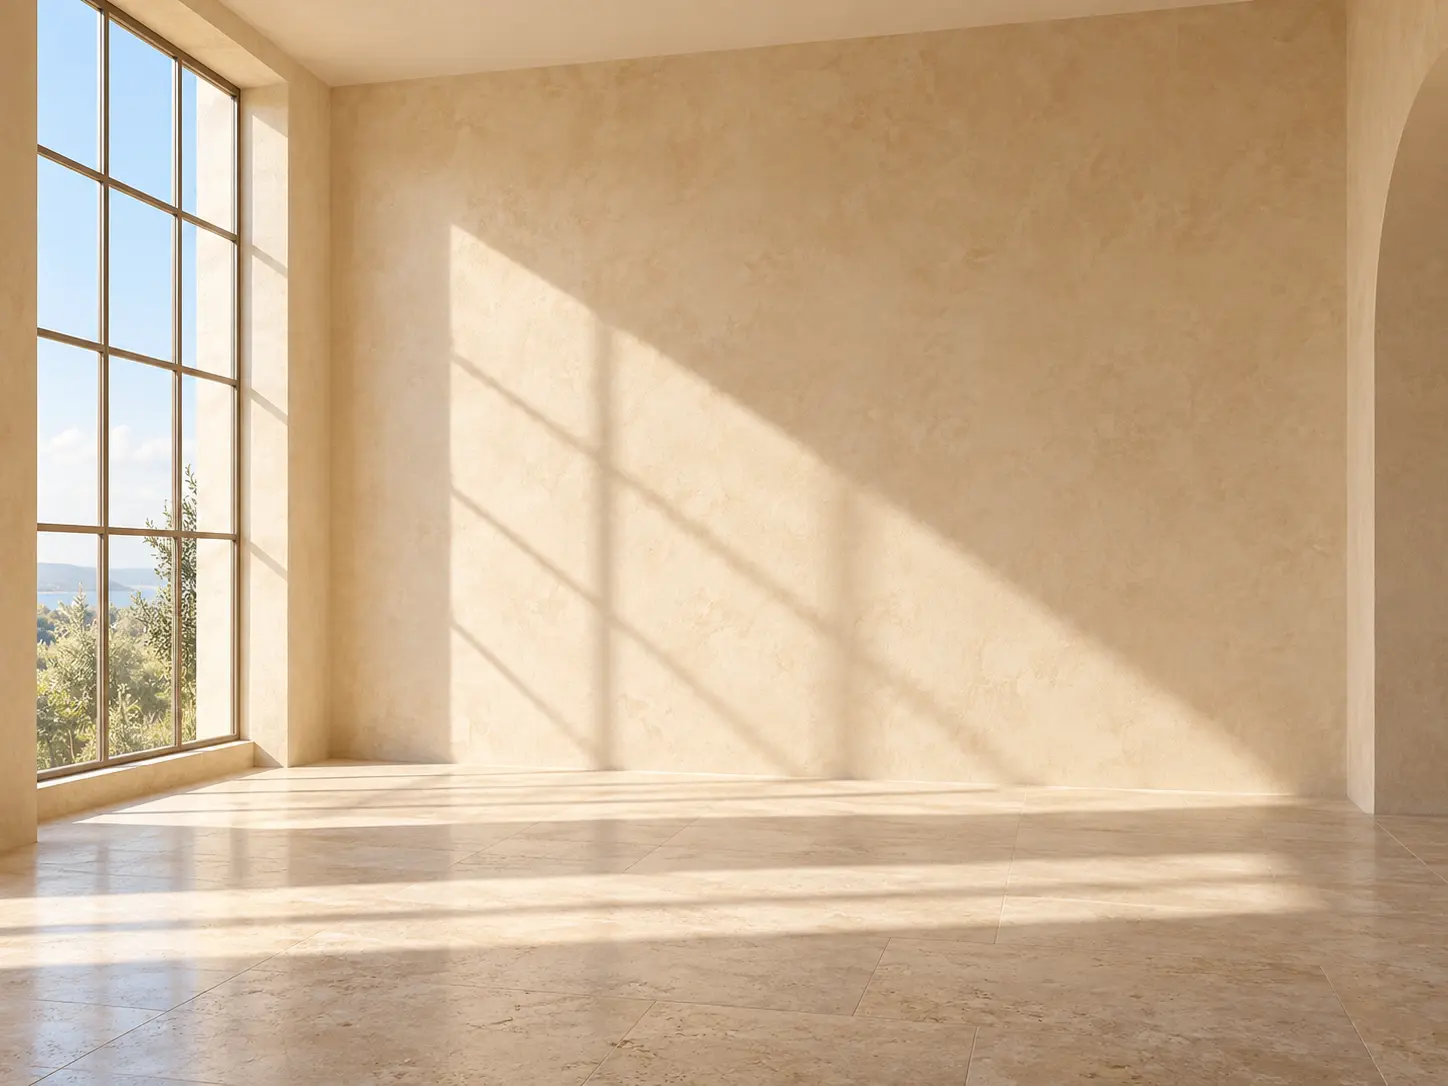
Name the room, landscape, materials, weather, time of day, and mood. Concrete nouns give the background maker a visual structure to render.
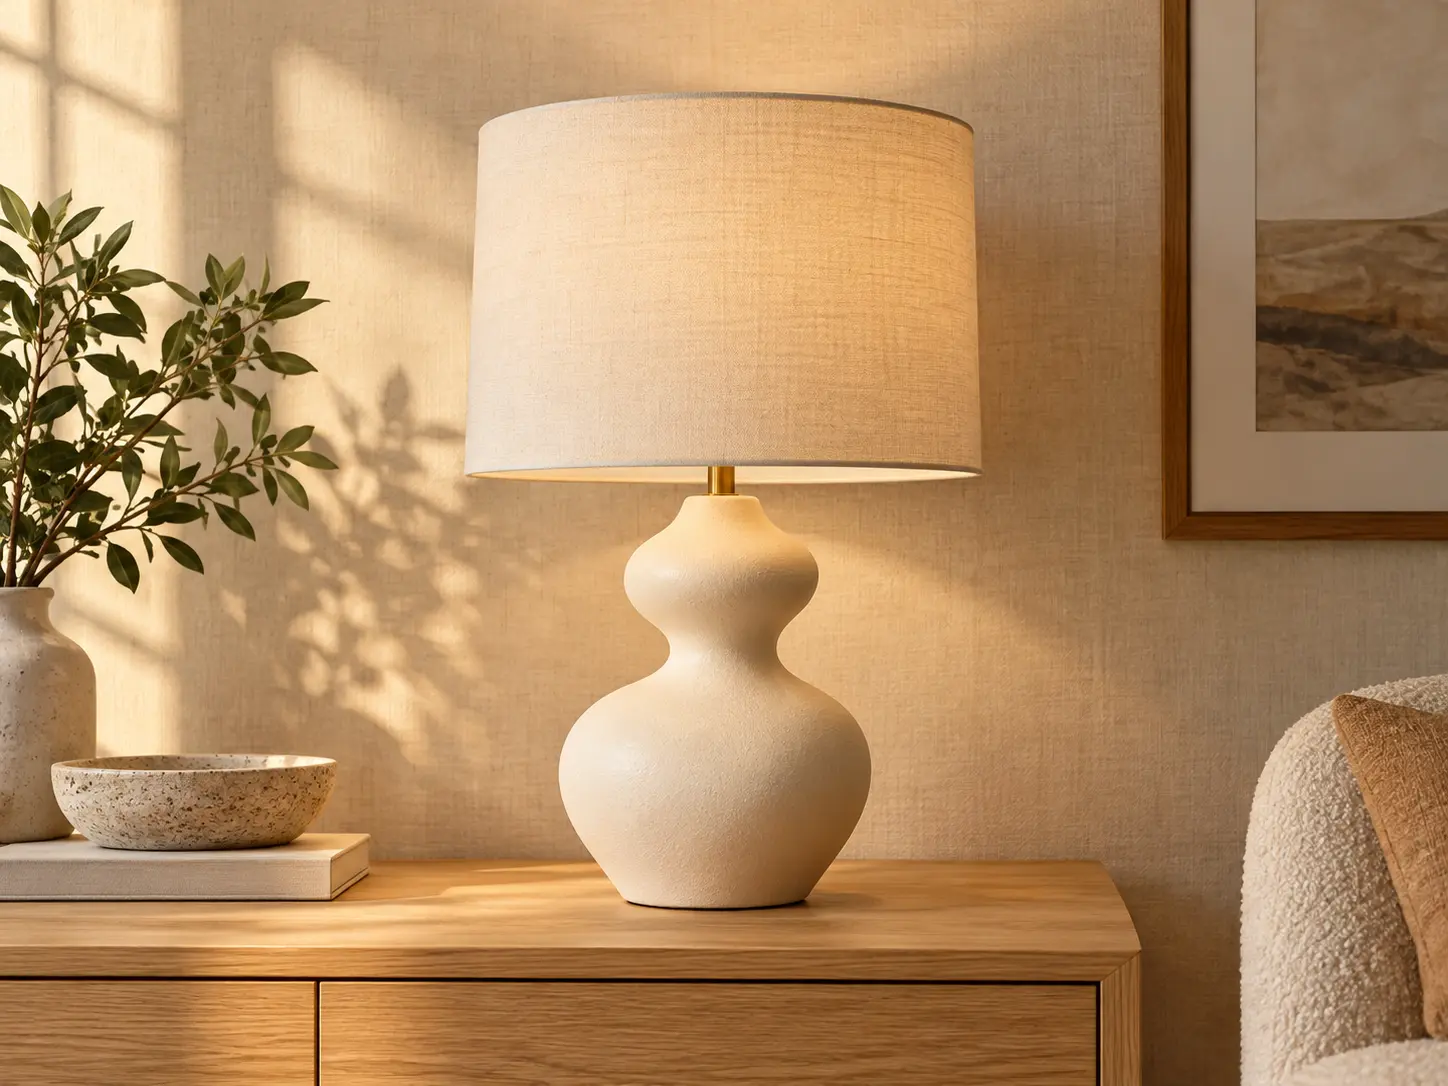
Upload a product, portrait, or mood reference when proportions and silhouette matter. Keep the source clear so the background maker can separate the subject from a busy edge.
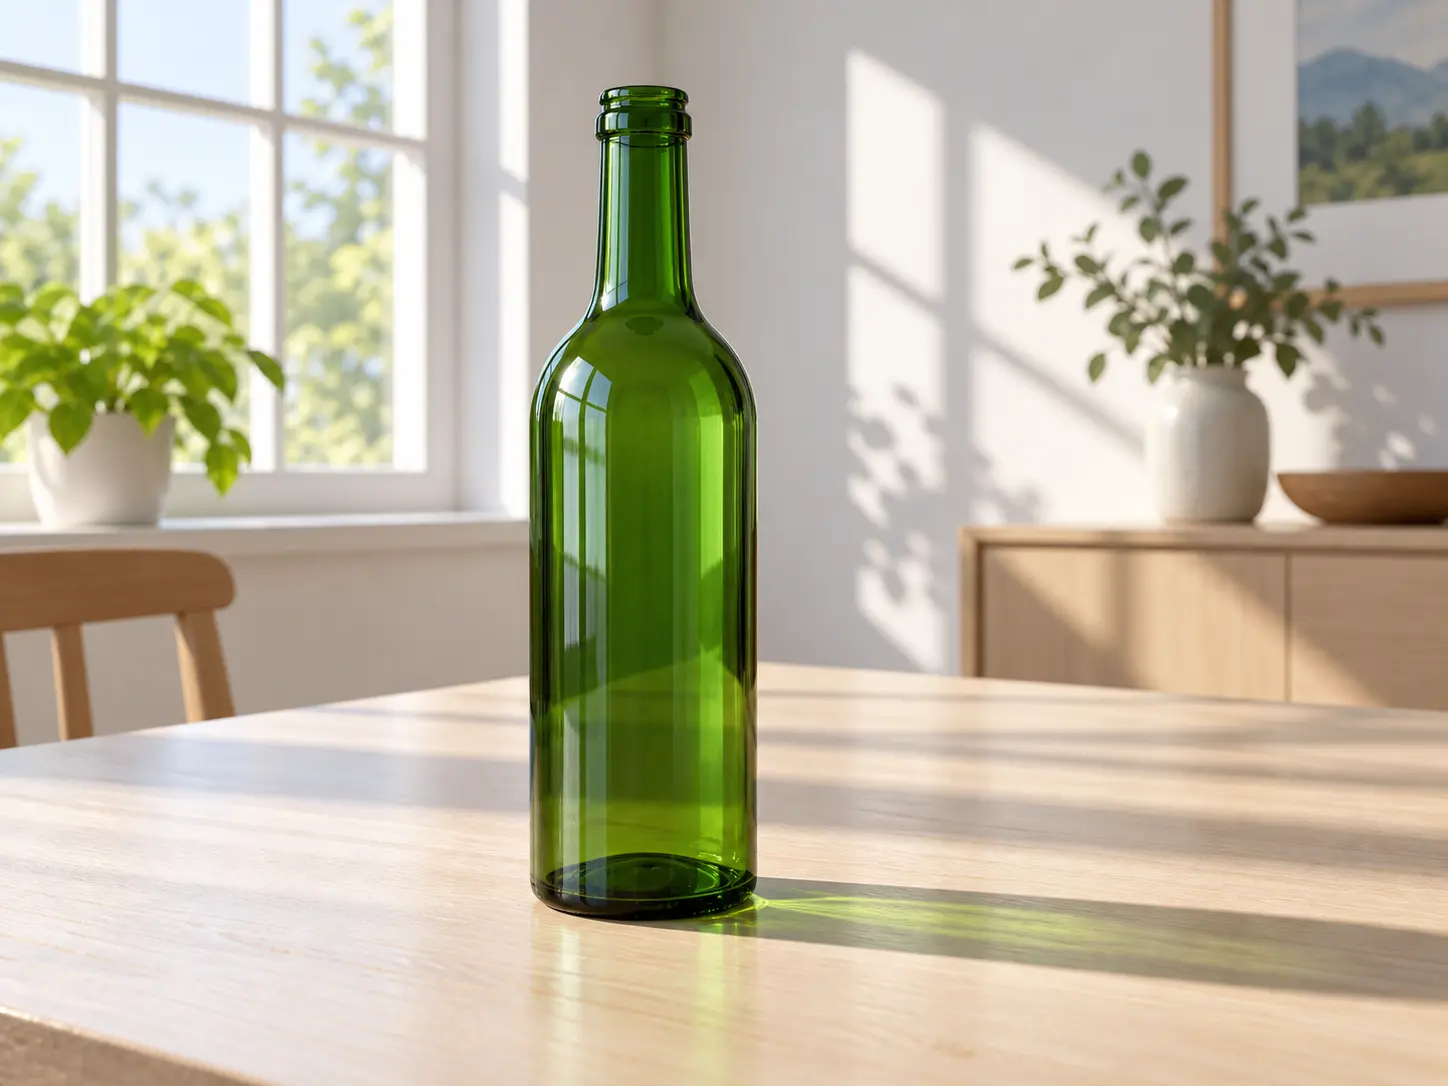
Specify camera height, horizon, light direction, shadow softness, and floor contact. These cues make a generated background feel connected to the object or person in front.
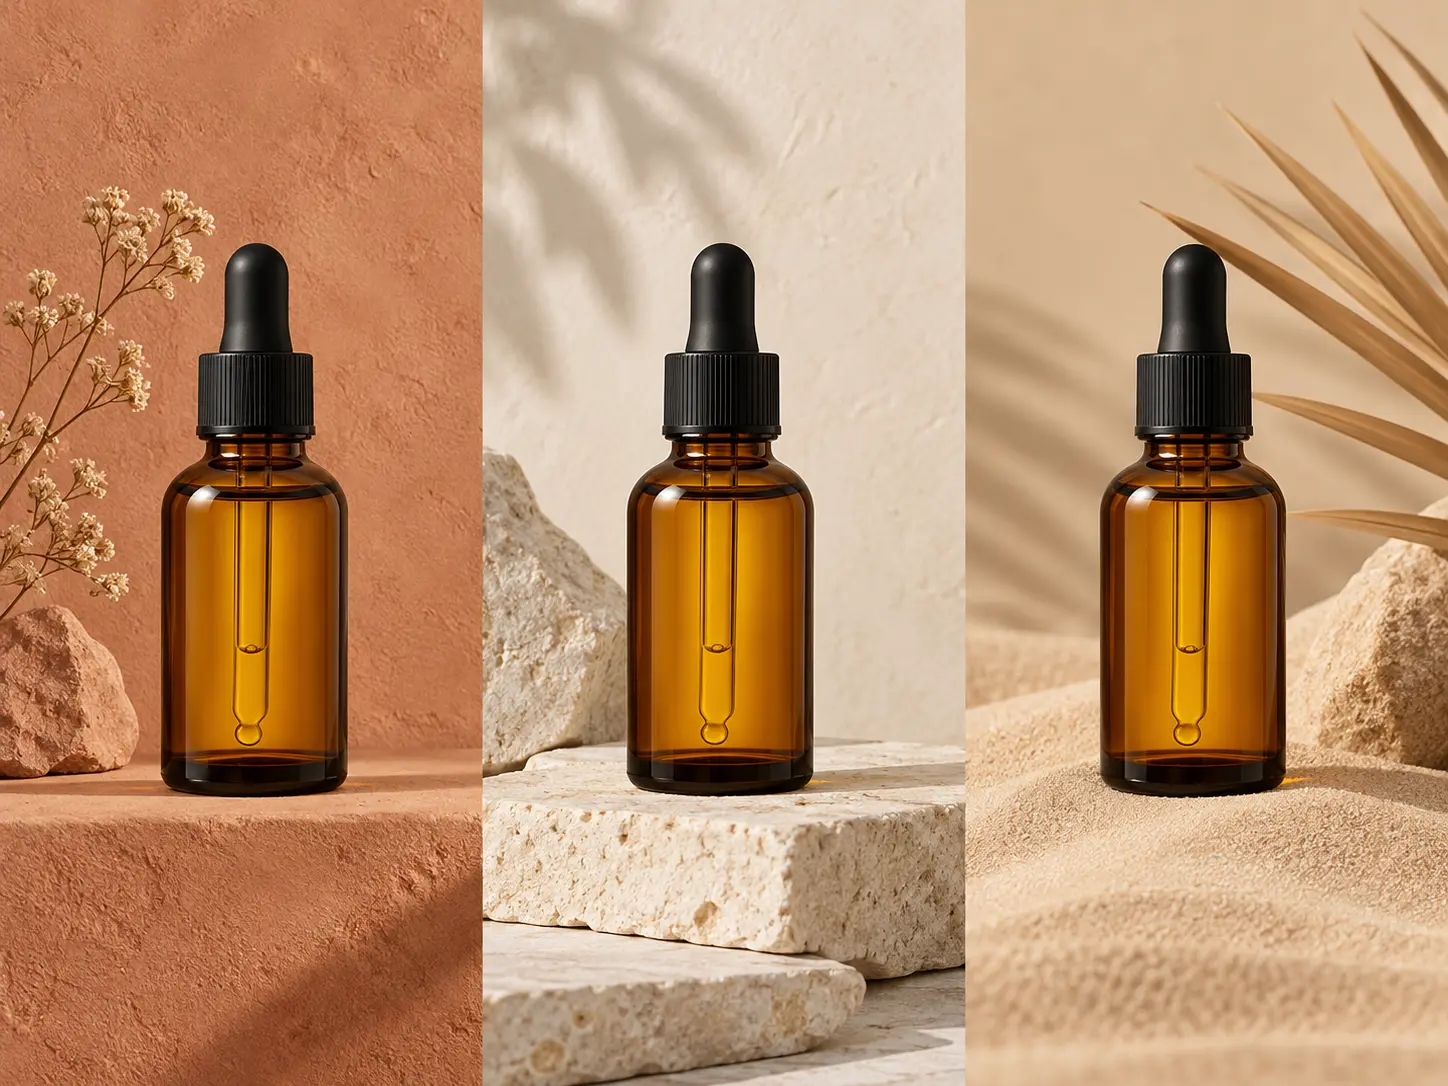
Keep the surface, palette, and light direction stable while varying the crop or scene. Save the approved prompt so a background set feels like one campaign.
Describe, guide, and review the scene in three steps.
Step 01
Write the materials, colors, lighting, camera angle, mood, and empty space you want. Mention the final ratio before generating.
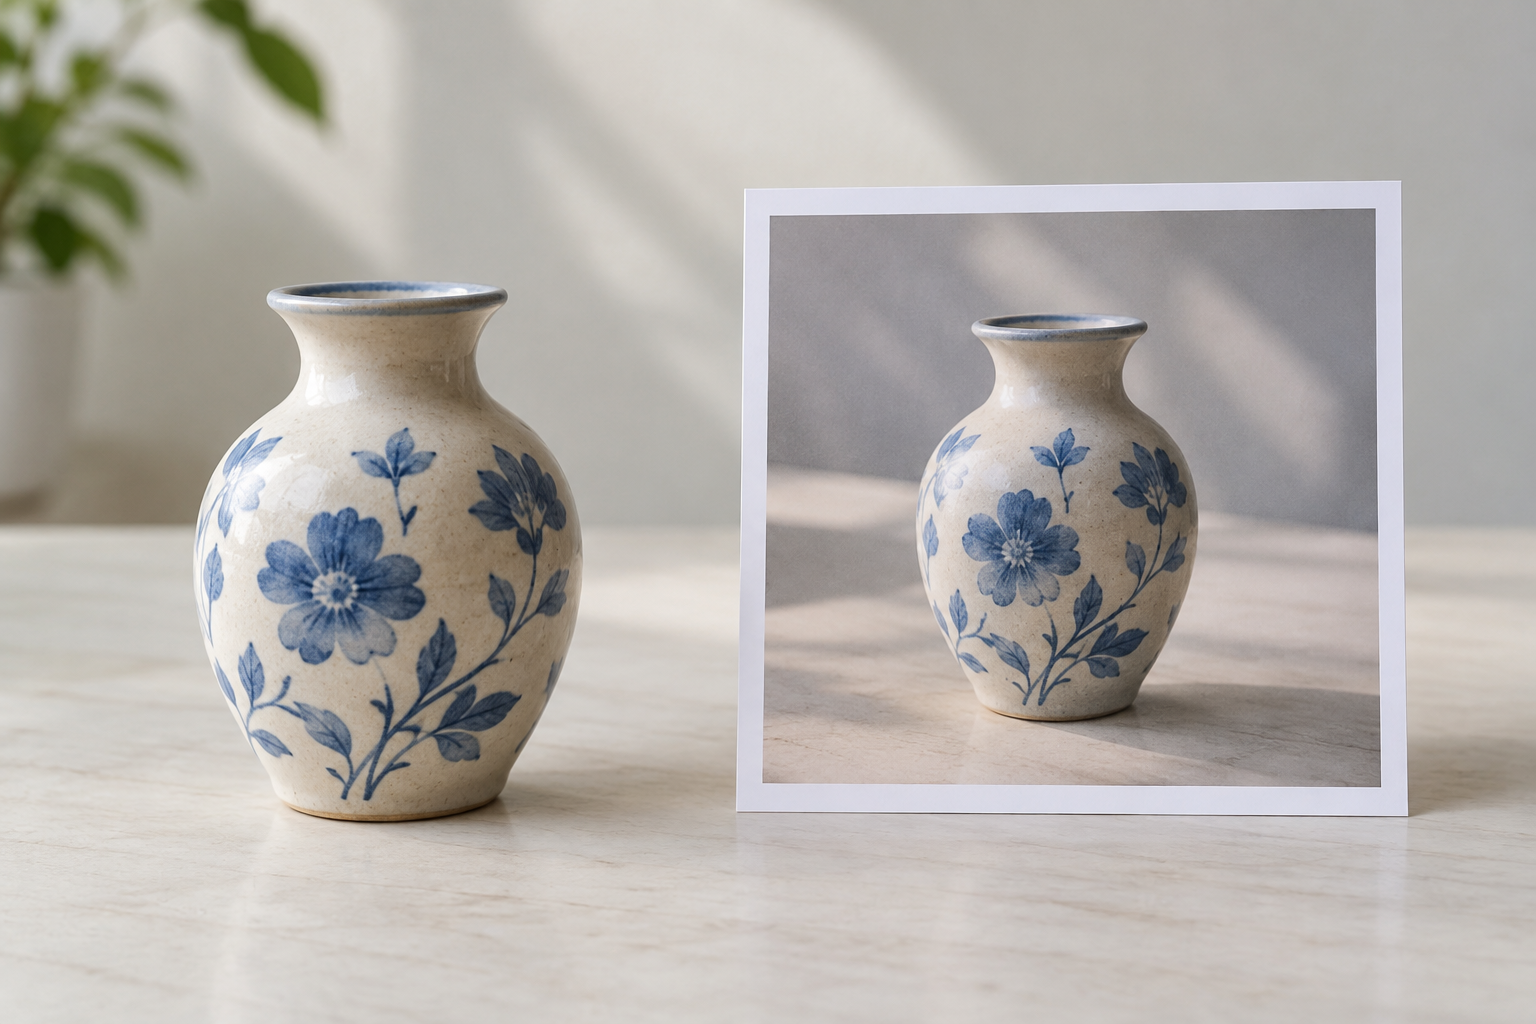
Step 02
Upload a product, portrait, or visual reference when the setting must support a specific subject. A clean source makes the silhouette easier to preserve.
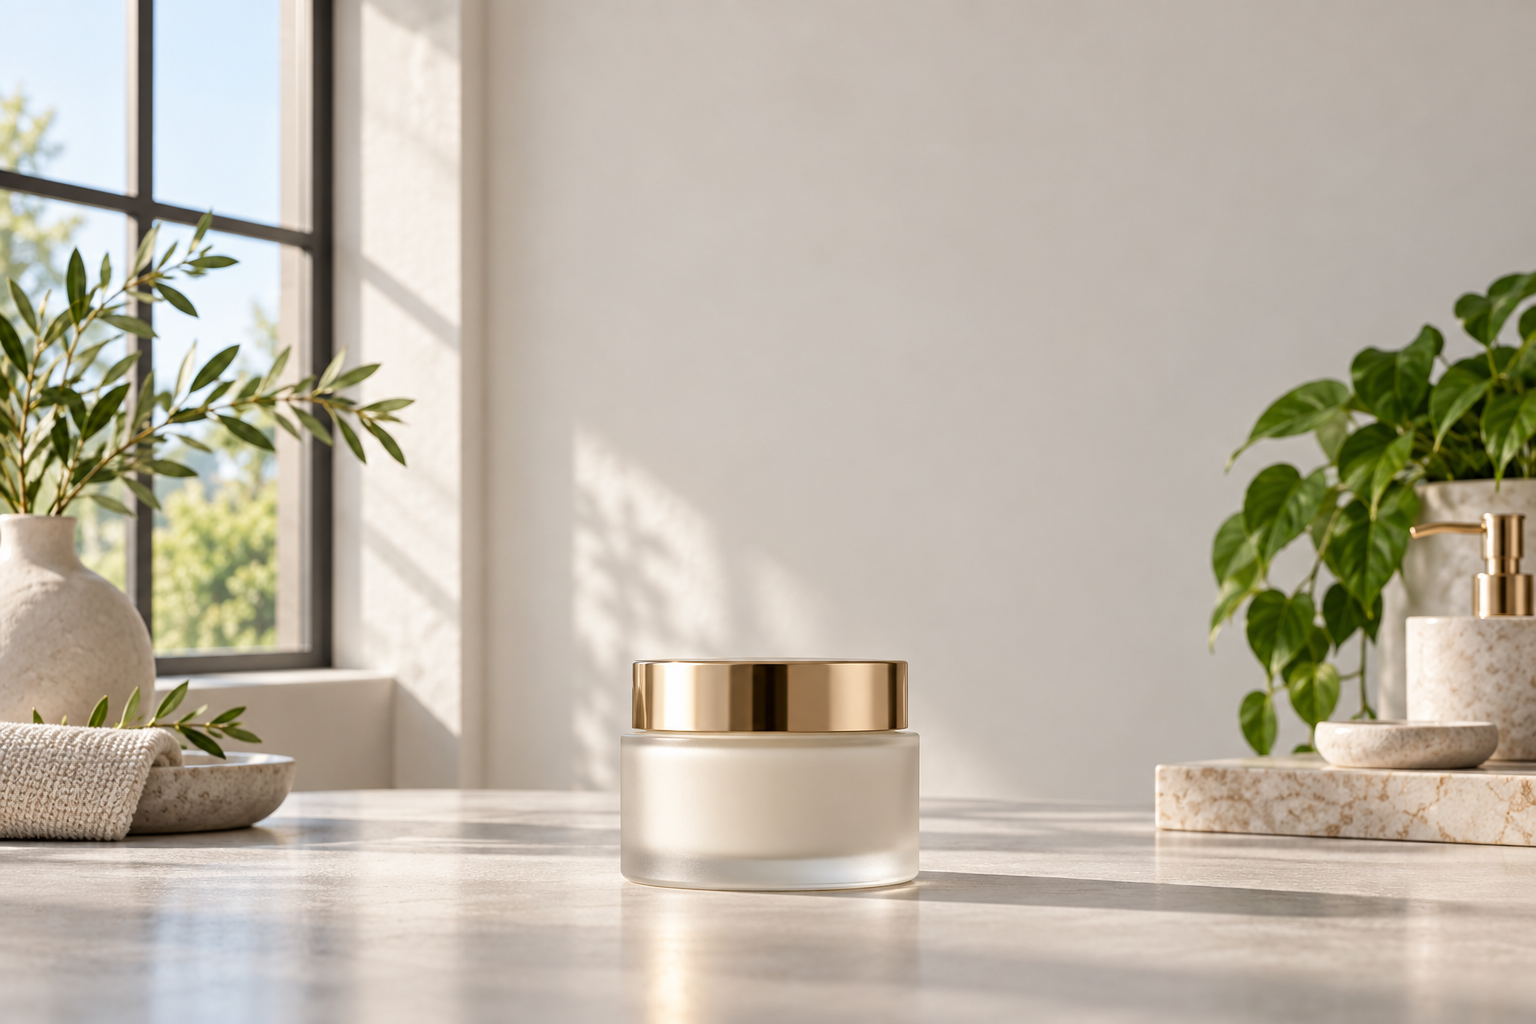
Step 03
Check the subject edge, light direction, floor contact, perspective, and open space. Refine the description if the background is too busy, then export the useful version.
Create settings for commerce, content, and personal images.
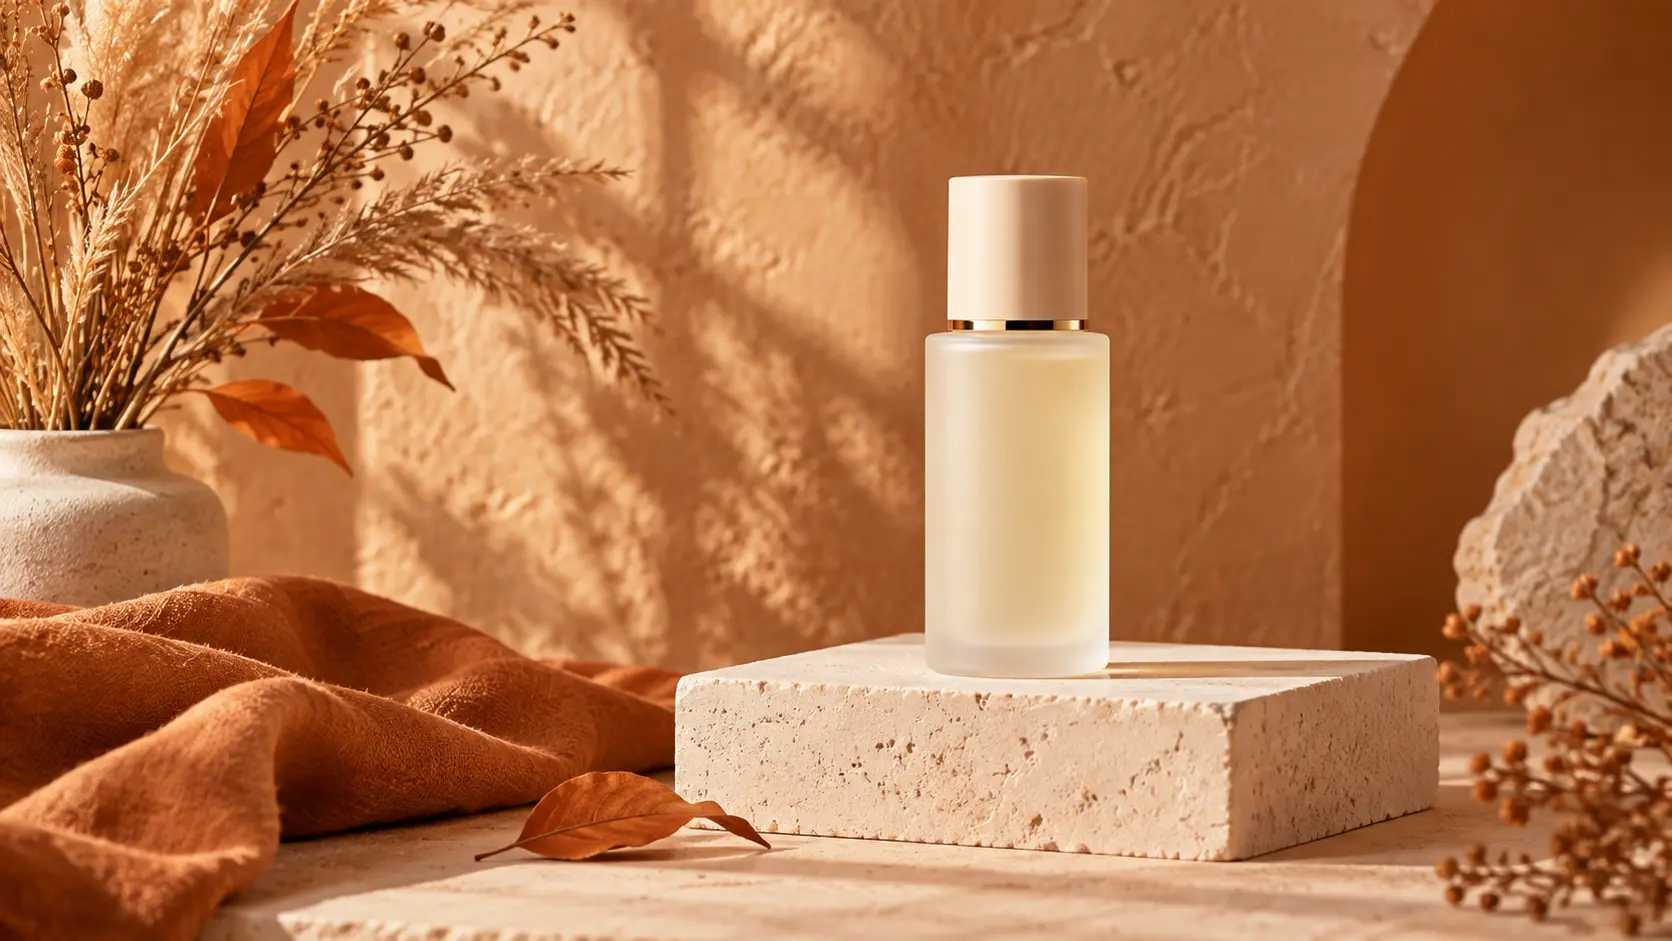
Build seasonal, editorial, or channel-specific scenes around one product without another photo shoot.
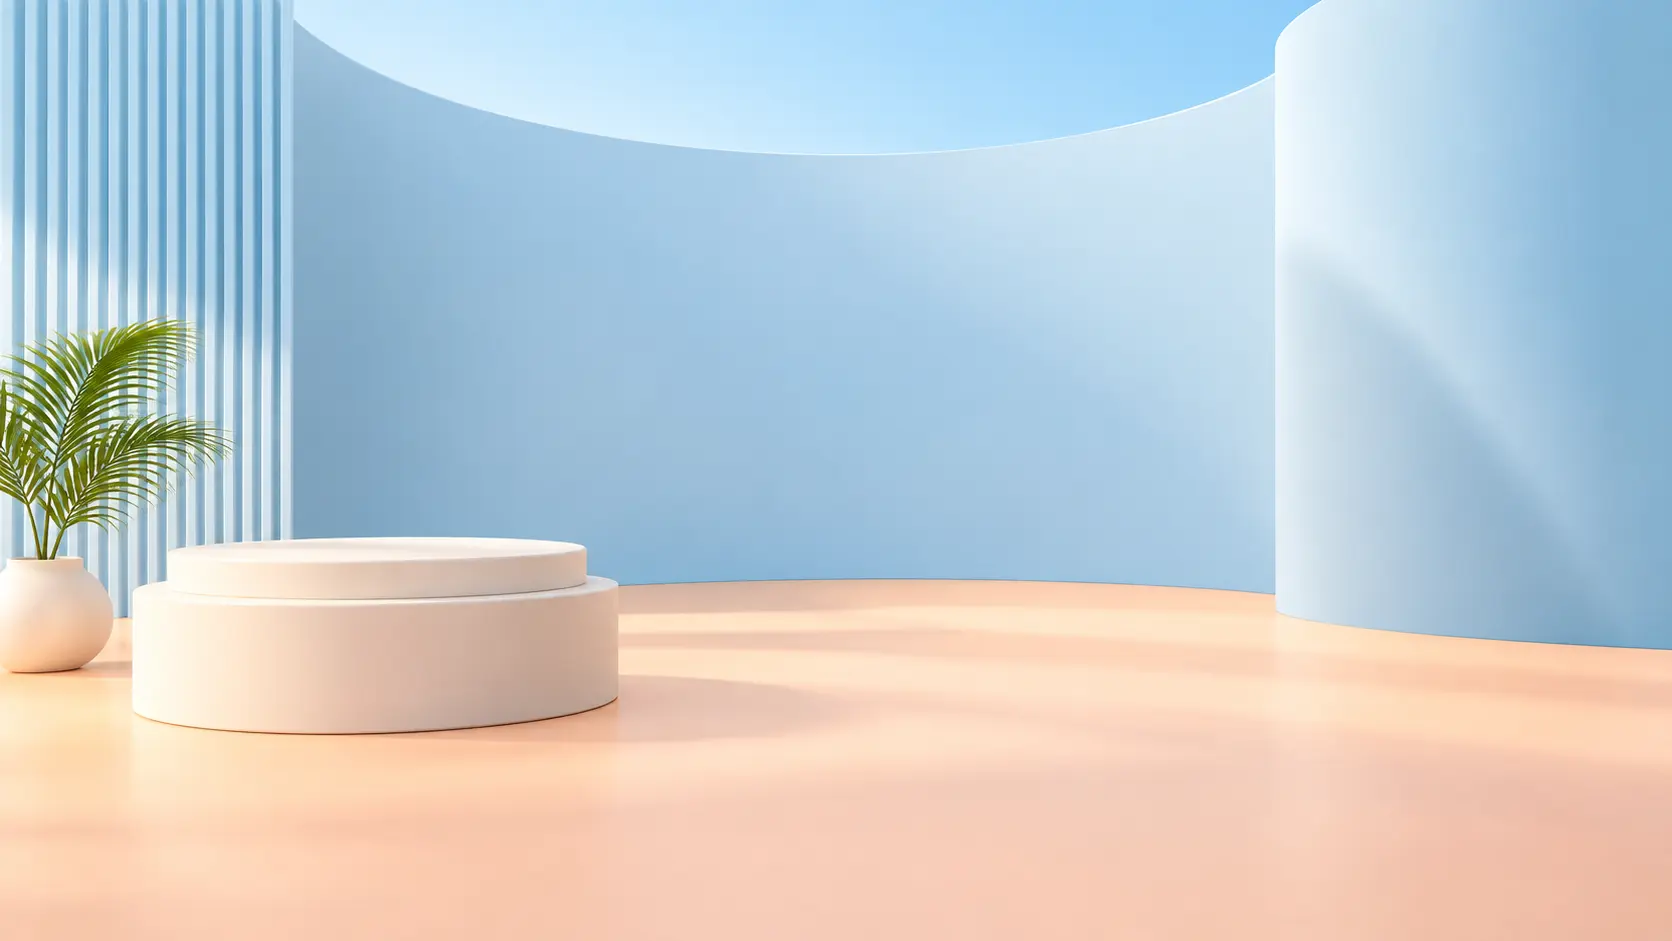
Make a distinctive setting with clear negative space for a headline, quote, or thumbnail crop.
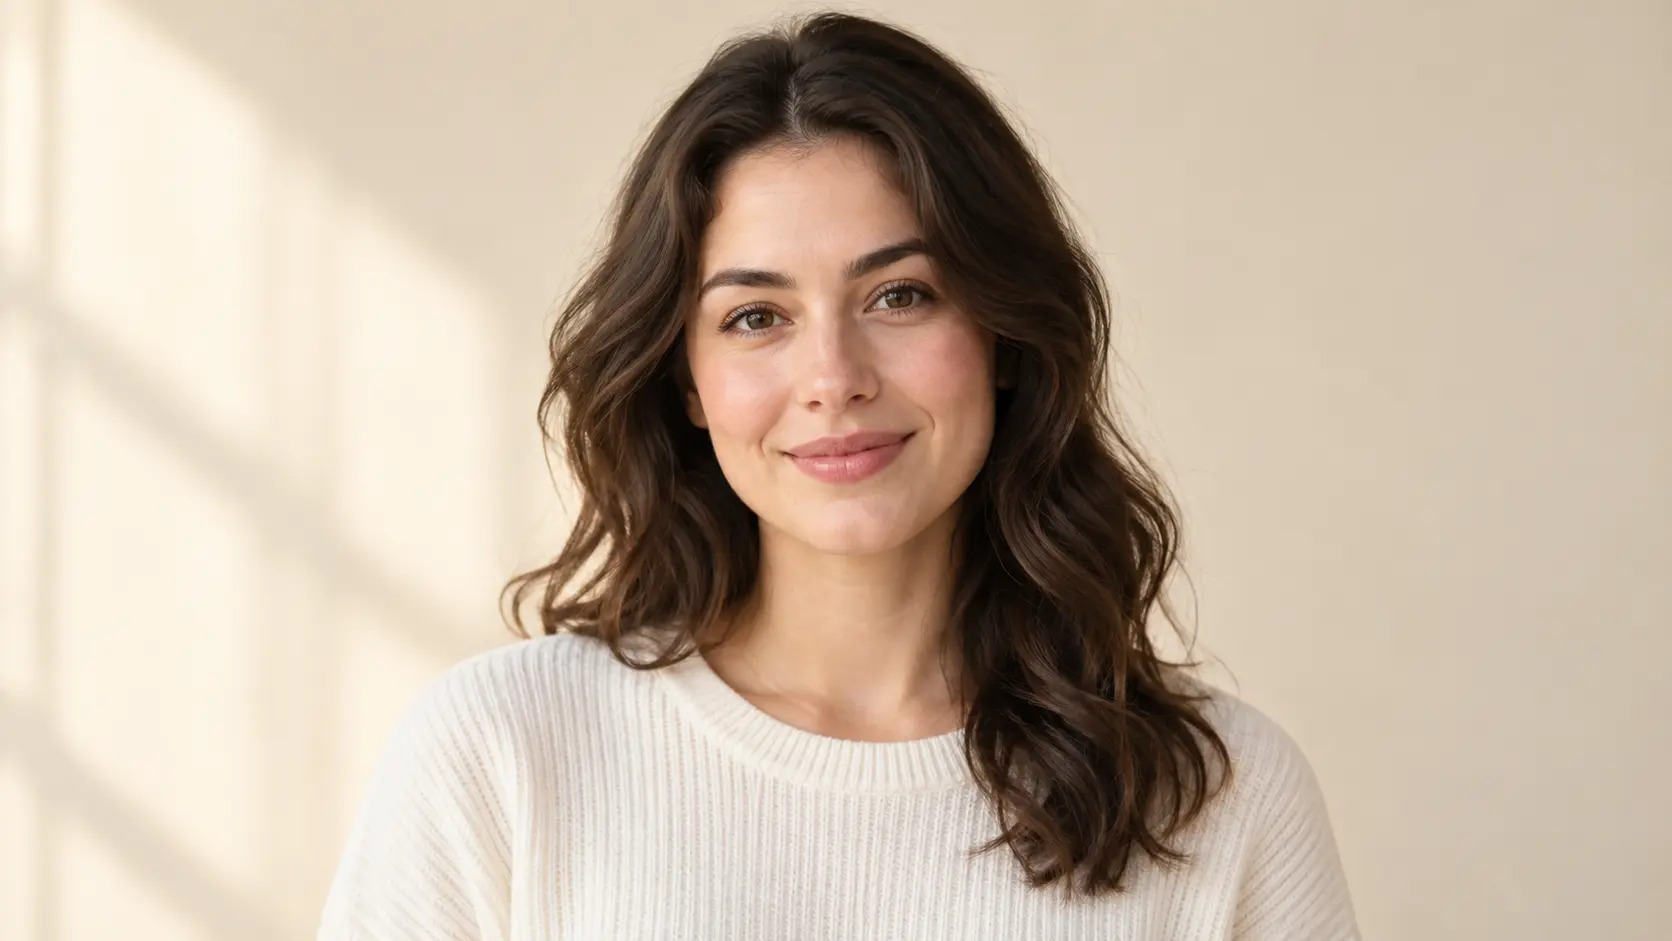
Give a headshot a calm studio, outdoor, or color-led setting while keeping the person central.
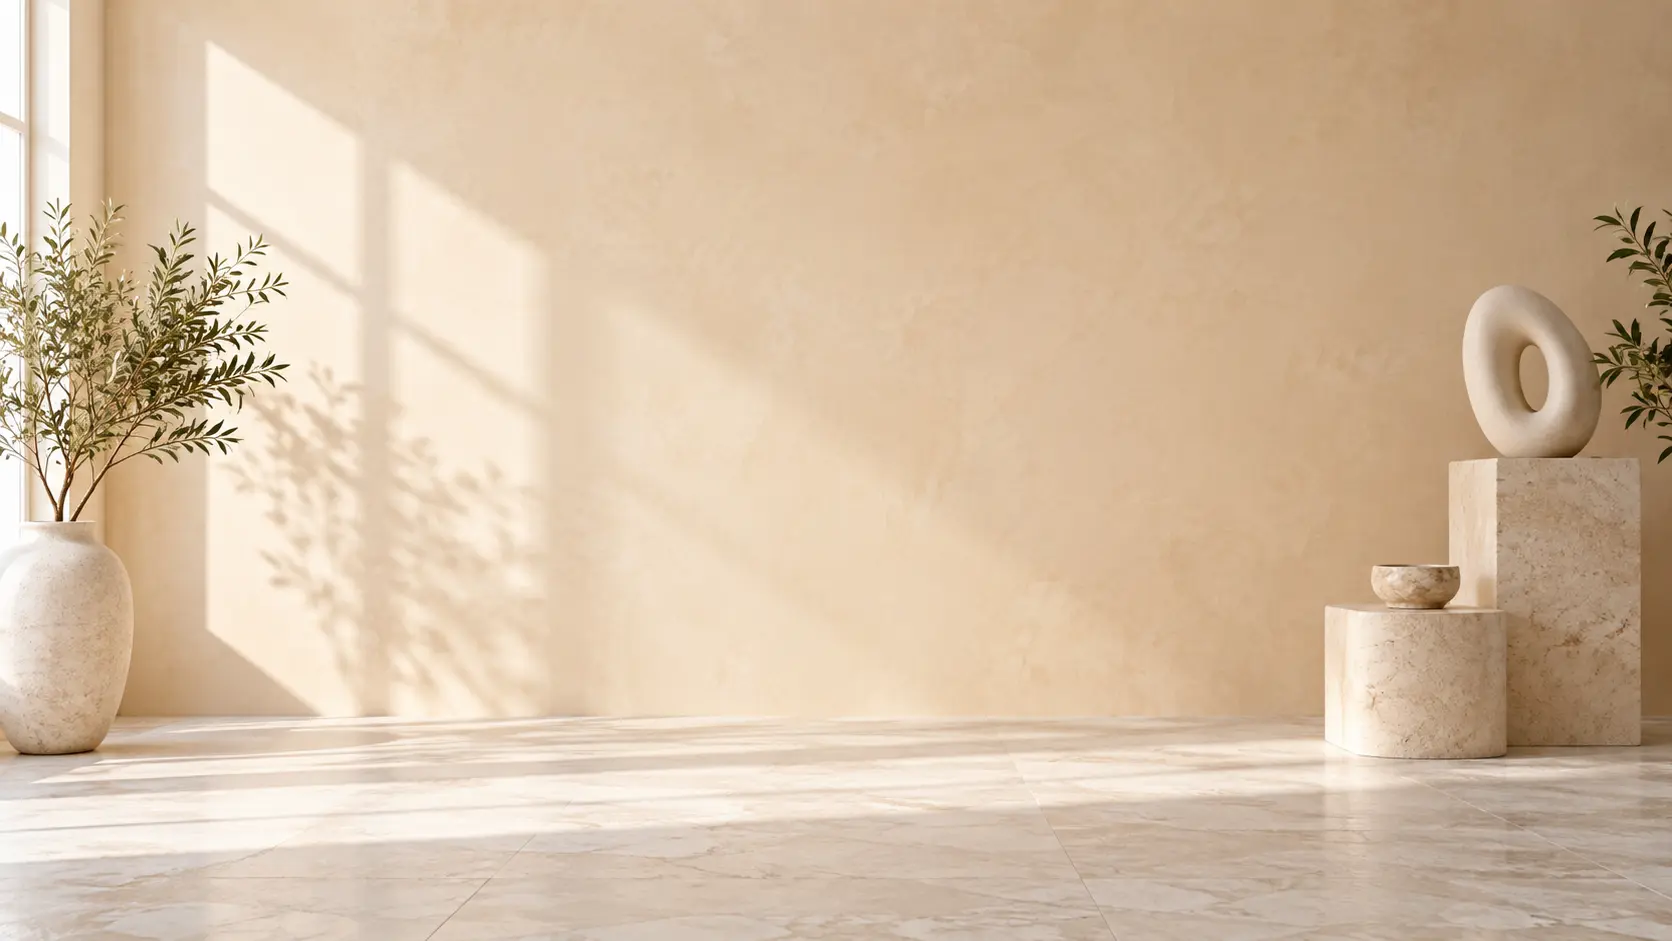
Describe the setting, add a reference when needed, and create a scene with the light and empty space your layout requires.
Get Started