
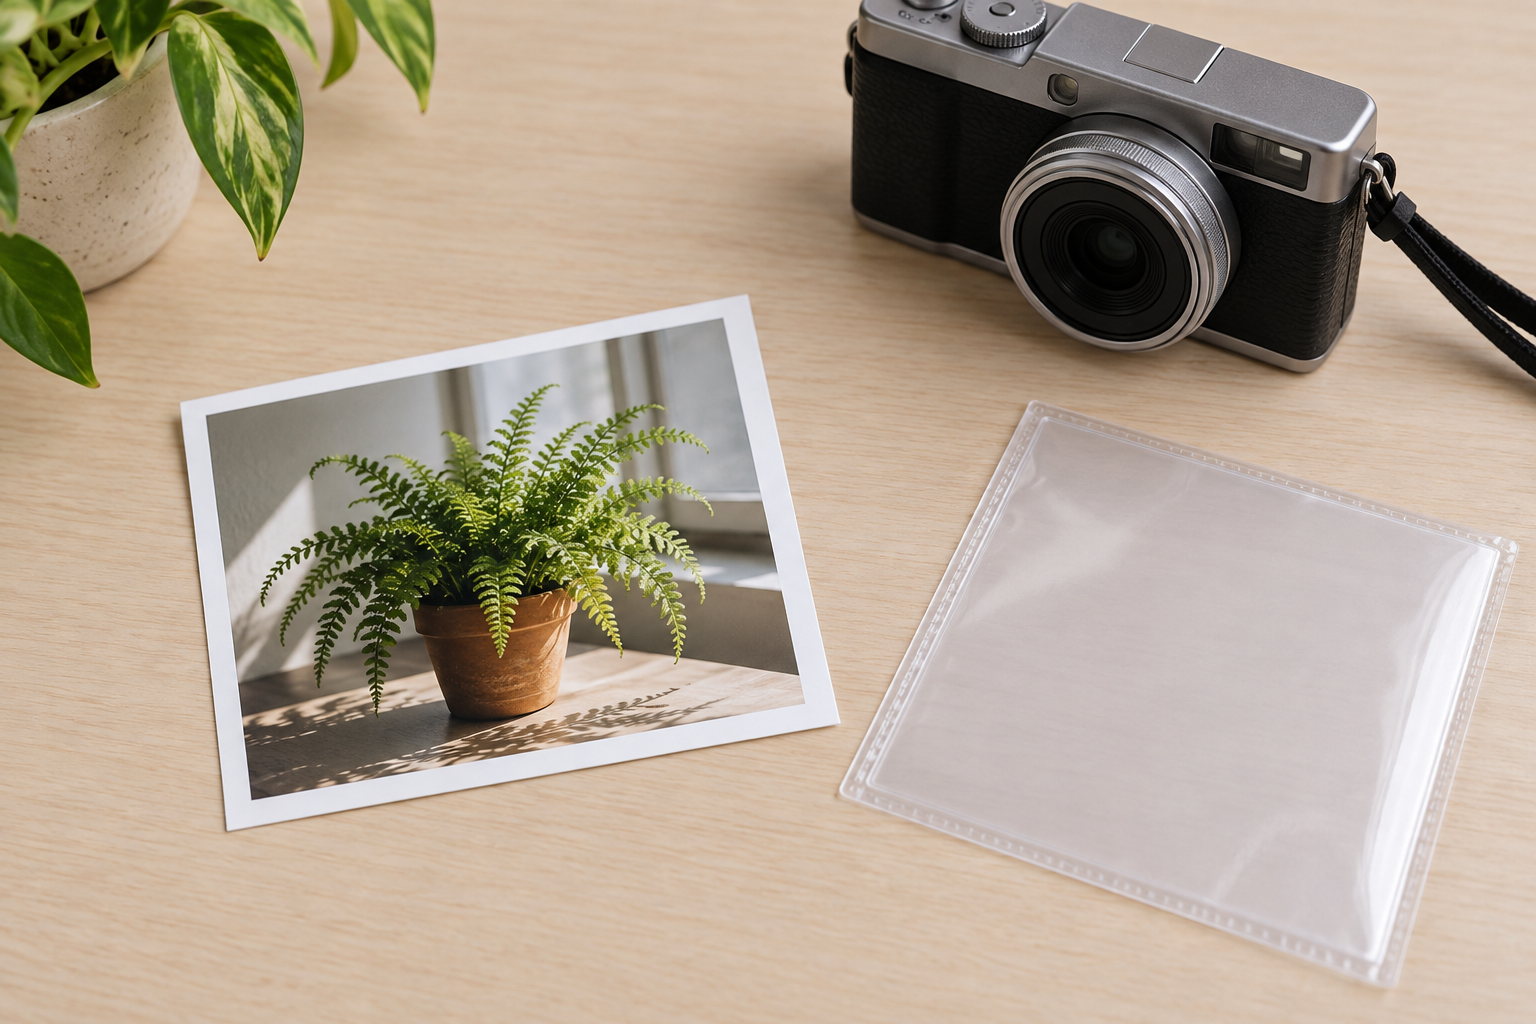
Step 01
Upload the Source Image
Add the smallest or softest image that needs a higher-resolution output.

Use this 4K image converter when a small or soft photograph needs to hold up in a larger layout. Upload the source image, choose the enlargement level, and let VideoAI reconstruct cleaner edges and detail while keeping the original subject and composition recognizable. Review the higher-resolution result, then download it for print, a larger screen, or a more detailed page.


No picture on hand? Try with one of these
The task is resolution, not file format. A useful 4K photo converter increases output size, reconstructs edge and texture detail where possible, and keeps the subject, crop, and composition aligned with the source. It cannot recover information that was never captured, so the best results start with a reasonably sharp image rather than a severely damaged or heavily compressed file.
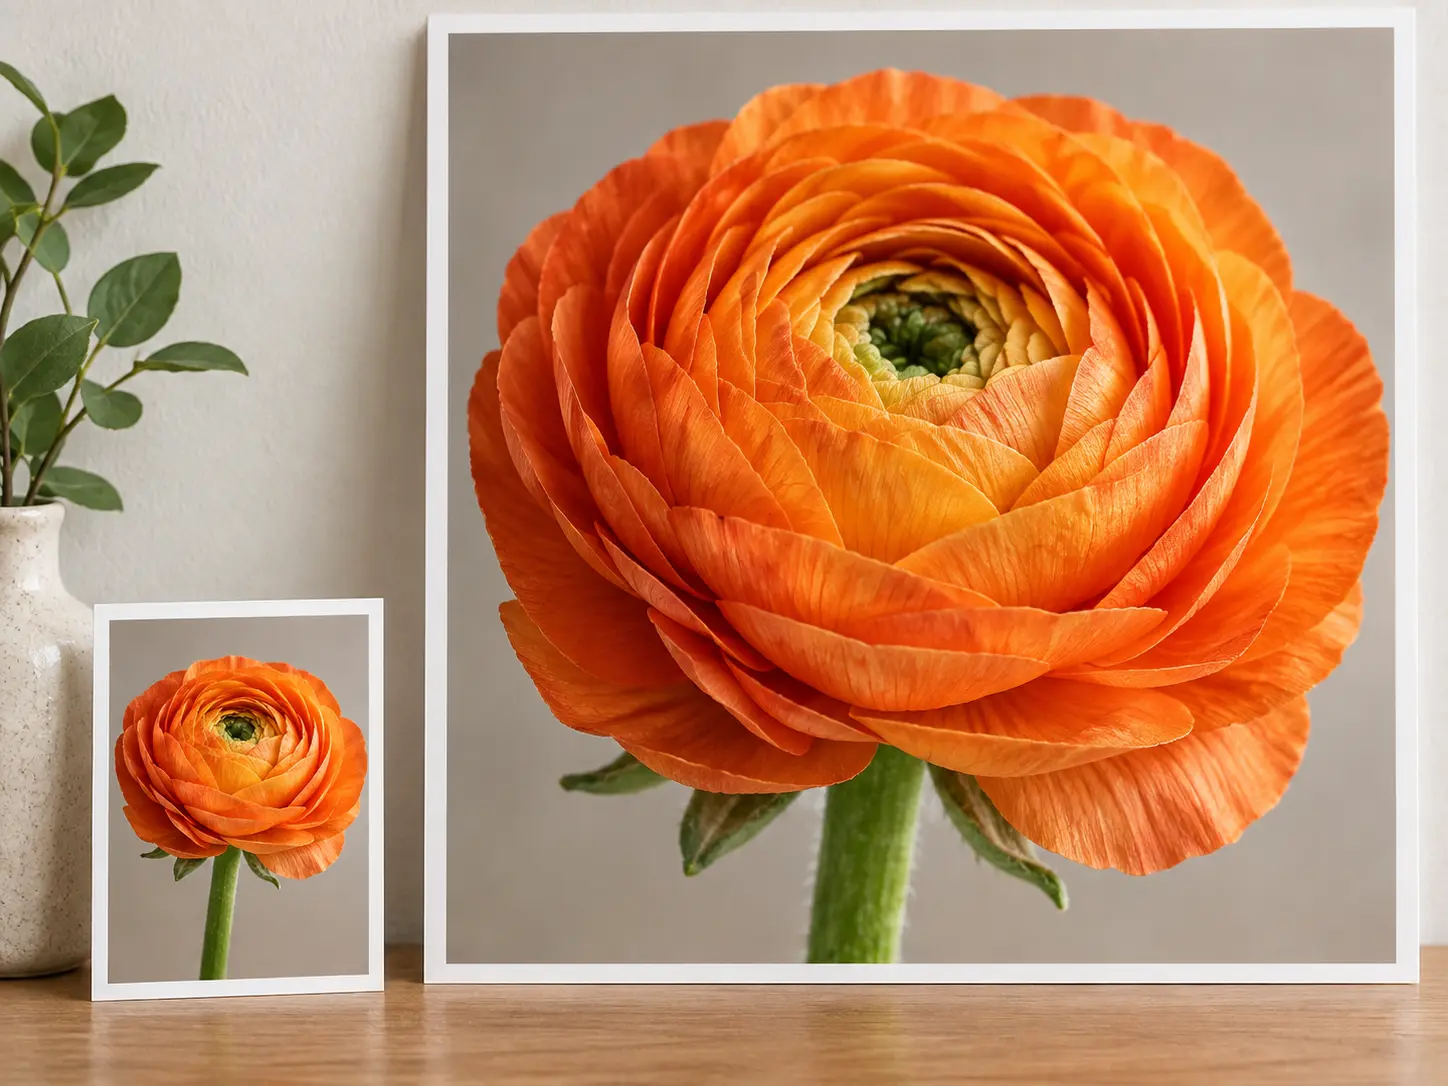
A 4K image converter creates a larger output for images that need more pixels in print, on a large display, or inside a detailed layout. The resulting 4K image can occupy more space without relying on a simple stretch that makes edges look soft. Available scale choices are shown in the product, and the final dimensions depend on the source and selected output setting.

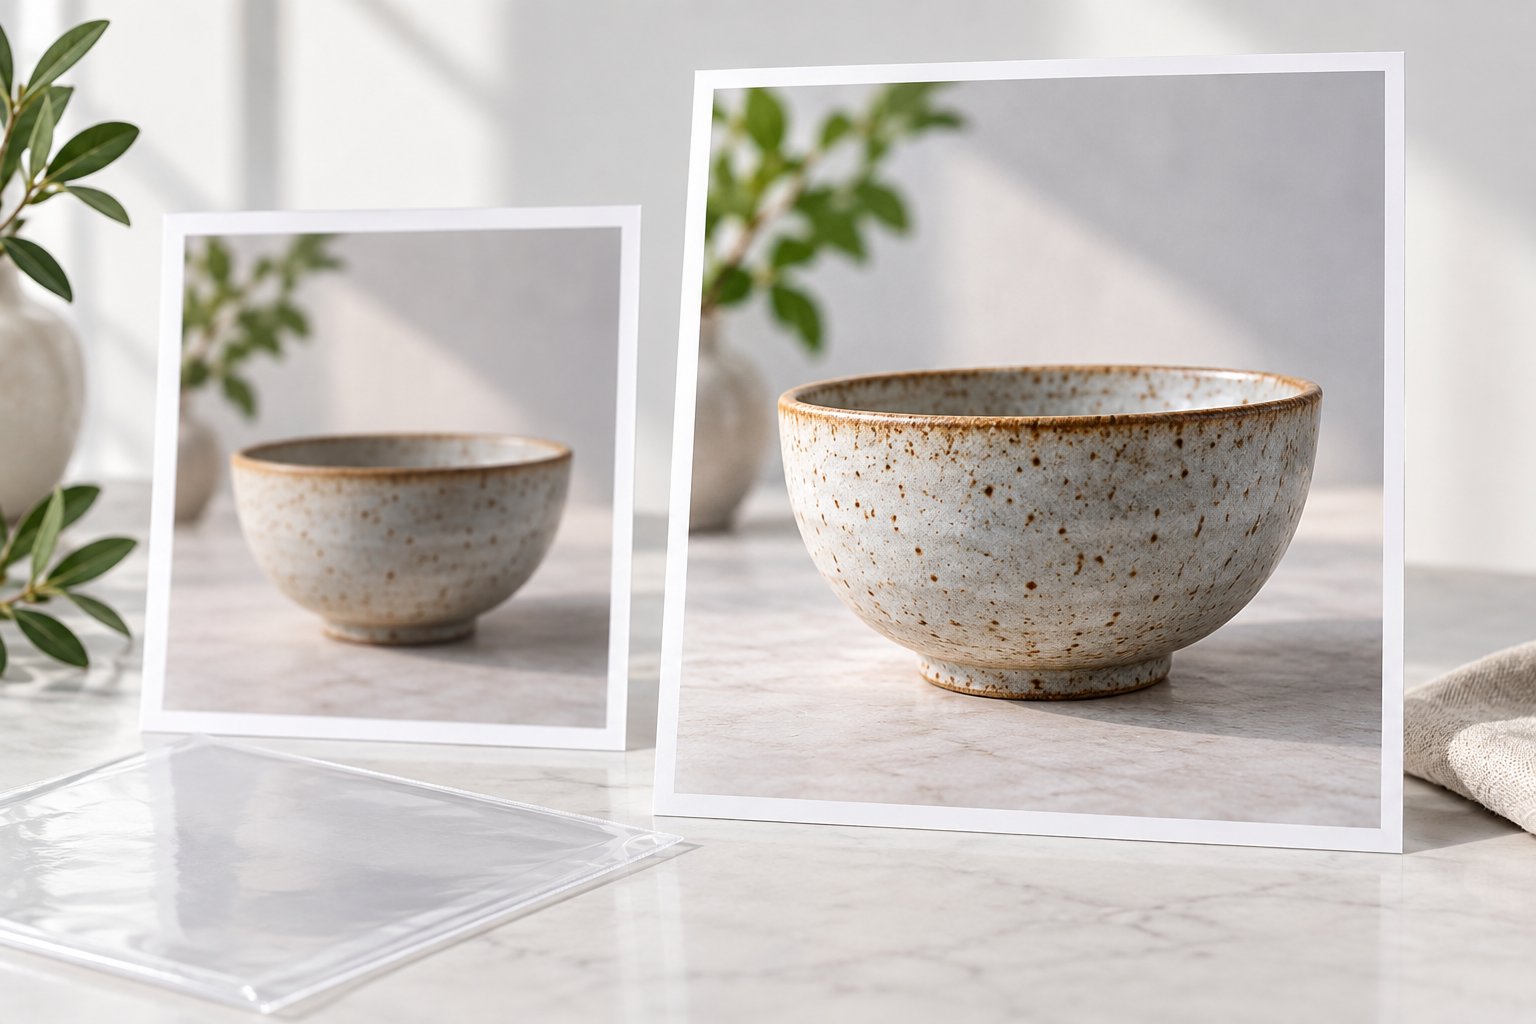
A 4K picture converter improves perceived clarity by rebuilding edges, reducing softness, and adding more definition to surfaces such as hair, fabric, product labels, or architectural lines. The result is an AI reconstruction, not a perfect camera original, so fine text and tiny patterns still need close review. Use the comparison to judge whether the added detail supports the intended size.
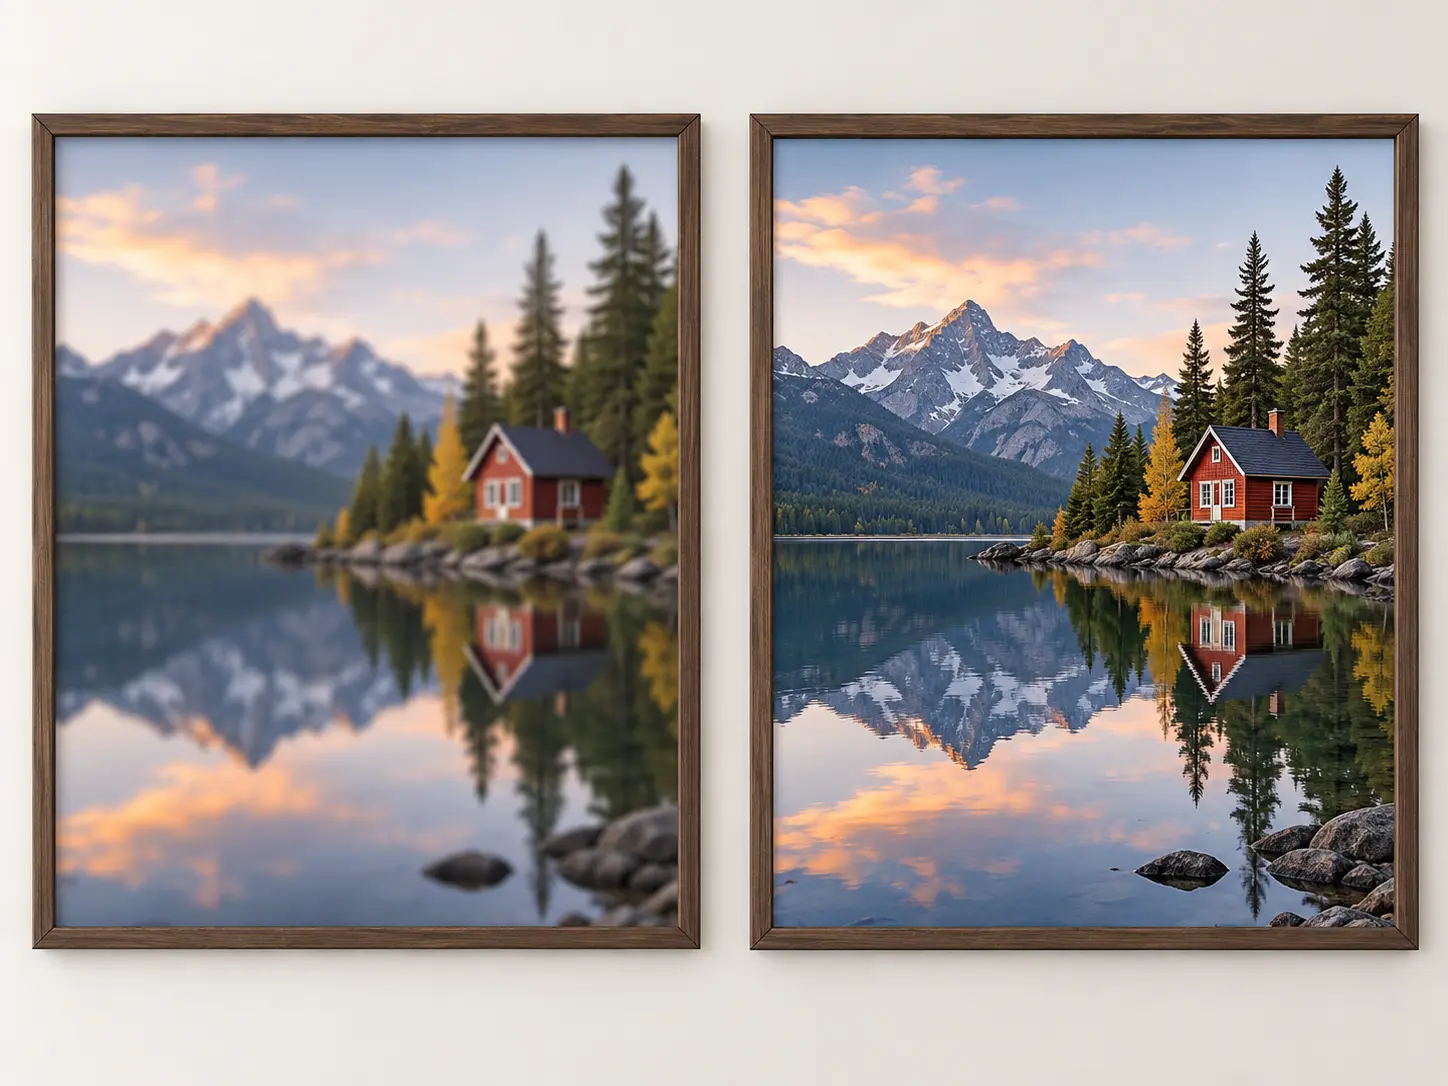
Conversion should not move the crop, change the person, or redesign the product. The 4K converter image workflow keeps the source composition so the upgraded file can replace the original in the same layout. Check face shape, object geometry, text, and background continuity at full size. When the source is already well framed, this consistency is as important as the resolution increase.
A 4K image converter workflow only needs the source, an output direction, and a review pass. The short process keeps attention on image quality rather than format settings. Compare the higher-resolution file with the original at the same crop, then inspect edges and small details before downloading. If the source is very soft, a modest improvement may be the realistic outcome.
Step 01
Add the smallest or softest image that needs a higher-resolution output.
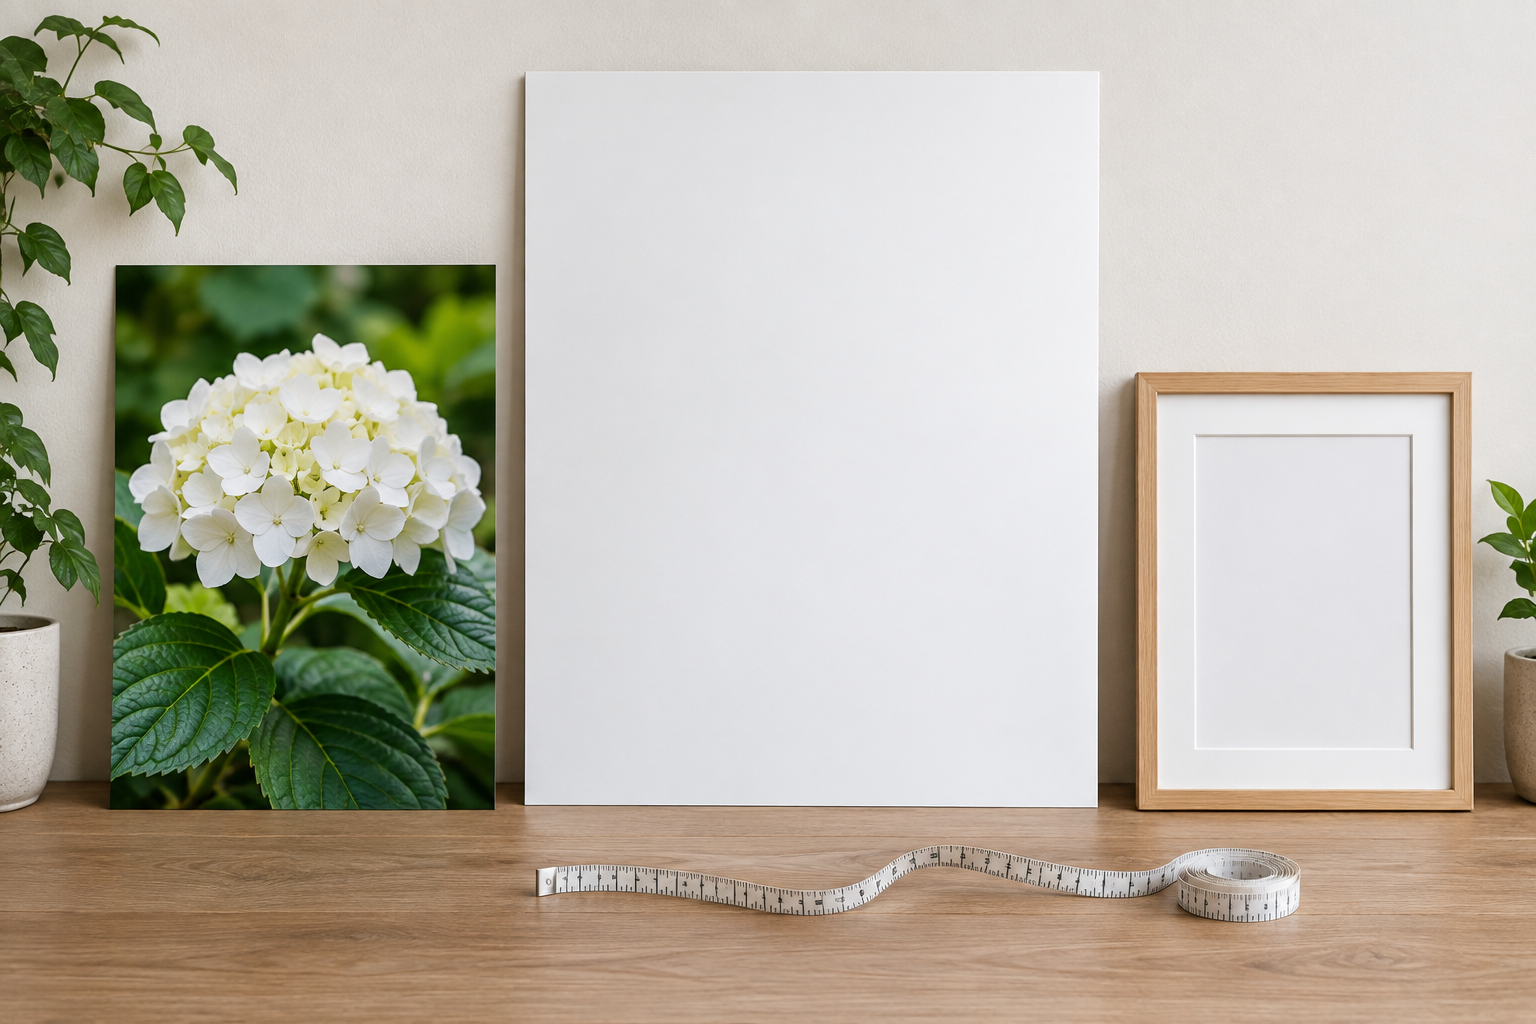
Step 02
Select the scale or resolution direction needed for your intended 4K placement.
Step 03
Inspect detail, edges, and composition at full size, then save the best version.
Use this conversion workflow when an image must occupy more space or meet a higher-resolution destination, but the content and framing are already correct. It fits product edits, print preparation, presentation visuals, and large web placements. It is not a file-format utility, and it should not be used to promise perfect recovery of detail that the source file does not contain.
Enlarge older catalog or marketplace photos for a larger listing area while preserving the product shape and crop.
Create a higher-resolution file for a poster or print placement when the source has enough underlying detail.
Improve a small visual for a large monitor, conference slide, or detailed report without rebuilding the image.
Prepare a past campaign image for a larger page hero or social placement while keeping the same composition.
Upload a small or soft picture, choose the higher-resolution direction, and review the result before downloading.
Get Started