
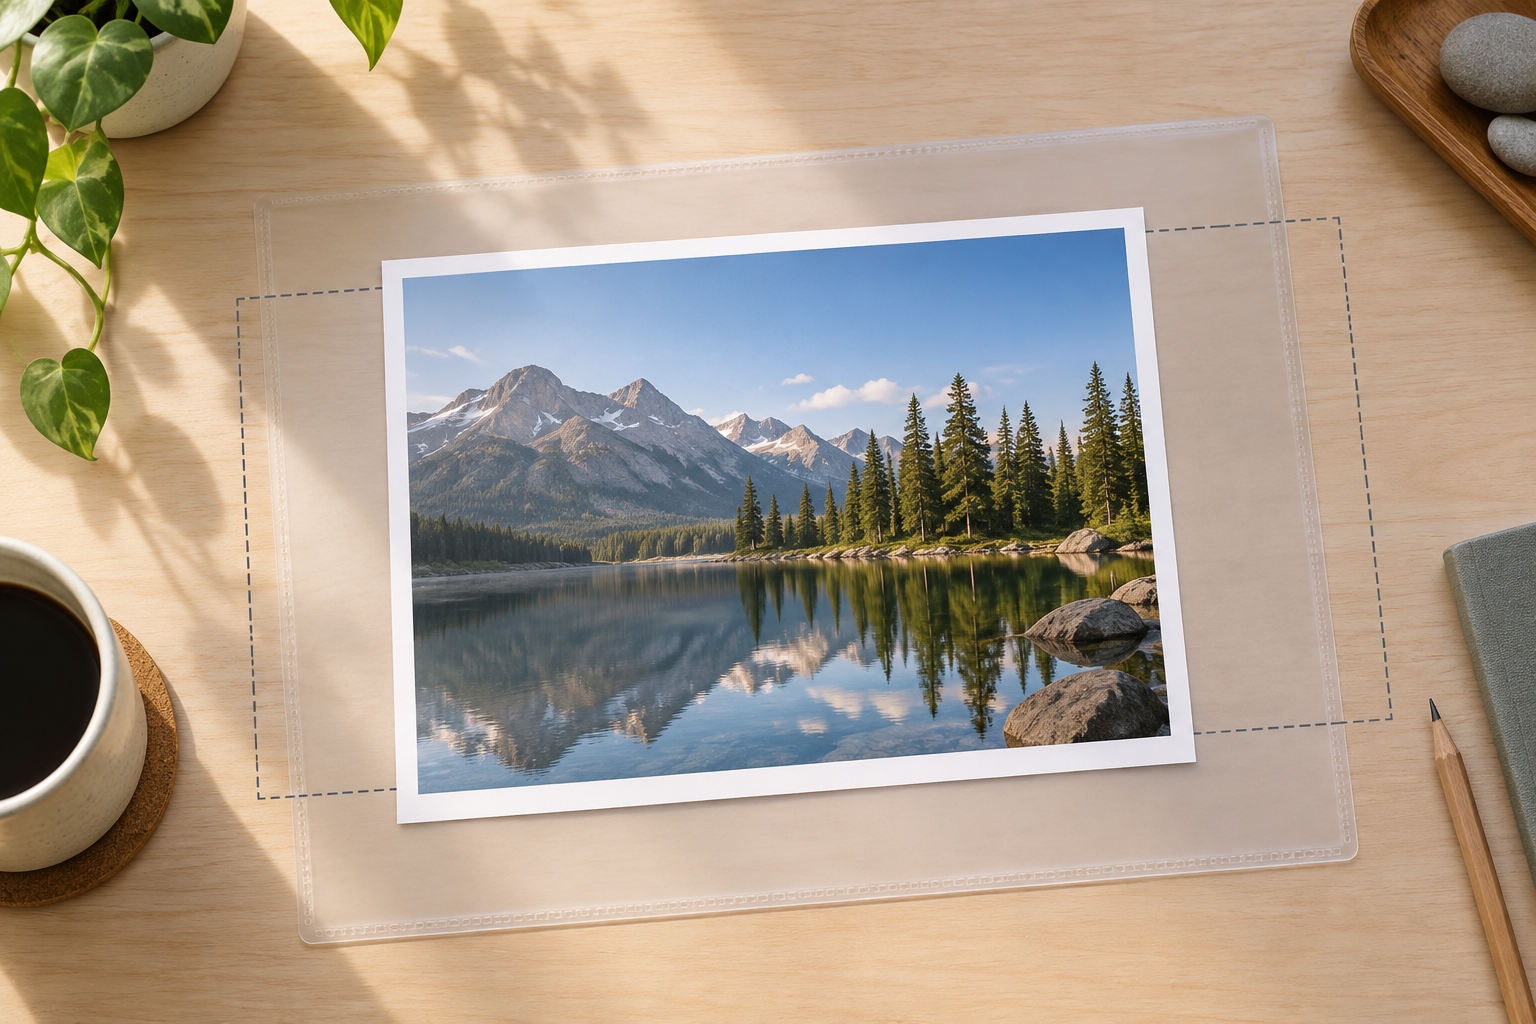
Step 01
Upload the Original Photo
Choose a clear source image with a defined subject and visible edge context.

Use this background extender to add believable space beyond the edges of an uploaded photo. The original subject, crop position, and visible pixels stay fixed while new background content continues the light, color, texture, and perspective already present. Describe the direction or framing you need, then review the expanded image before downloading it for a new layout.


No picture on hand? Try with one of these
The useful controls are the ones that keep an expanded photo believable: edge-aware continuation, subject preservation, and enough room to fit a new format. A background extender should continue the scene outward rather than replace it, so the original light direction, horizon, surface texture, and perspective remain coherent. You can then expand a photo background for a wider page, taller story, or less cramped composition.
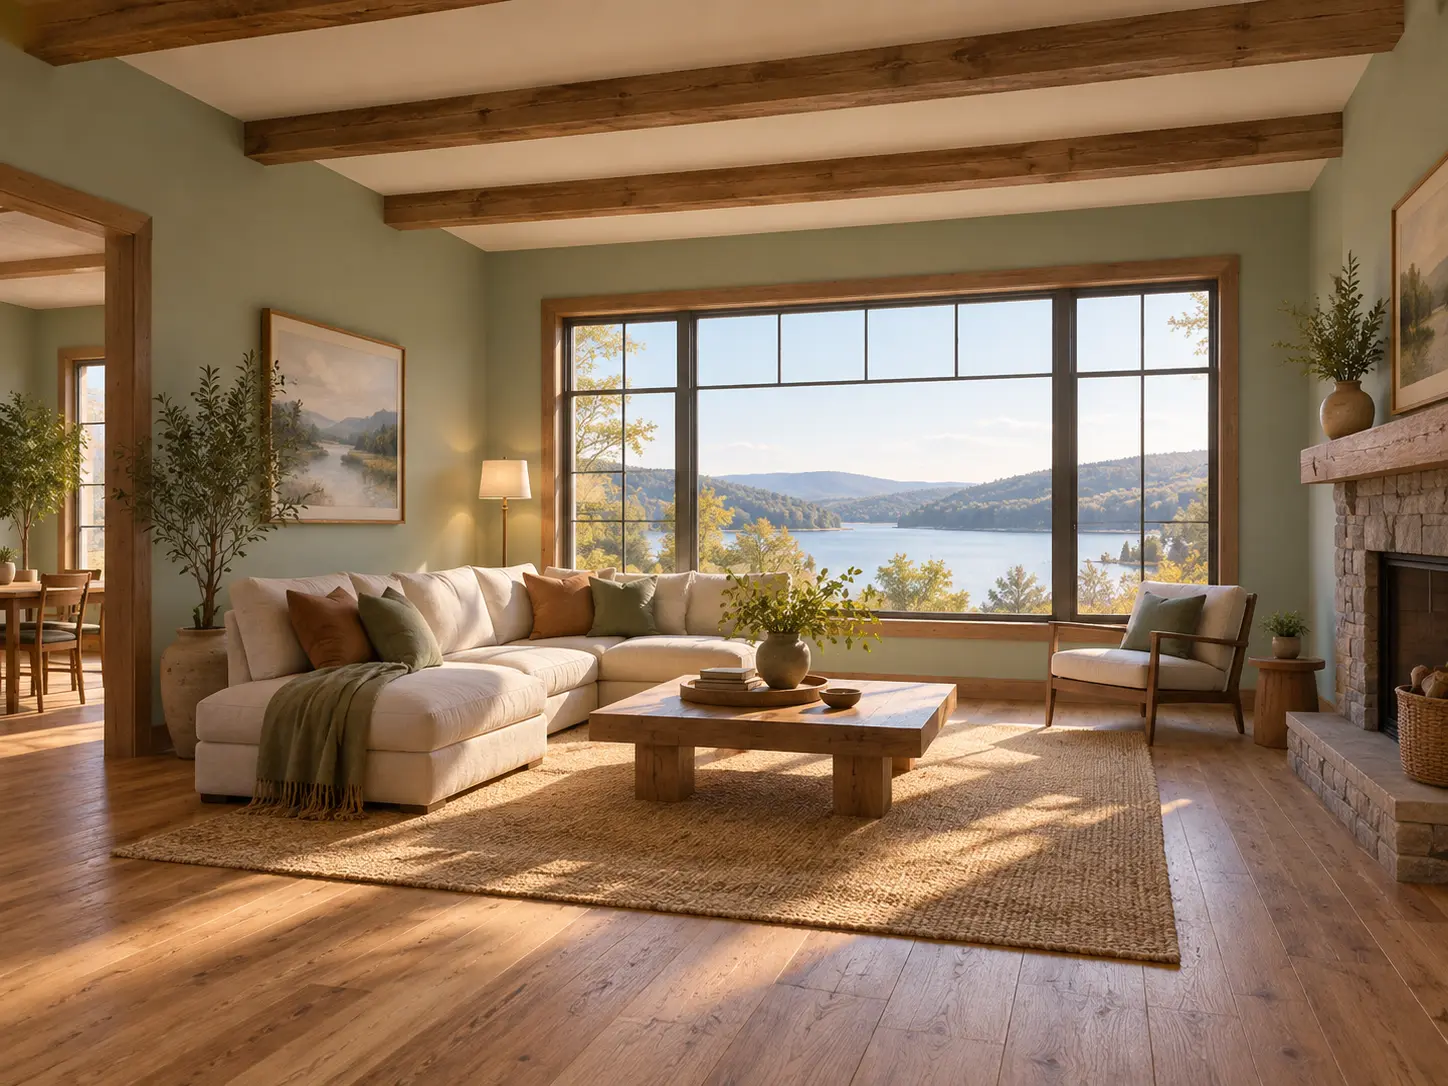
New areas inherit visual cues from the original border, including color temperature, light direction, materials, and perspective. A background extender uses those cues to continue a wall, sky, floor, foliage, or studio sweep instead of pasting an unrelated scene behind the subject. This edge-aware approach helps the larger image feel like one photograph rather than two images joined together.
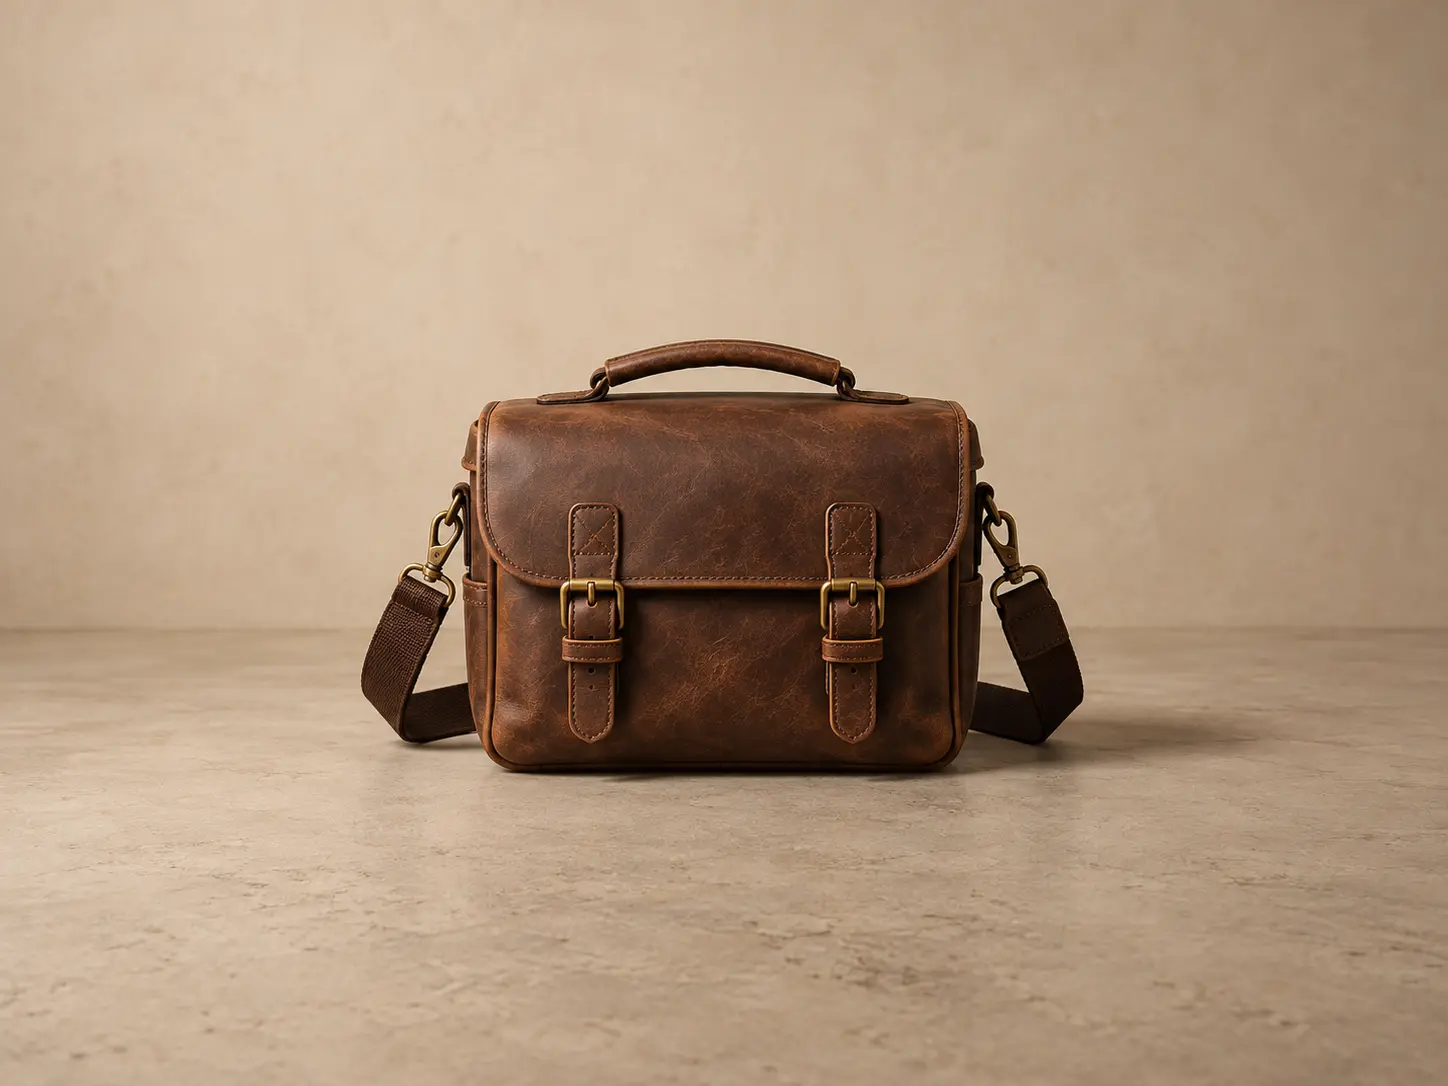
The person, product, or main object should keep its exact shape, position, scale, and visible details. Expansion happens outside the uploaded frame, so the original subject is not redrawn or moved. Before downloading, check the silhouette, contact points, shadows, and reflections where the old border meets the new background. Those transitions are the best places to judge whether the expanded image still feels authentic.
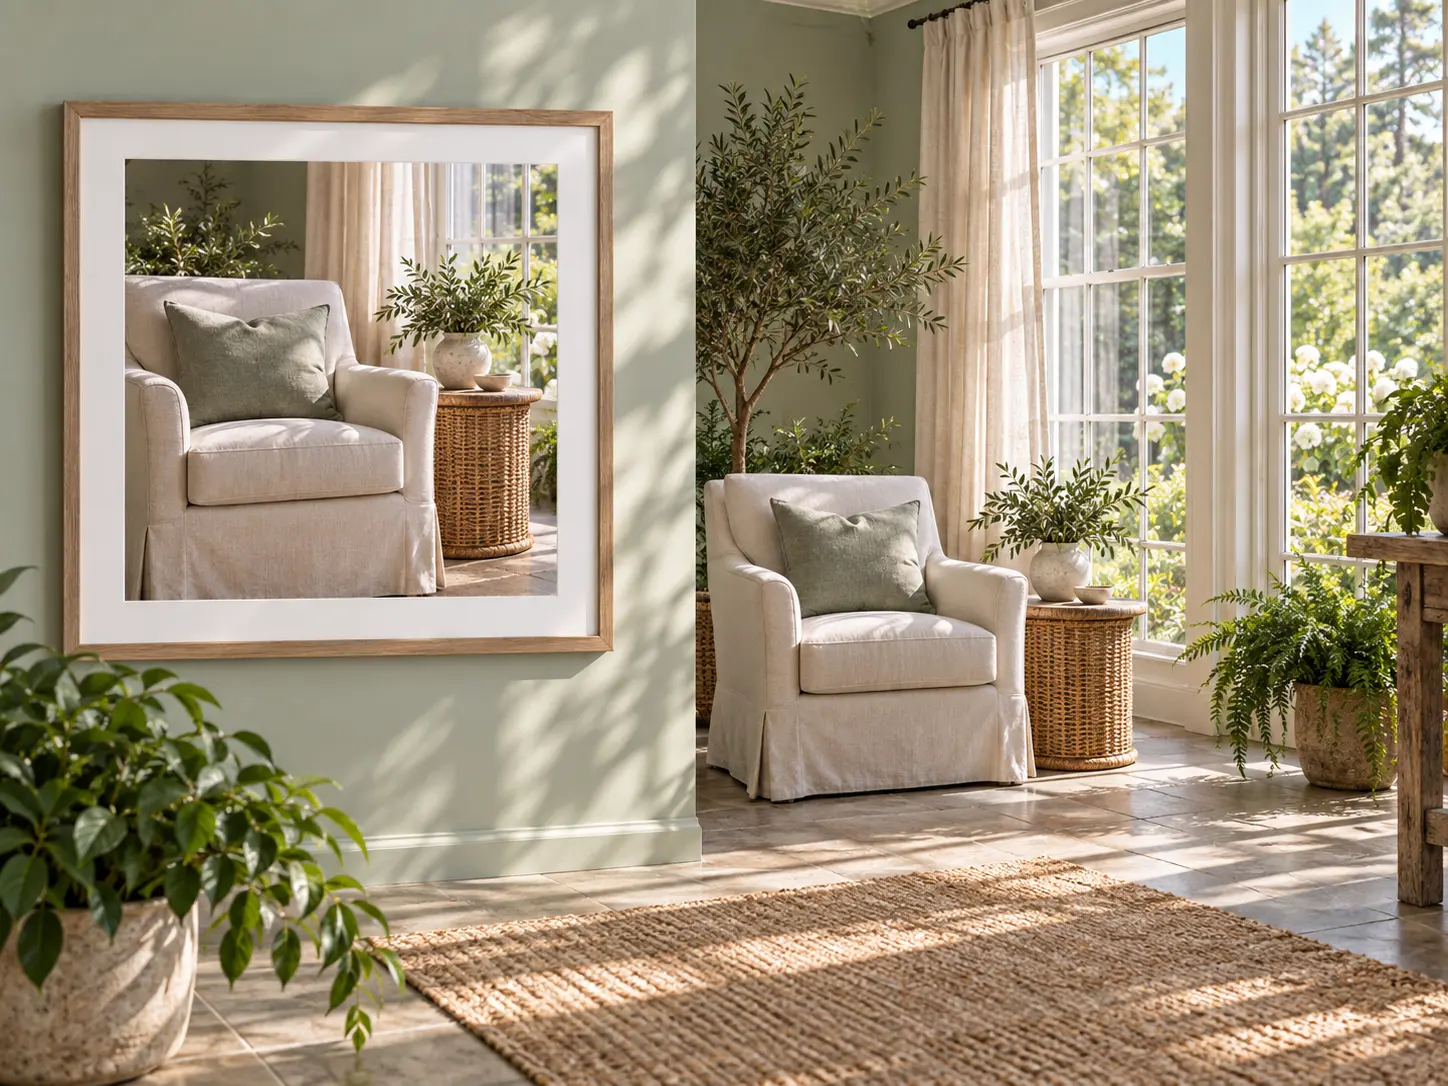
Choose the side or aspect direction you need and describe what should fill the new area. A square product shot can gain more room for a wide banner; a tight portrait can receive breathing space for a vertical layout. Because new content is added rather than cropped away, this background extender workflow helps you adapt the image width and height without losing the composition you already approved.
The process keeps the decision-making focused: upload the image, state how the new area should continue, then compare and download the result. The original photo remains the visual anchor, so every revision can be judged against the same subject and perspective. If the first expansion misses a texture or changes the horizon, describe that area more specifically and generate another pass.
Step 01
Choose a clear source image with a defined subject and visible edge context.
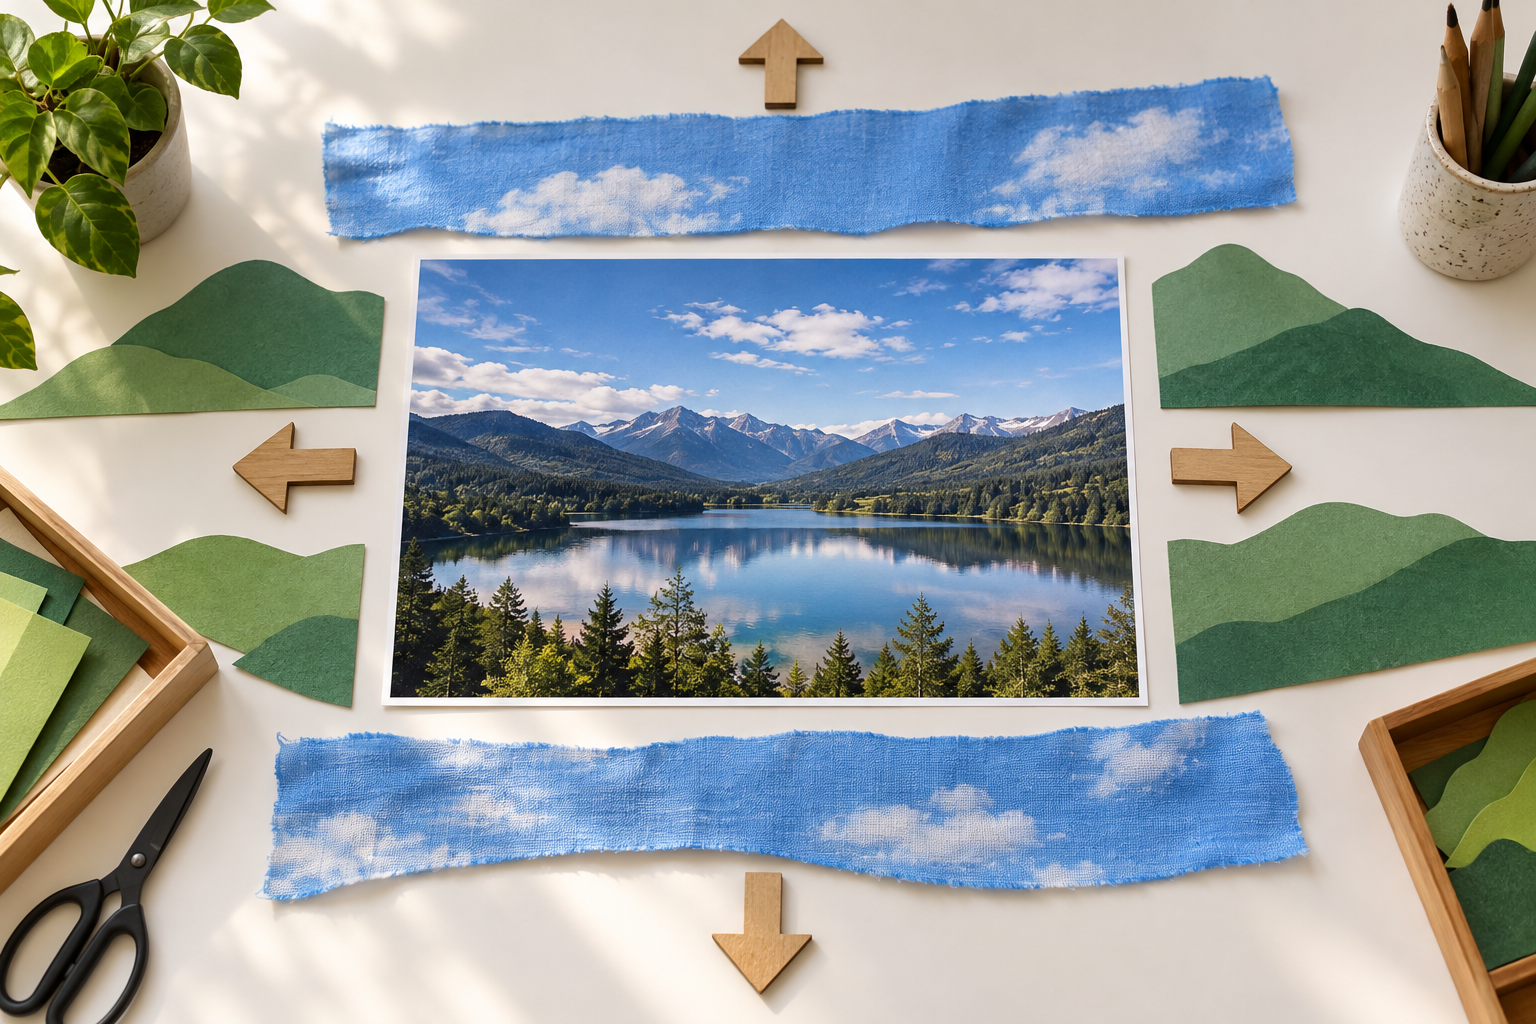
Step 02
Name the direction, scene elements, light, texture, and mood that should continue outward.
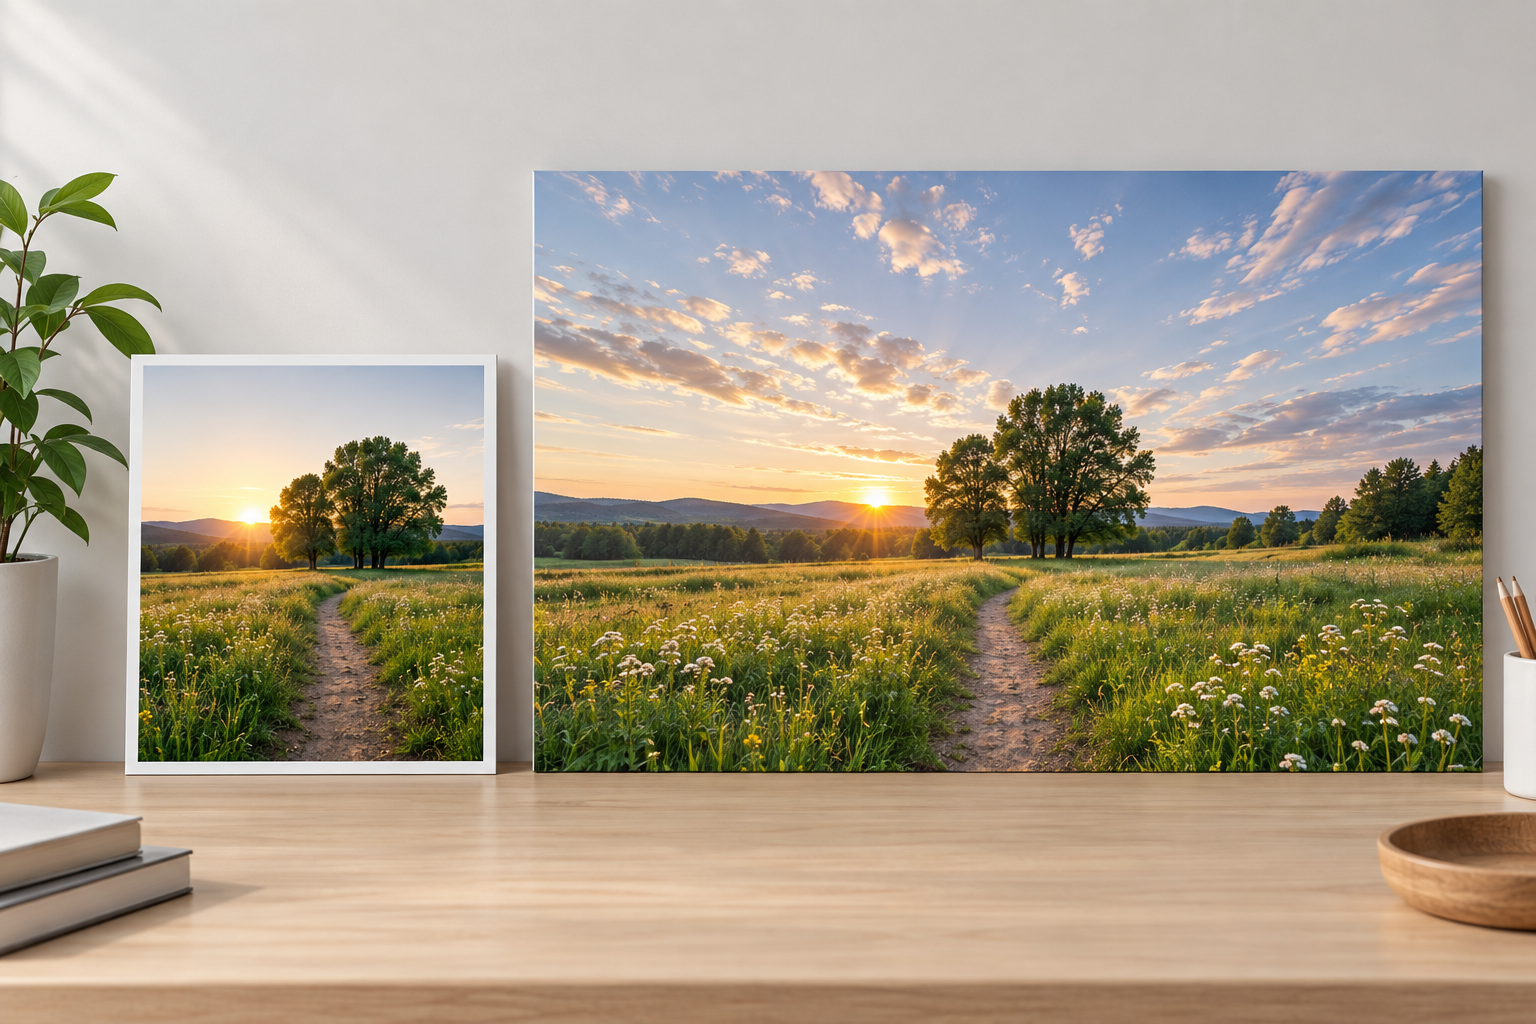
Step 03
Check edge continuity and subject fidelity, refine the direction, then save the best result.
Use a background extender when the subject and framing are already right but the border is too tight. Common jobs include resizing an image for a new layout, giving a product more negative space, or continuing a scene for a cover, banner, or presentation. It is different from background replacement: the goal is not to move the subject into a new world, but to enlarge the world already visible around them.
Add room around a portrait or product so a square image can work in a vertical story or wide post.
Expand a clean studio background to fit consistent margins, text areas, or marketplace crop requirements.
Continue a landscape, interior, or architectural scene outward for a wider website or campaign layout.
Create more breathing room around a subject so a slide or report visual does not feel cramped.
Upload the image, describe how the scene should continue, and create the extra space your next layout needs.
Get Started