
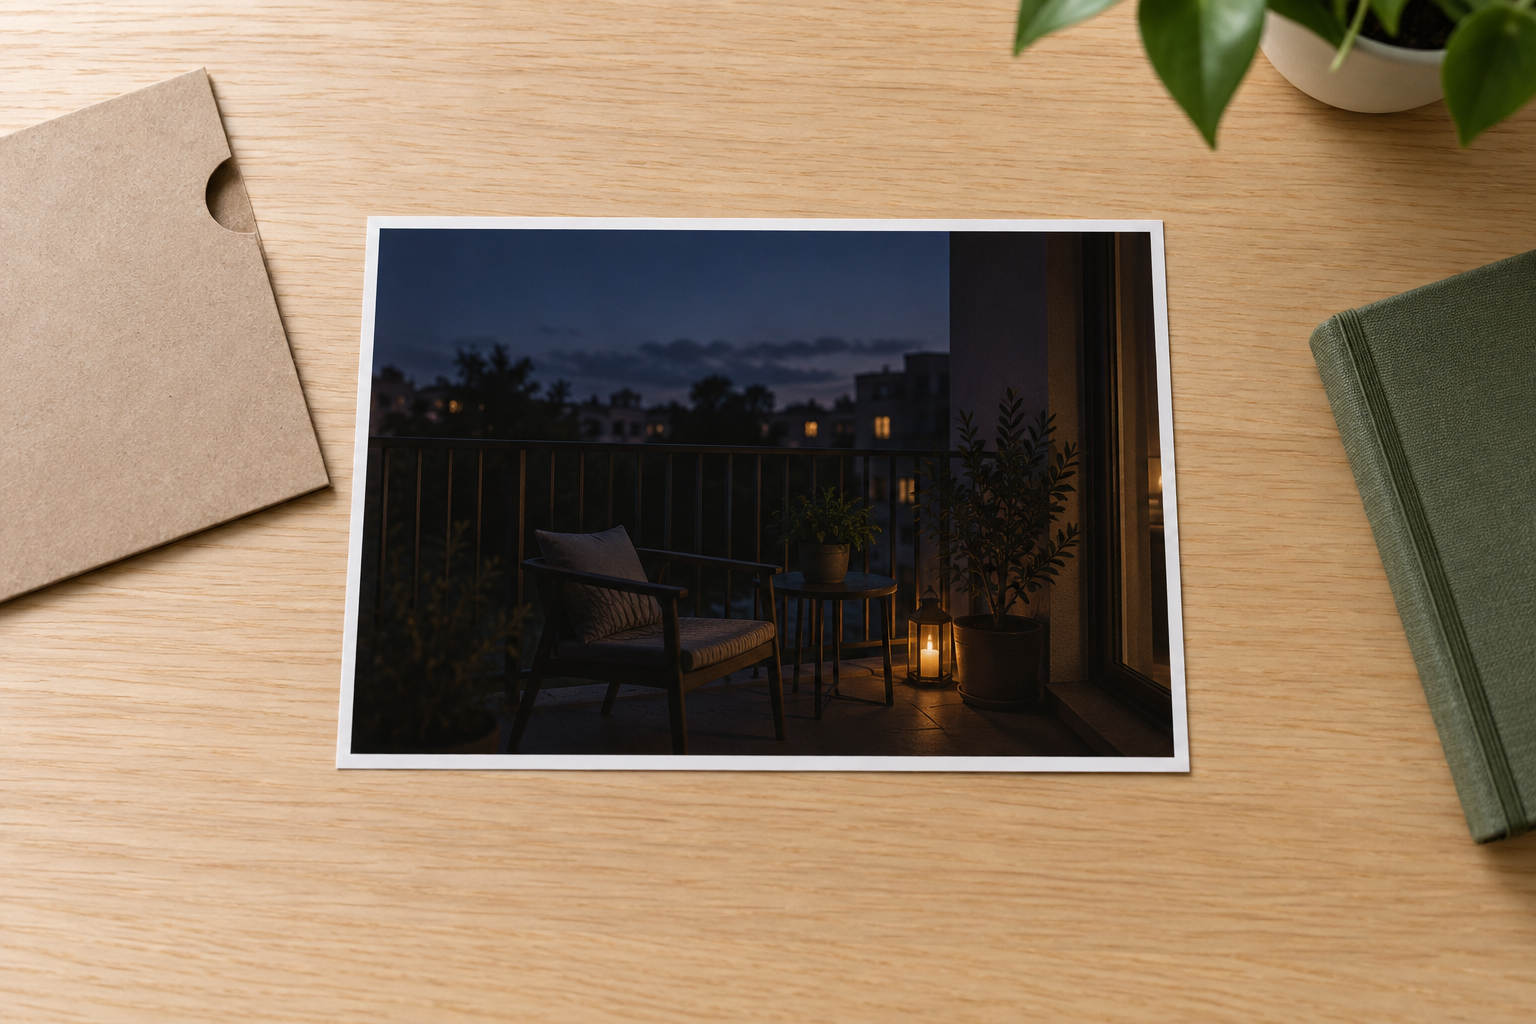
Step 01
Upload the Problem Photo
Choose the clearest JPG, PNG, or WebP source. A photo with some detail left in the shadows or highlights is easier for an image brightener to improve.

Use this image brightener when a photo is too dark, underexposed, or unevenly lit to show the subject clearly. Upload a JPG, PNG, or WebP file, describe whether you need to brighten image shadows, soften highlights, or balance both, then compare the result with the original. Keep an eye on shadow shape, highlight detail, noise, skin tone, and texture so the brighter photo still looks natural.
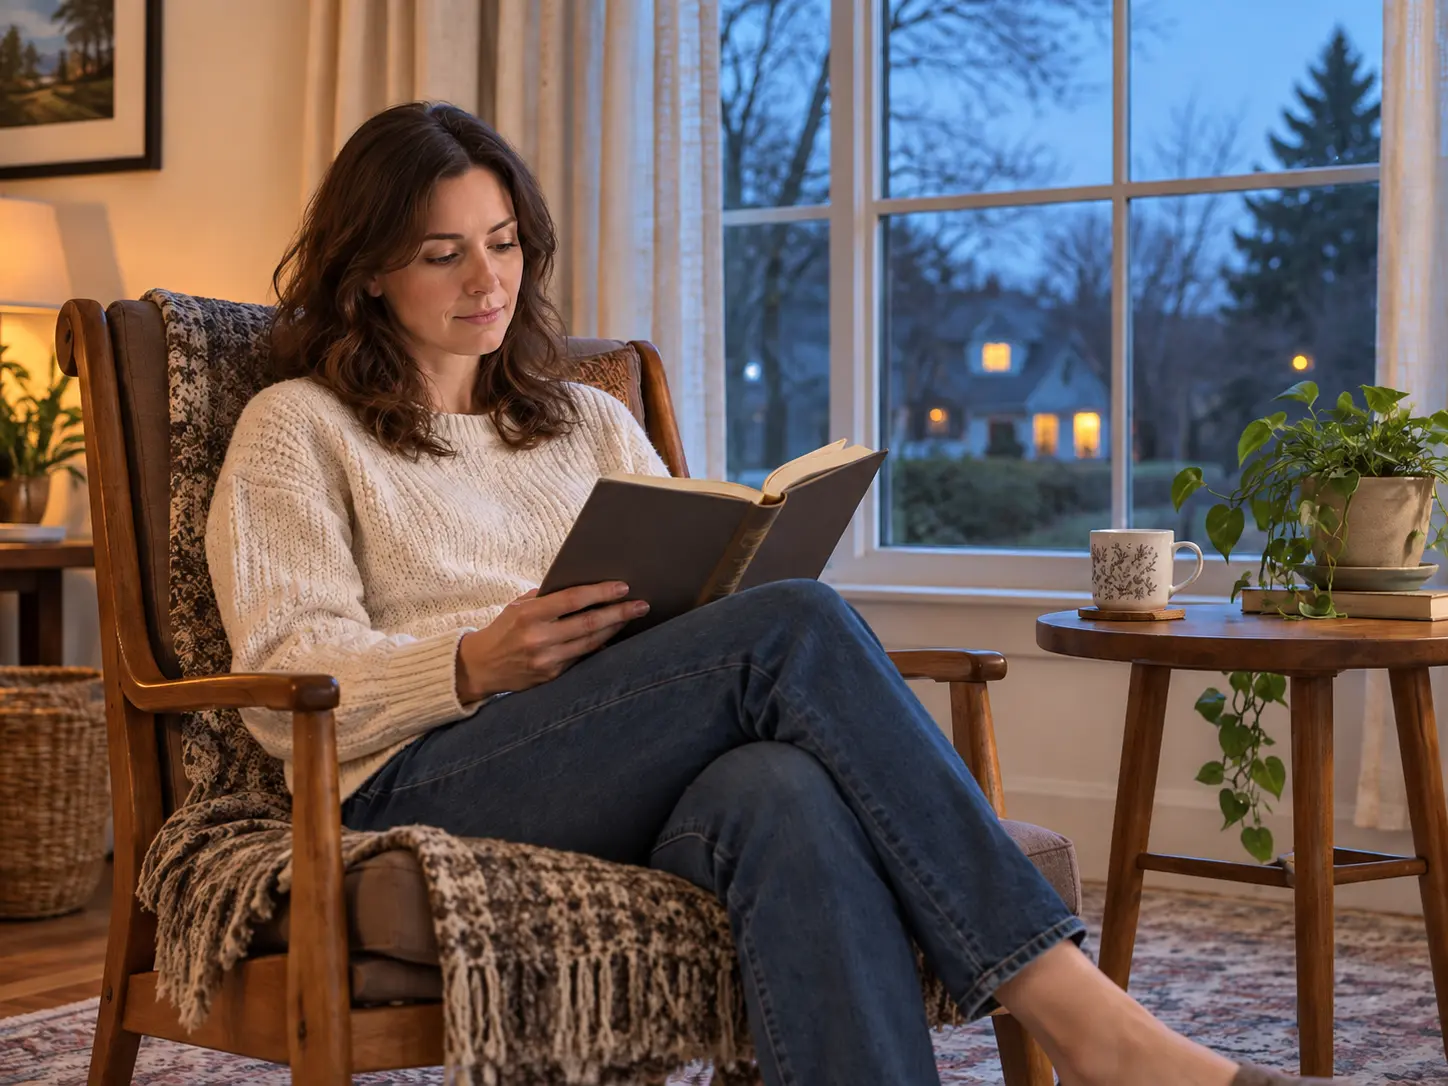
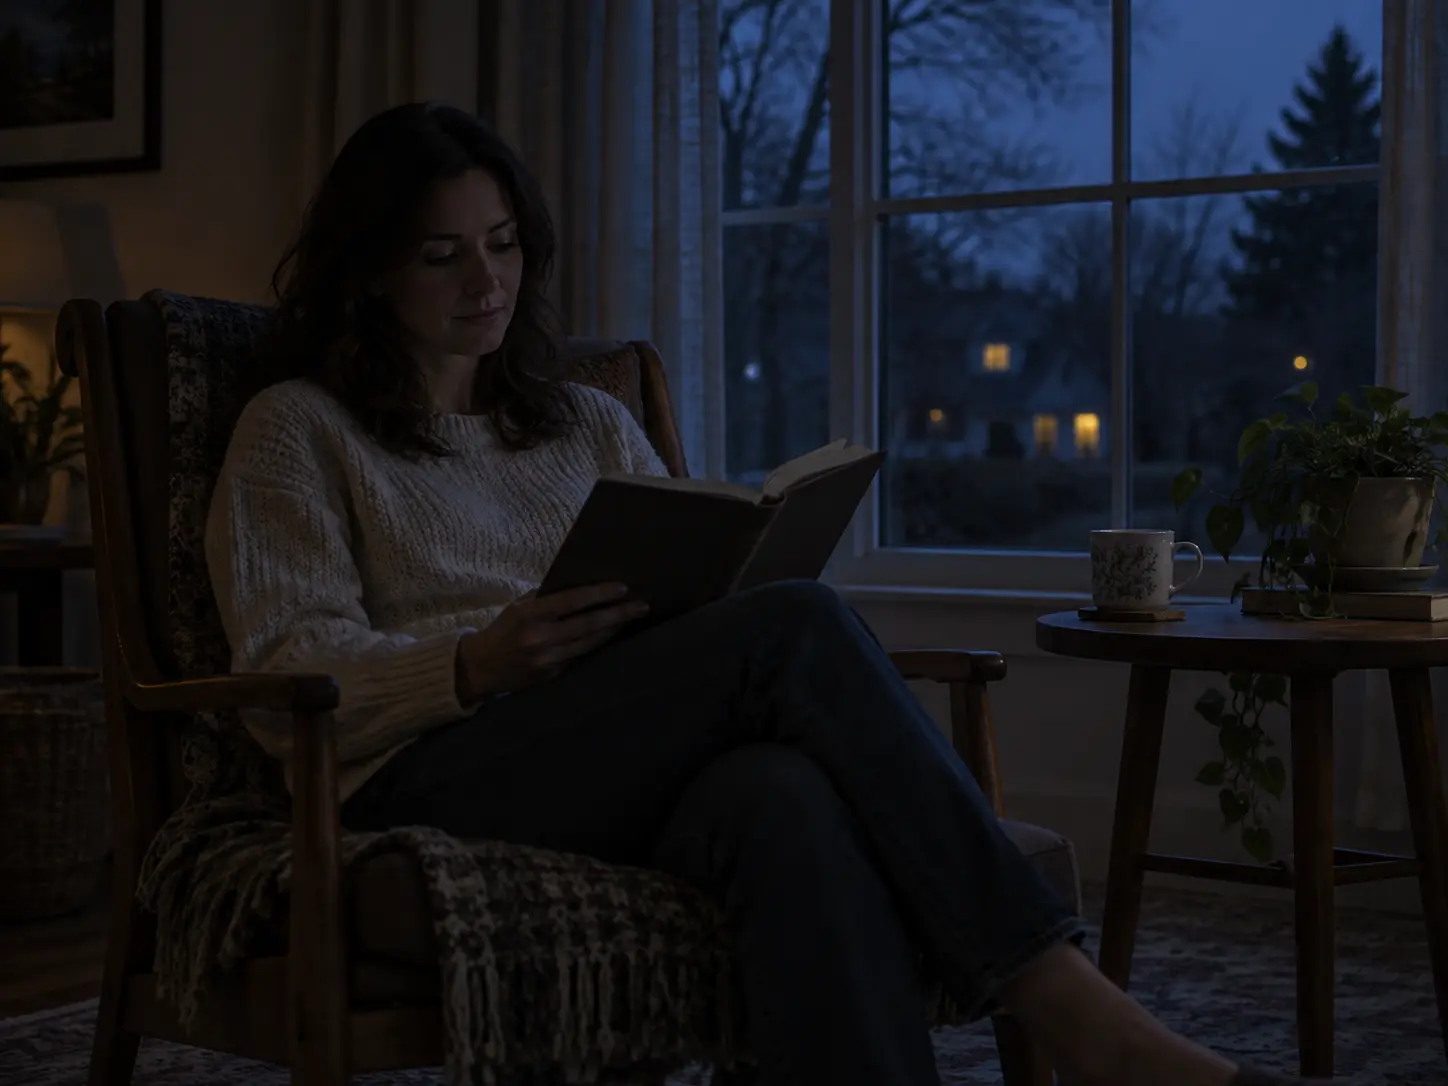
No picture on hand? Try with one of these
An image brightener gives exposure direction while keeping shadows, highlights, color, and texture connected to the source photo.
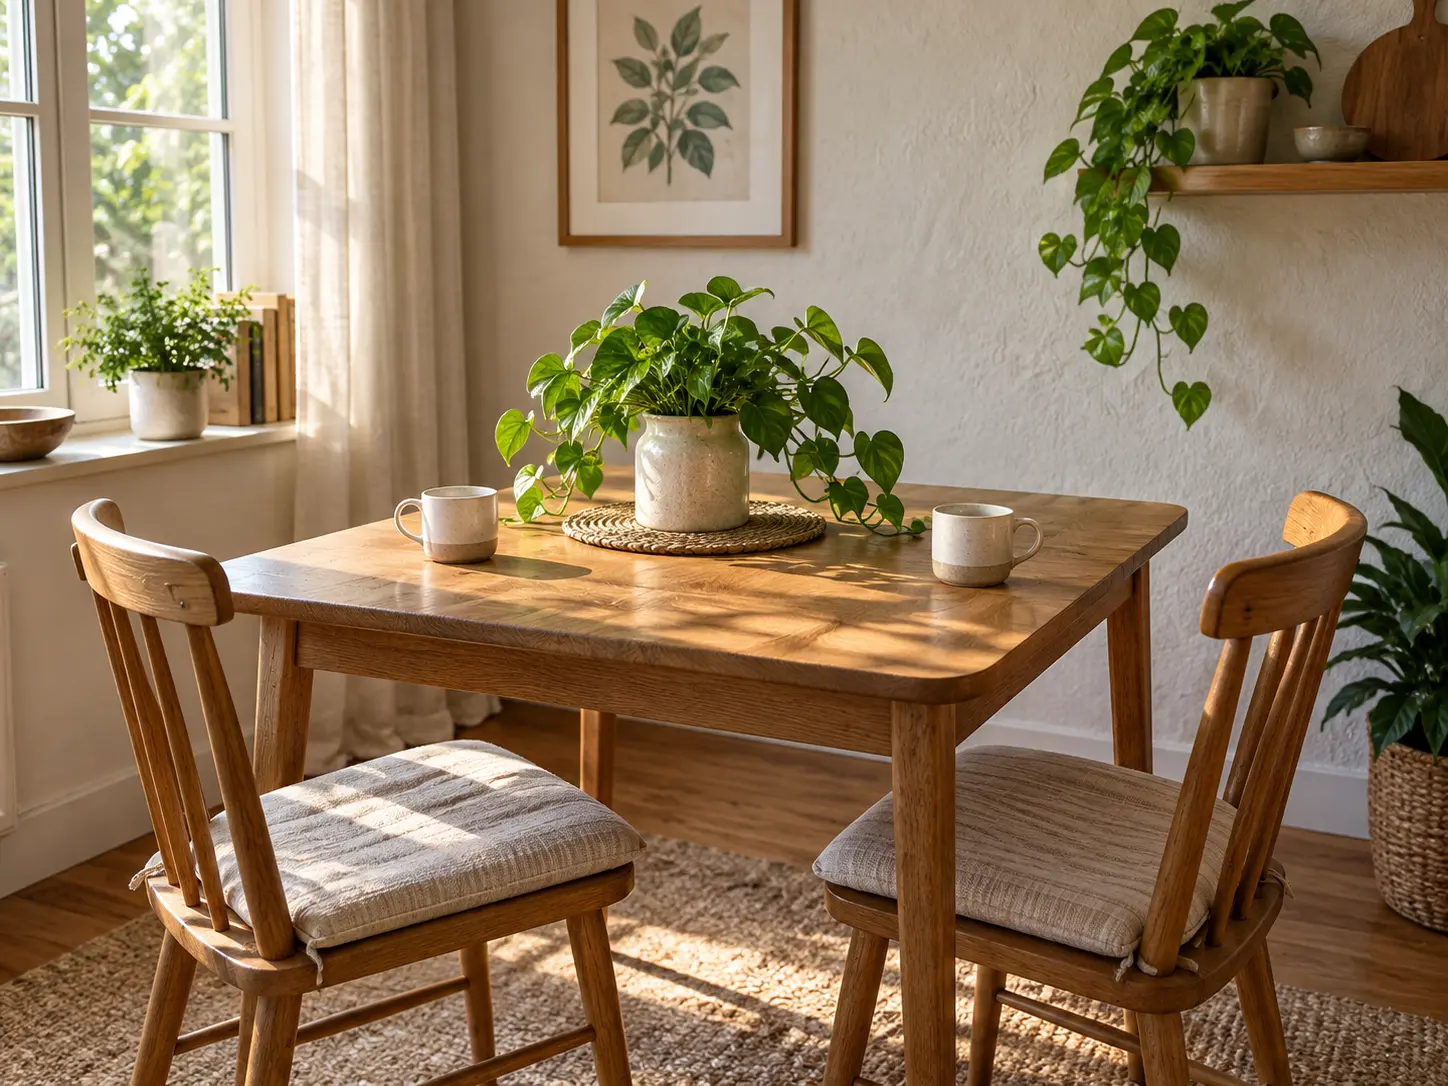
Bring shape, color, and subject detail back into a photo that was captured in weak light. An AI image brightener raises visibility while trying to keep shadows from becoming gray and flat. Start with the clearest source you have, then compare the result at full size for noise, skin tone, fabric texture, and background detail. If the first direction is too strong, ask for a smaller lift rather than applying a global filter.
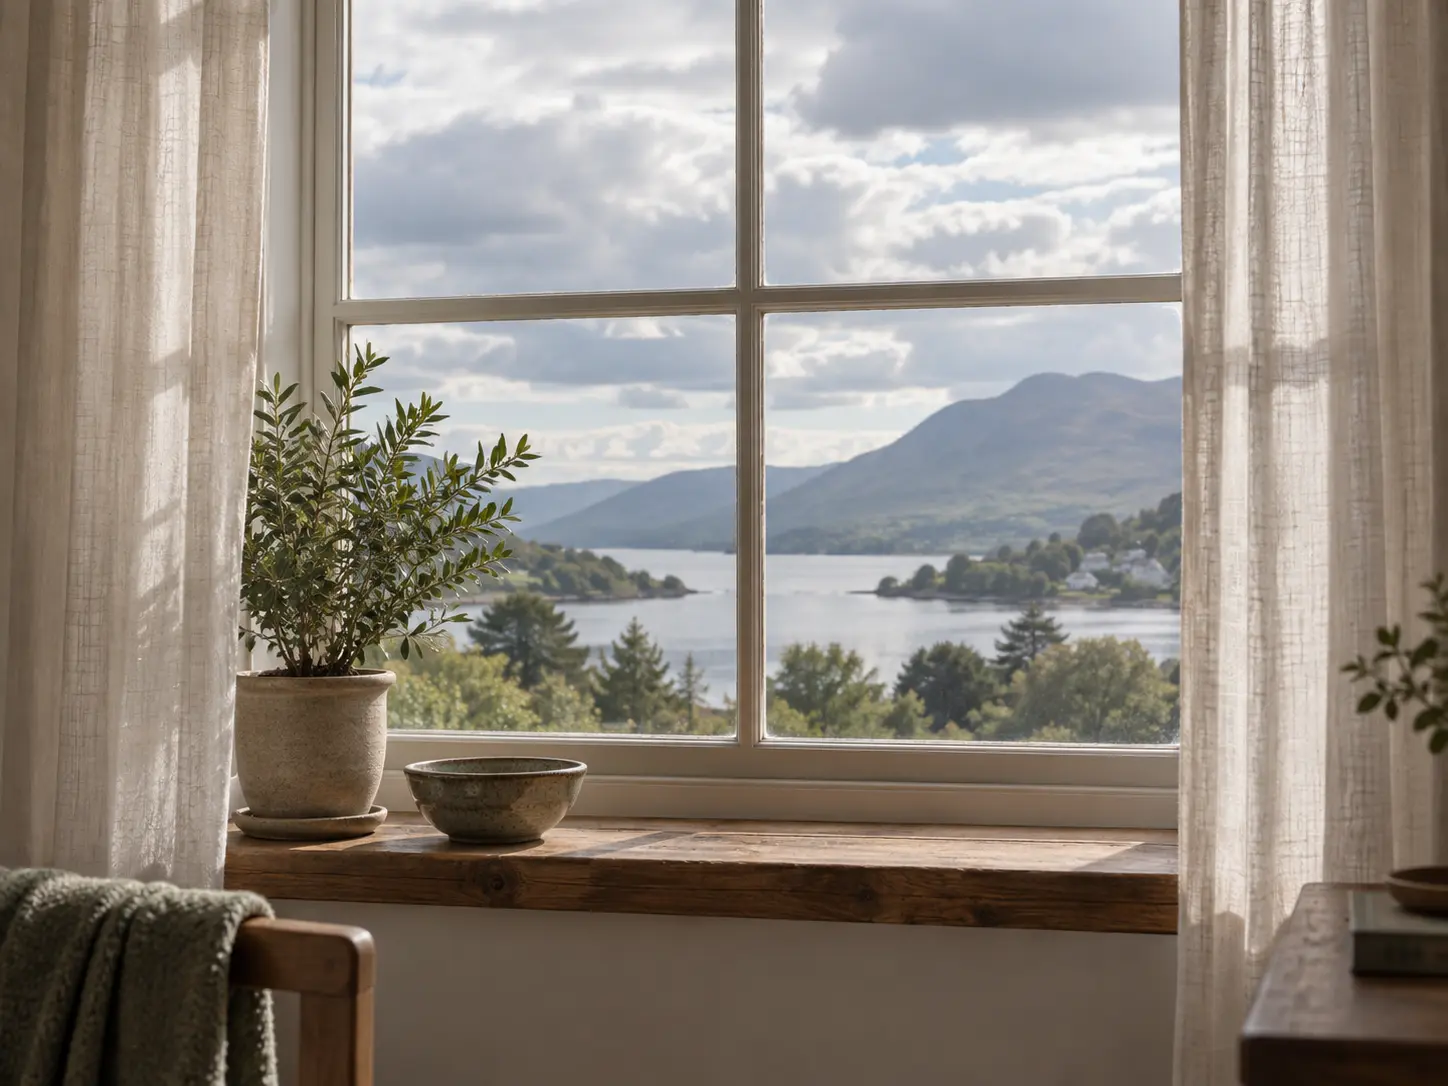
An over-exposed photo can hide window, sky, or surface detail just as a dark photo does. Use an image brightener to improve the overall exposure balance, then check whether highlights regain shape without turning the rest of the scene dull. Keep the result believable by reviewing the brightest edge, the subject, and the surrounding color together. A more even exposure should reveal information rather than replace it with a washed-out look.
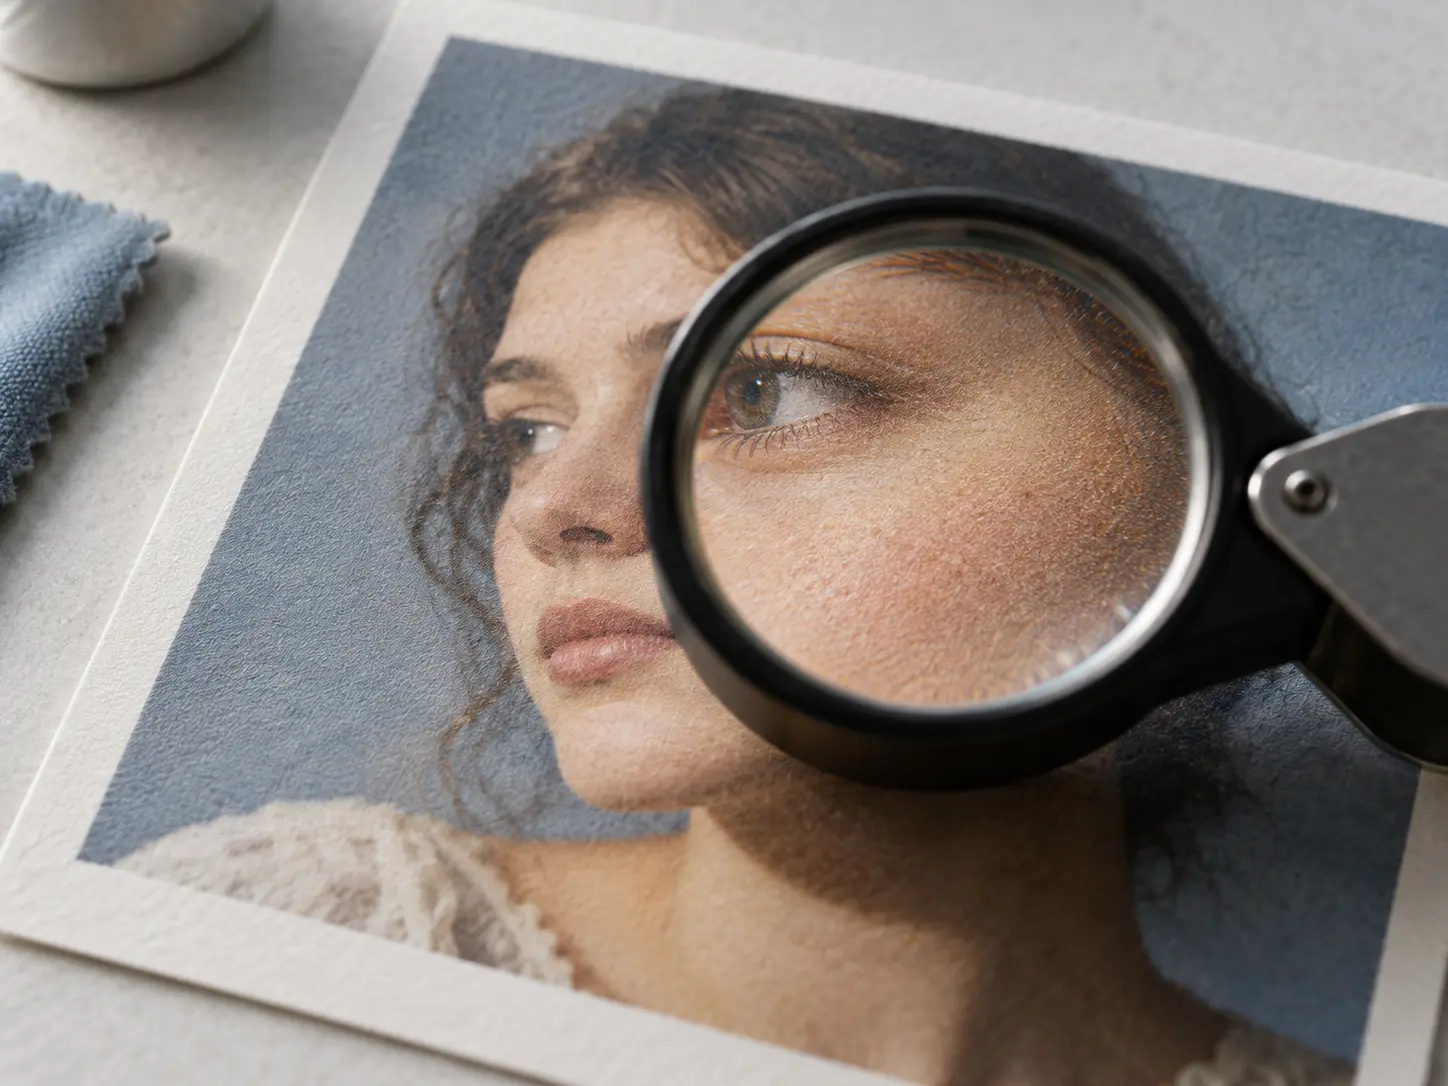
Brightening can expose compression, grain, color shifts, or texture that was hidden in shadow. Review skin, fabric, foliage, and product surfaces at full size instead of accepting the first thumbnail. This photo brightener should make the photo easier to see while keeping its natural material cues. If the output looks synthetic or the color drifts, reduce the request and correct one area again.
A clear input and one exposure direction make the image brightener easier to judge.
Step 01
Choose the clearest JPG, PNG, or WebP source. A photo with some detail left in the shadows or highlights is easier for an image brightener to improve.
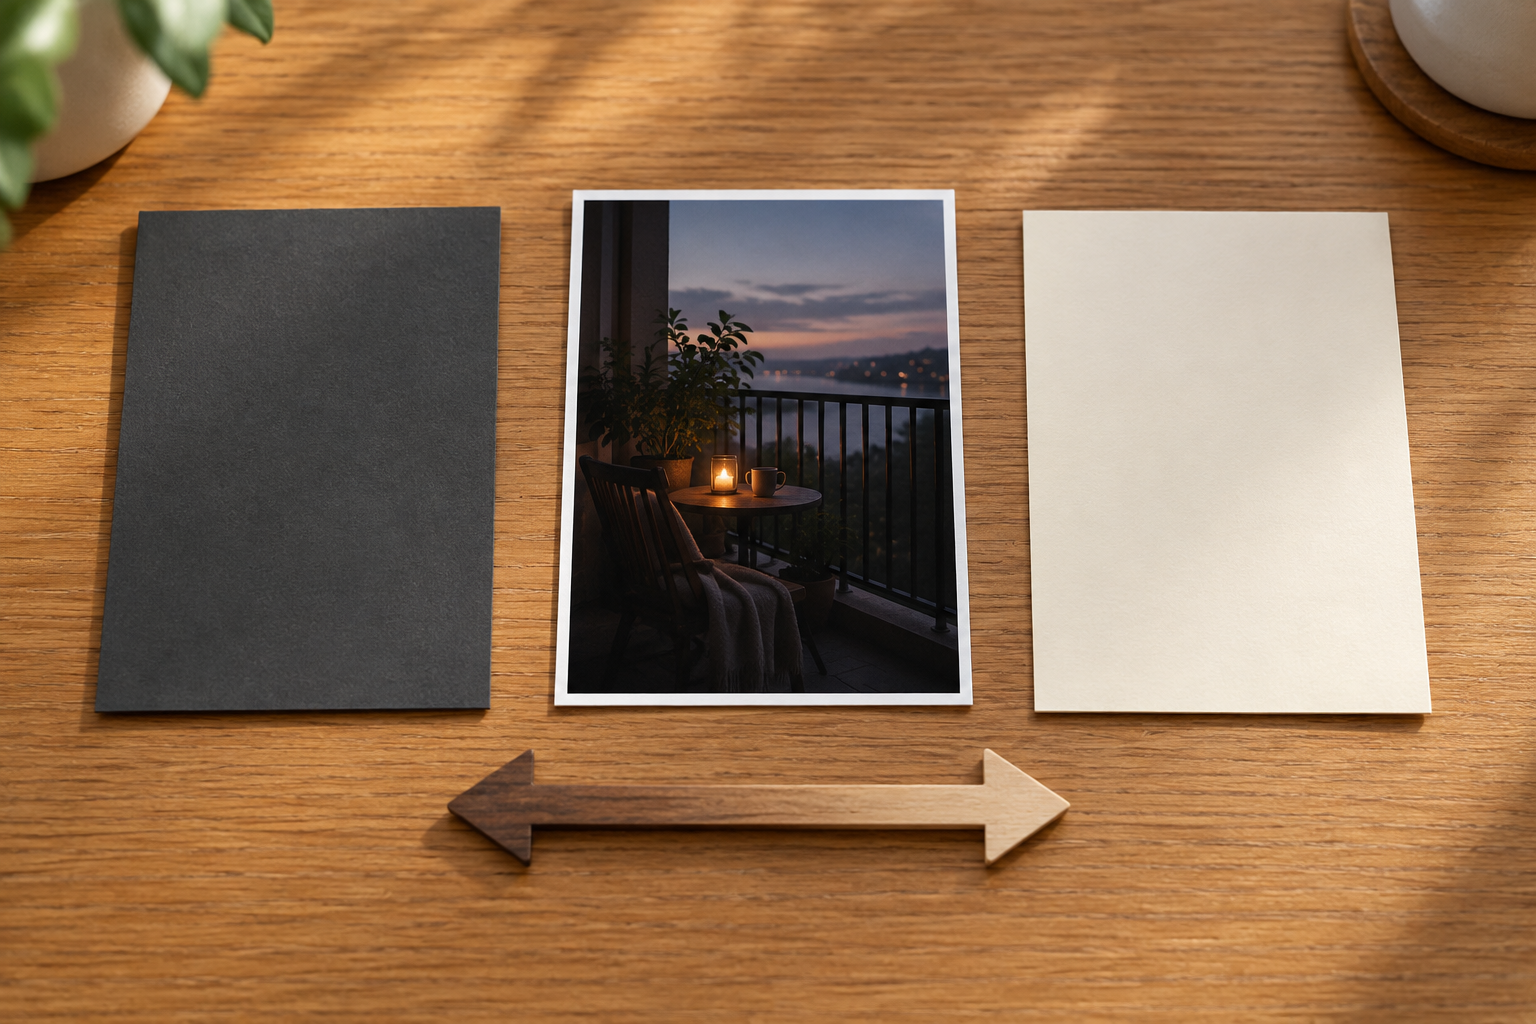
Step 02
Say whether the photo needs more light, softer highlights, or a more balanced exposure. One clear direction keeps the image brightener from changing the whole mood.
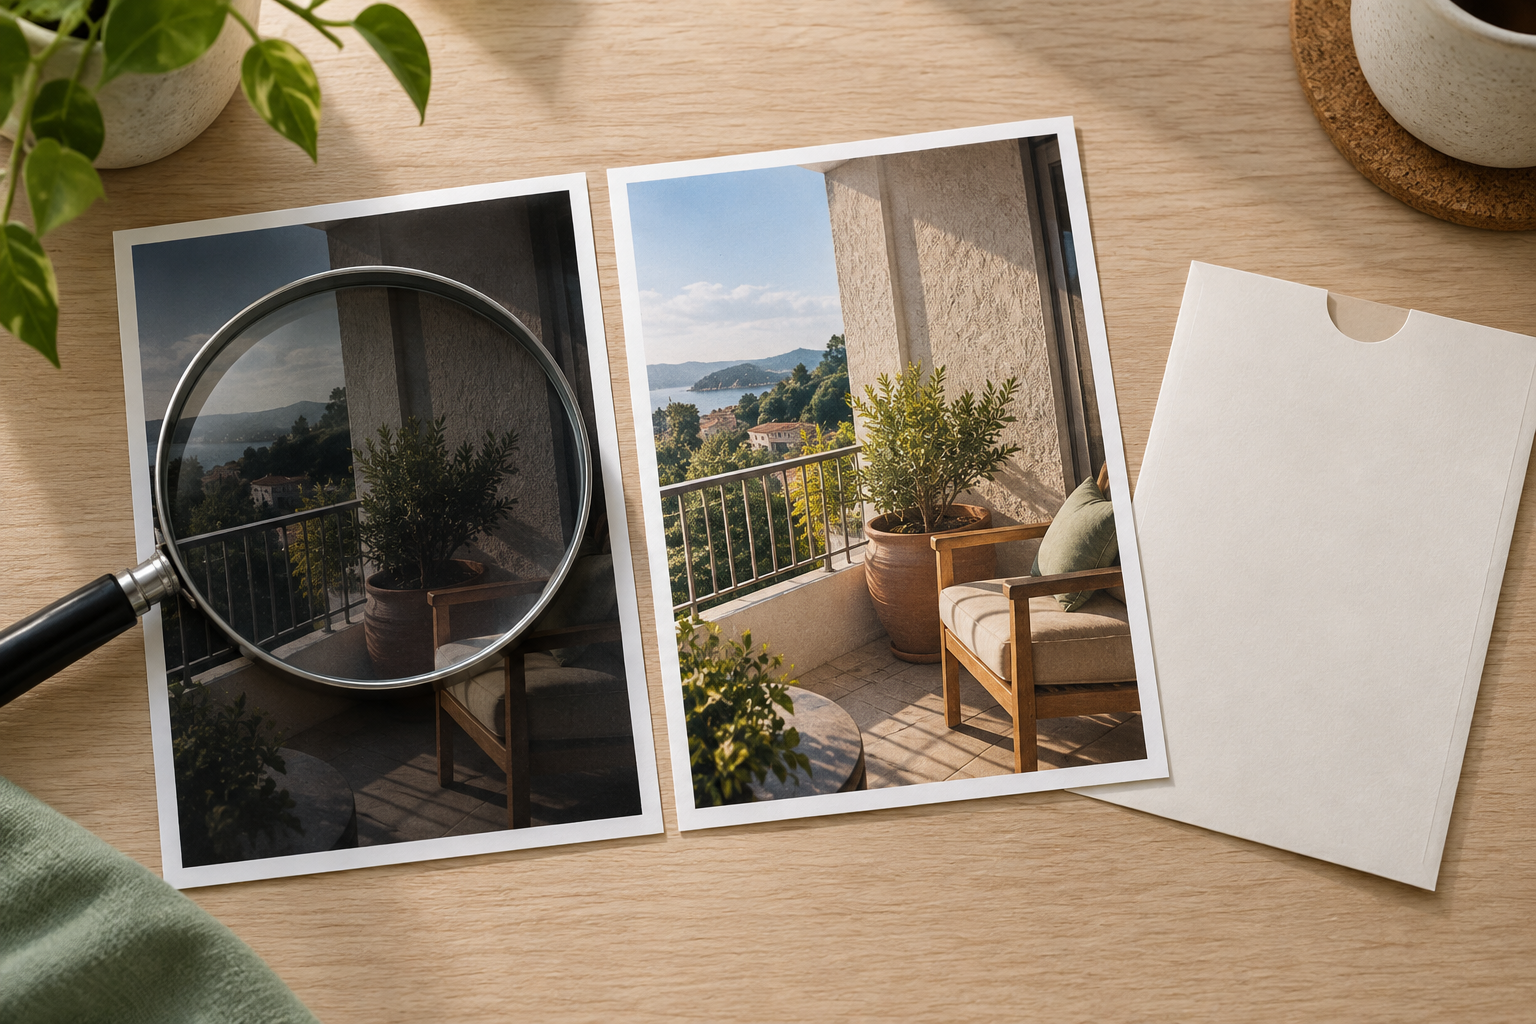
Step 03
Compare the result with the source at full size. Check shadows, highlights, color, skin, and texture, then download only when the image brightener produces a natural photo.
The image brightener is for photos where exposure is the main problem and the subject still matters.
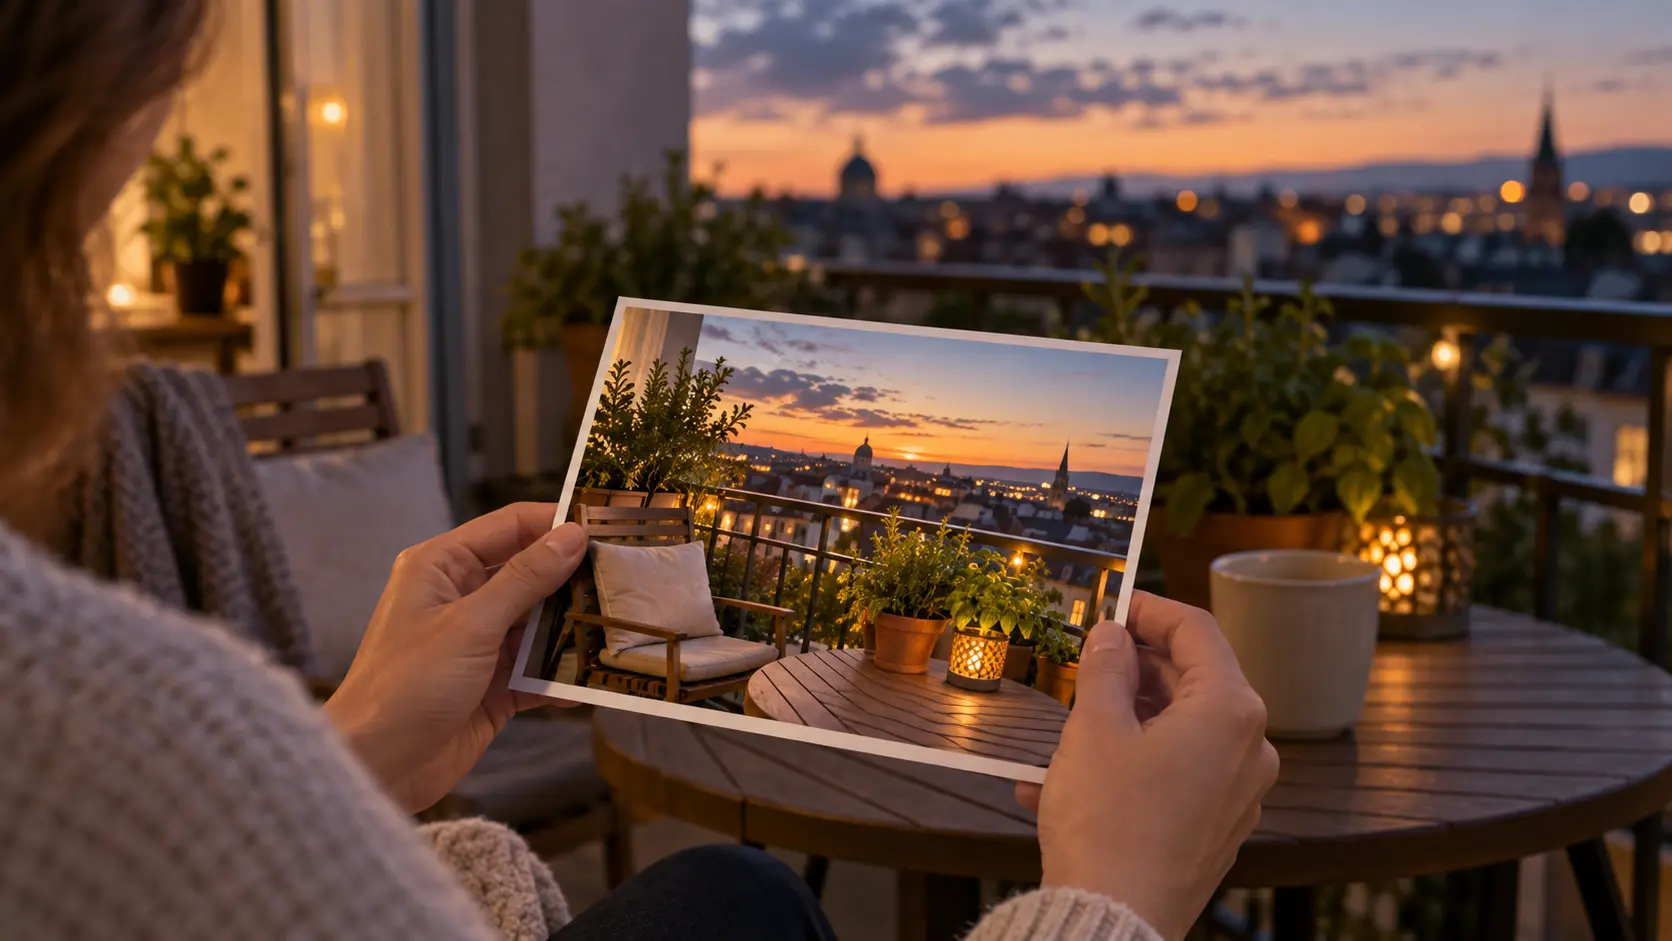
Recover a dim evening, indoor, or backlit phone photo so the subject and surroundings are easier to see without losing the moment.

Balance a dark product photo before a listing. Check material, label, and surface detail after the image brightener changes exposure.
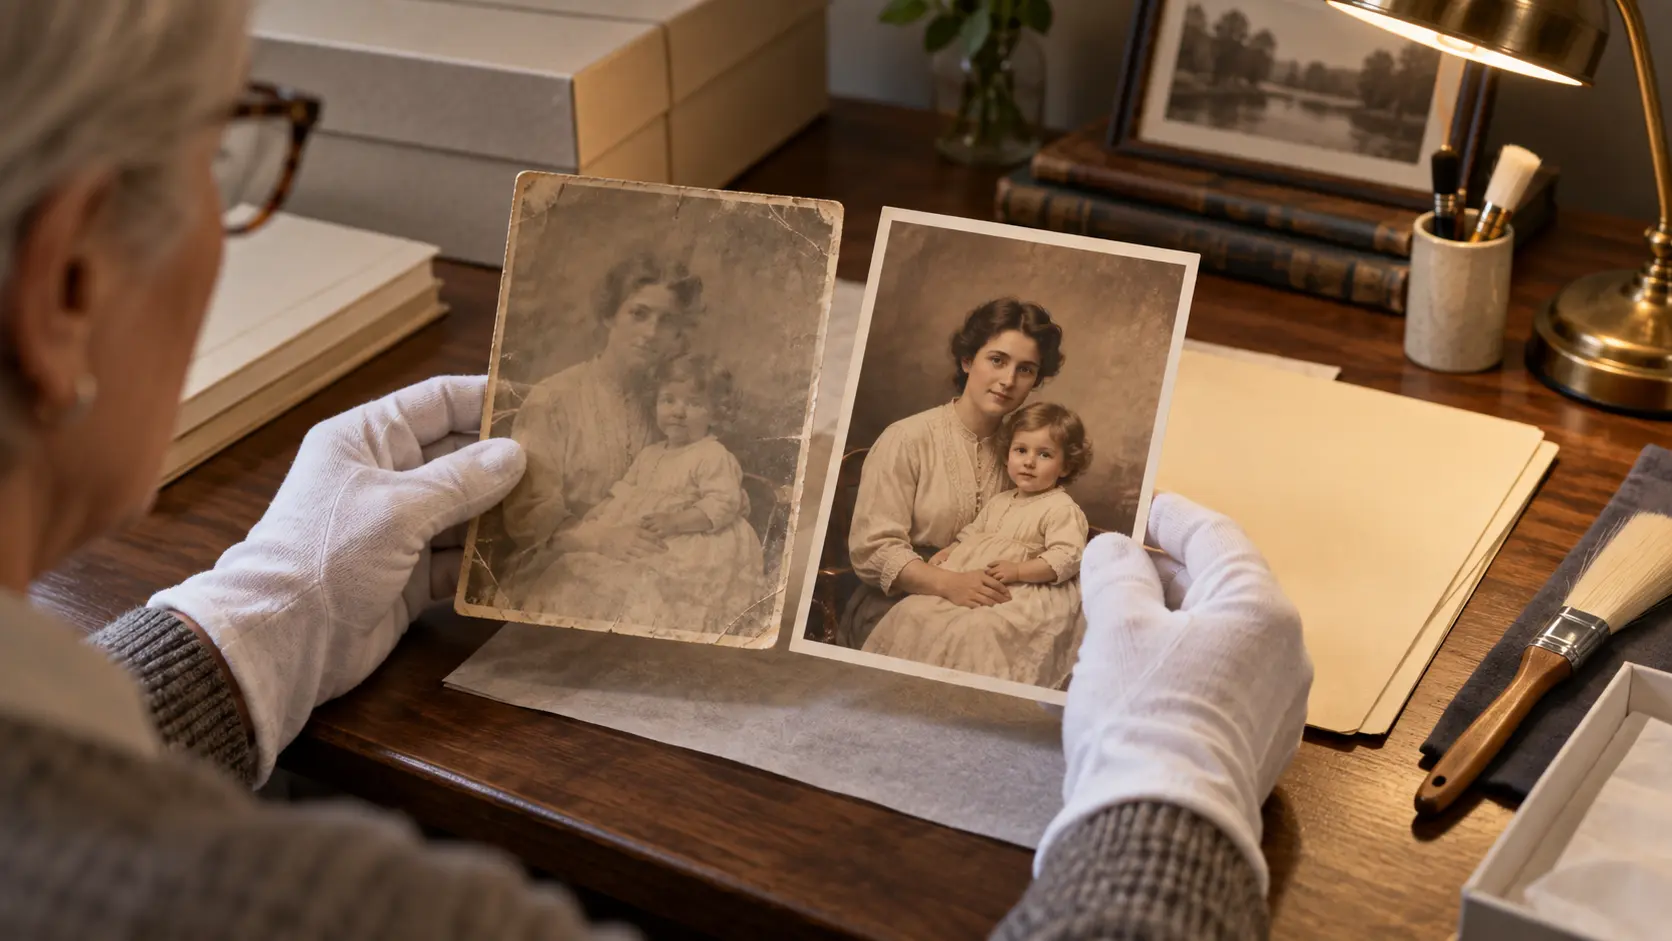
Make a faded or underexposed photo more readable before restoration or reuse. Keep the original scan and compare grain and tone carefully.
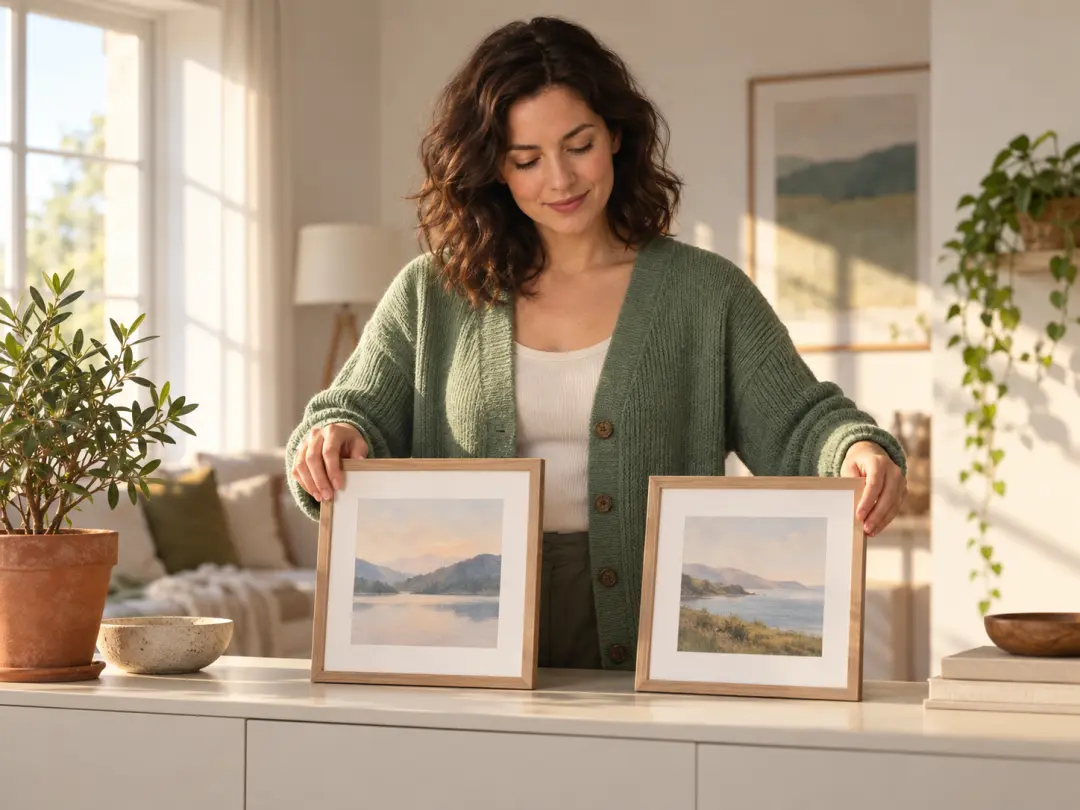
Rescue a personal photo that is too dark to share. Brighten the subject, review the whole image, and keep the original for comparison.

Prepare product photos before publishing. Use the image brightener to improve exposure, then verify material and label detail.
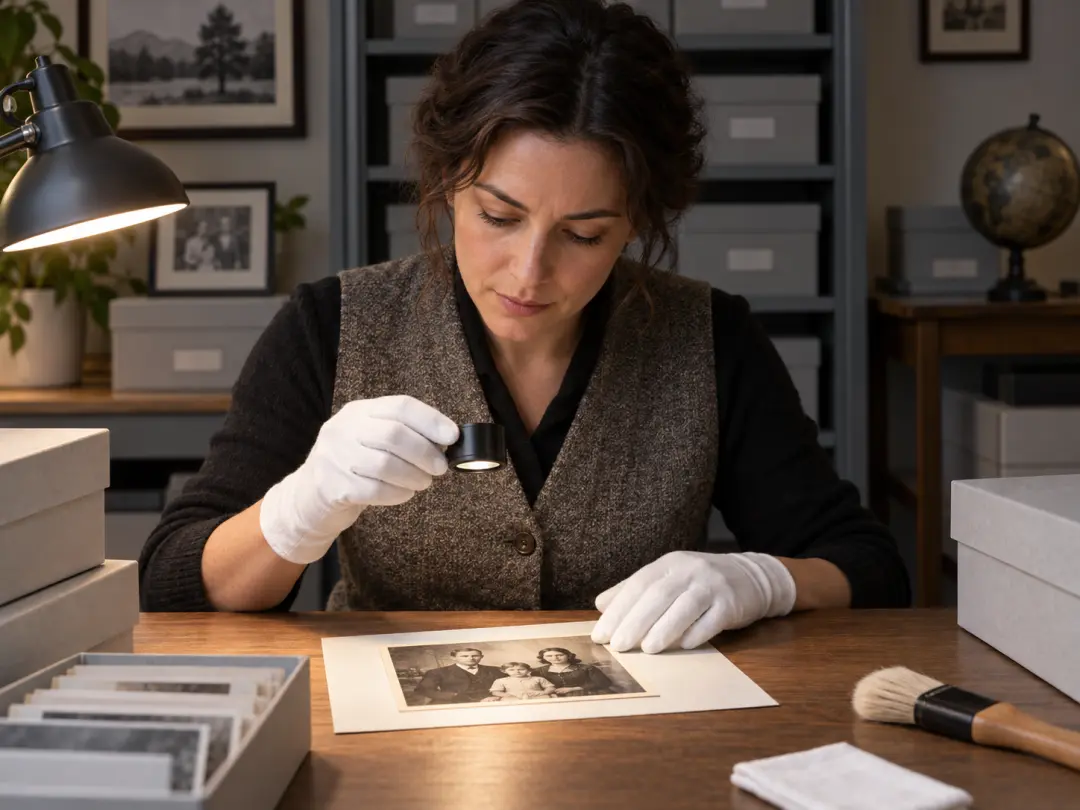
Make an old or unevenly lit image usable before another editing stage. Review color, grain, and texture before saving the brighter copy.
The image brightener keeps the exposure decision visible and the original photo close at hand.
Improve light without changing the subject into a different scene. Compare identity and color with the source.
Ask for brighter shadows or softer highlights. One direction makes the result easier to judge.
Inspect noise, texture, highlights, and color at full size before using the brighter photo.
Upload an underexposed or unevenly lit photo, choose a direction, and review a natural result before download.
Get Started