Step 01
Upload a Face Photo
Choose the highest-quality JPEG, PNG, or WebP file available. Avoid screenshots and heavily resized copies when an original contains more detail for remove face blur from photo online.

Remove face blur from photo online when a portrait is soft from motion, missed focus, or low resolution. Upload the original and let reconstruction sharpen facial features, rebuild likely detail, and keep the person recognizable. Review the eyes, hair, expression, and skin texture against the source, then download the clearer result without claiming recovery beyond the detail the photo contains.

No picture on hand? Try with one of these
The workflow focuses on facial clarity while protecting identity and expression.
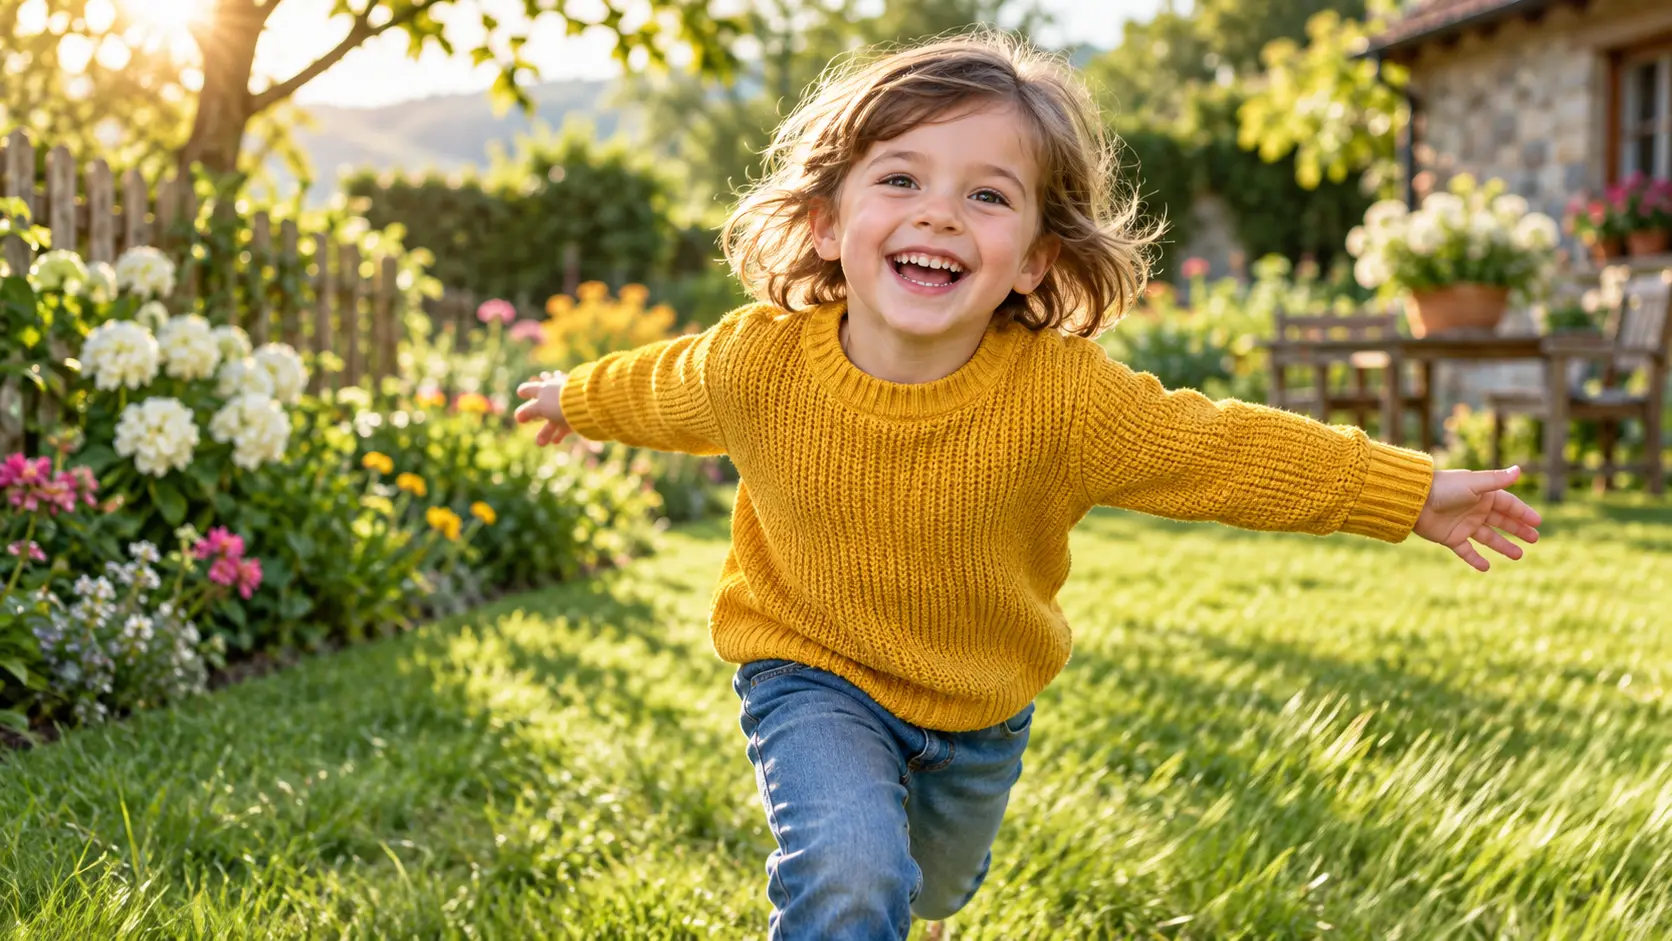
Reduce directional softness with a remove face blur from photo online workflow when a person moved during the exposure. The remove face blur from photo online process rebuilds likely edges around the eyes, nose, mouth, and hair. Check the result for doubled features, warped lines, or an expression that no longer matches the original moment. Keep the review centered on genuine facial structure.
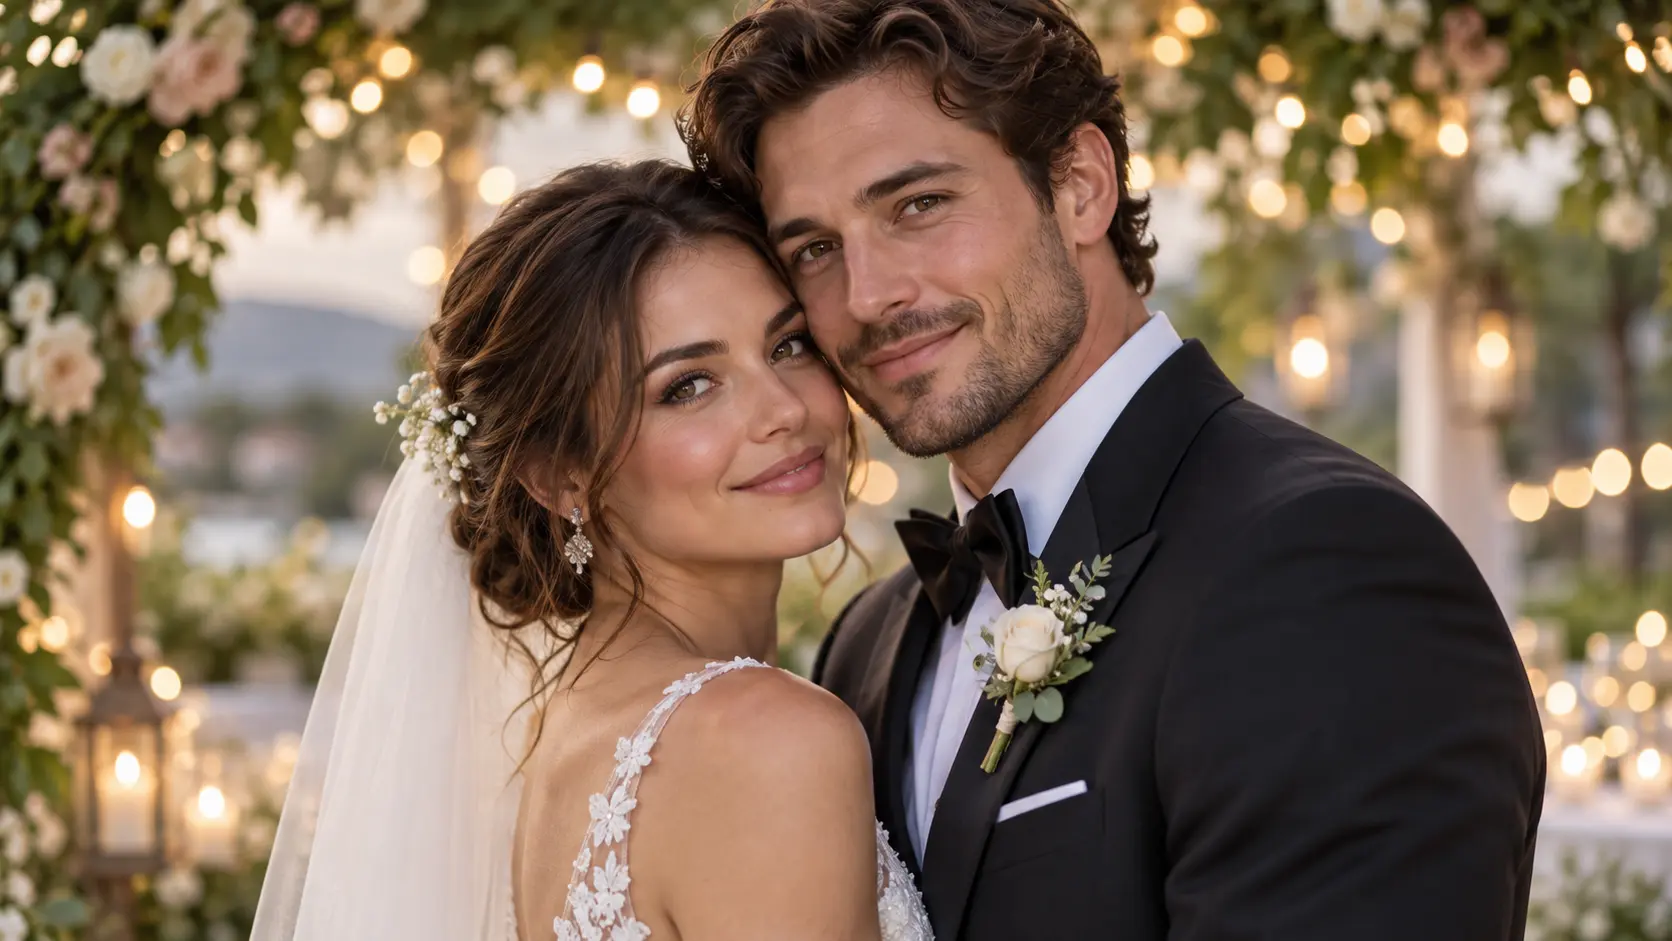
Improve a portrait where the camera focused behind the face or the lens captured soft detail at a shallow depth of field. The remove face blur from photo online pass strengthens recoverable structure instead of drawing a different person. Review eyes, glasses, jewelry, and hair edges carefully because those details reveal whether the reconstruction remains believable. Always preserve identity before chasing extra sharpness.
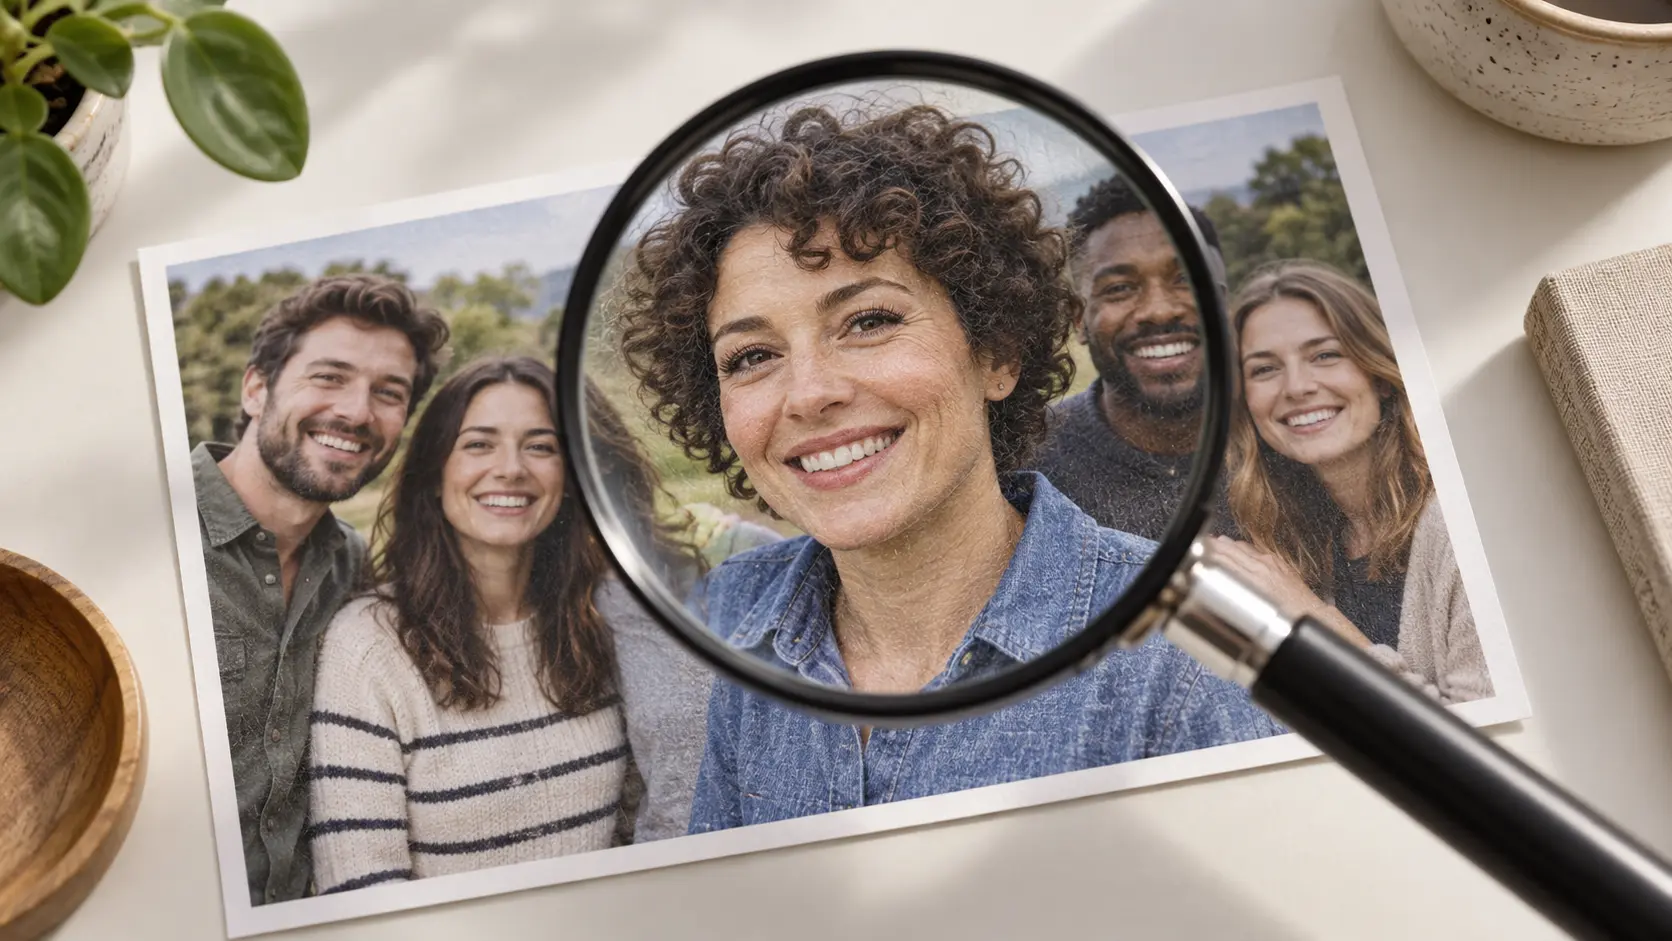
Strengthen a face that became soft after resizing, messaging, or repeated compression. This remove face blur from photo online workflow rebuilds likely edges from the structure that remains, but it cannot invent missing detail. Use the largest source available, carefully review the face at full size, and check clarity before accepting the final remove face blur from photo online result.
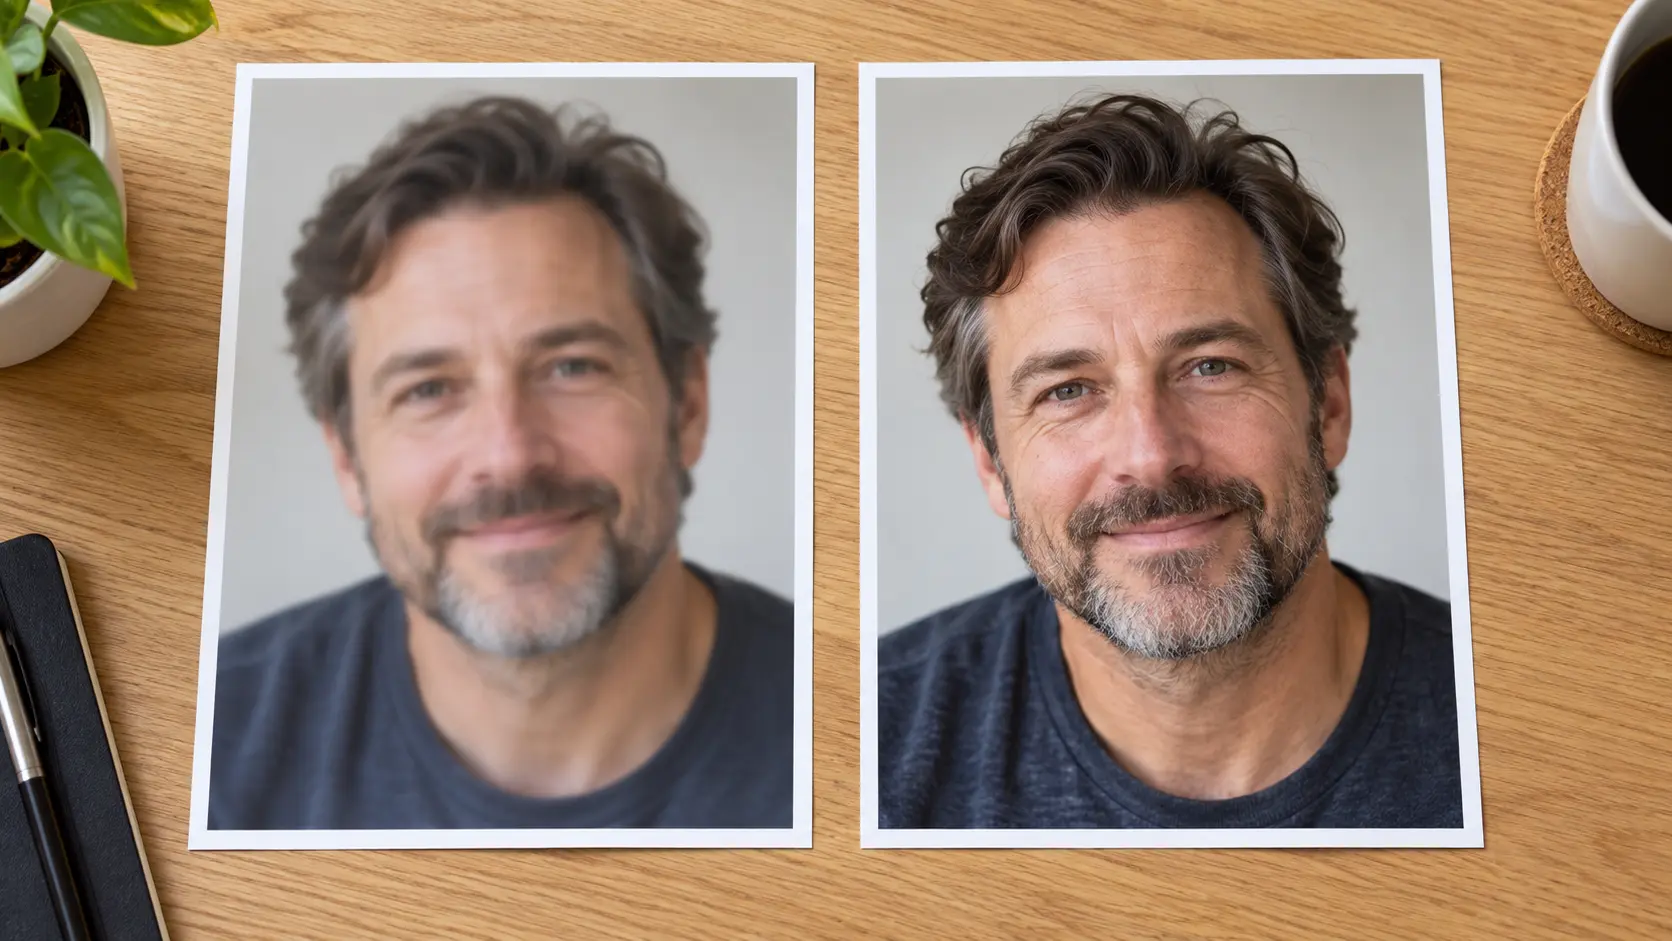
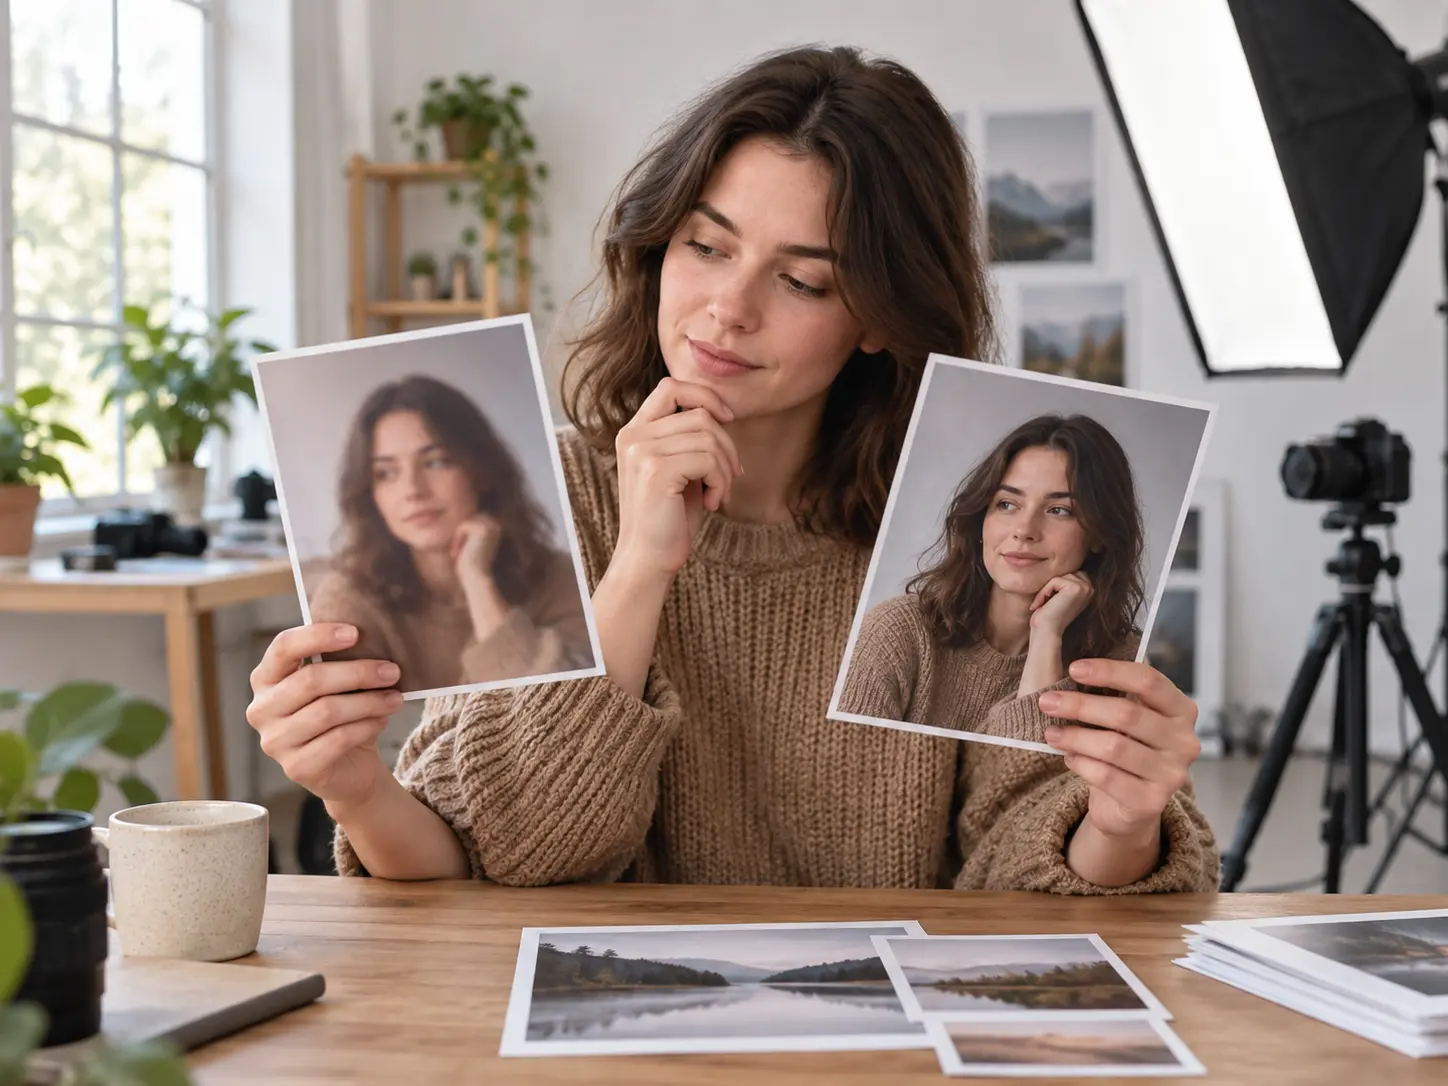
Compare the clearer portrait with the original before accepting the edit. Use this remove face blur from photo online review to check eyes, nose, mouth, hair, age cues, and expression for natural results. If the person appears different, soften the request or start again from the source. The goal is a believable unblur face in photo result, not a new face.
Review each before-and-after result carefully.
Step 01
Choose the highest-quality JPEG, PNG, or WebP file available. Avoid screenshots and heavily resized copies when an original contains more detail for remove face blur from photo online.
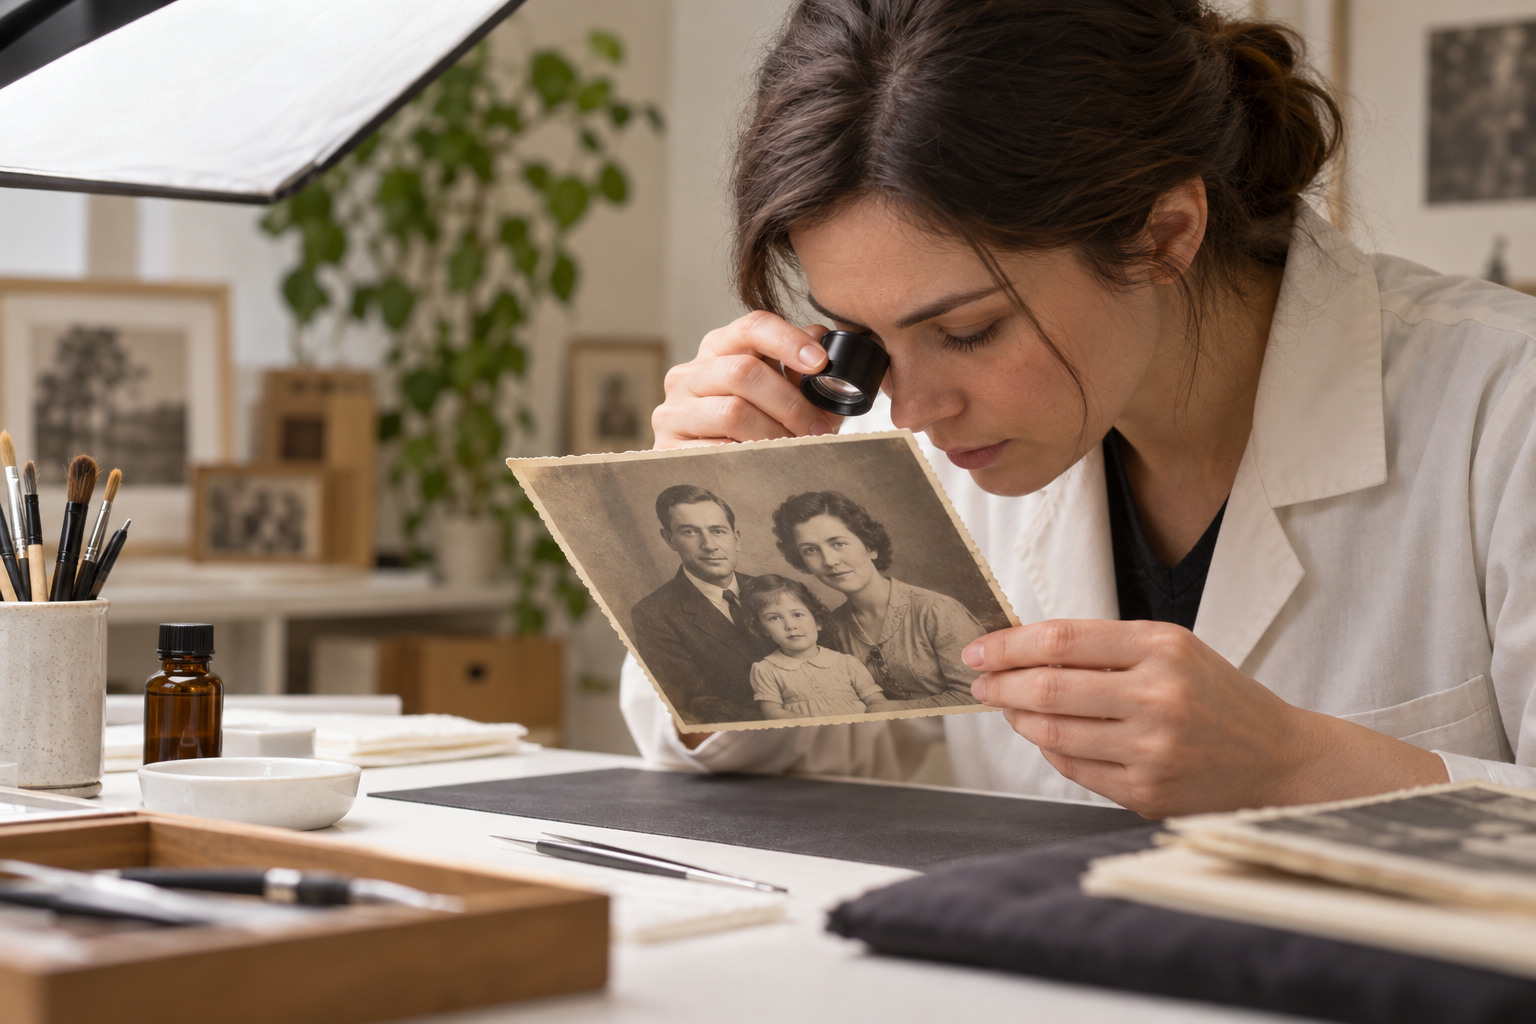
Step 02
Start the enhancement. The process analyzes soft edges and rebuilds likely facial structure while keeping the composition and recognizable features in place.
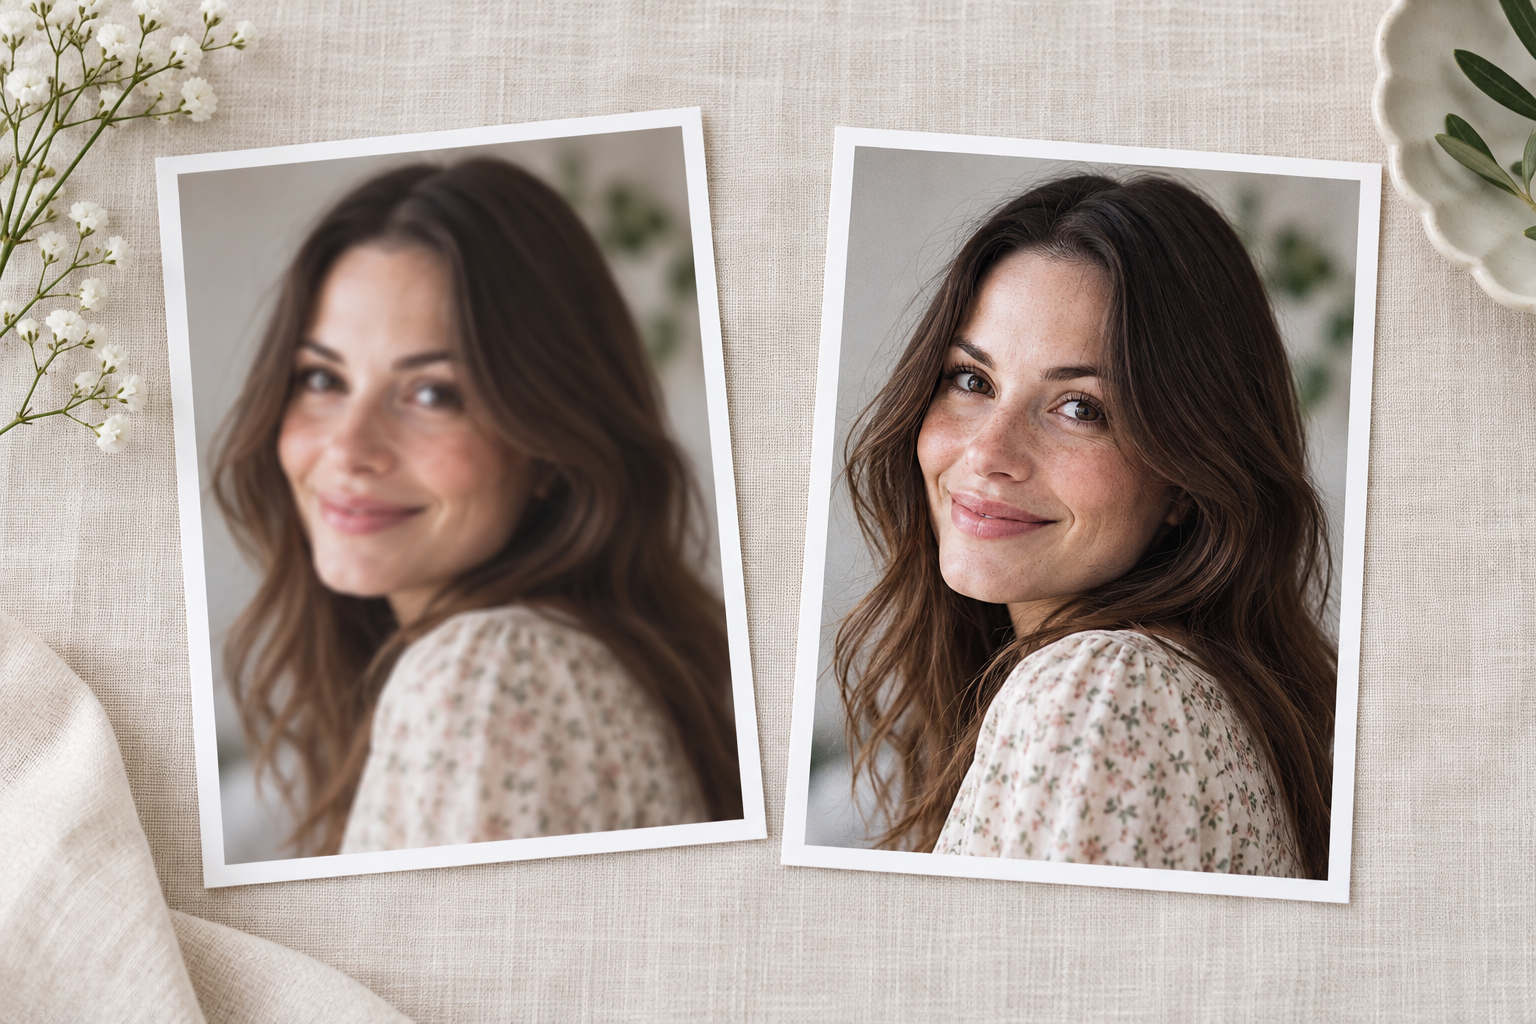
Step 03
Compare the eyes, hair, skin texture, expression, and background at full size. Download the clearer result only when it preserves who the person appears to be.
Use the workflow when the face still contains recoverable detail.
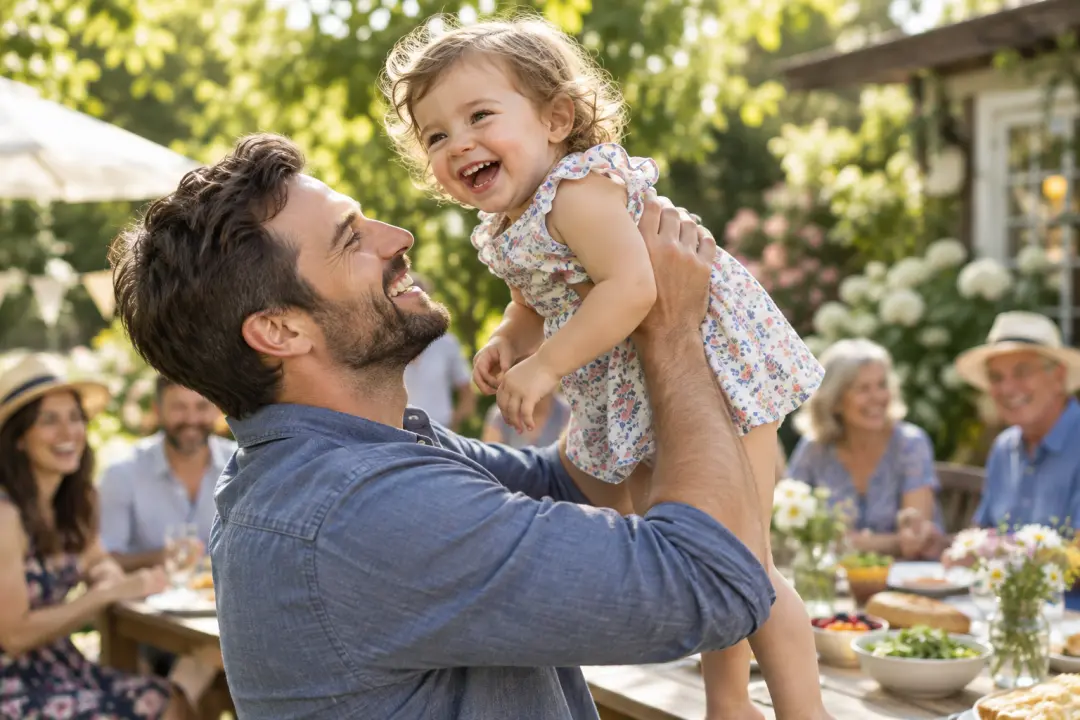
Rescue a candid moment where movement or low light left one face soft. Keep the expression and surrounding scene recognizable.

Improve an out of focus photo or creator portrait so facial features read clearly at a smaller display size.
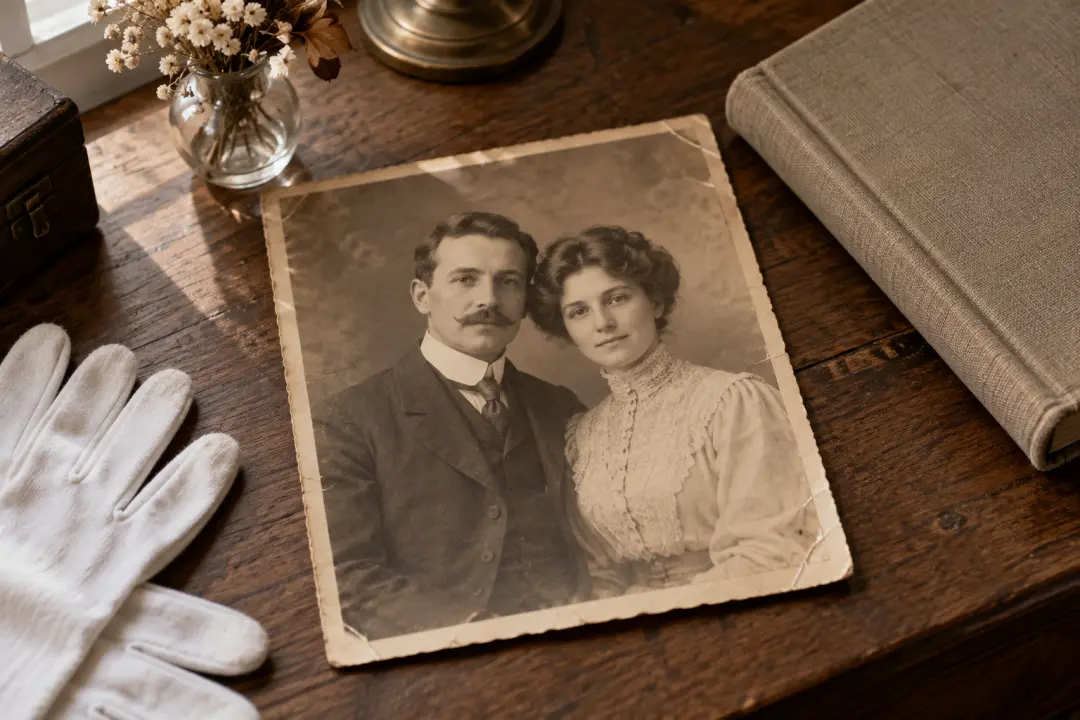
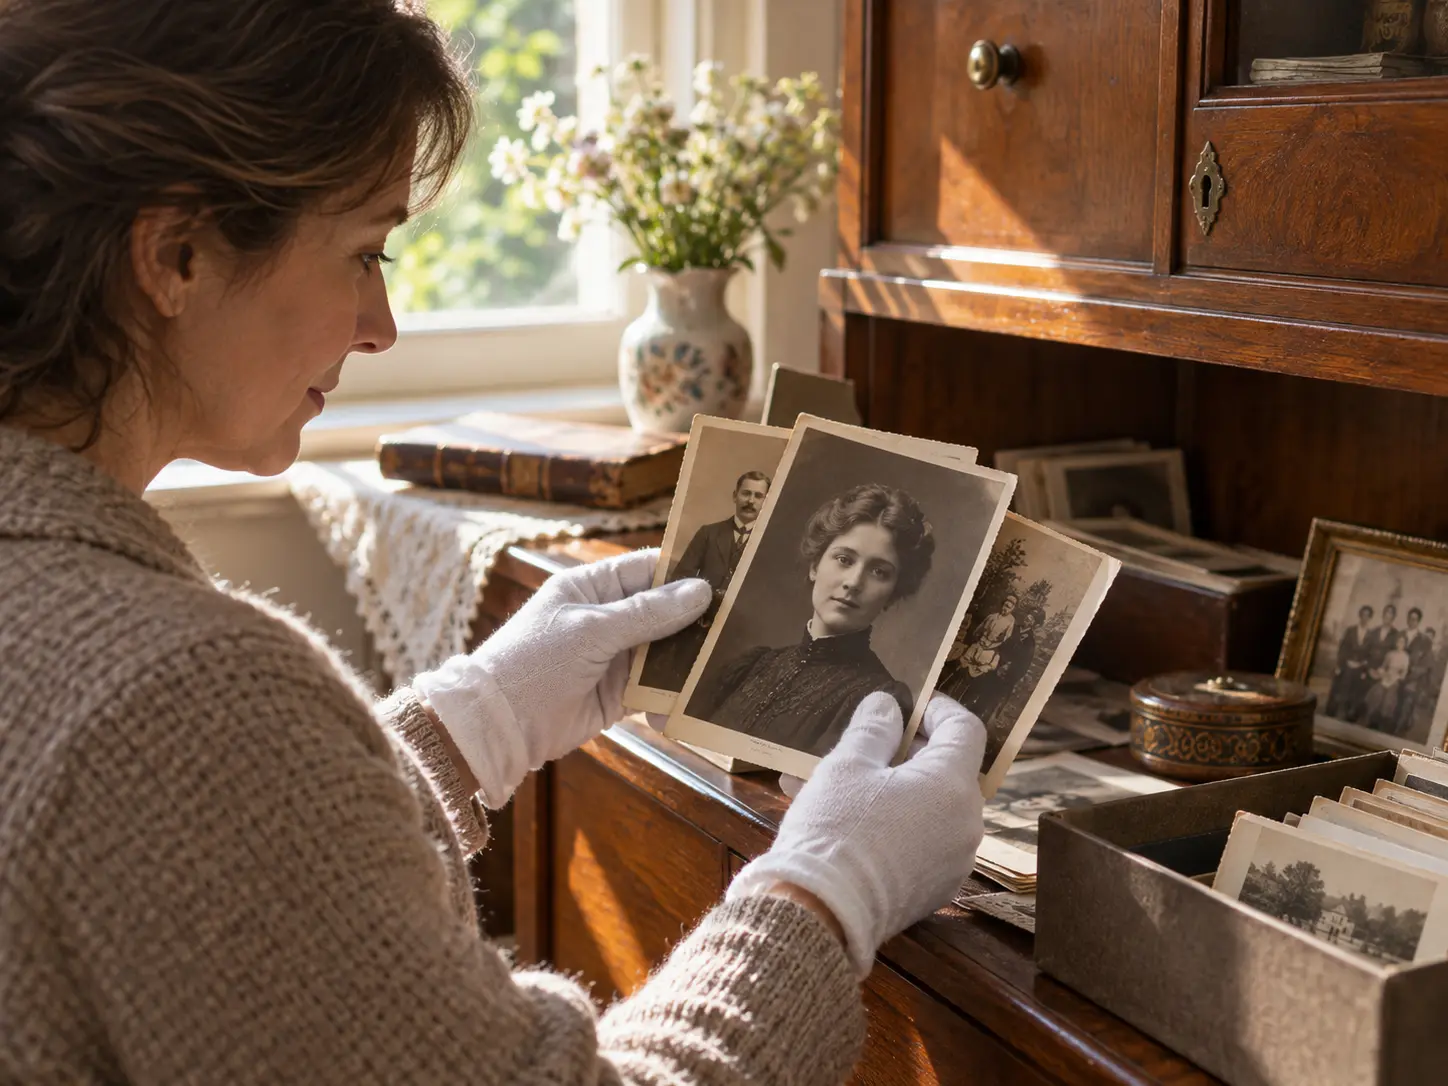
Increase readability in a scanned family image without treating it as forensic restoration or a way to recover censored content.

Prepare a softer model photo for a listing or campaign while preserving the person, product, pose, and composition.
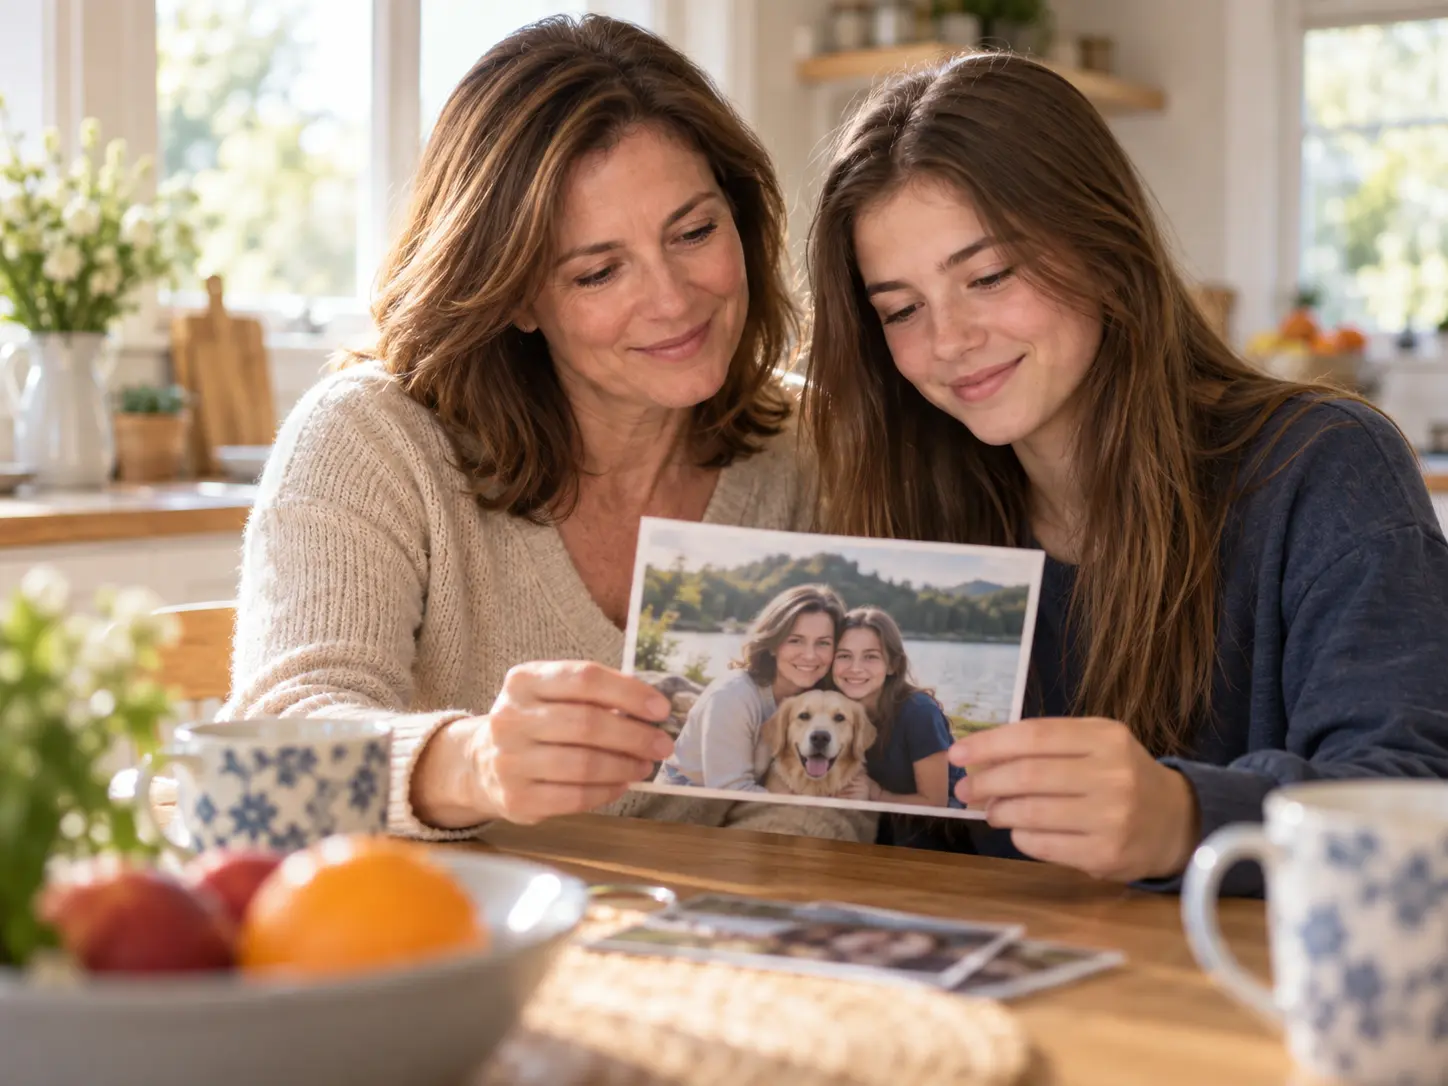
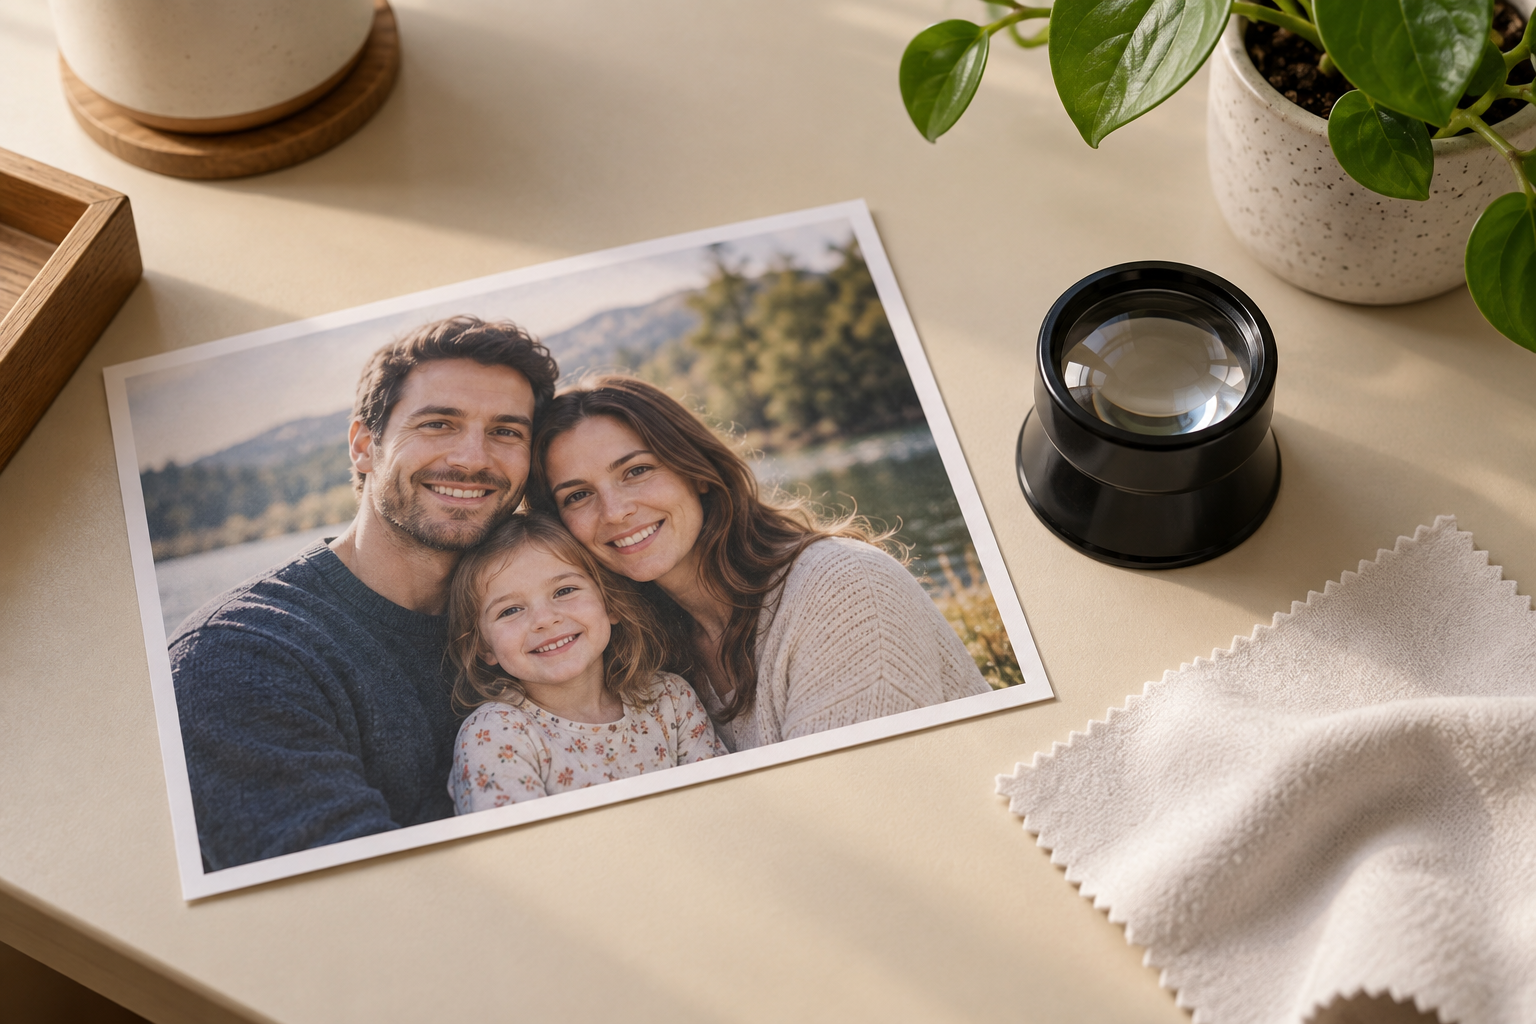
Improve candid family portraits where movement or low light left a face soft but still recoverable.
A focused workflow keeps clarity and honest limits visible.
Direct the enhancement toward soft facial structure instead of treating the entire frame as one generic blur.
Keep the original crop, pose, background, and expression unless a separate edit is requested.
Upload and review a result without installing desktop restoration software.
Judge the face blur remover result, texture, and likeness against the file you uploaded.
Improve portraits with recoverable detail rather than claiming to reverse every kind of damage.
Download a clearer image for sharing, layout, or further enhancement when appropriate.
Upload an out of focus photo, review the result, and keep the version that looks natural.
Get Started