
Step 01
Upload the Base and Subject Photos
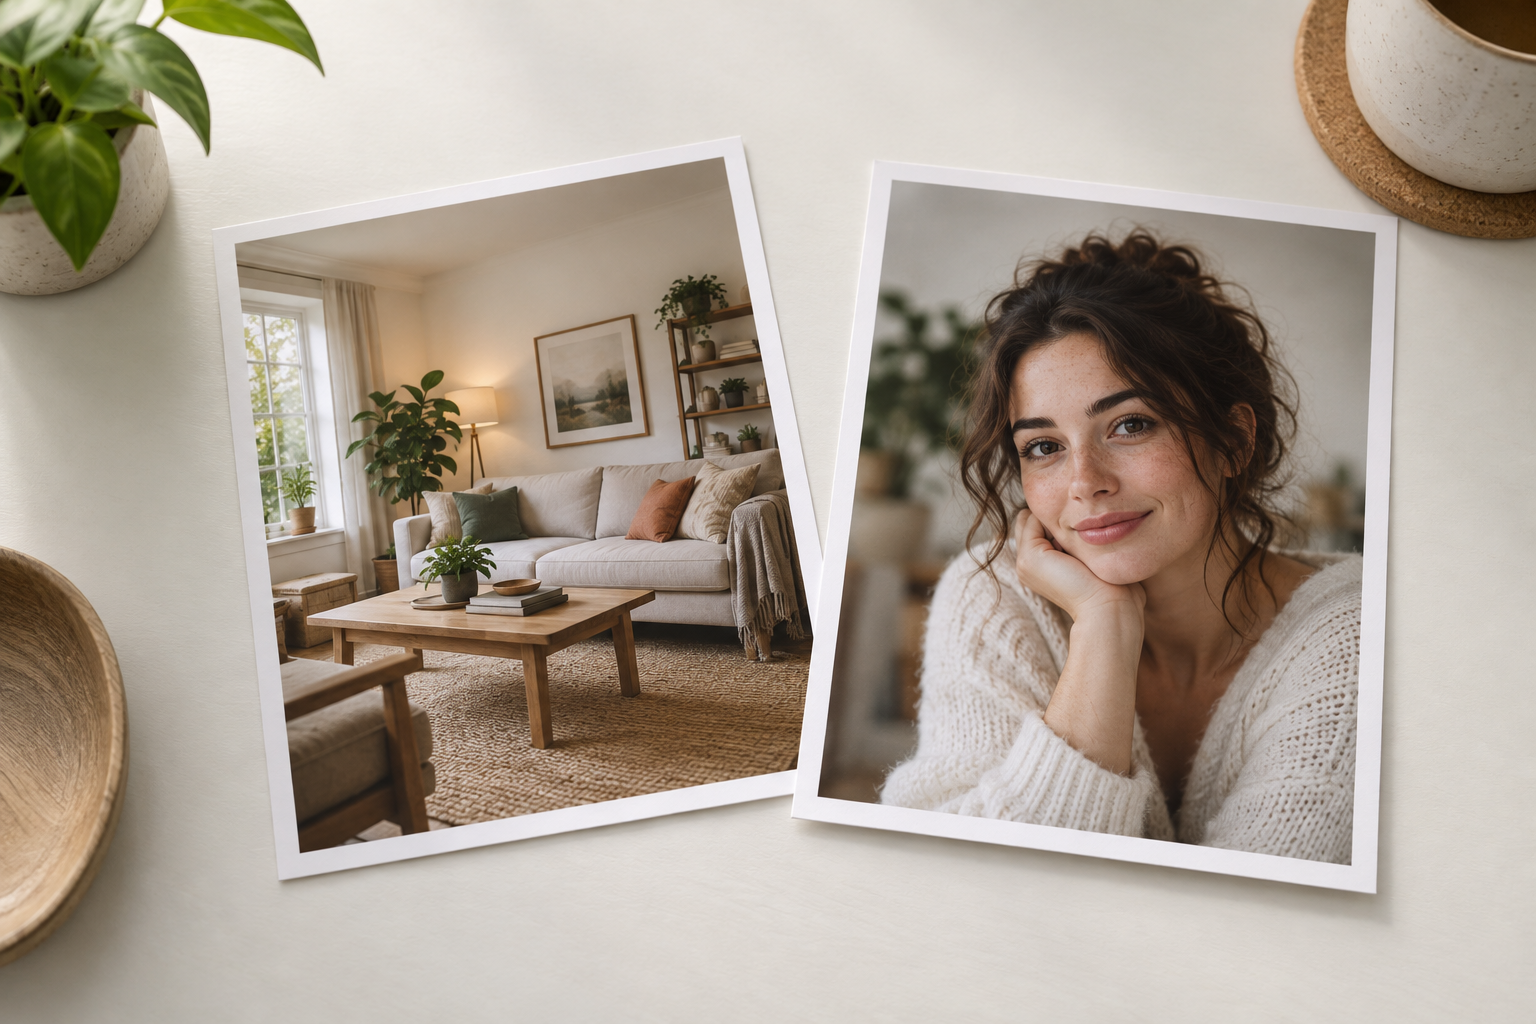
Start with the photo that already has the setting you want, then add the image that contains the person, pet, or product you need. A sharp subject and a clean background make the next step easier.

Use AI add to photo when you want a subject from one picture to appear inside another. Upload the base image and the photo that holds the person, pet, or product, then describe where it should go. The AI add to photo workflow rebuilds light, scale, and perspective so the two sources read as one scene. Check edges and shadows at full size before you download the result.
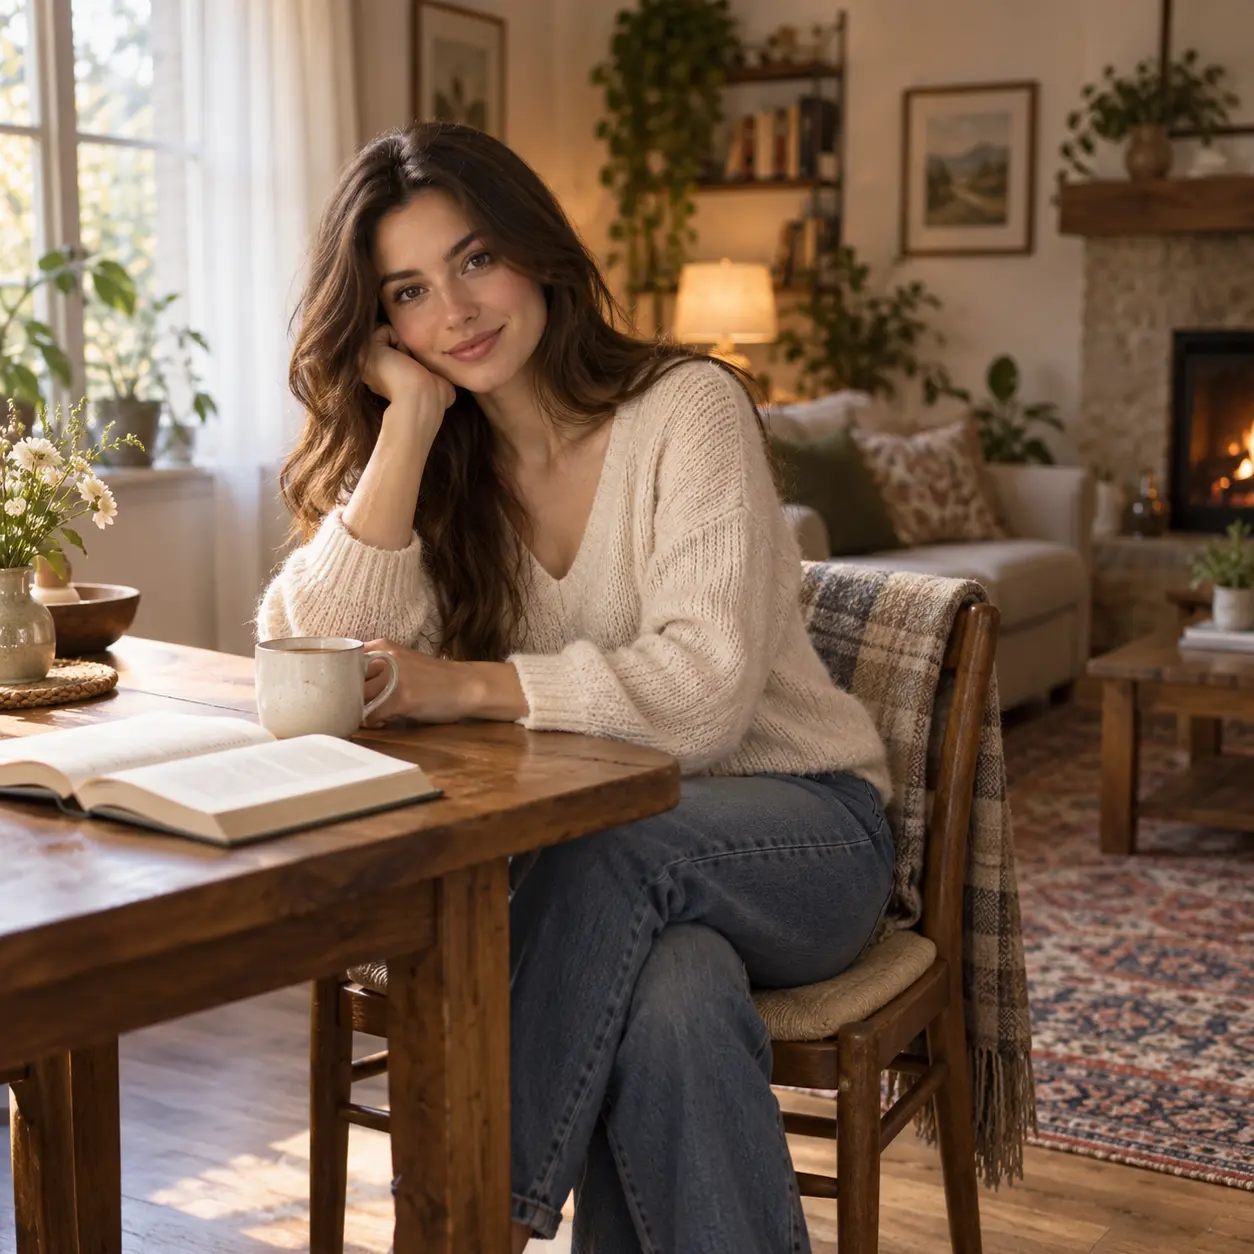
This workflow is built for combining subjects from separate images rather than stacking them side by side. AI add to photo interprets both uploads together and rebuilds one scene from them.
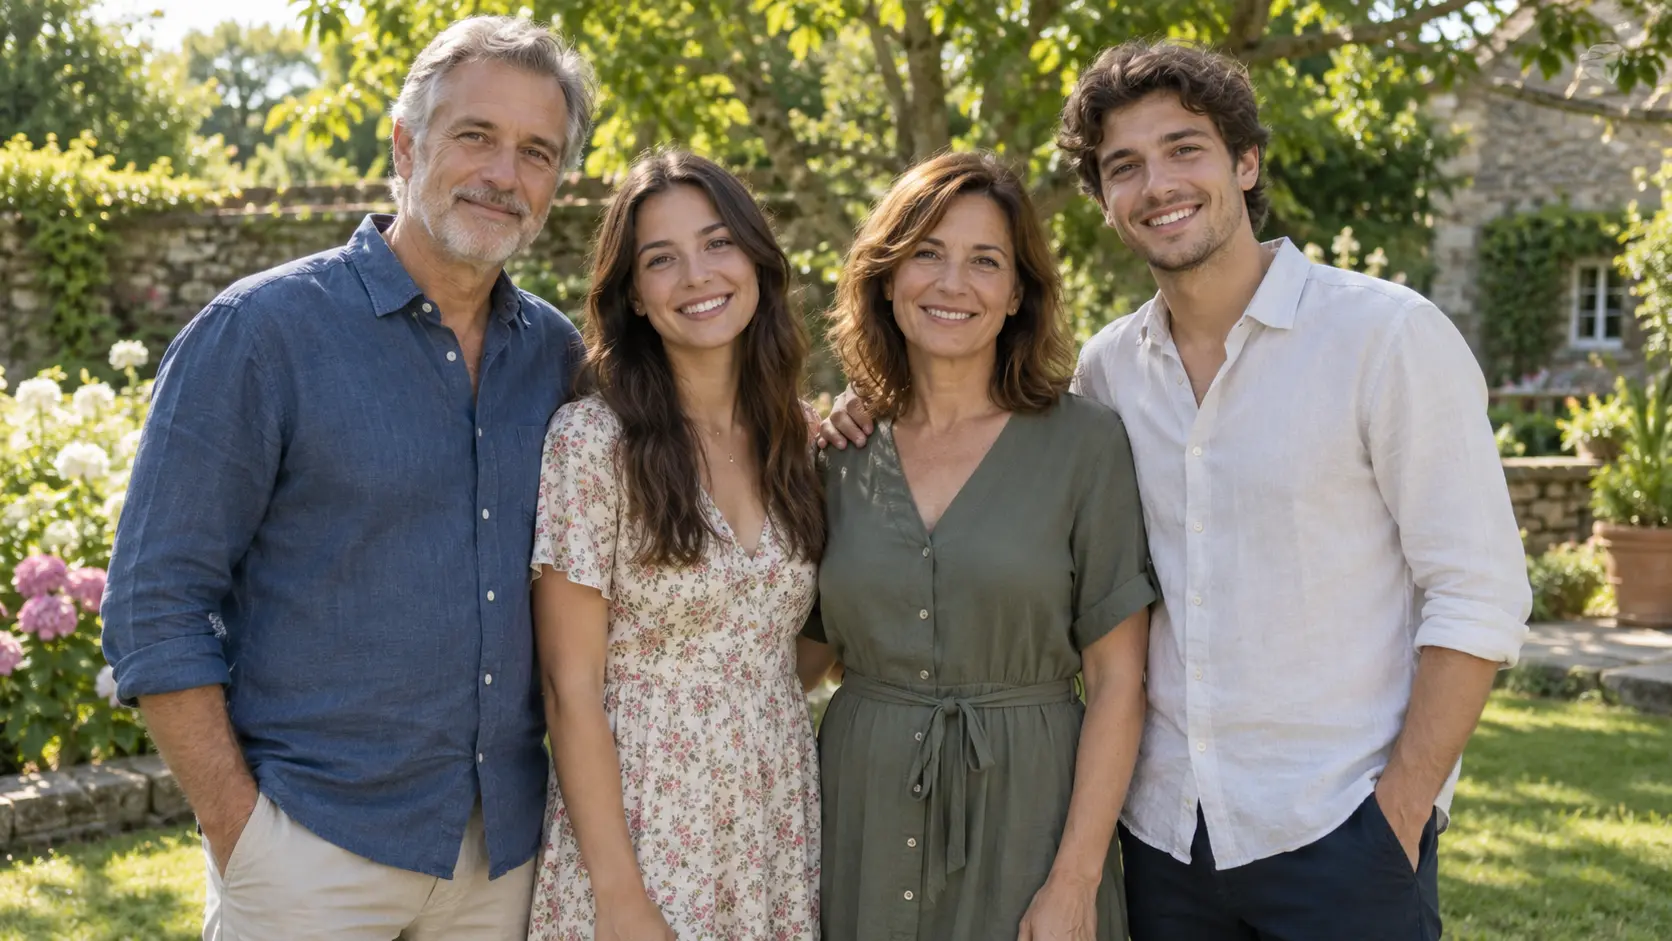
Upload a group shot and a single portrait, then ask AI add to photo to place that person into the wider scene. The generator reads pose, scale, and light direction so the added figure does not look pasted on. Review hands, feet, and contact shadows before you accept the result.
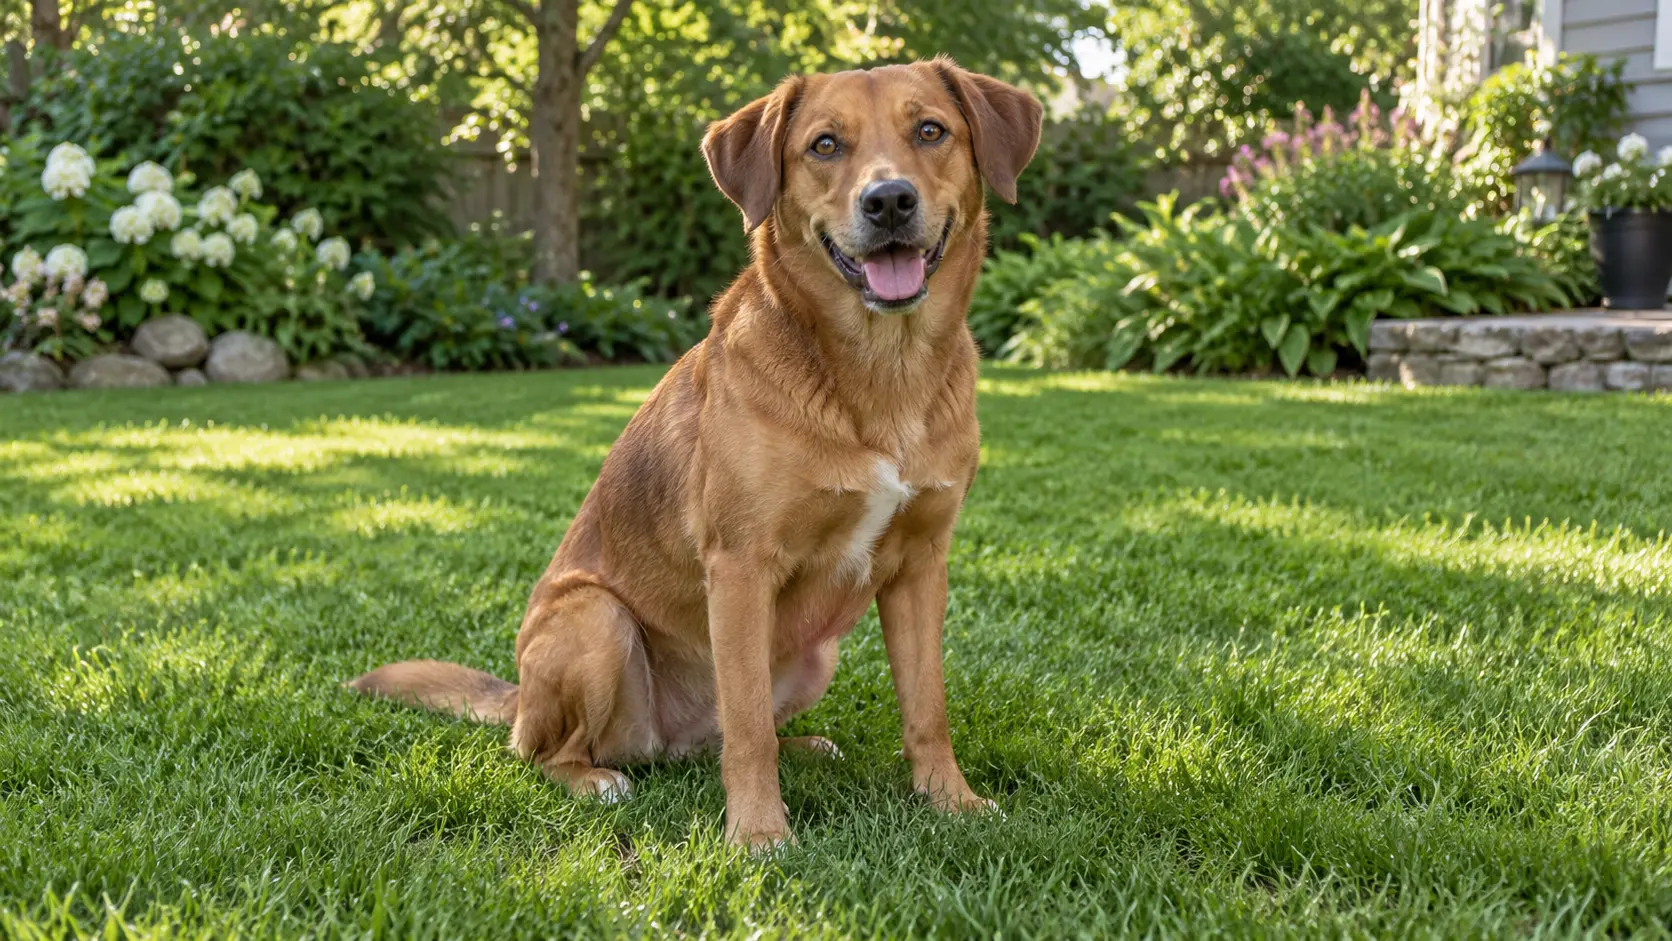
Move a cat or dog from a plain photo into a garden, living room, or travel scene. AI add to photo matches fur edges and ground contact where it can, but unusual poses may need a second pass. Keep the animal large enough in the source for clean detail.
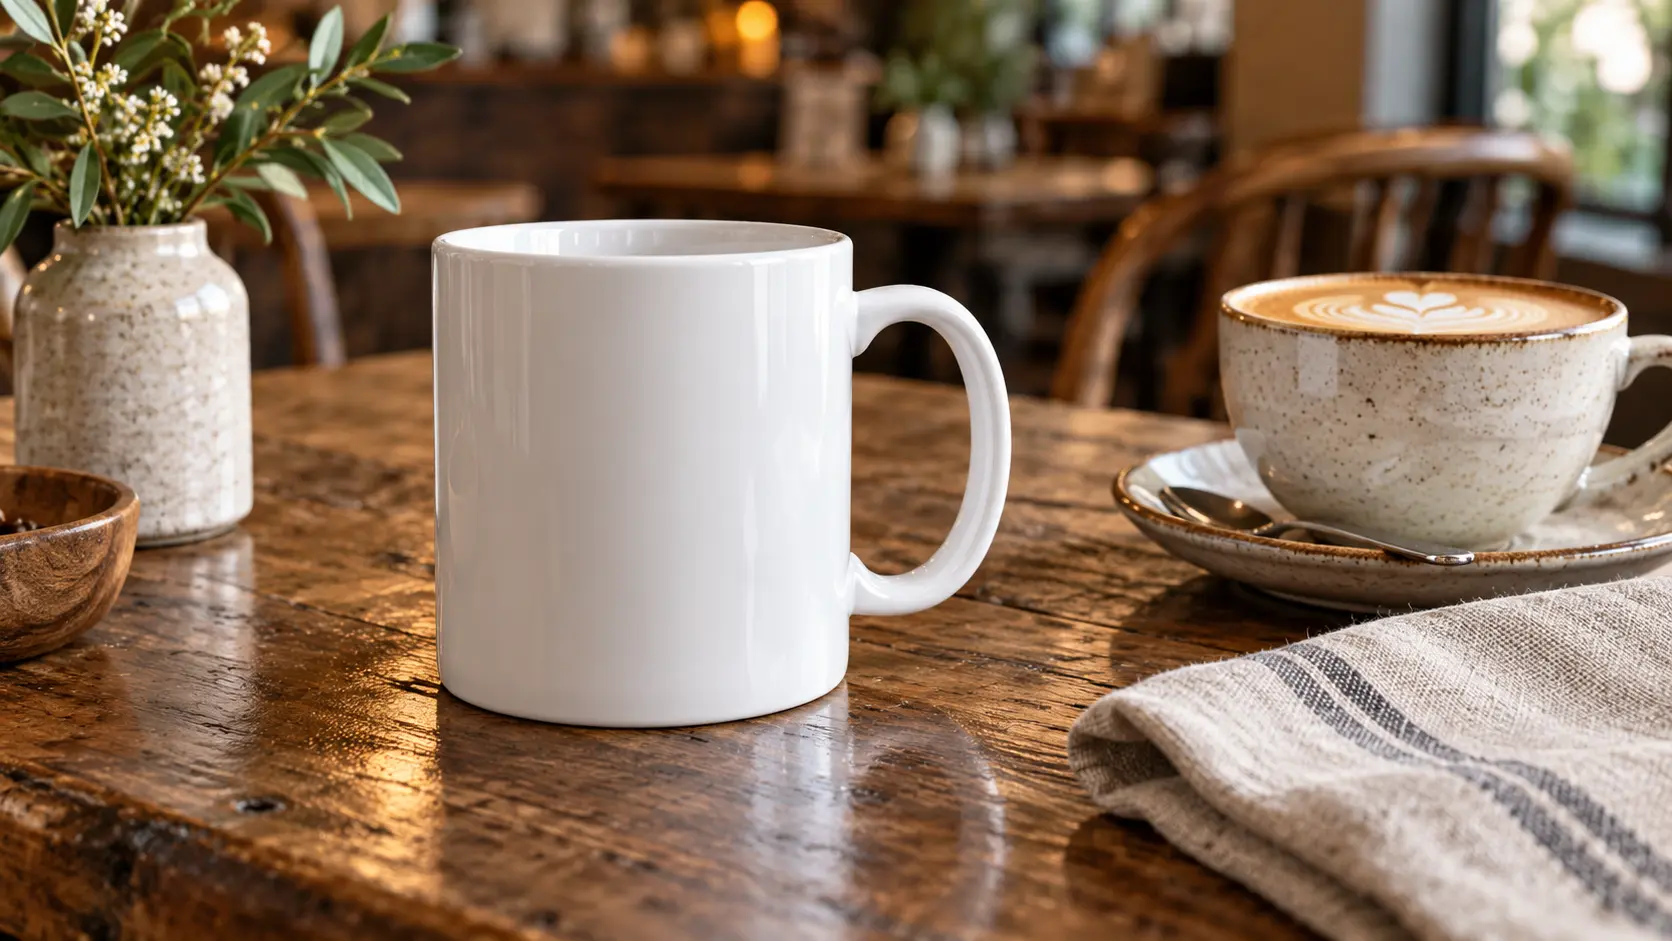
Take a product cut from a studio shot and set it on a real table, shelf, or outdoor surface. AI add to photo adjusts scale and reflection direction, which helps a catalog item read as part of a natural setting instead of floating above it.
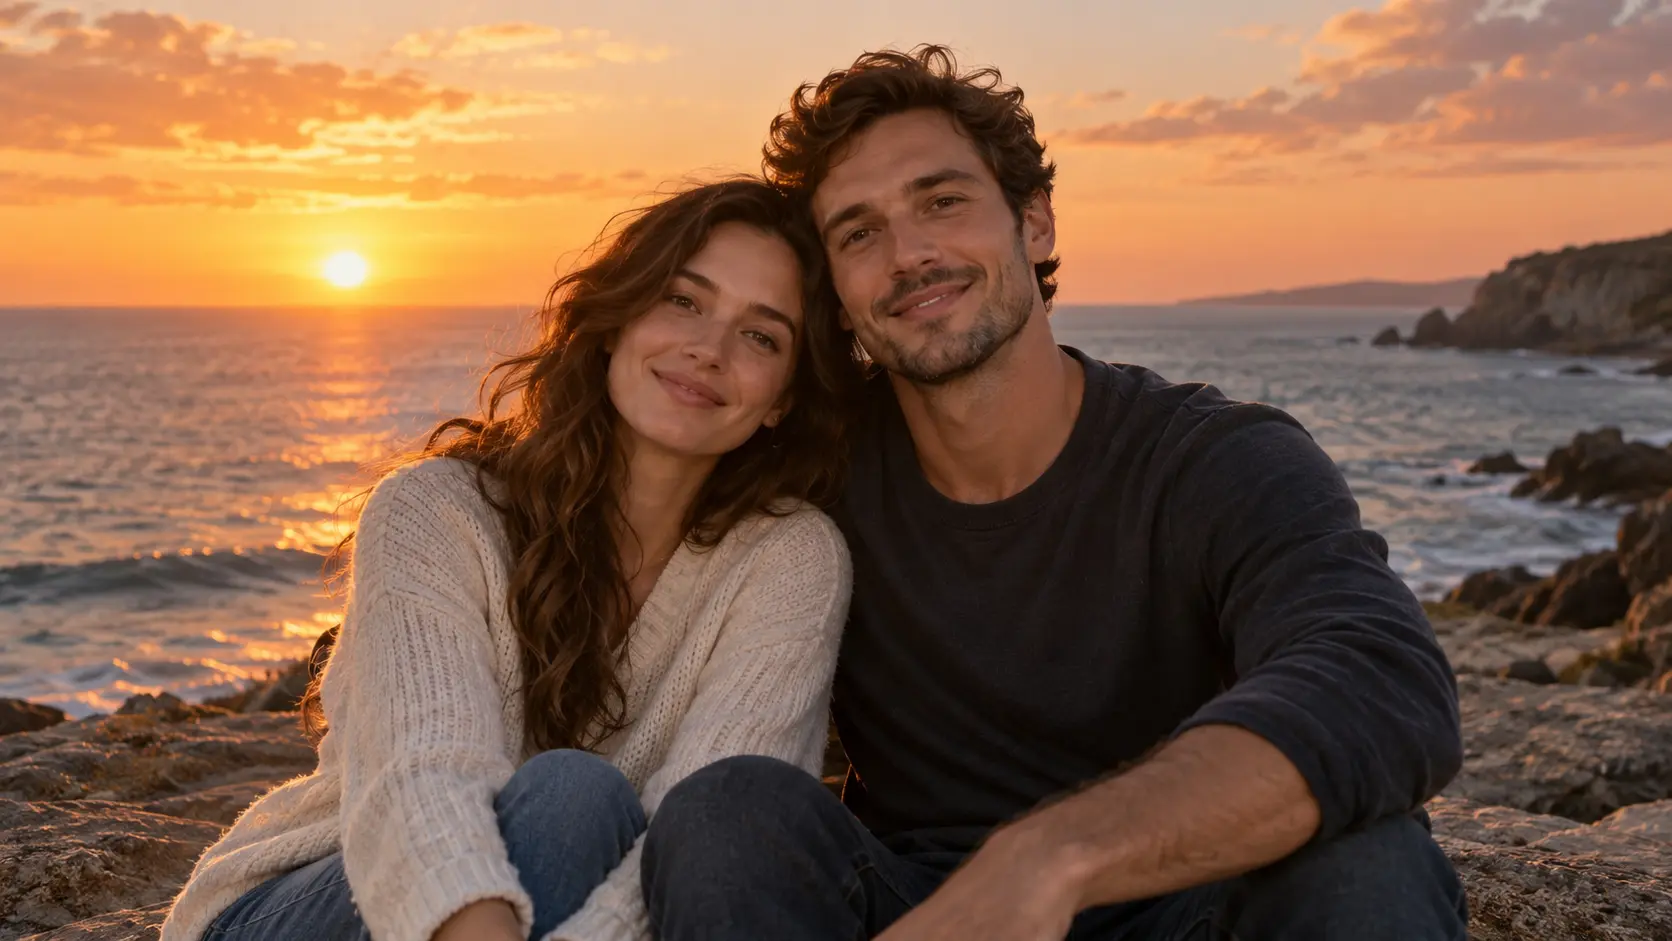
When neither image is clearly the background, AI add to photo can merge both subjects into a shared space. Describe the setting, framing, and mood so the model has one coherent scene to build instead of two competing compositions.
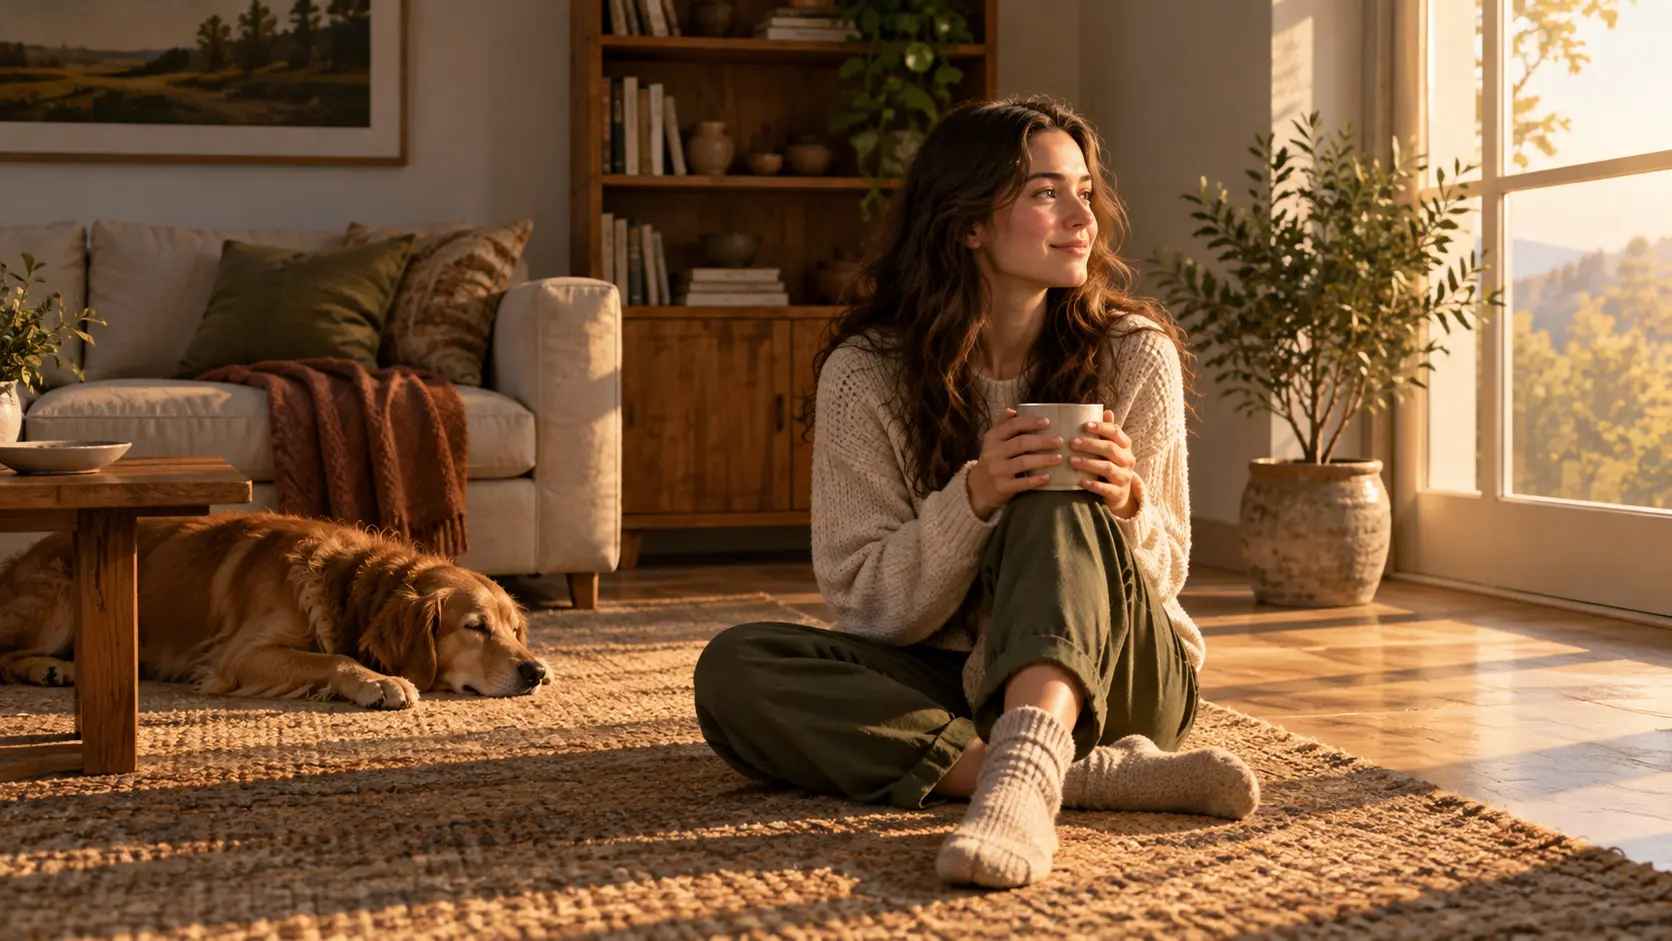
A believable insertion depends on light, shadow, and camera angle. AI add to photo follows the direction you describe and the cues in the base image, so the added subject shares the same color temperature and contact shadow as the rest of the scene.
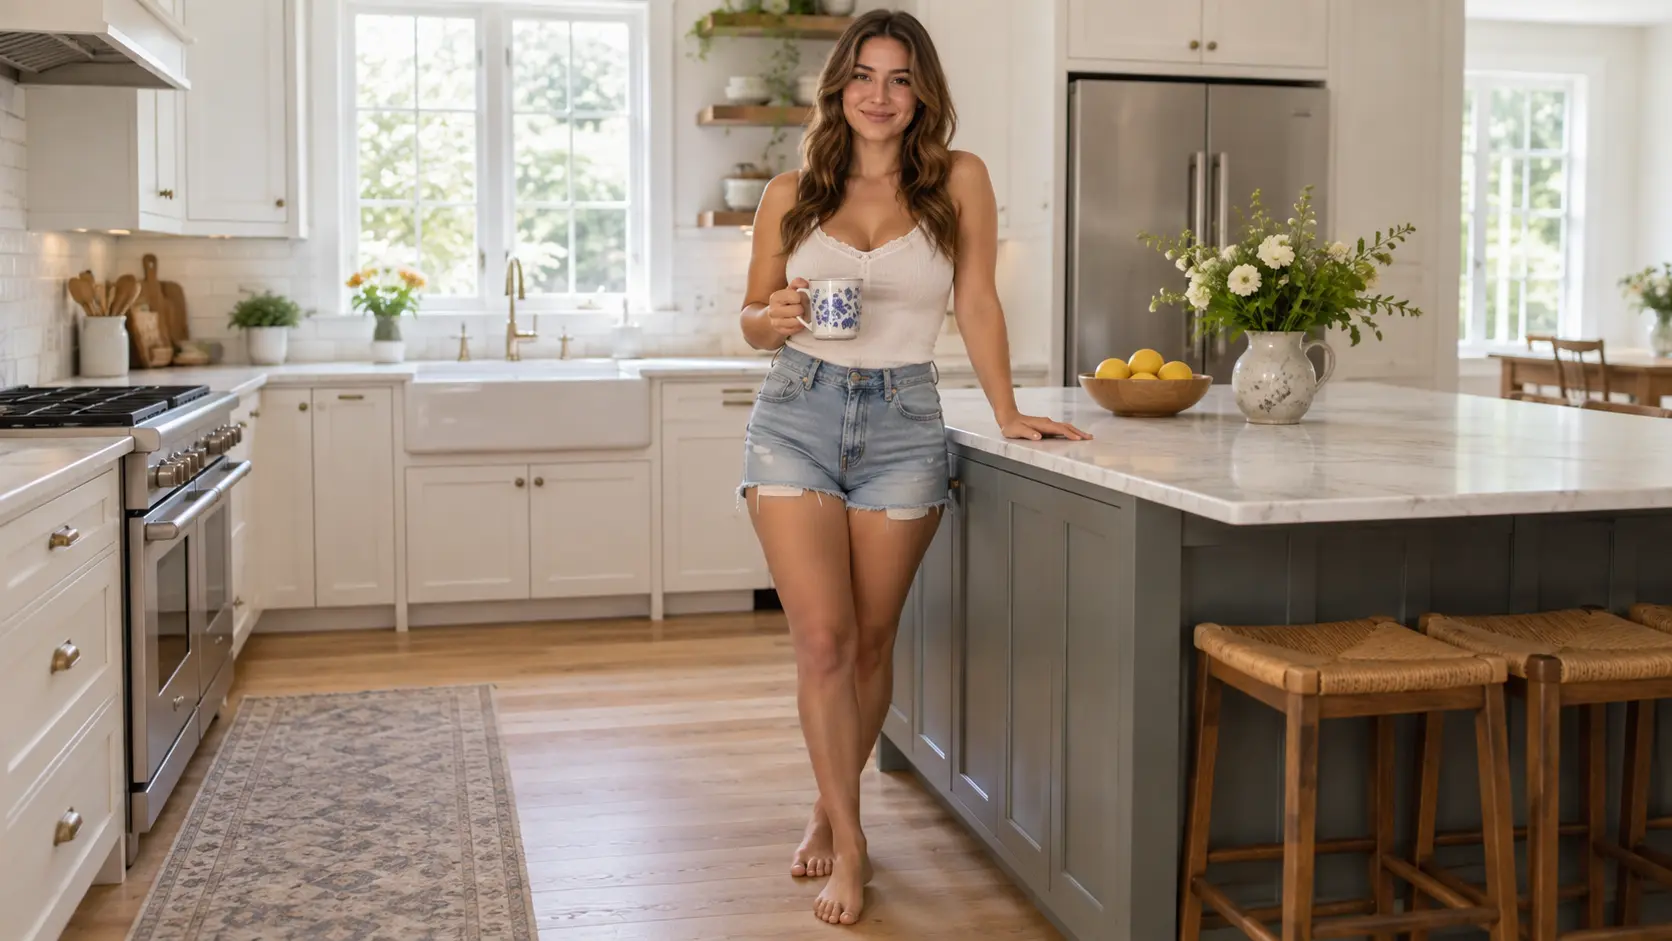
If the first result is close, describe one correction such as moving the subject, changing the scale, or softening an edge. Treating AI add to photo as a short review loop usually gives a cleaner scene than rewriting the whole prompt.
The process is short: bring in both images, describe the placement, and check the combined scene.
Step 01
Start with the photo that already has the setting you want, then add the image that contains the person, pet, or product you need. A sharp subject and a clean background make the next step easier.
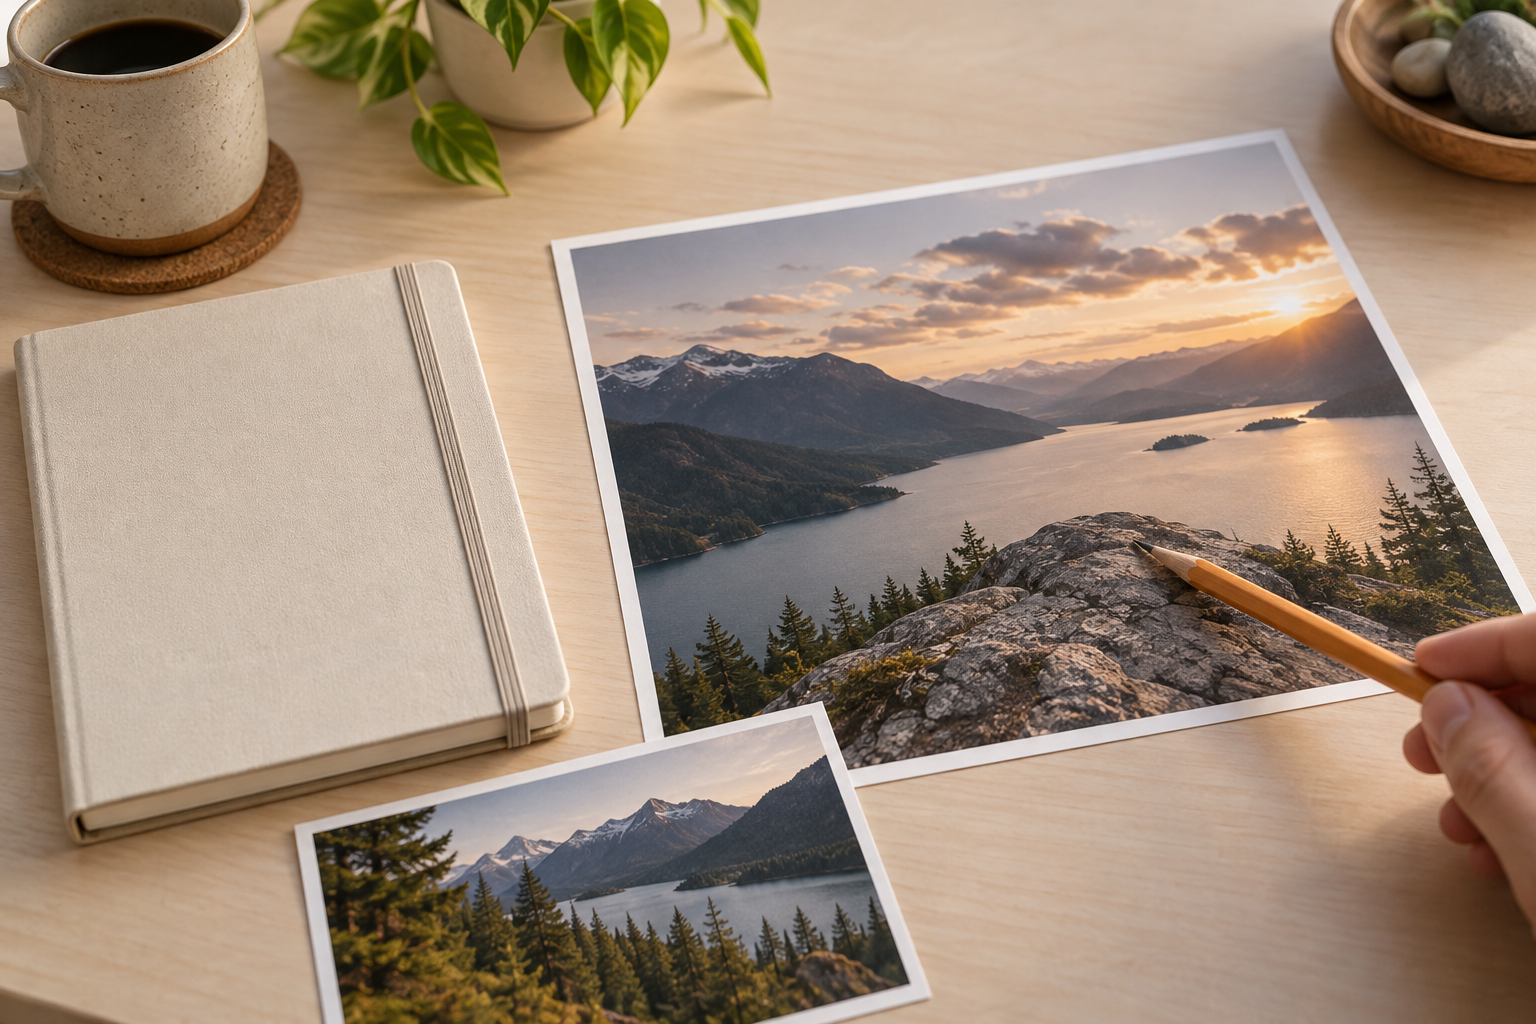
Step 02
Say where the subject should appear, how large it should be, and how it should face the scene. Mention the light direction if it matters, and keep the instruction focused on one believable result.
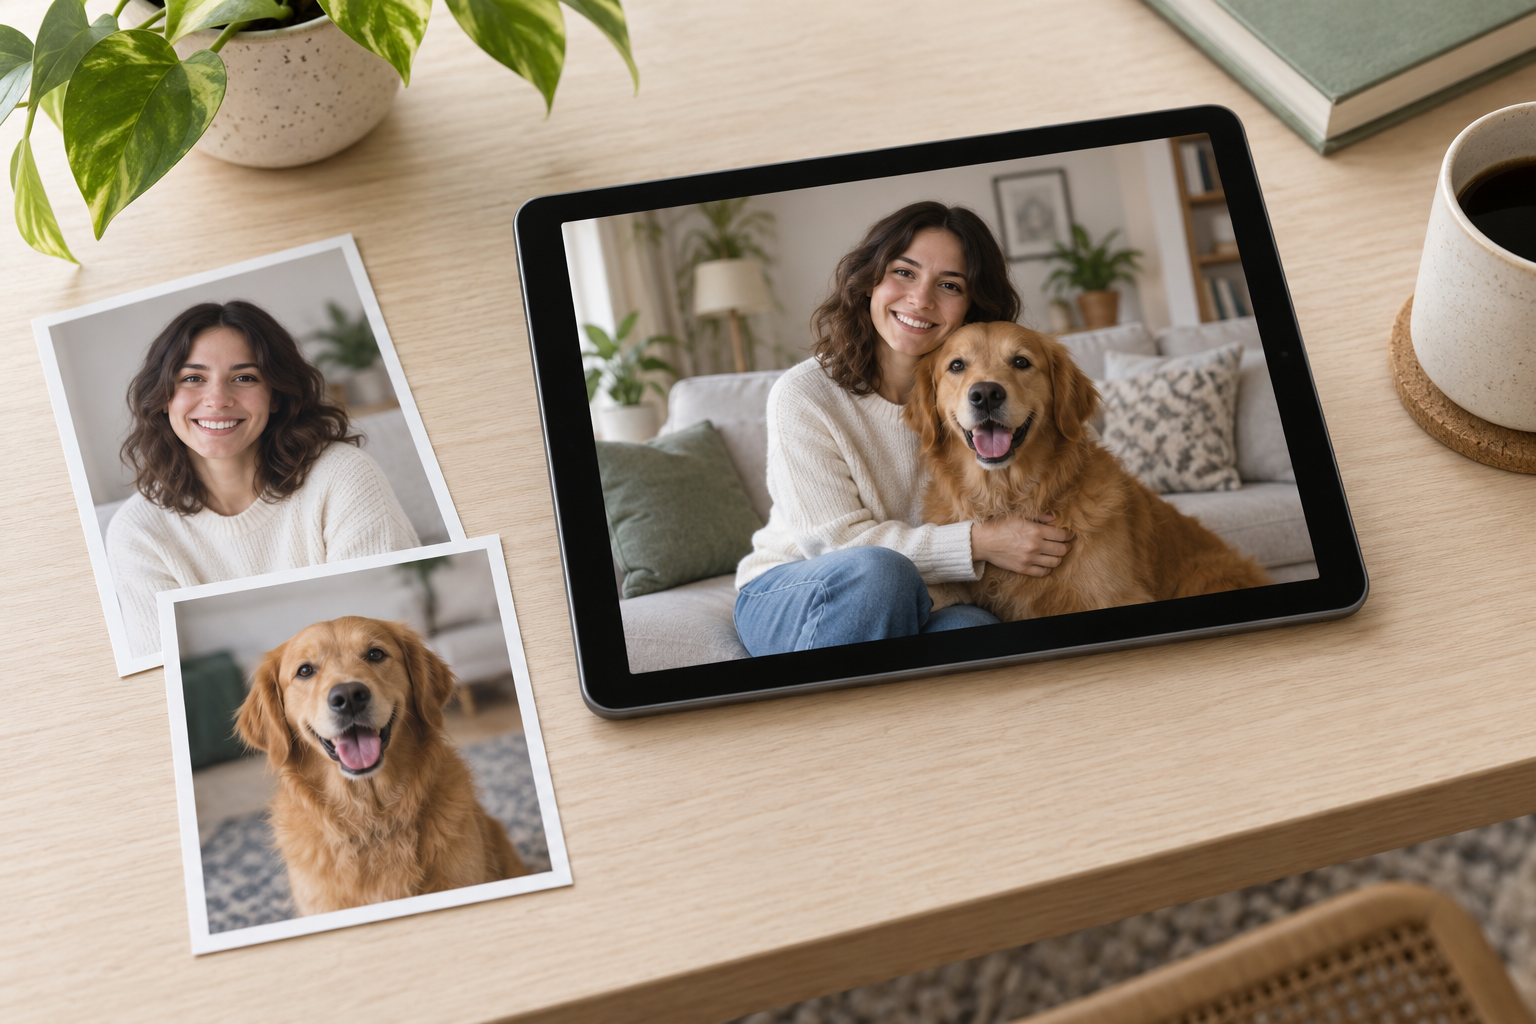
Step 03
Compare the combined image with both originals. Check scale, edges, contact shadows, and any text or logos, then ask for one correction if a detail is off before you download.
The same insertion workflow covers personal memories, product images, and quick marketing edits.
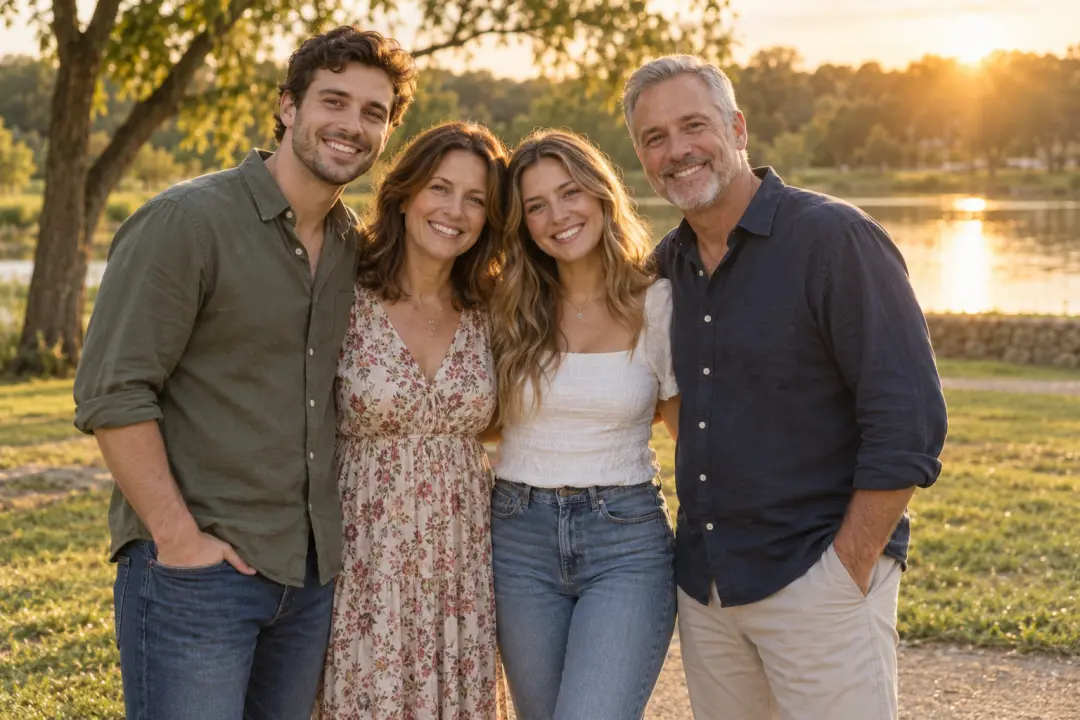
Someone missed the family picture or was standing out of frame. Use AI add to photo to bring that person into the group shot so the memory reads as one moment instead of two separate photos.
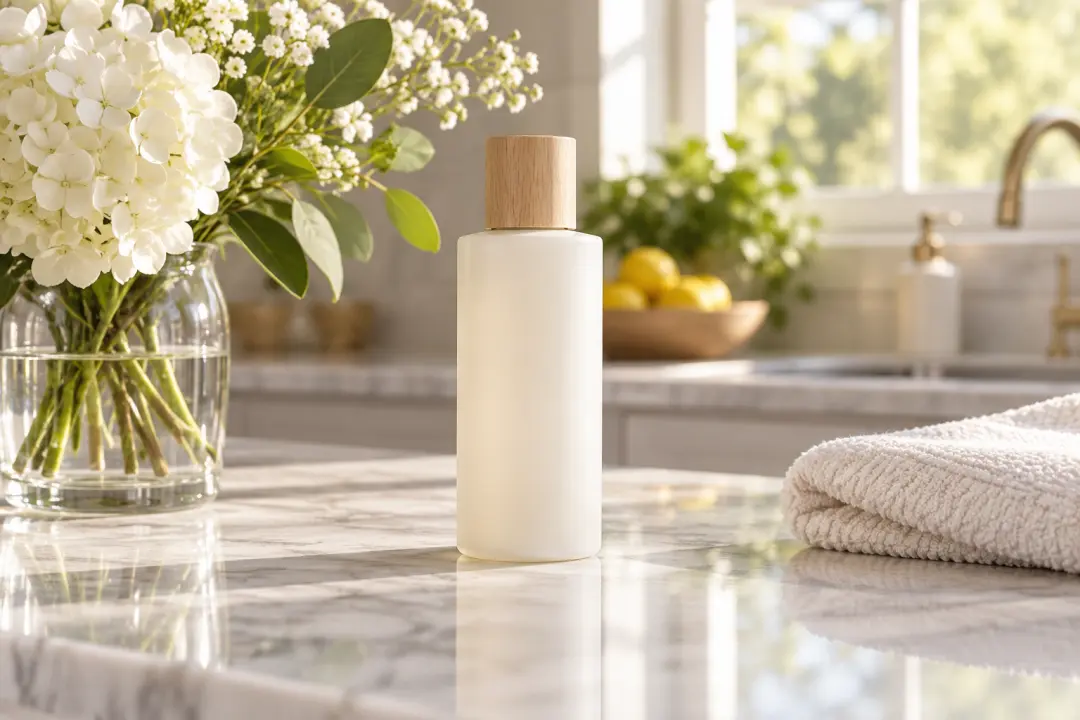
Place a catalog item into a real kitchen, cafe, or outdoor scene. AI add to photo keeps the product recognizable while the setting gives it useful context for a listing or campaign.
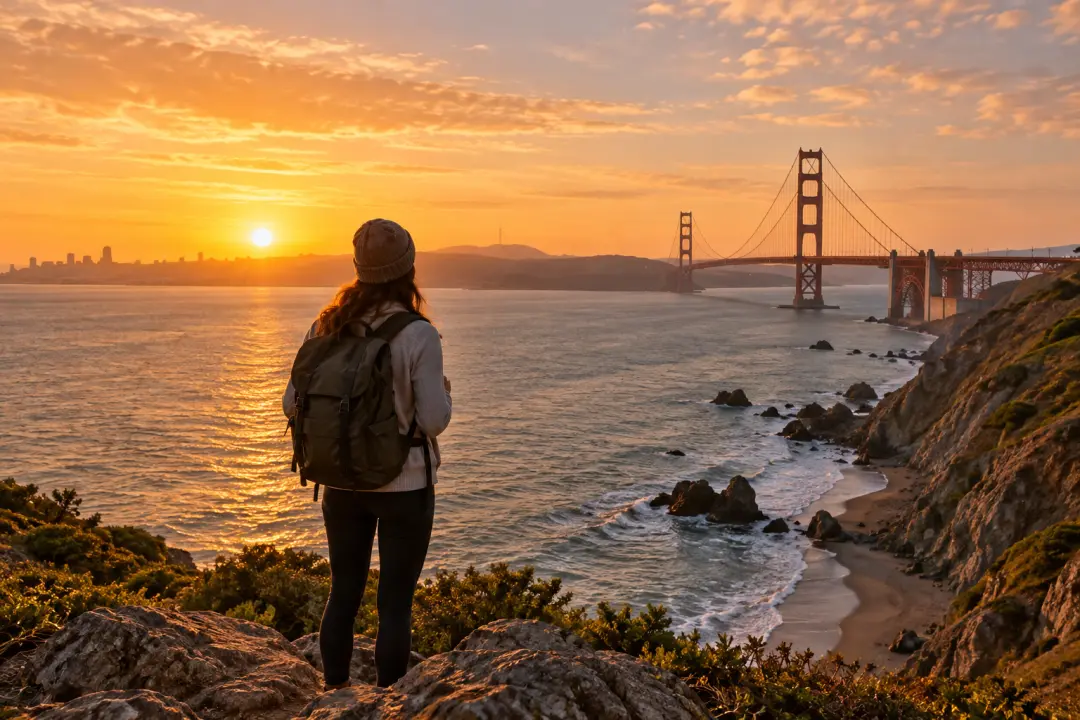
Combine a portrait with a landmark photo so a trip looks like one continuous moment. AI add to photo aligns the subject with the background light and scale when the two sources are reasonably clear.
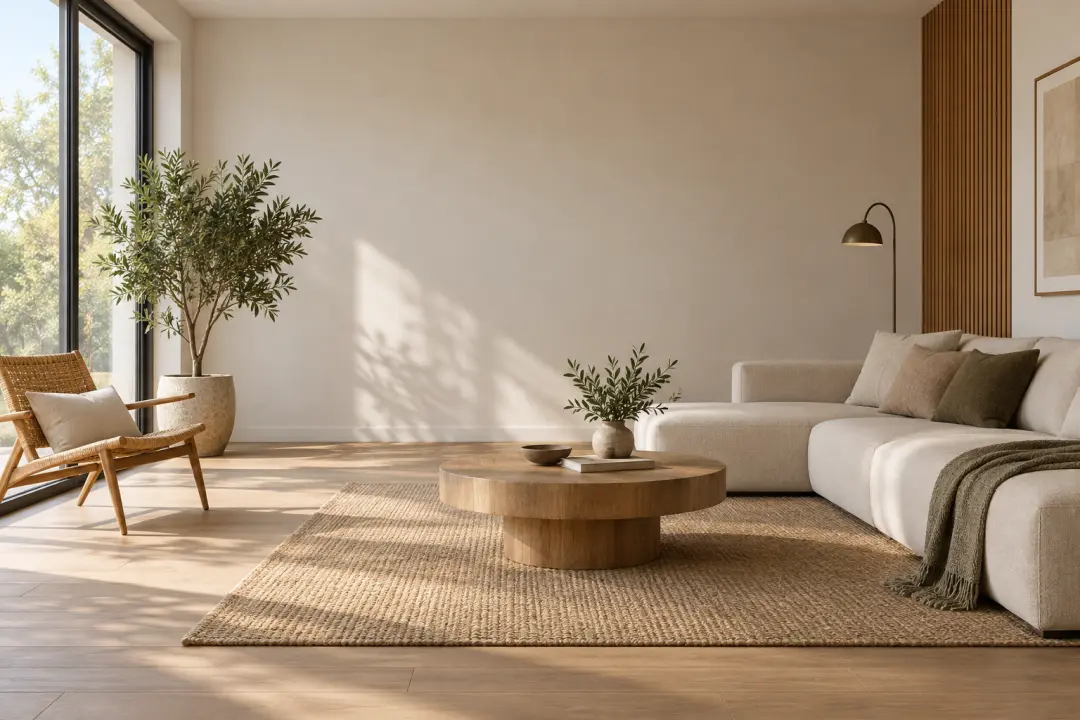
Insert a chair, plant, sign, or other object into an interior photo to test a layout before buying or shooting it. AI add to photo is useful for a quick visual check, not for a measured architectural plan.
A short insertion workflow helps when two good photos exist but one combined picture does not.
The subjects come from the photos you upload, so the result keeps the people, pets, or products you chose.
There is no need to cut out the subject by hand or line up a layer. Describe the placement and let the model build the combined scene.
Instead of a side-by-side layout, both sources are rebuilt into a single composition with shared light and perspective.
Check faces, edges, and contact shadows at full size, because those details decide whether an insertion looks believable.
Move the subject, change the scale, or soften an edge with a follow-up instruction rather than rewriting the whole idea.
Use the finished image in a listing, social post, card, or article, then export at the size each destination needs.
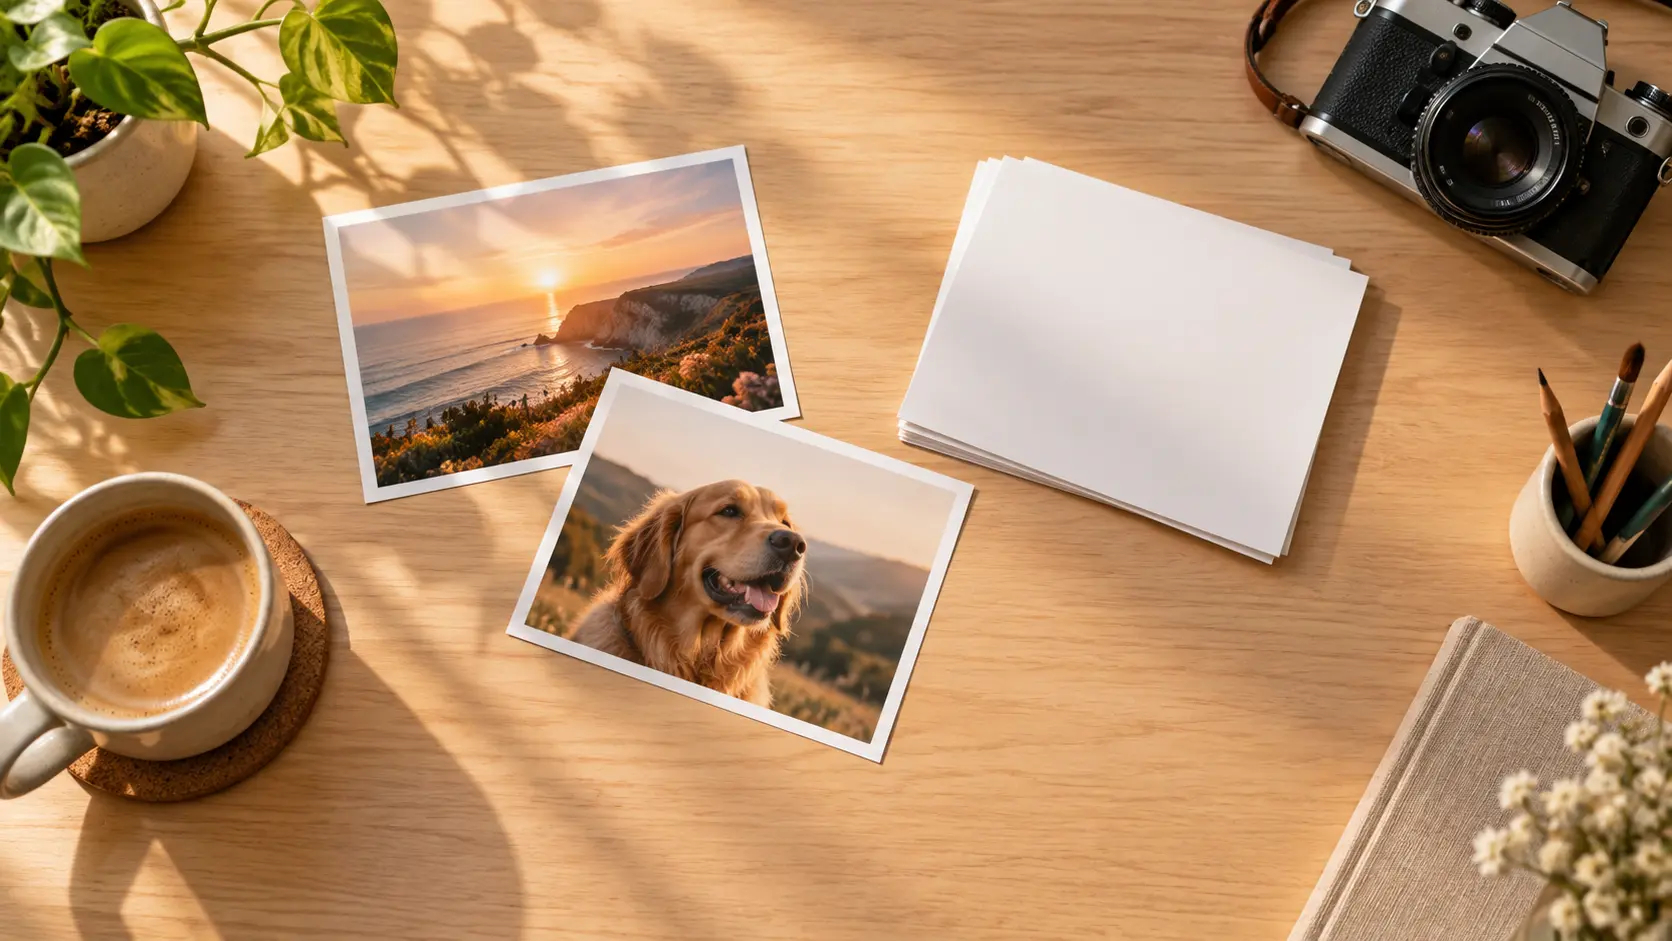
Upload two images, describe the placement, and generate one combined scene with AI add to photo.
Get Started