
3D Image Generator

A 3D image generator turns a written idea into a dimensional visual for concepts, product mockups, covers, and social content. Describe the subject, material, lighting, camera angle, and scene, then generate a direction with this 3D image generator. Compare silhouettes, surface detail, depth, and composition before choosing an image to refine or download.

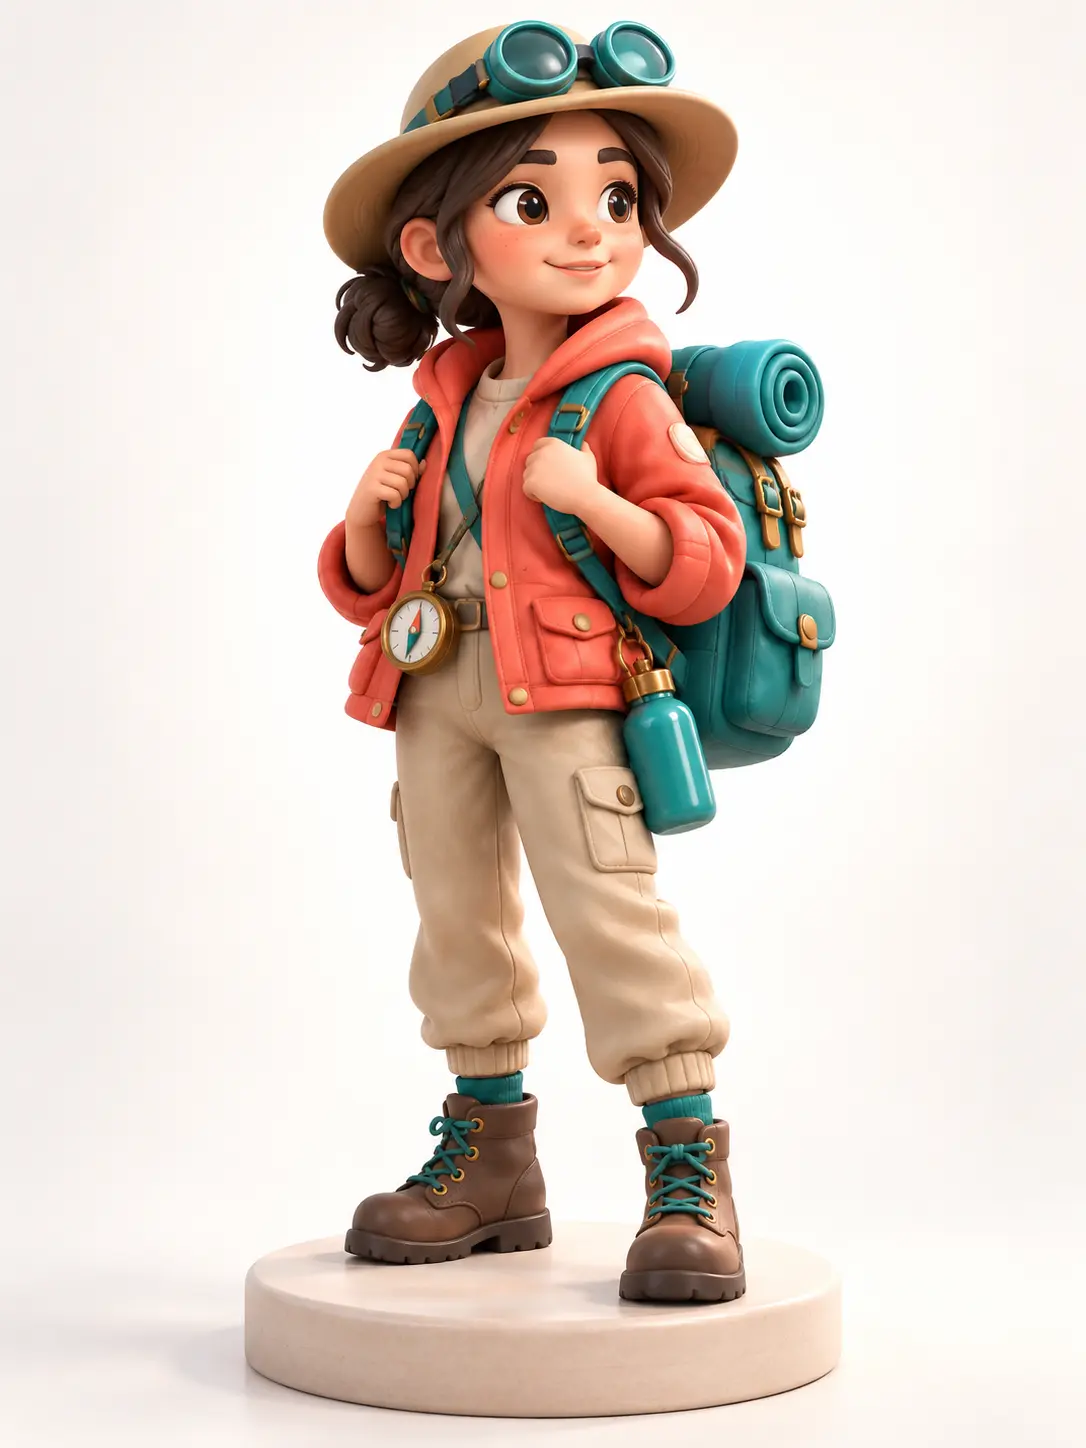
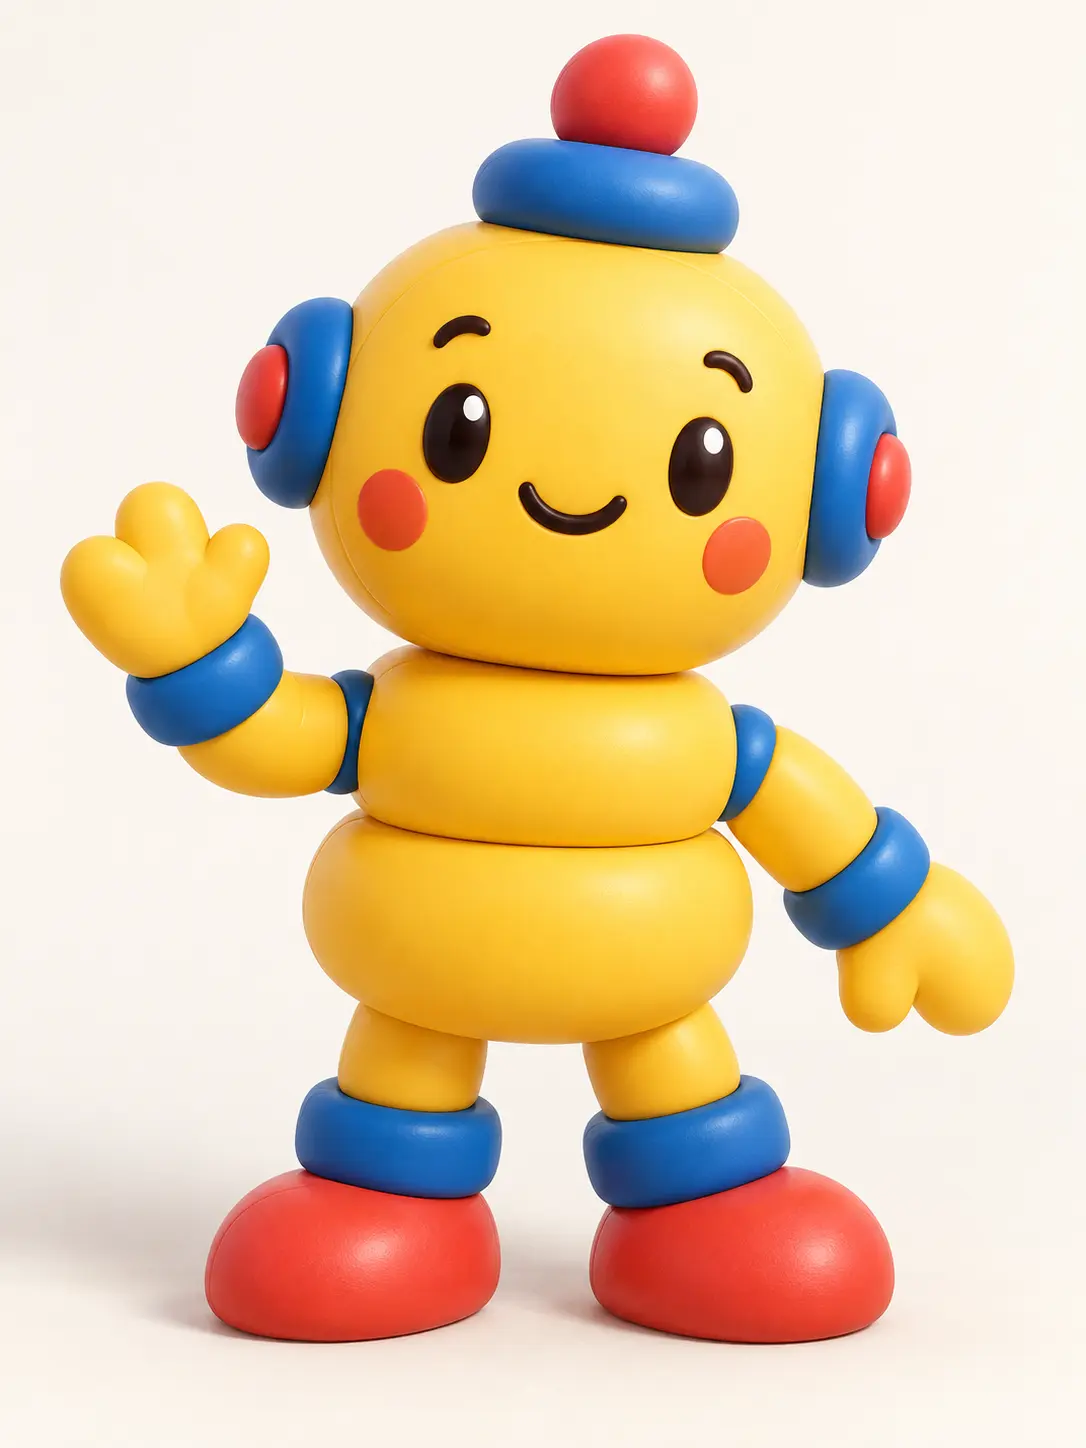
  • 3D image generator creating a dimensional collectible character from a text prompt
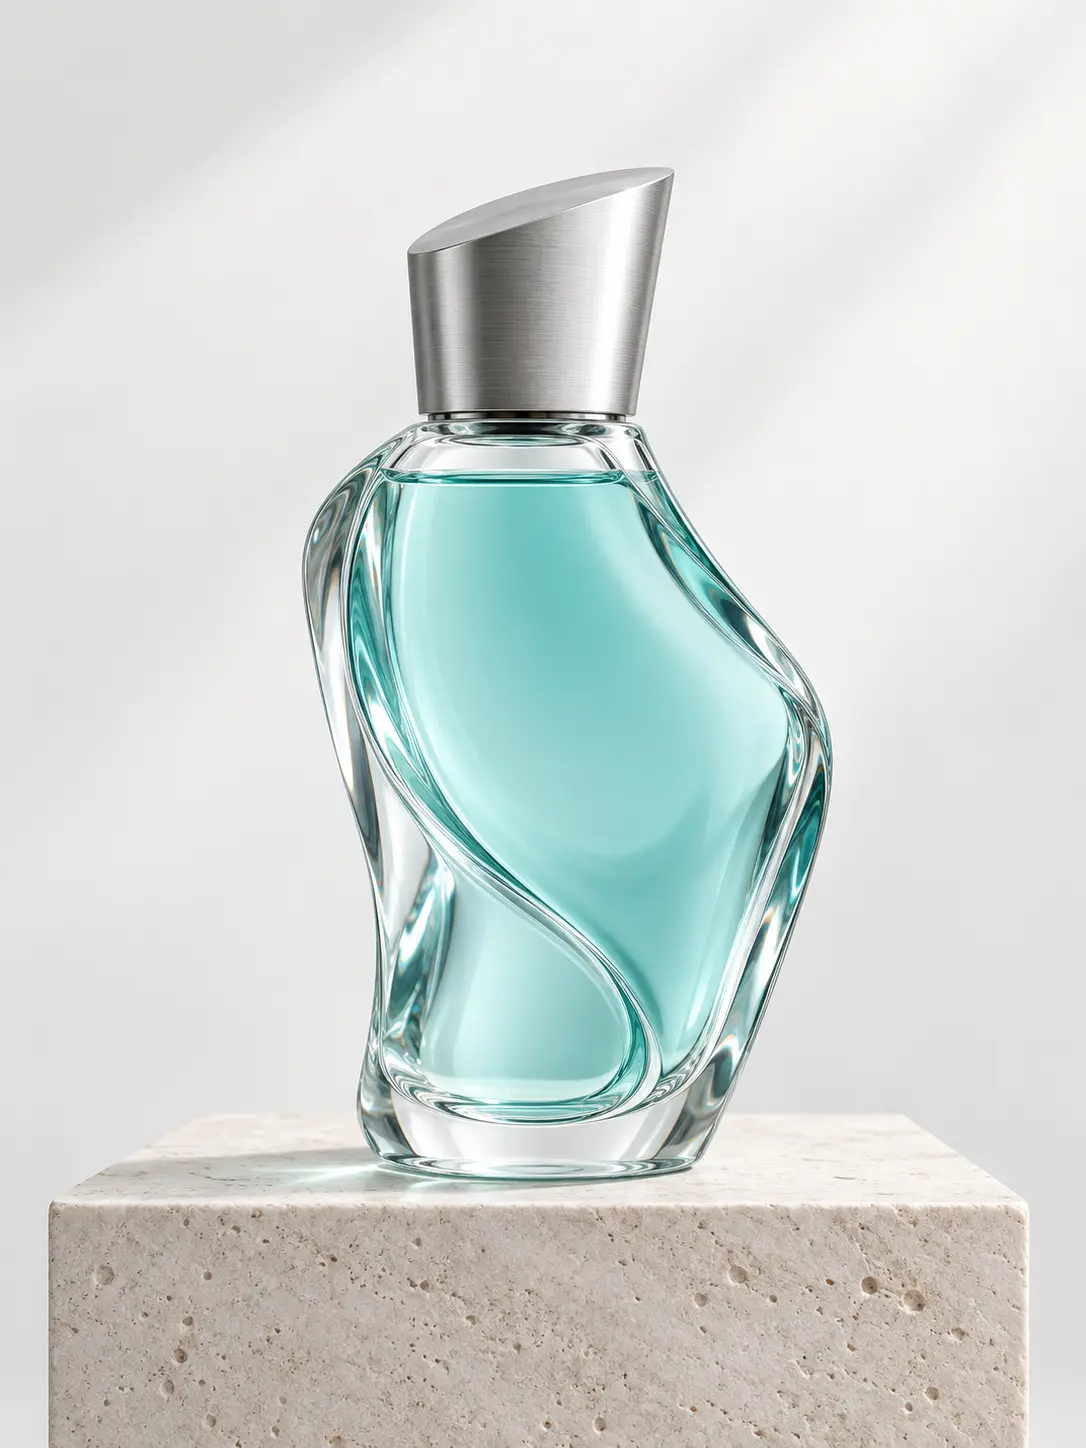
  • 3D image generator creating a sculpted glass product concept
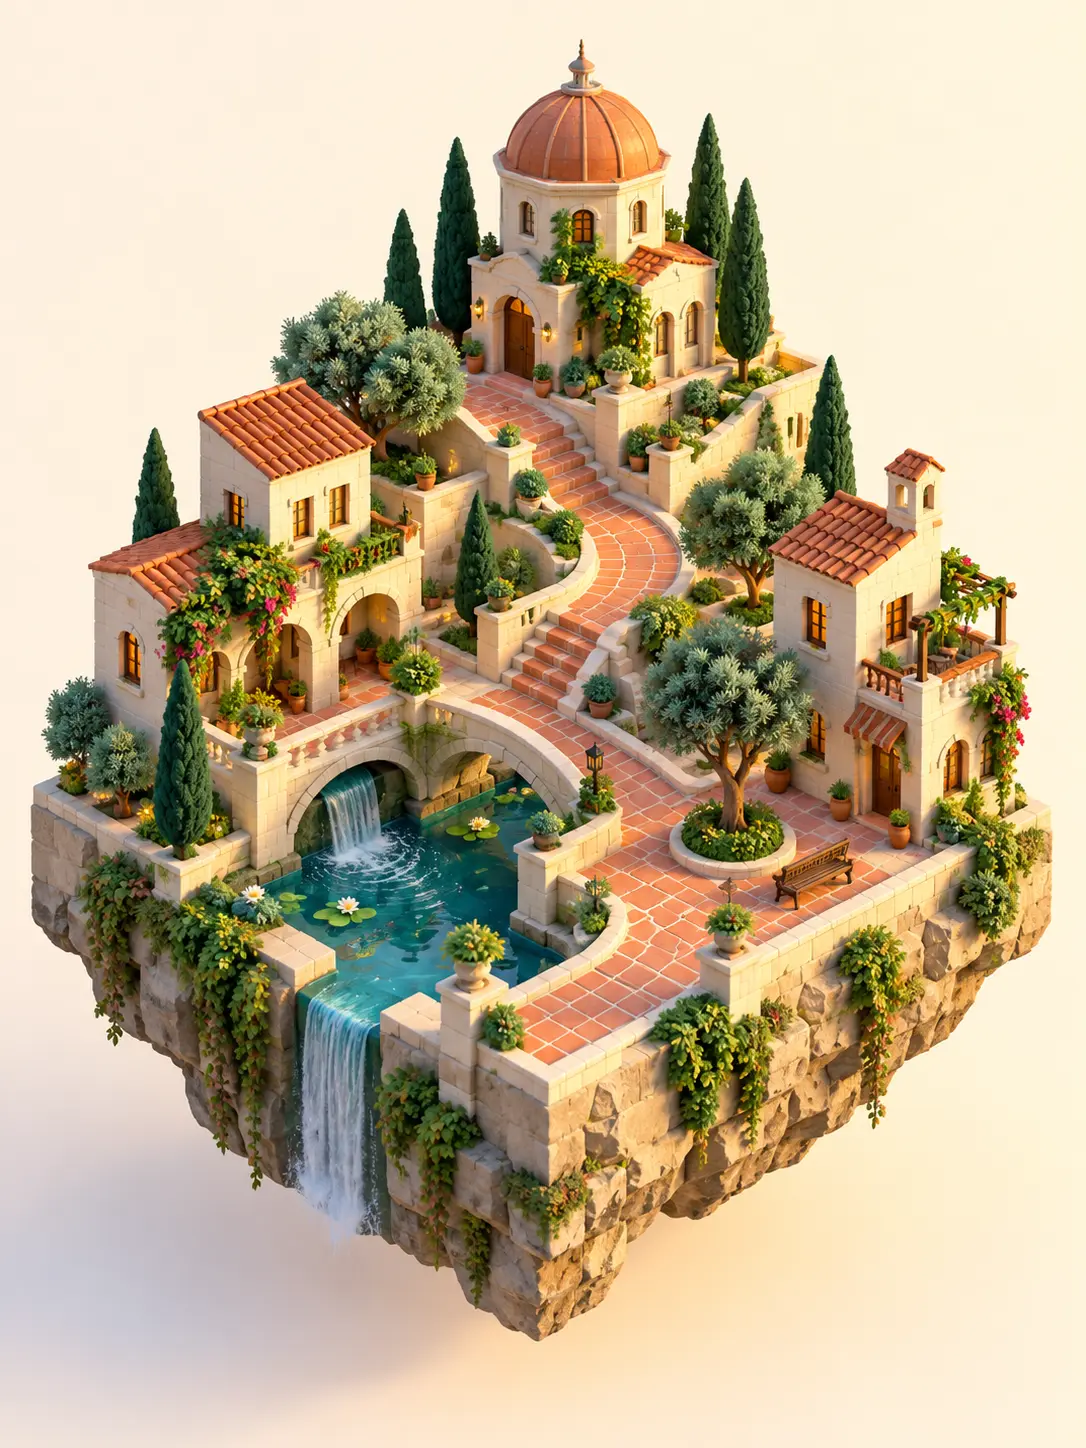
  • 3D image generator turning a scene brief into an isometric three-dimensional environment
  • 3D image generator exploring a rounded mascot concept from a written description
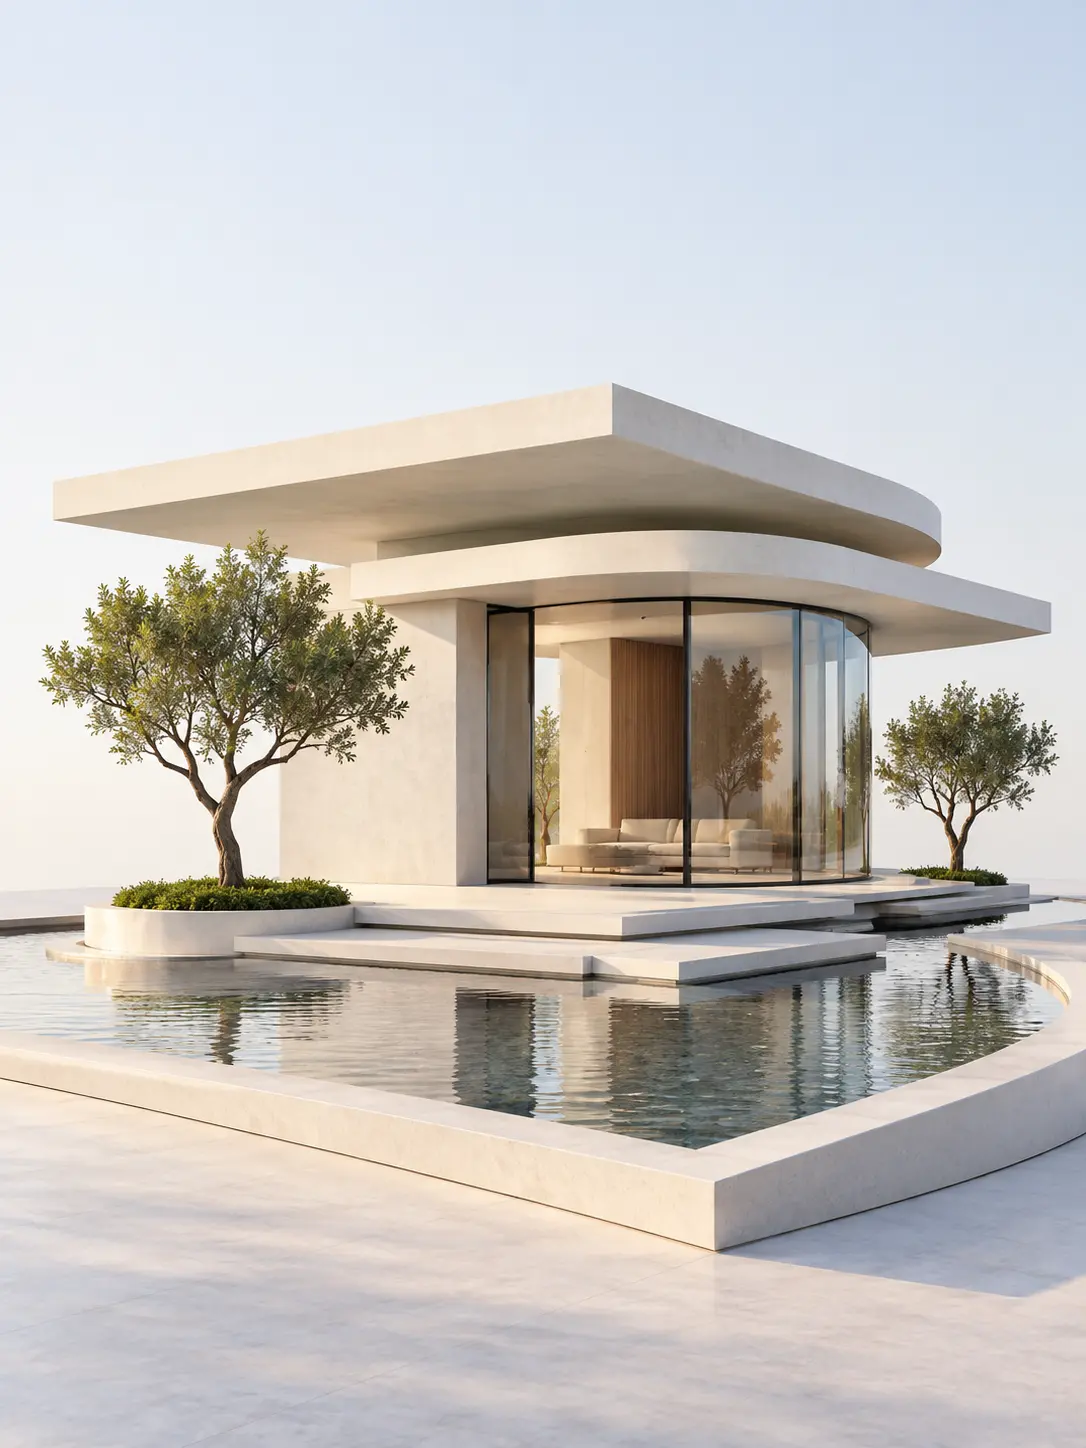
  • 3D image generator visualizing a compact modern pavilion with layered geometric forms
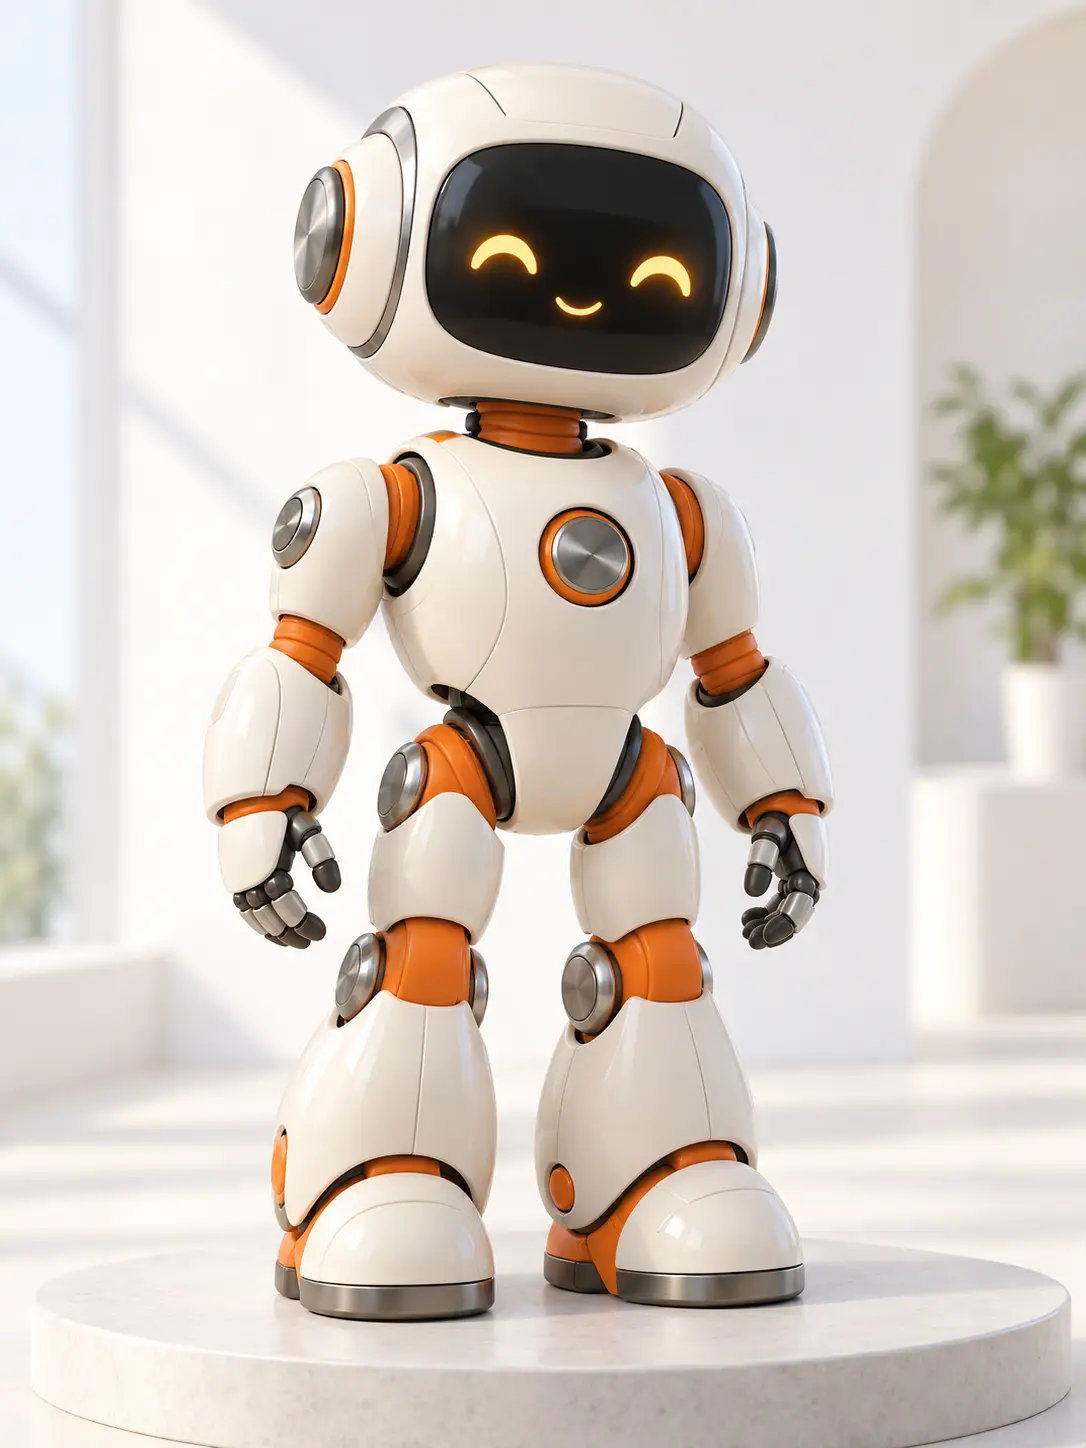
  • 3D image generator creating a friendly studio robot with tactile materials
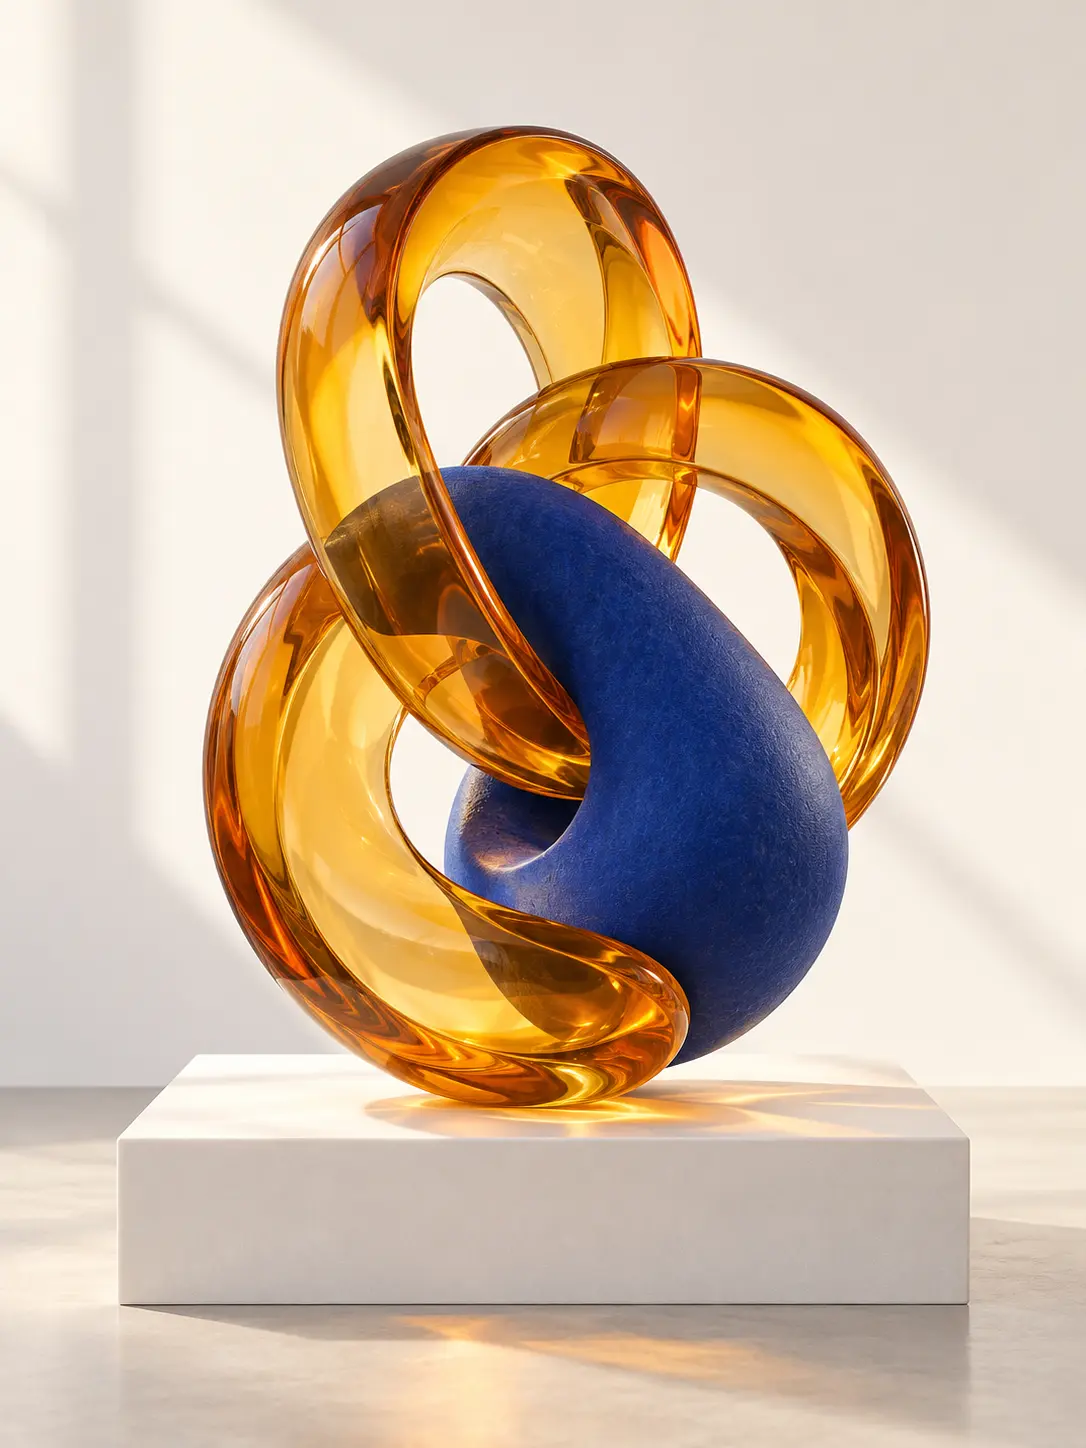
  • 3D image generator exploring an abstract sculptural form with translucent surfaces
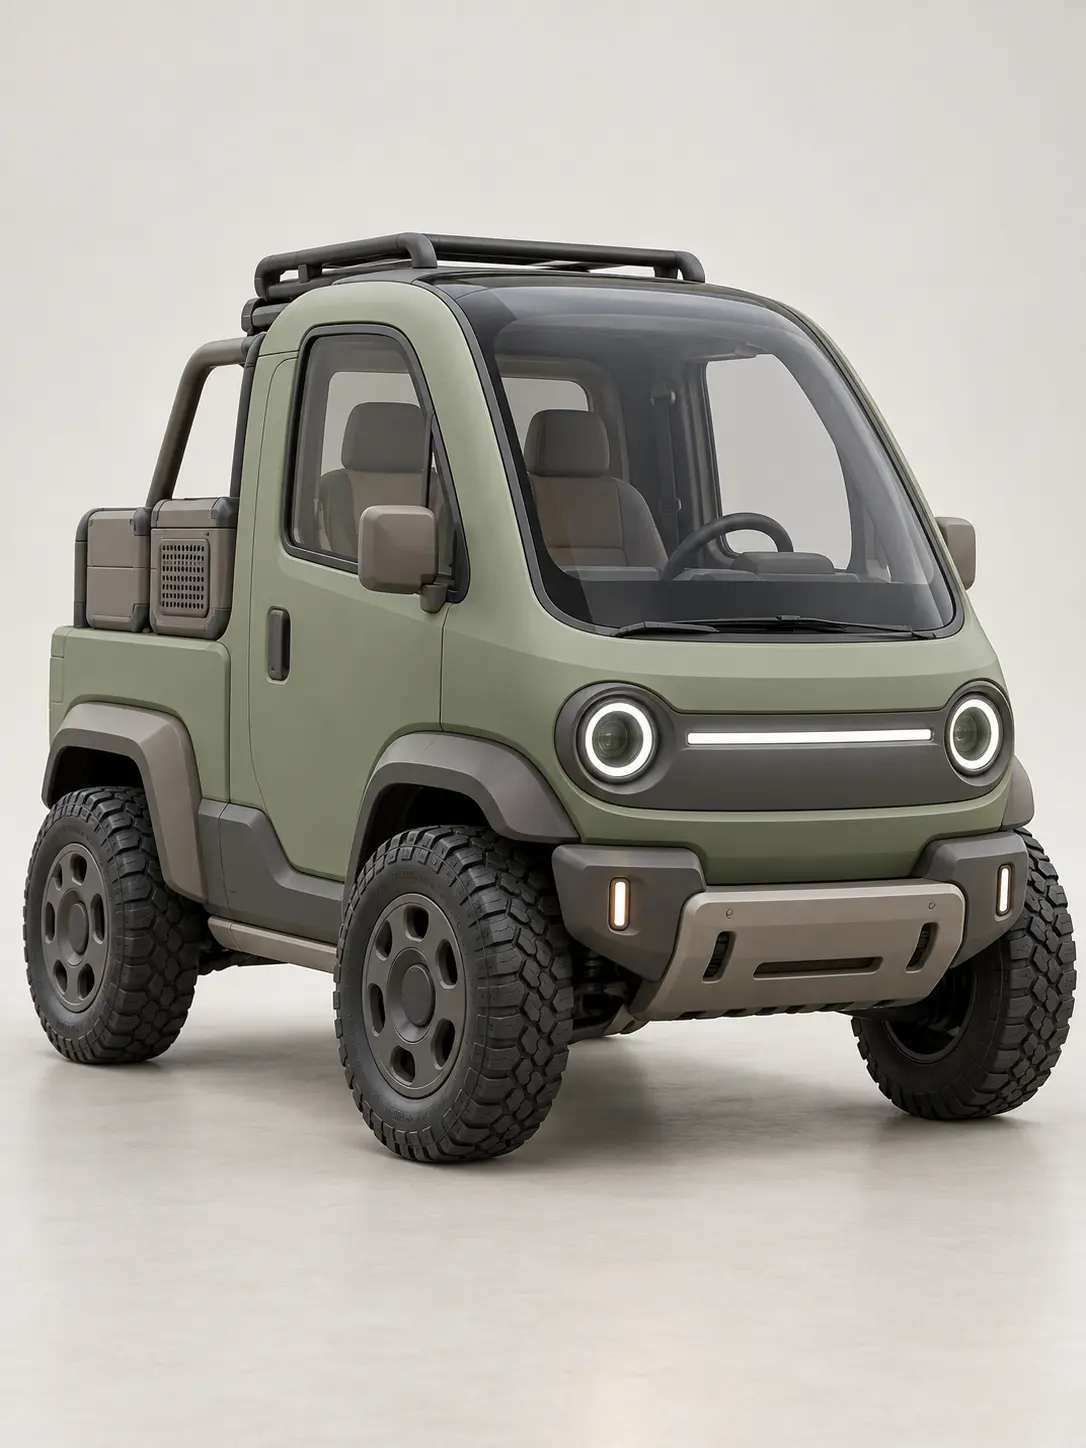
  • 3D image generator rendering a compact futuristic utility vehicle concept

What This 3D Image Generator Helps You Create

The workflow turns visual language into forms you can inspect before modeling, printing, or briefing a production artist.

Rounded 3D explorer figure taking shape beside graphite construction lines on a pale studio desk

Prompt to dimensional form

Describe the object, its proportions, and how it should occupy the frame. A 3D image generator can translate phrases such as rounded, faceted, lightweight, or chunky into a visible silhouette. This is useful when a rough idea needs immediate shape instead of another written note. The result is a still image rather than an editable model, so treat it as a design reference. Generate two directions, compare the form at thumbnail size, and keep the one that communicates the idea with fewer visual distractions.

Sculpted glass bottle with a brushed metal cap showing depth and controlled studio reflections

Material and lighting direction

Material words change how depth is read. Clay feels soft and handcrafted, brushed metal looks precise, glass adds transparency, and glossy plastic creates strong highlights. Add one main light source and a simple environment so the 3D image generator has a reason for shadows and reflections. Review edge highlights, contact shadows, and surface noise before deciding whether the image feels intentional. If a material looks confusing, remove secondary finishes and test a simpler direction first.

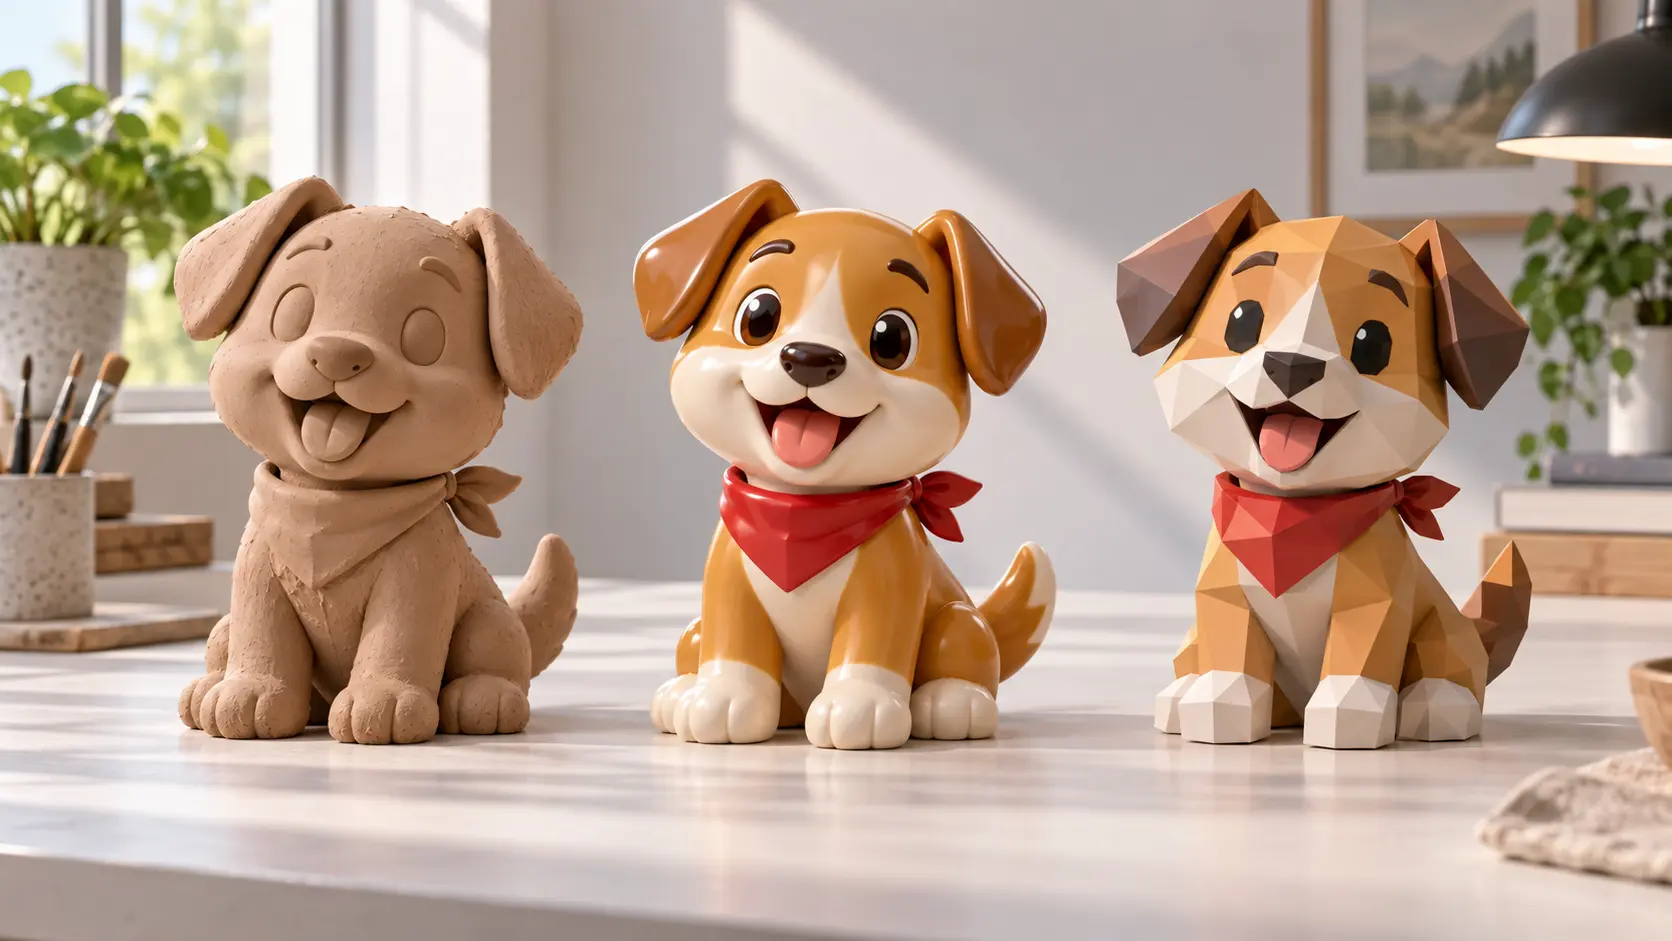
Three versions of one mascot design in clay, glossy toy, and low-poly 3D styles

Multiple style directions

One brief can support a toy-like character, a clean product render, low-poly scenery, or a polished concept-art still. Ask the 3D image generator for distinct directions instead of repeating the same prompt with tiny changes. Keep the subject fixed while changing only the construction language or camera angle. This makes comparison fair and reveals whether the idea depends on a specific treatment. Save the prompt beside each result so a strong visual decision can be repeated later.

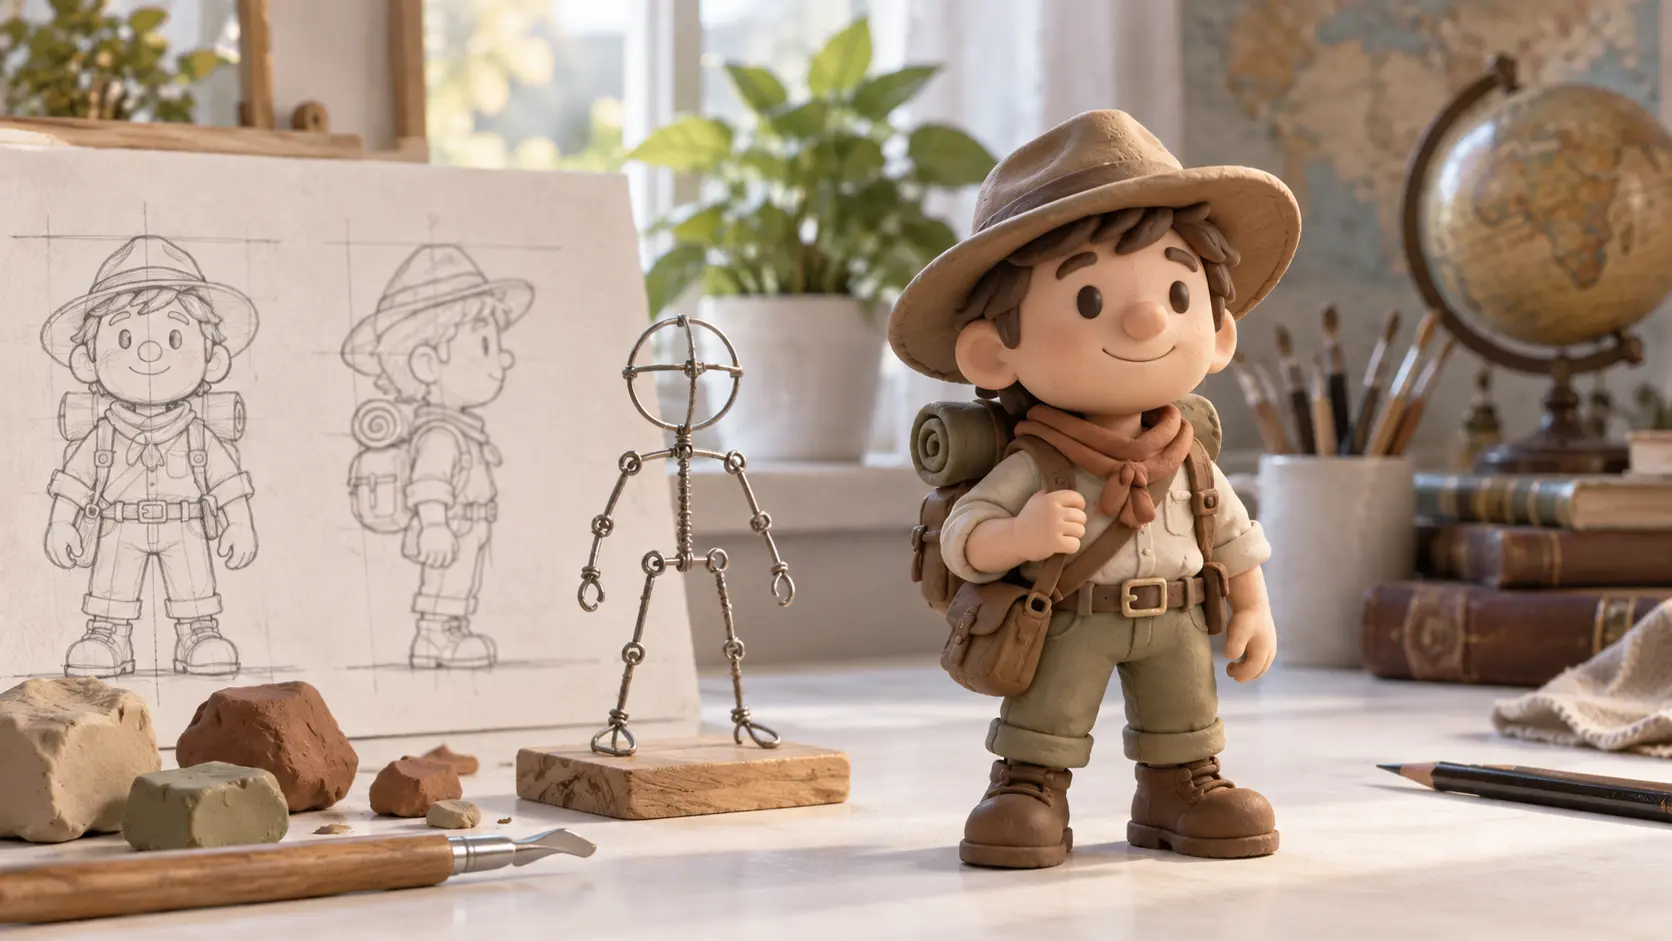
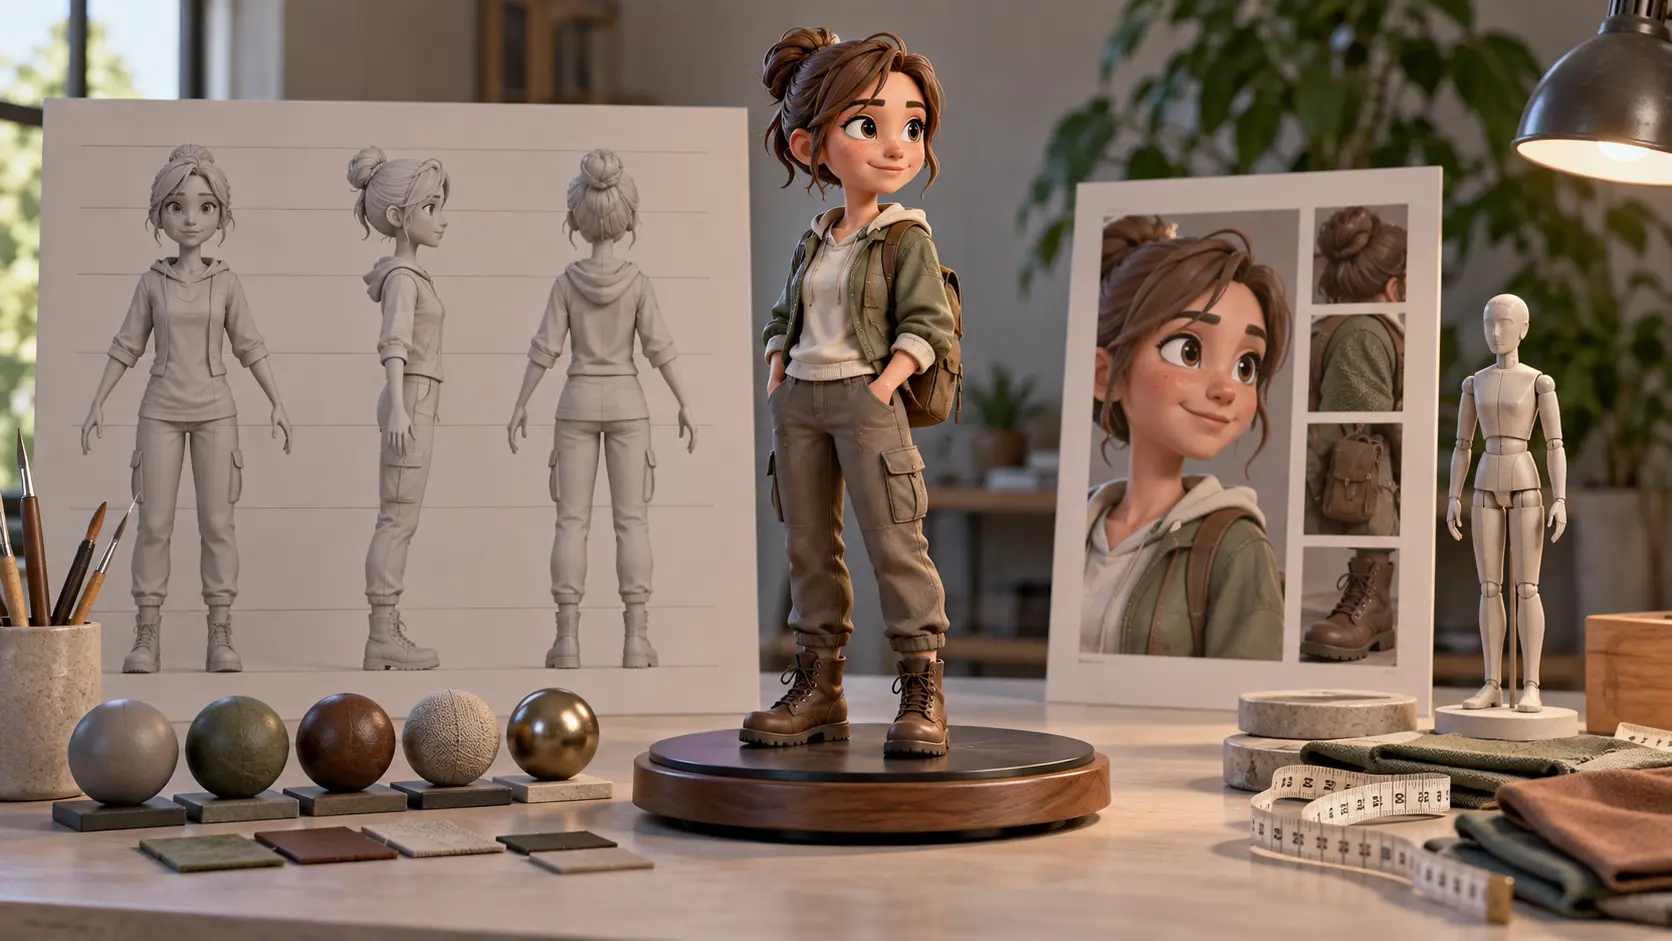
3D character maquette under inspection on a turntable with proportion guides and material samples

Review and refine

Inspect the main subject before judging decorative details. Check that the silhouette is readable, the perspective is plausible, and the important forms are not hidden by clutter. Ask the 3D image generator to revise one issue at a time, such as simplifying the pose or reducing background objects. Keep the original result for comparison. A useful concept image should explain form, proportion, material, and mood quickly; it does not need to simulate every property of a finished 3D asset.

How To Create a 3D Concept Image

Move from a short creative brief to a dimensional direction in three practical steps.

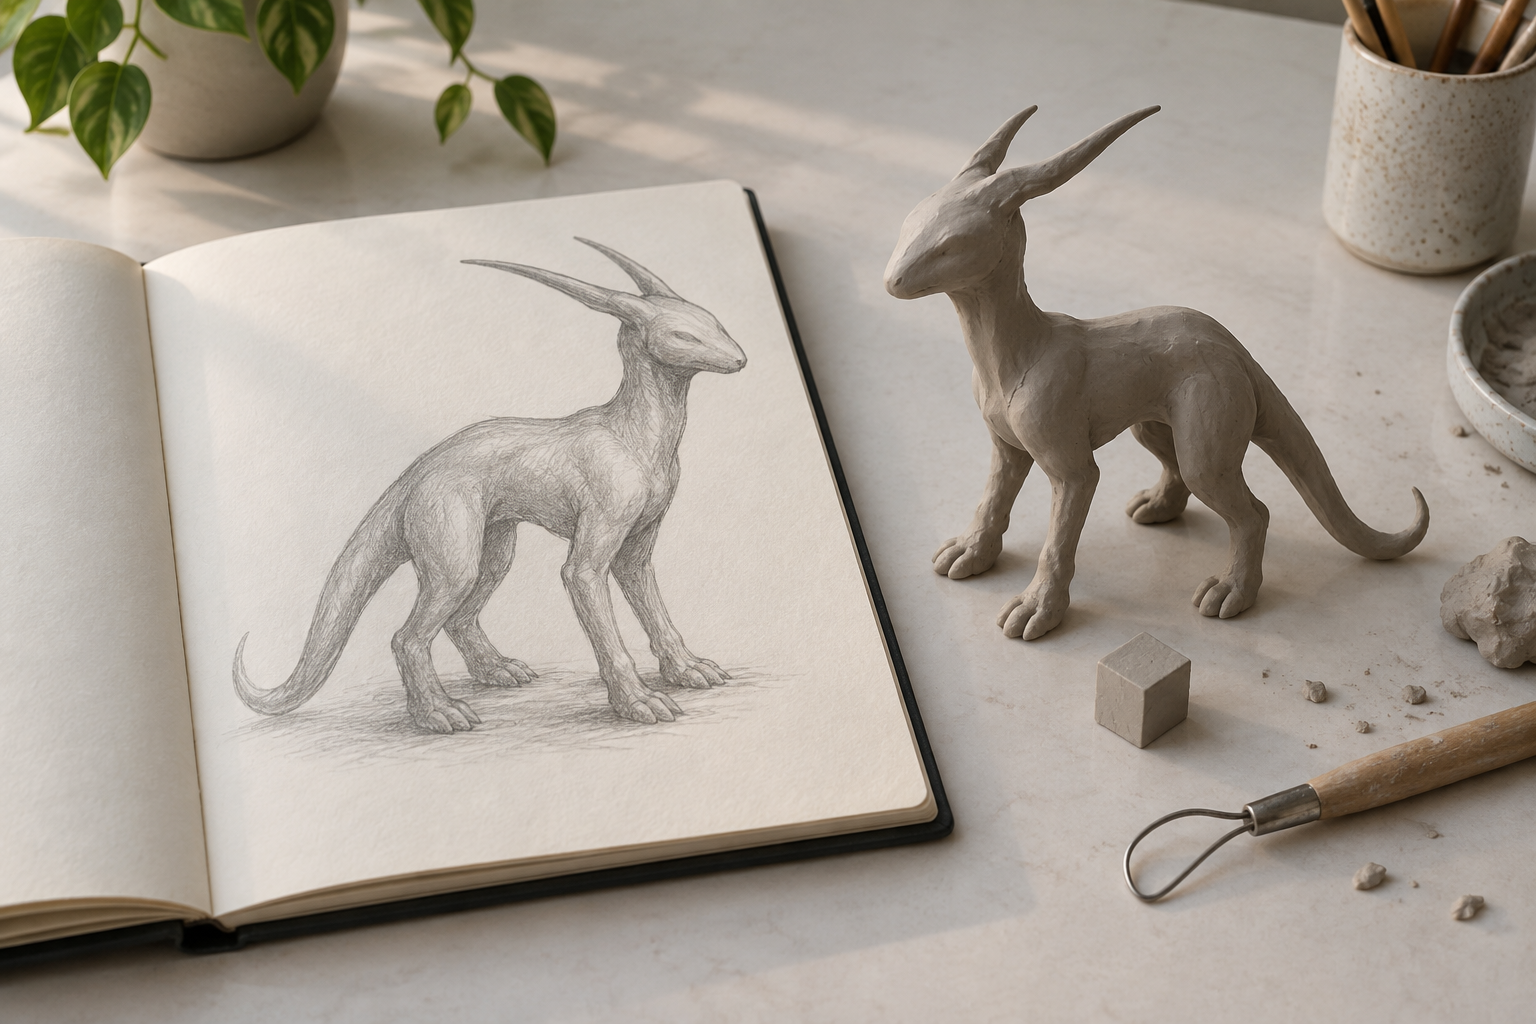
Simple 3D creature silhouette sketched beside a small clay maquette on a designer's table

Step 01

Describe the idea

Start with the subject, scale, viewpoint, and material. If you are exploring 3D shape to image ideas, name the silhouette first and add surface detail afterward. A focused brief gives the 3D image generator a clear form to build.
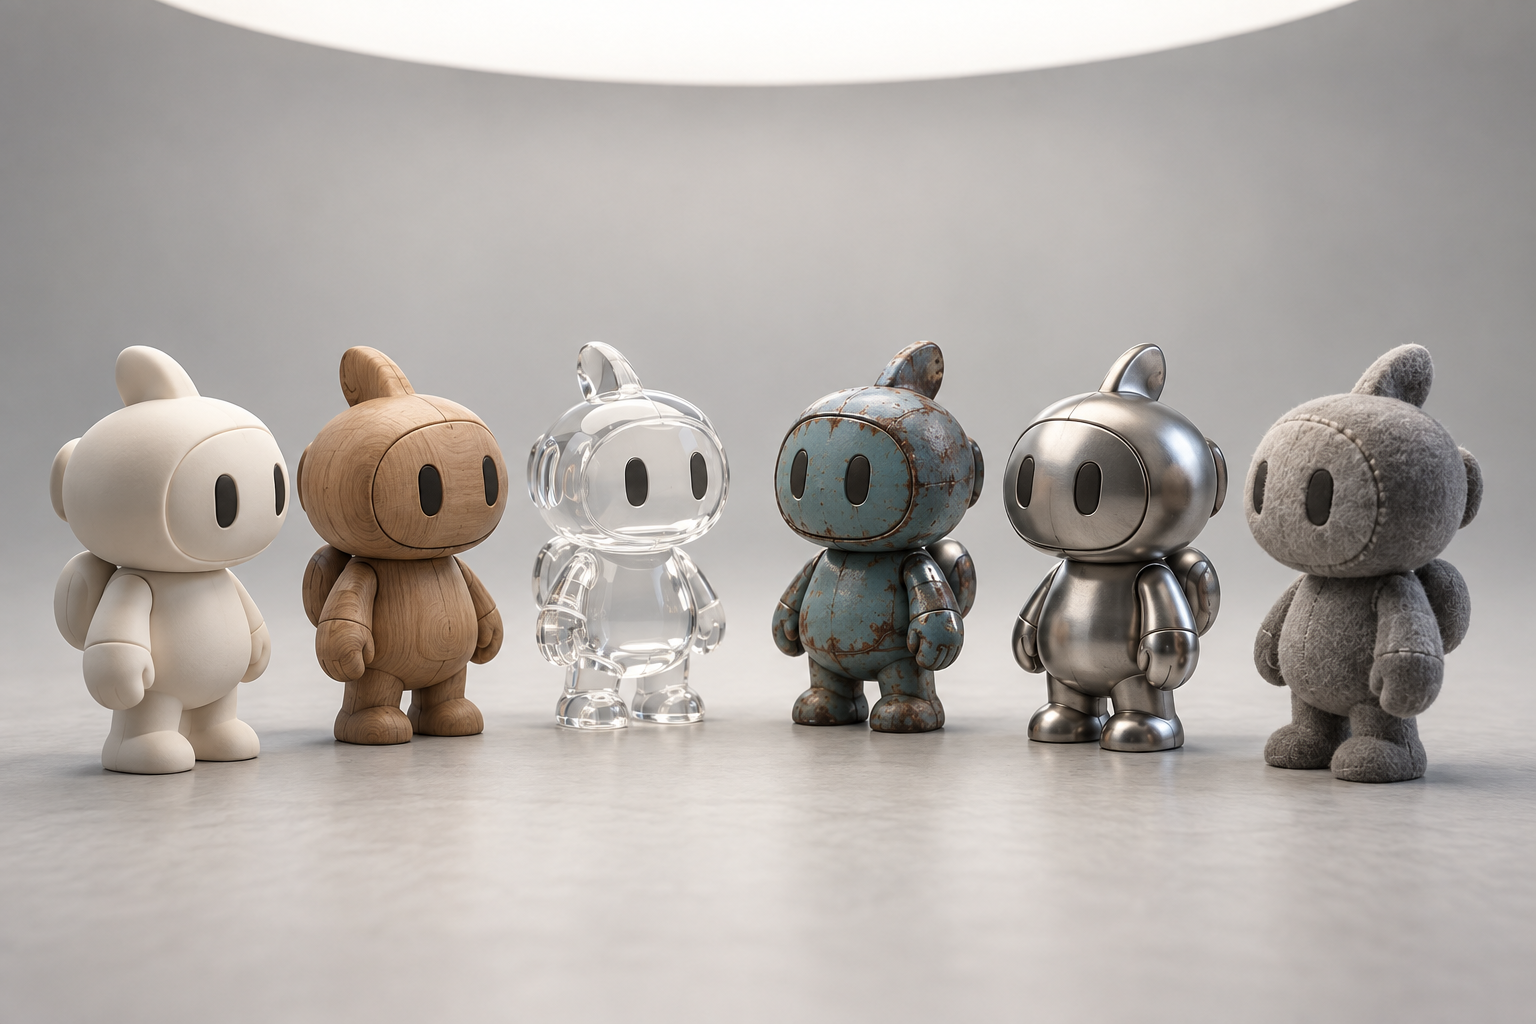
Several original 3D character maquettes arranged under studio light for comparison

Step 02

Generate directions

Create a small set of 3D image generator results with one meaningful visual change between them. Compare construction, depth, lighting, and how much of the subject remains readable at a glance.

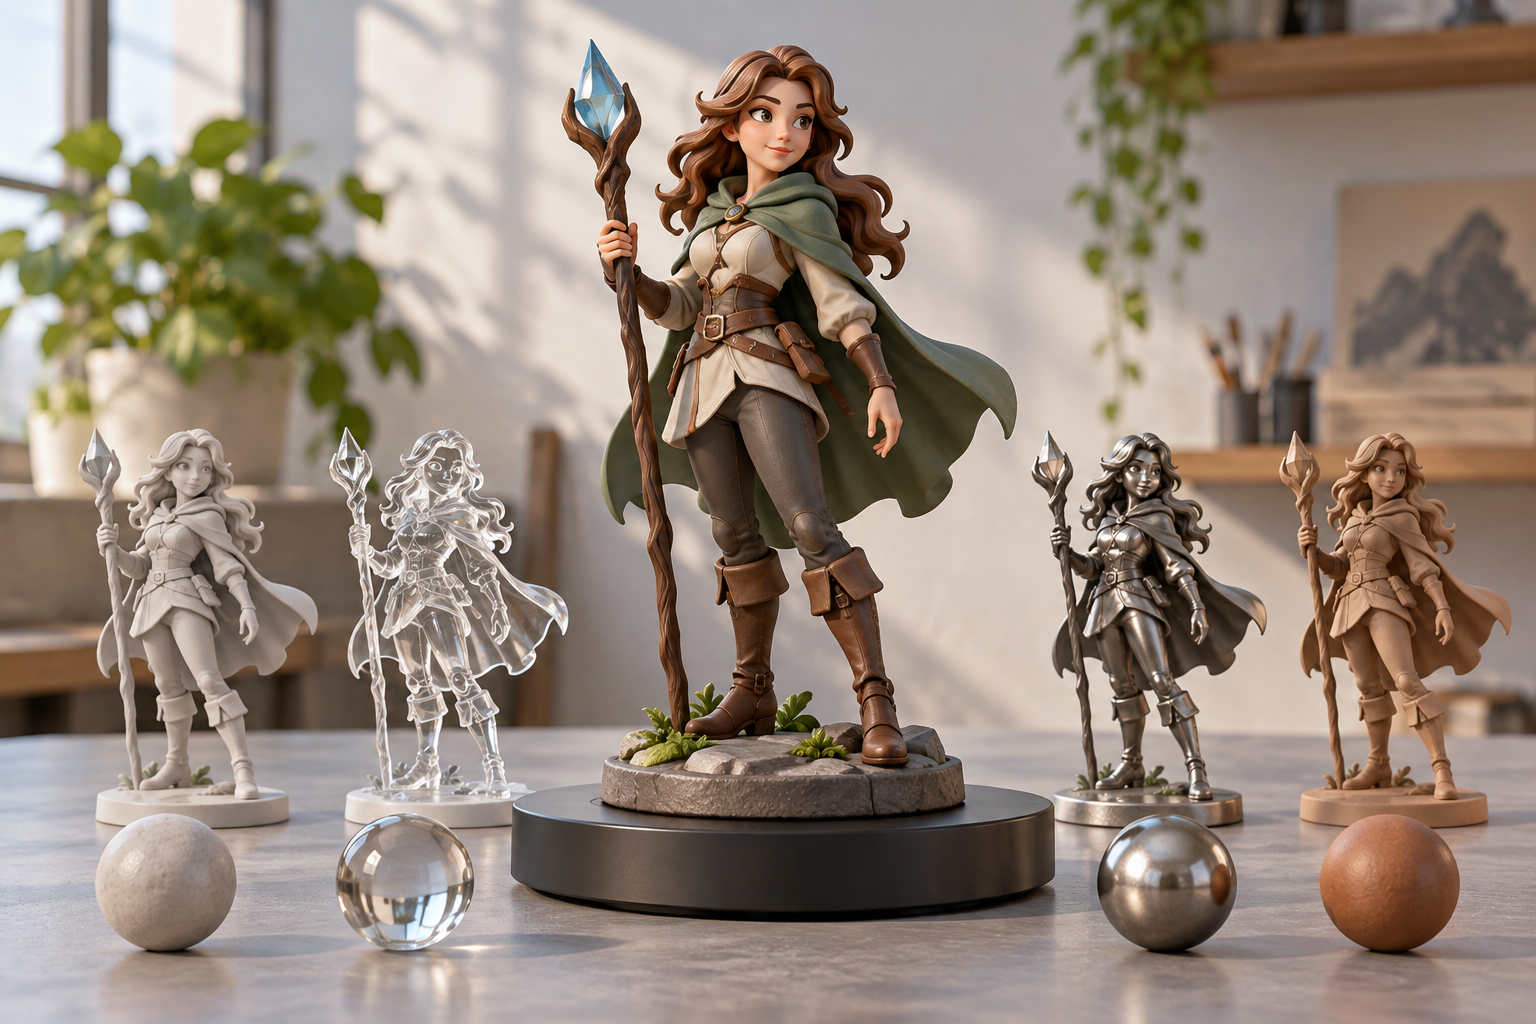
Selected 3D character maquette on a turntable with alternative material chips nearby

Step 03

Compare and refine

Keep the strongest direction and revise one property at a time. Check proportions, camera angle, edges, and material cues, then download the concept image that best supports the next conversation or layout.

Where a 3D Image Generator Fits

Use dimensional drafts when shape, material, and spatial relationships need to be understood quickly.

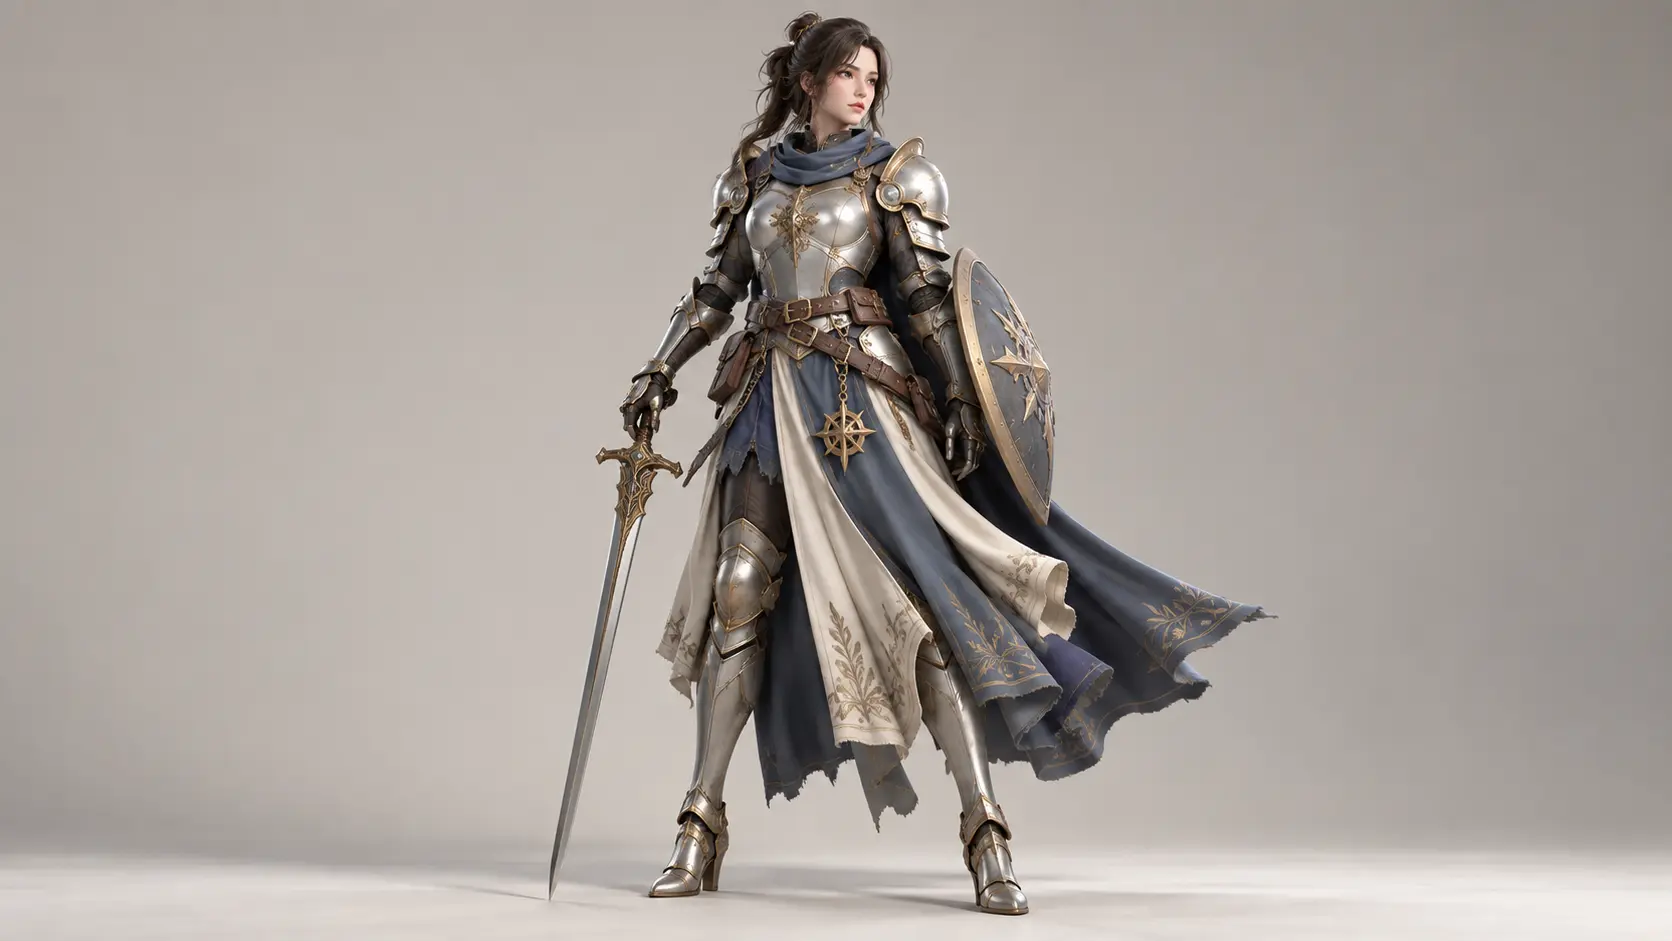
Original full-body fantasy character maquette with layered costume shapes

3D character concepts

Character artists and writers can test a creature, mascot, or stylized hero before committing to a full model. Use the 3D image generator to compare body proportions, costume weight, and material grouping. A clear front or three-quarter view can expose a weak silhouette early and give the next modeling pass a stronger reference.

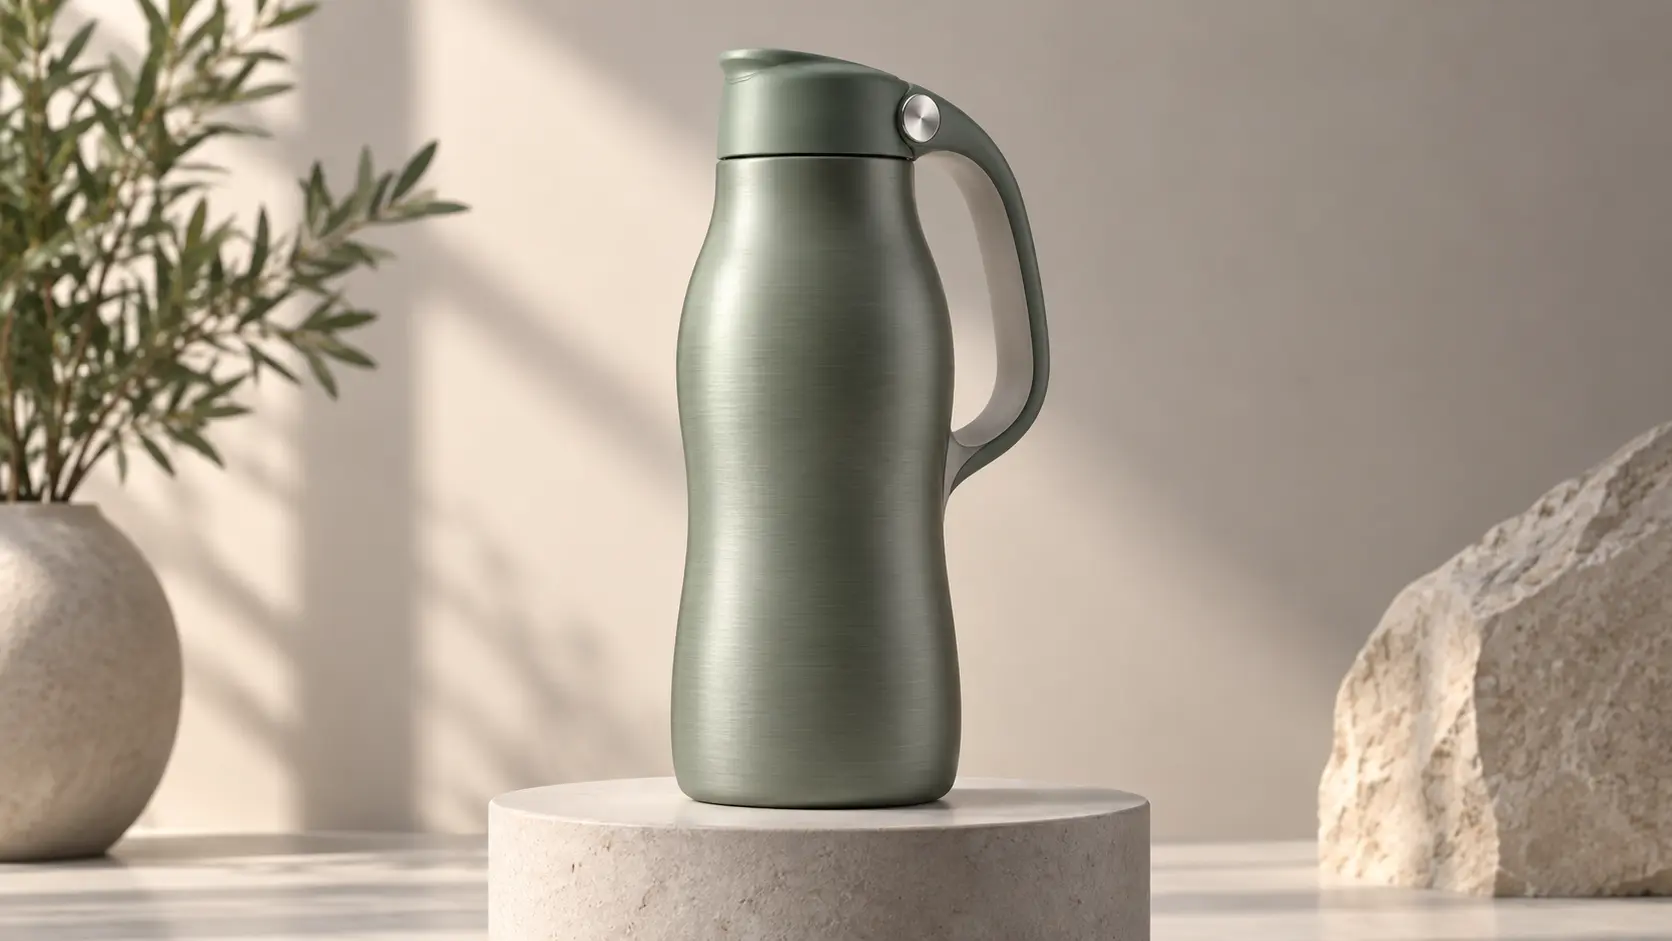
Dimensional product concept with a sculpted bottle and integrated handle on a pedestal

Product mockup ideas

Product teams can explore a bottle, device, package, or furniture concept before CAD work begins. Describe the material and camera angle, generate several directions, and review how the form reads against a clean background. This is especially useful for AI 3D art discussions where shape and presentation matter more than exact engineering measurements.

Tiny isometric neighborhood with a park, rail line, and warm evening windows

Isometric scene drafts

A 3D image generator can draft a room, shop, city block, or game level as a compact scene. Keep architecture simple and identify the main route through the image. Designers can use the result to discuss scale, focal points, and light before building geometry, while understanding that the output is a visual draft rather than a navigable environment.

Who Uses the 3D Image Generator

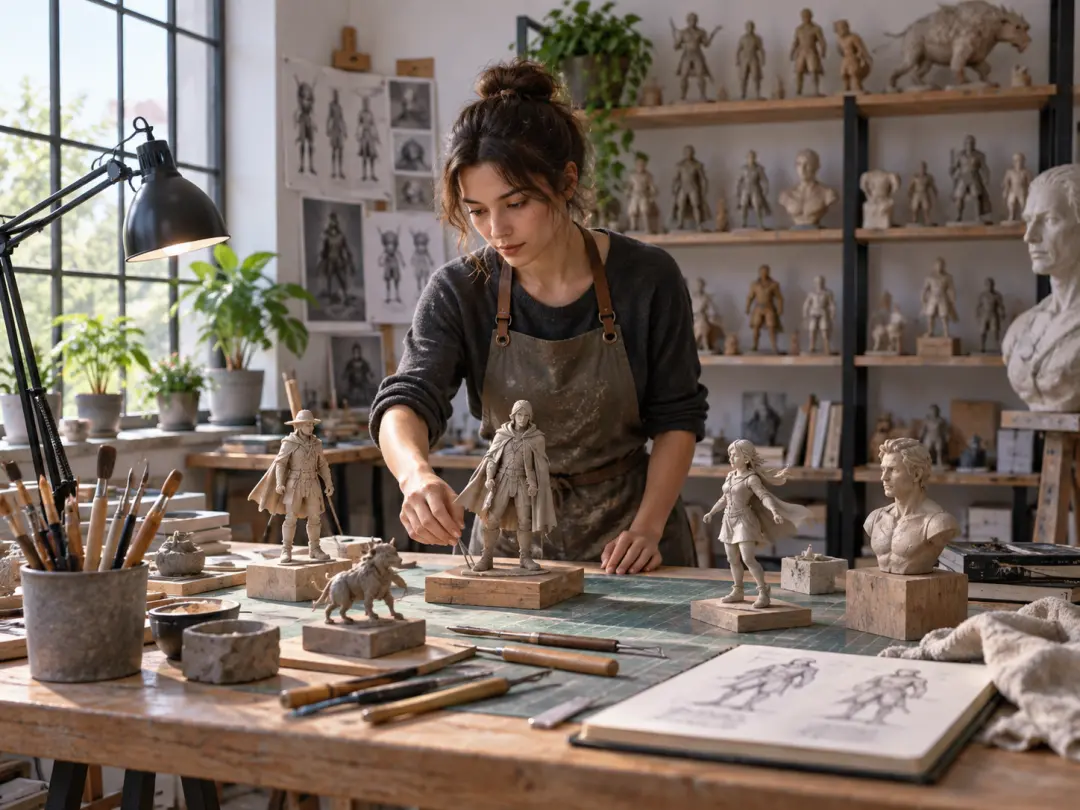
Concept artist arranging small character maquettes and sculpting tools in a daylight studio

Concept artists shaping a character early

Explore silhouette, material, and camera angle before committing time to a detailed model. The 3D image generator gives the team a dimensional reference they can discuss and refine.

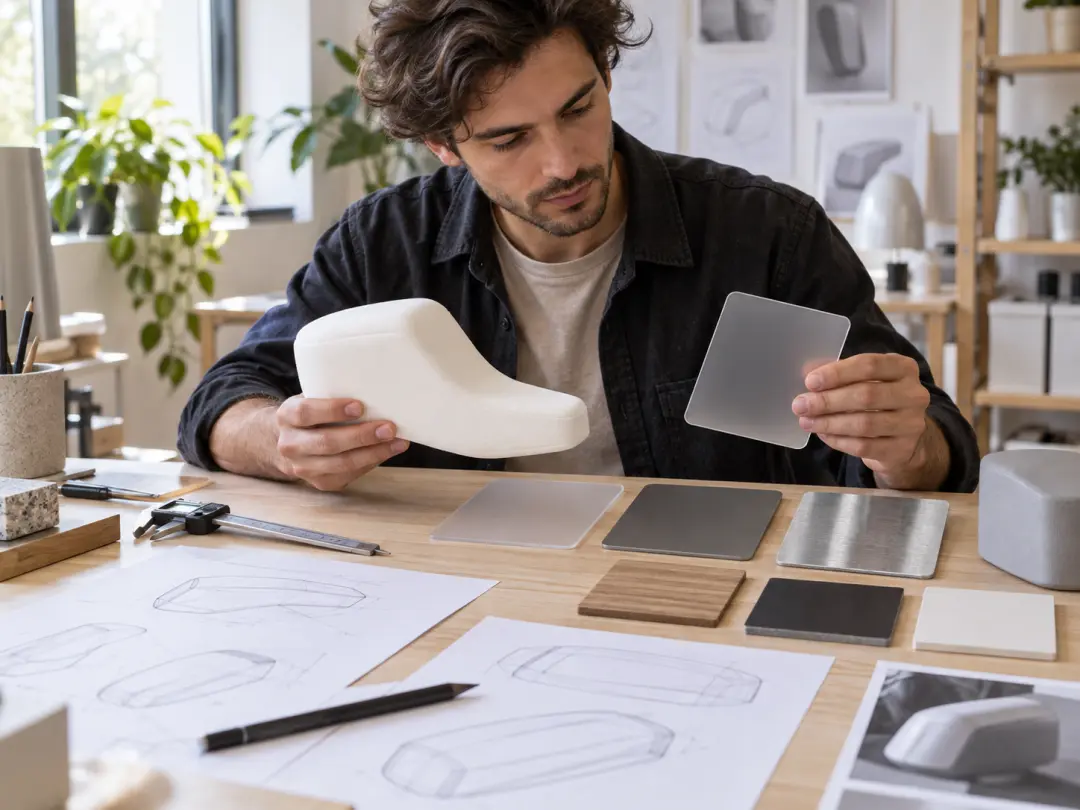
Product designer comparing a foam model with translucent and brushed material samples

Product designers testing form and finish

Compare bottle, package, or device ideas with different materials and lighting before moving into CAD. Use each image as a clear visual brief for the next design conversation.

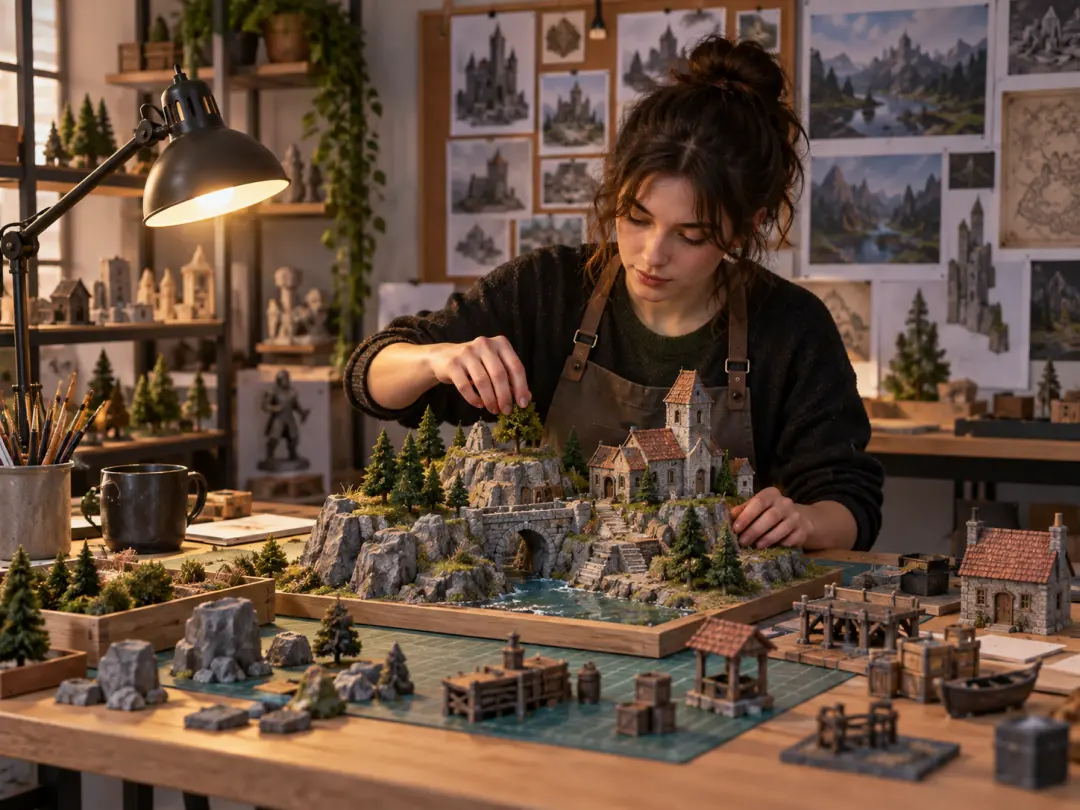
Game artist arranging miniature architecture and props for a low-poly environment study

Game artists building a consistent world

Draft props, architecture, and lighting references for a shared visual language. A set of related 3D image generator studies helps keep later assets coherent.

Benefits of Starting With a 3D Image Generator

A fast dimensional reference can improve decisions before production effort becomes expensive.

Visualize before modeling

See the basic form in a 3D image generator before spending time on topology, materials, or a detailed build. A quick visual check can reveal whether the idea has a readable silhouette.

Explore styles quickly

Compare clay, glass, metal, toy, and low-poly treatments without rebuilding the scene. The 3D image generator keeps the subject recognizable while the visual language changes.

Explain a concept clearly

A 3D image generator result gives a client or teammate something concrete to discuss. Point to proportion, light, material, or camera position instead of relying only on abstract descriptions.

Create consistent reference sets

Generate related views and material studies for one subject. A small set of consistent images is easier to use as an art-direction reference than one isolated result.

Reduce early production risk

Resolve obvious shape and communication problems before moving into modeling or fabrication. This does not replace technical validation, but it can prevent an unclear direction from going too far.

Move from idea to asset

Use the selected concept as a brief for a modeler, product designer, illustrator, or presentation. Keep the prompt and image together so the next stage can preserve the decisions that made the direction work.

FAQ

3D Image Generator Questions

A 3D image generator is a text-to-image workflow that creates still images with dimensional form, depth, lighting, and material cues. It can help you explore a character, product, environment, or abstract object before modeling begins. The result is a visual concept, not an editable mesh or a physically accurate simulation. Use it to compare shape and presentation, then brief the next production step with a clearer reference.

Yes. A 3D image generator can turn a written character description into a dimensional portrait or full-body concept when you specify proportions, clothing, materials, pose, and camera angle. Keep the first prompt focused on silhouette and character role, then add smaller details. Review the face, hands, and costume construction carefully because a stylized still image may not translate directly into a clean model.

Consistent perspective, believable contact shadows, readable materials, and a clear light source do most of the work. A 3D image generator result becomes less convincing when several unrelated finishes compete or when the camera angle changes between objects. Start with one material story and one lighting condition, then inspect edges and reflections for inconsistencies.

No. This 3D image generator produces a raster image, not an OBJ, STL, or other editable mesh. You can use that image as a concept, mood reference, or modeling brief, but a separate 3D workflow is required to create geometry, topology, UVs, and production-ready materials.

A 3D image generator can support early product ideation by showing a proposed shape, finish, and presentation. It should not be treated as engineering documentation or a manufacturing-ready view. Check proportions, usability, branding, and safety with the appropriate product process, and keep the generated image clearly labeled as a concept during internal review.

Start with two or three 3D image generator directions that differ in one important way, such as construction, material, or camera angle. More variations are useful only when they answer a real design question. Choose the strongest concept, document why it works, and refine that direction instead of generating an endless set with no decision criteria.
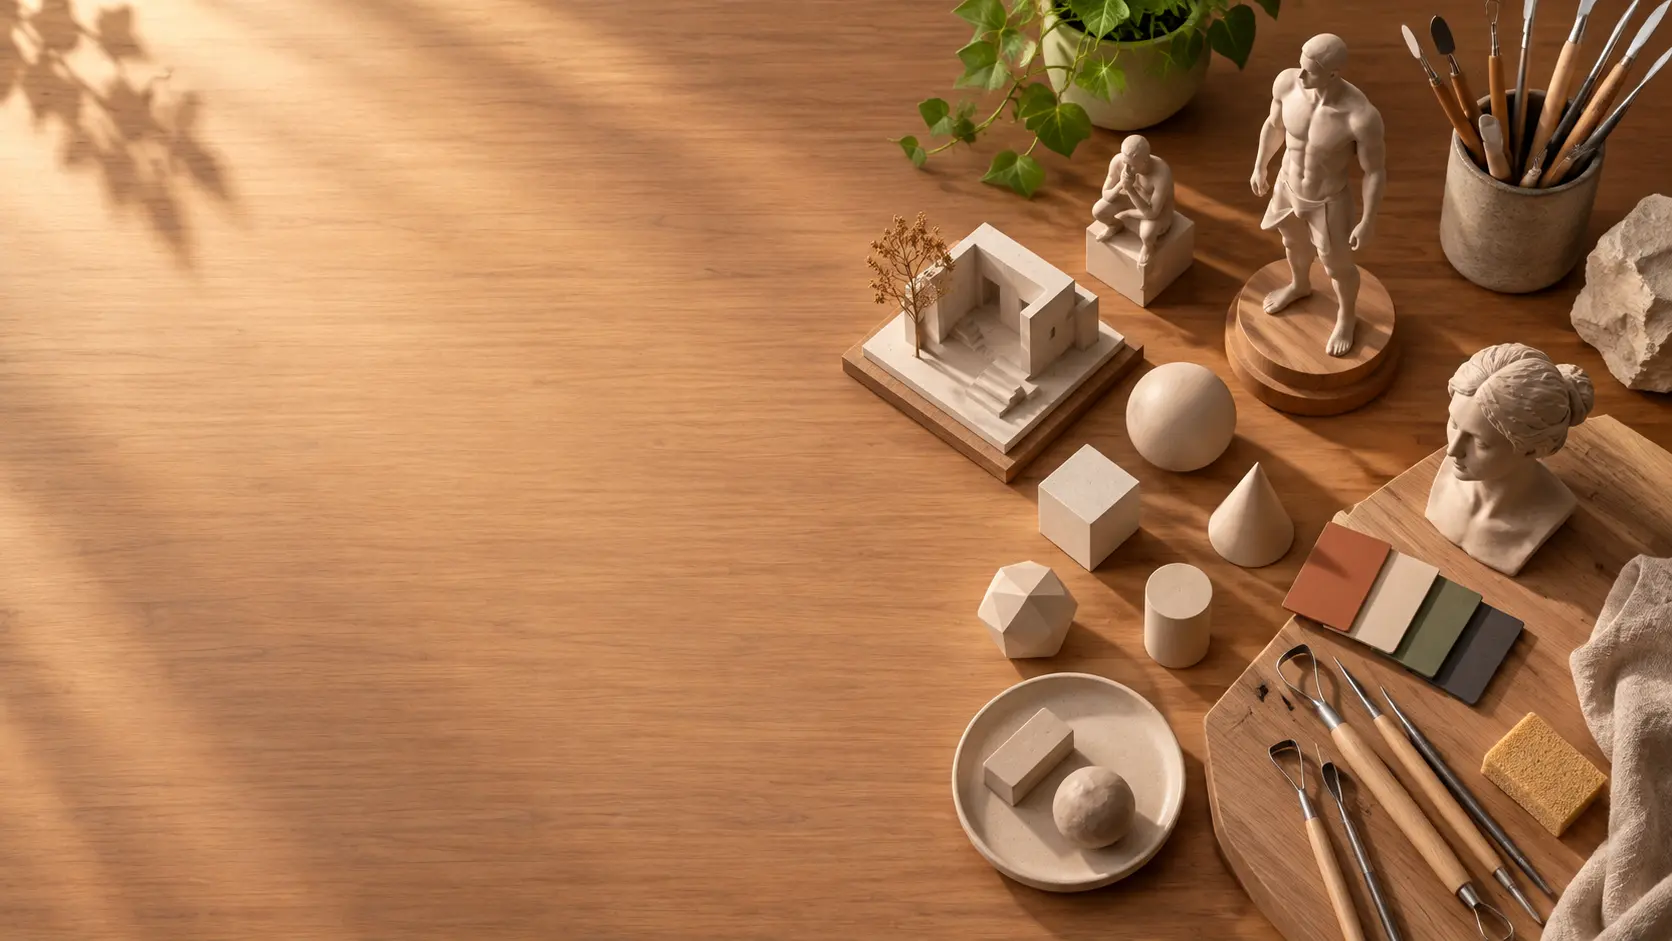
3D image generator concept workspace with sculpted forms and color studies

Turn a Written Idea Into a 3D Image Generator Concept

Describe the form, material, and light, then use this 3D image generator to create a dimensional reference for your next project.

Get Started
3D Image Generator - Create 3D Art From Text | VideoAI