Step 01
Add Your Photo And Assign Its Role
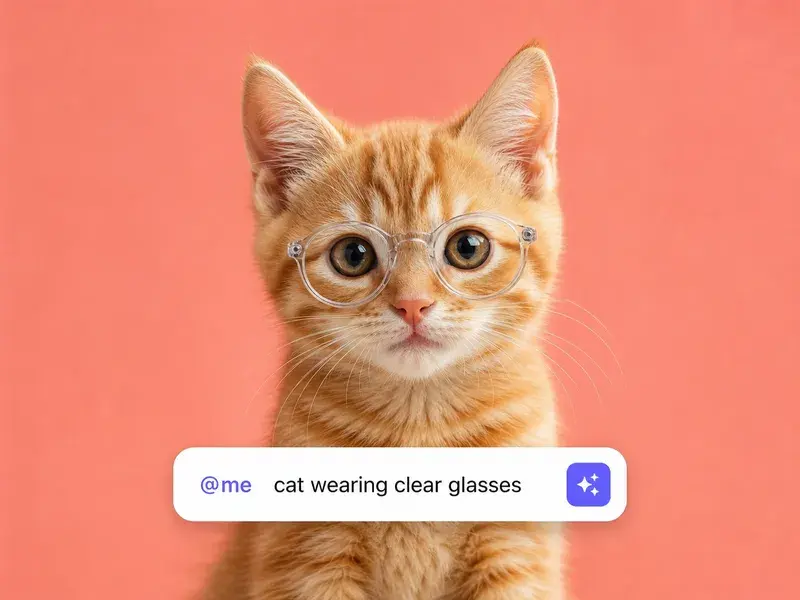
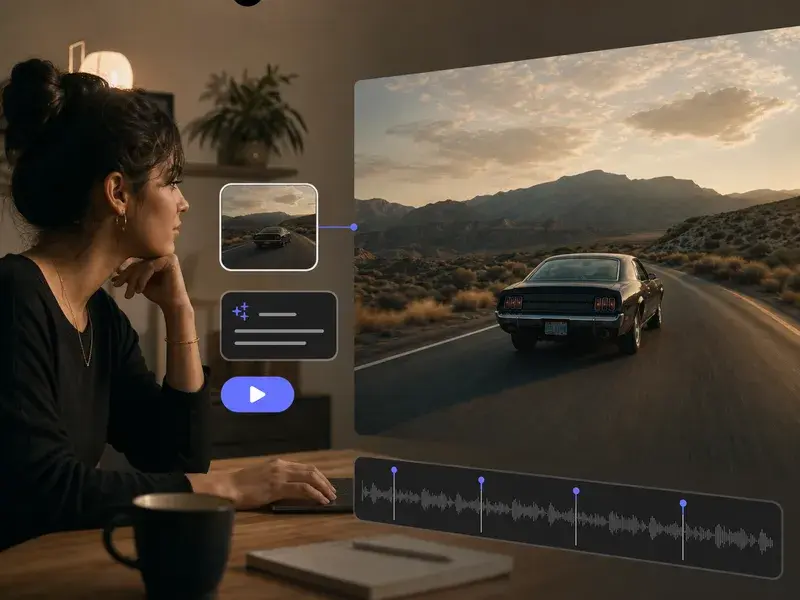
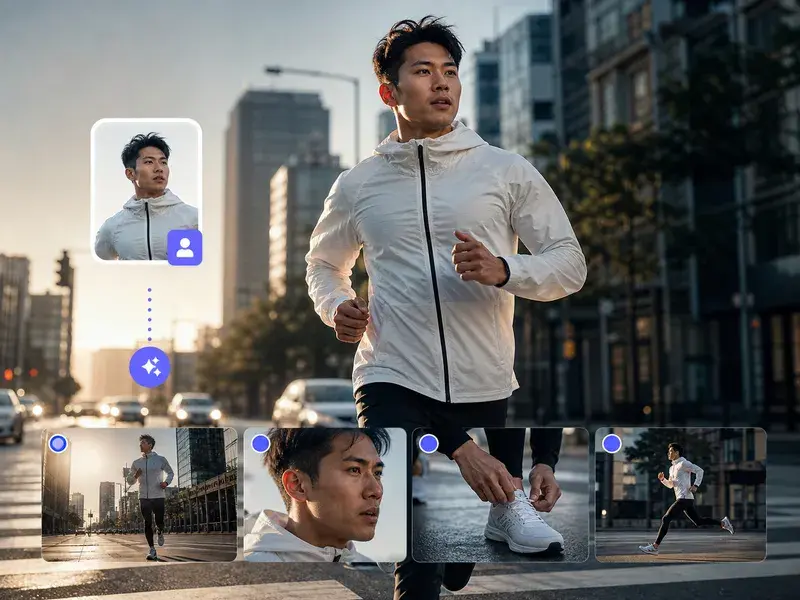
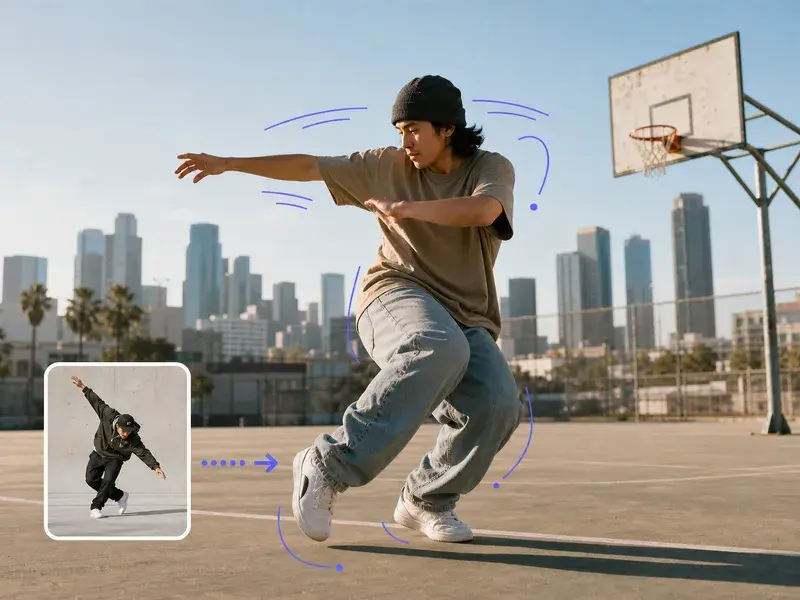
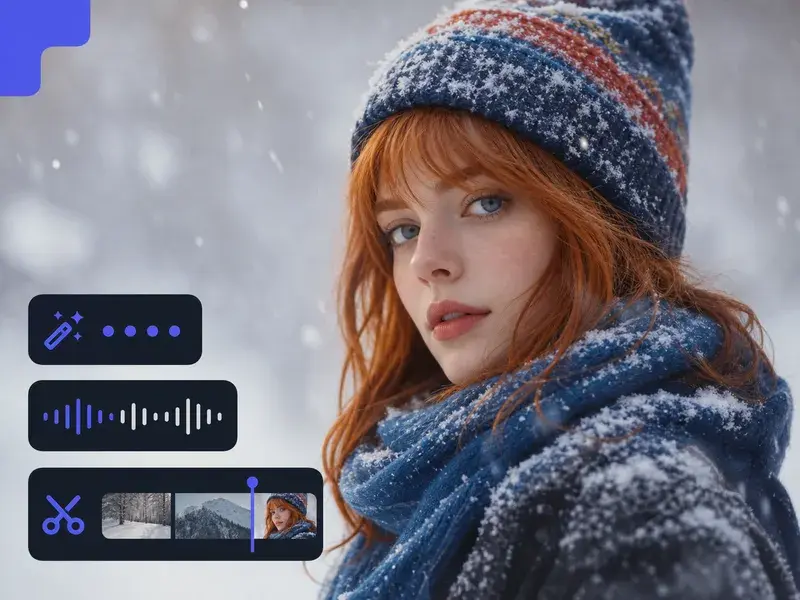
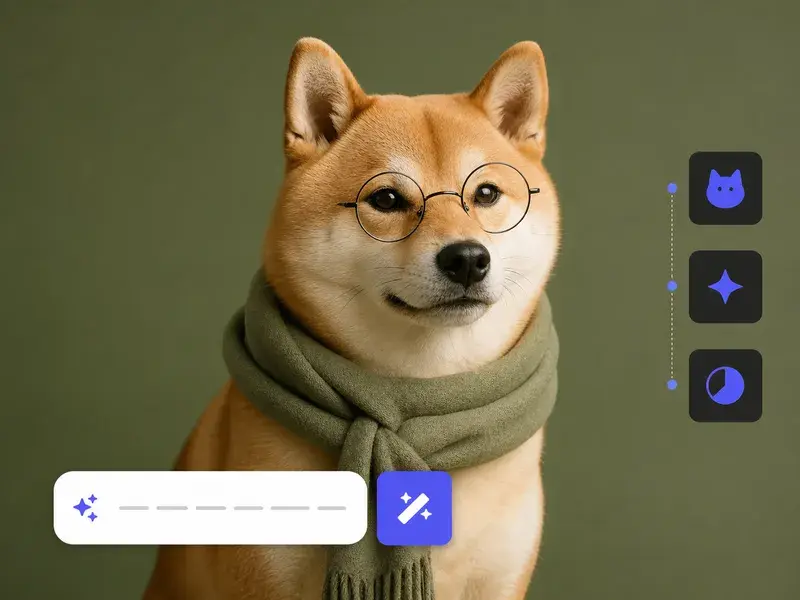
Upload the still you already have, then use the @ symbol to set whether it is the first frame or the subject. Add a second photo as the end frame for more control, or bring several at once when you want multiple images to video ai in one clip. Your uploads stay in your workspace for the next project.
Step 02
Describe The Motion You Want
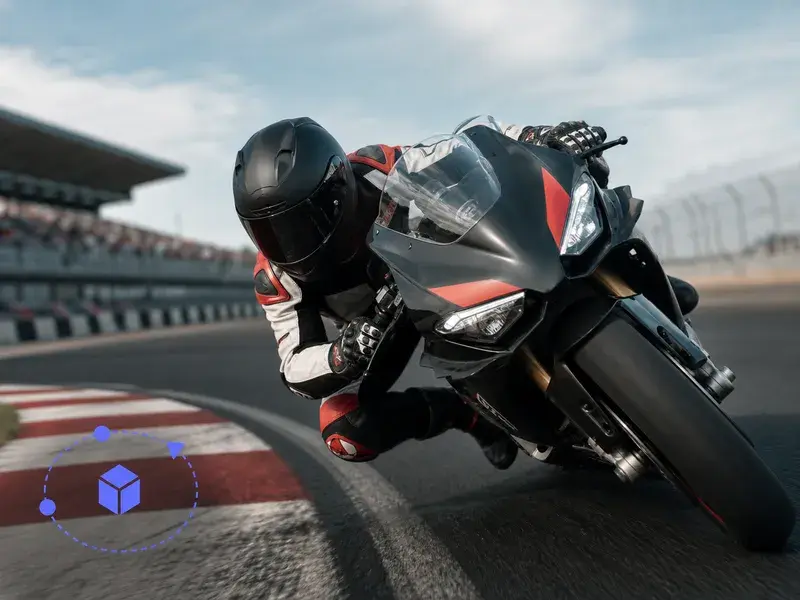
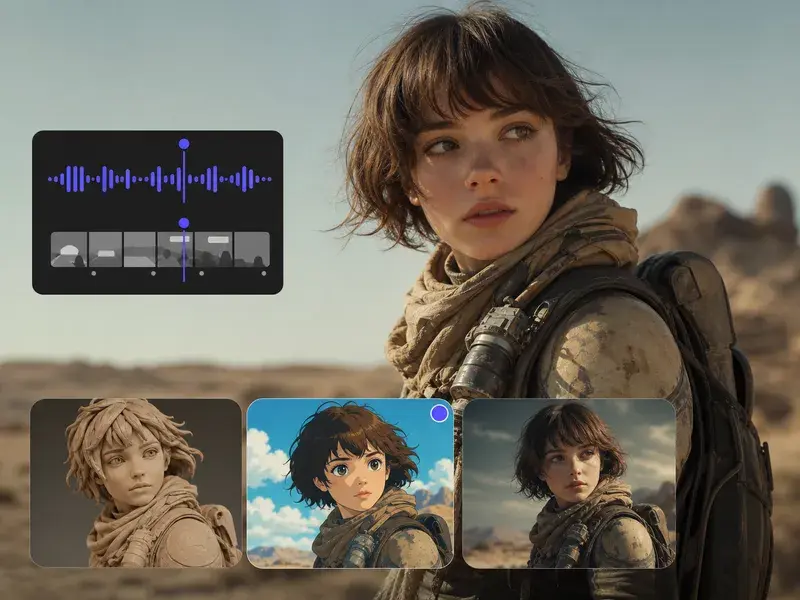
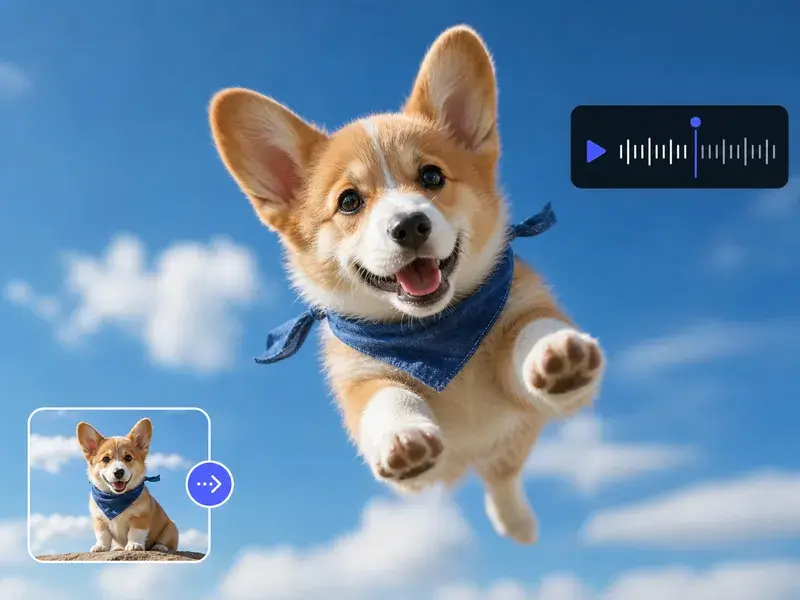
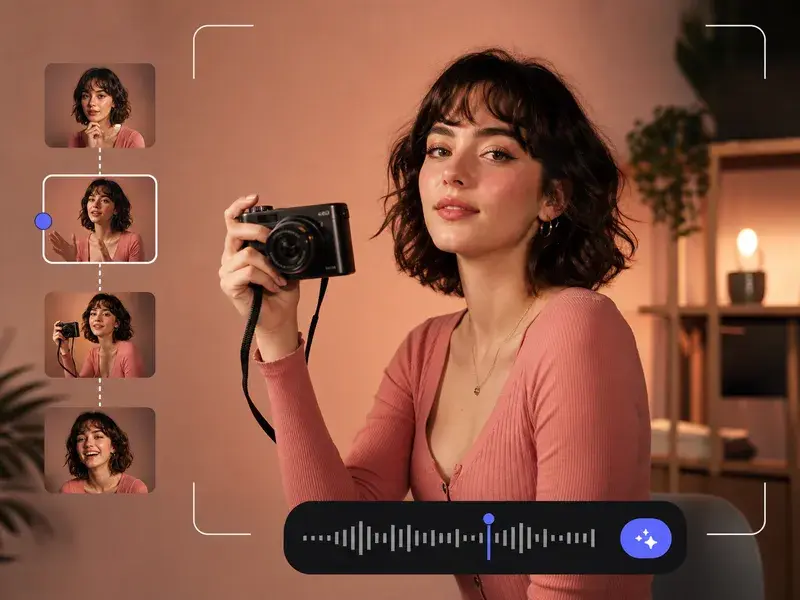
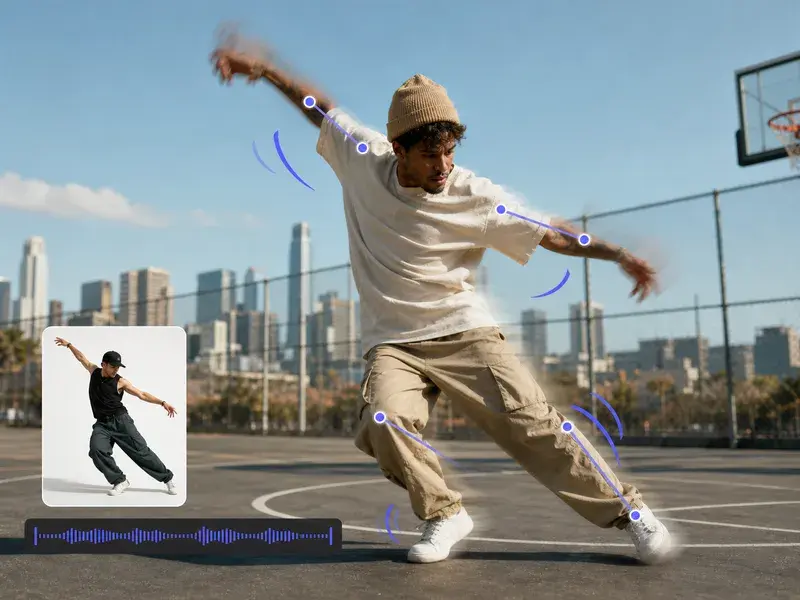
Write how the camera travels, whether it pushes in, pans, or follows, and what the subject does. Pick a preset style such as anime, realistic, or illustration, then choose a length from four to fifteen seconds and a 16:9 or 9:16 shape. To add motion to photo with tighter control, break the shot into segments and pin a reference to any one of them.
Step 03
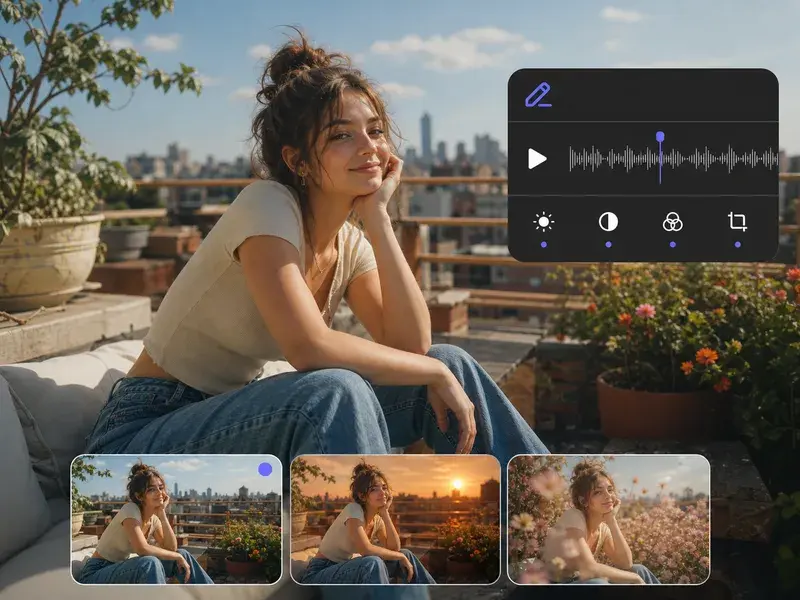
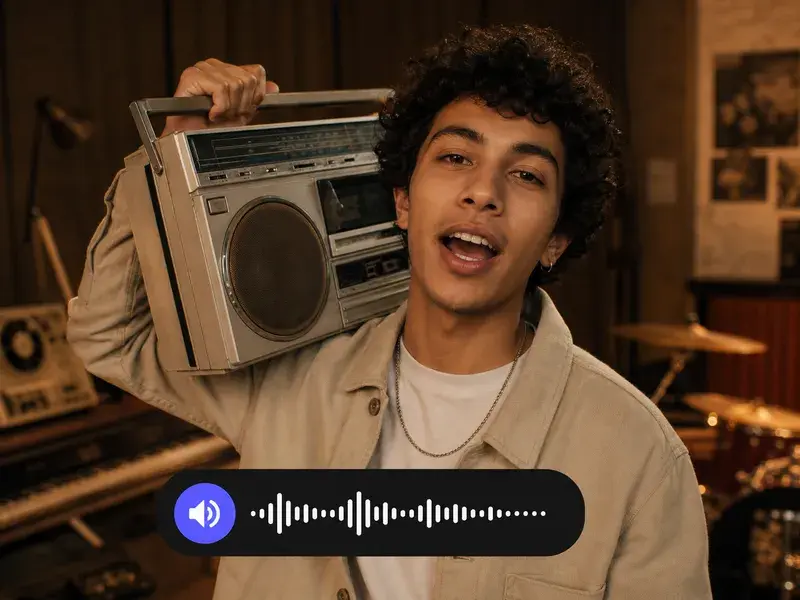
Generate, Download, And Refine
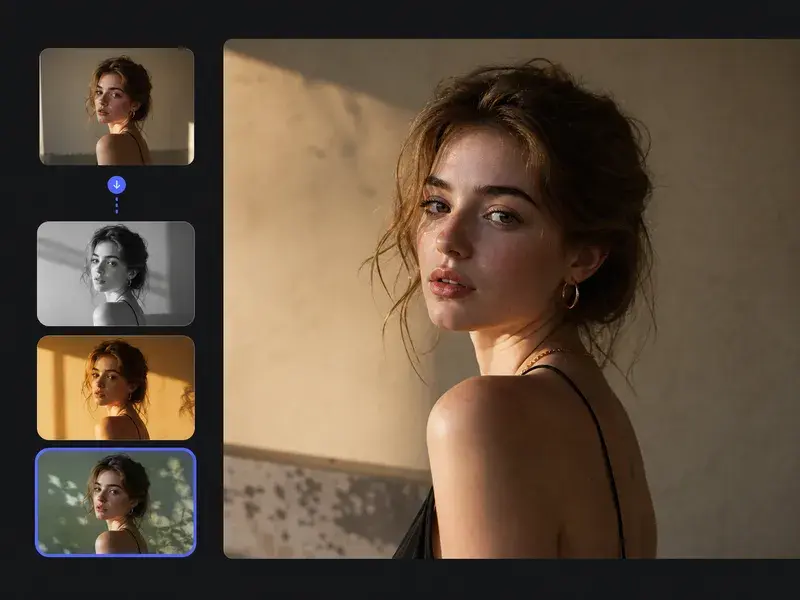
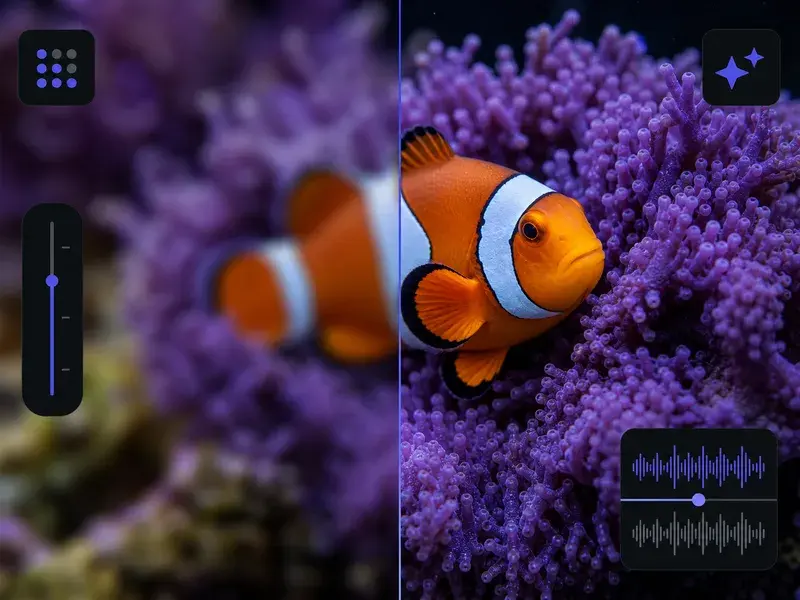
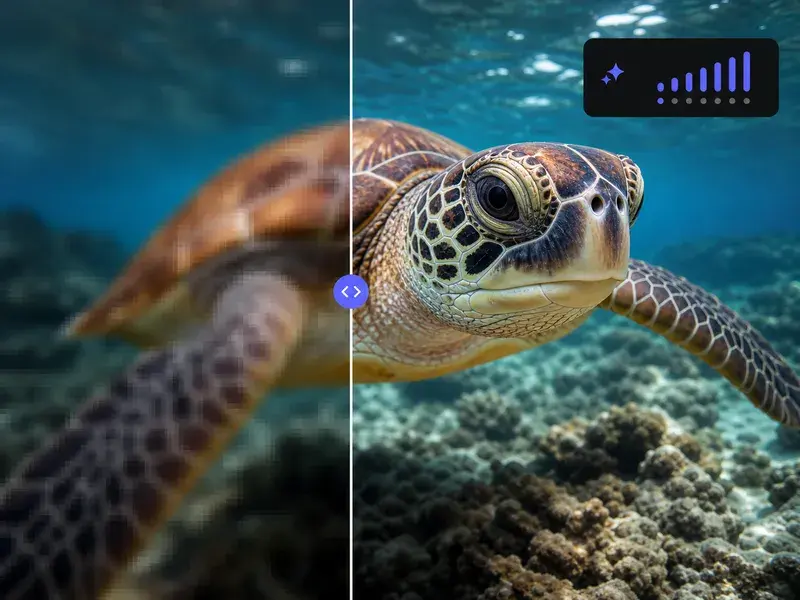
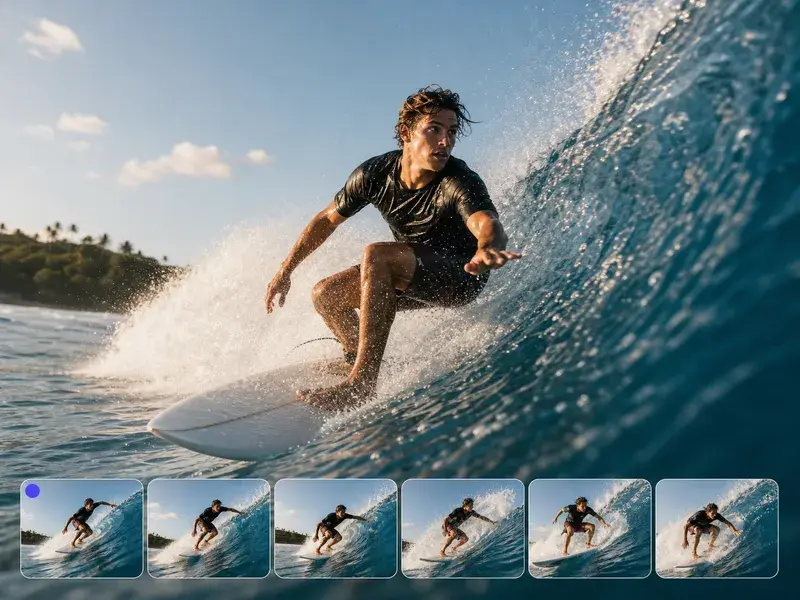
Press generate and VideoAI returns a clip up to 4K that downloads as an MP4, with room to make a few versions at once. The result lands in your library, so when you want to turn photo into video ai with a different look, a written note is enough to change it.