


Text Remover

Clean captions, labels, dates, interface copy, or unwanted writing from a photo or screenshot with an AI text remover. Upload the image, describe the words or area to erase, and VideoAI rebuilds the background behind them so the result looks continuous rather than painted over. Use it for product photos, screenshots, scanned notes, and other images you own or have permission to edit.

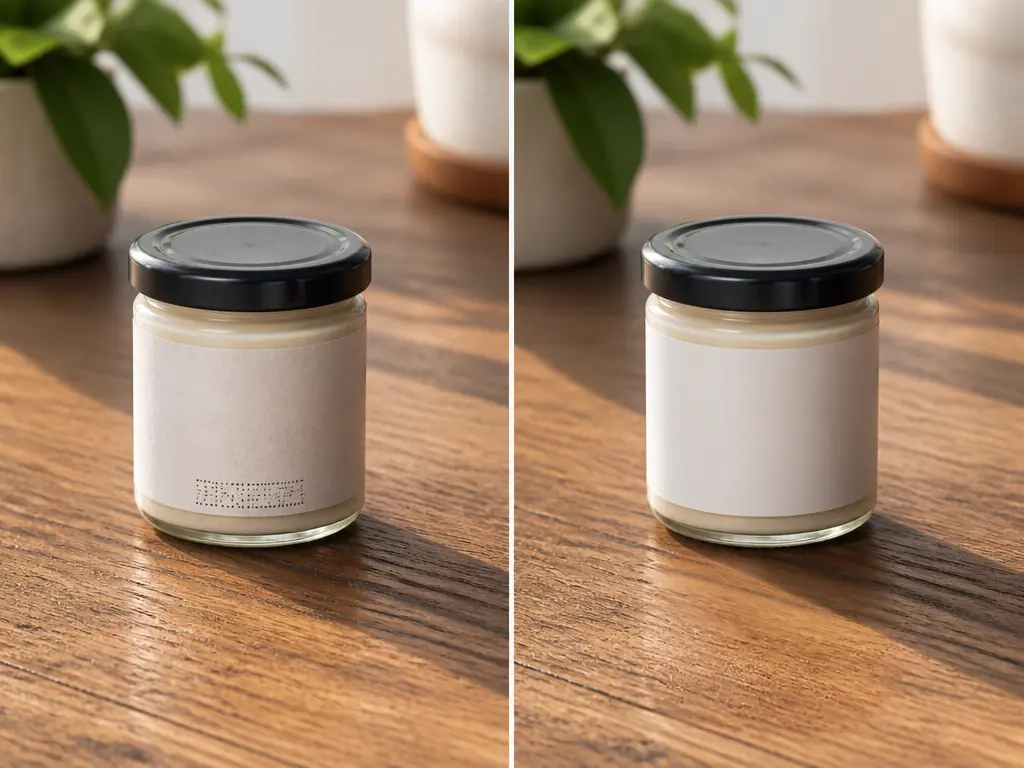
Product photo after using a text remover to clear a date and label while preserving the background

Remove the Text Without Flattening the Picture

Designed for the cases where text sits on real texture, a product surface, a screenshot, or an important part of the composition.

Selected text area on a photo marked before a text remover rebuilds the background

Target Only the Words You Want Gone

Upload the picture, then describe the caption, date, label, notes, or area you want cleared. A text remover needs a clear target so it does not treat every letter in the image as disposable. You can name the exact phrase or explain where the unwanted text sits. After removal, the tool rebuilds that region instead of leaving a flat gray patch, which keeps the edit contained and easier to review. Use it as a text eraser when a focused cleanup is all you need.

Wood grain and fabric texture continuing naturally after text removal

Rebuild Textured and Uneven Backgrounds

Text often crosses wood, paper, fabric, pavement, glass, or a soft gradient. A basic eraser leaves a blur there. This text removal workflow reconstructs the pattern around the cleared area so lines, grain, reflections, and color changes continue across the gap. Inspect the result closely when the background is complex, because fine fibers, tiny printed details, or strong perspective may require a smaller edit area or another pass.

Product and original document structure preserved while unwanted surrounding text is cleared

Protect the Subject and Output a New File

Keep the product, face, document structure, or important artwork in view while removing surrounding text. The source image remains your reference, and the cleaned result is a new file you can download and compare. Use a careful description to protect price tags, logos, names, or details that must stay. The text remover is meant for content you have the right to edit, not for hiding ownership information or altering official records.

Use the Text Remover in Three Steps

Upload the source, define the unwanted writing, and review the rebuilt area before you download.

Photo and screenshot files being added to a text remover workspace

Step 01

Upload a Photo or Screenshot

Add a JPG, PNG, or WebP image. Choose the version with the clearest original detail when you have several copies. The upload stays in the workspace so you can compare it with the edited result and return to the same source if the first cleanup needs another pass.

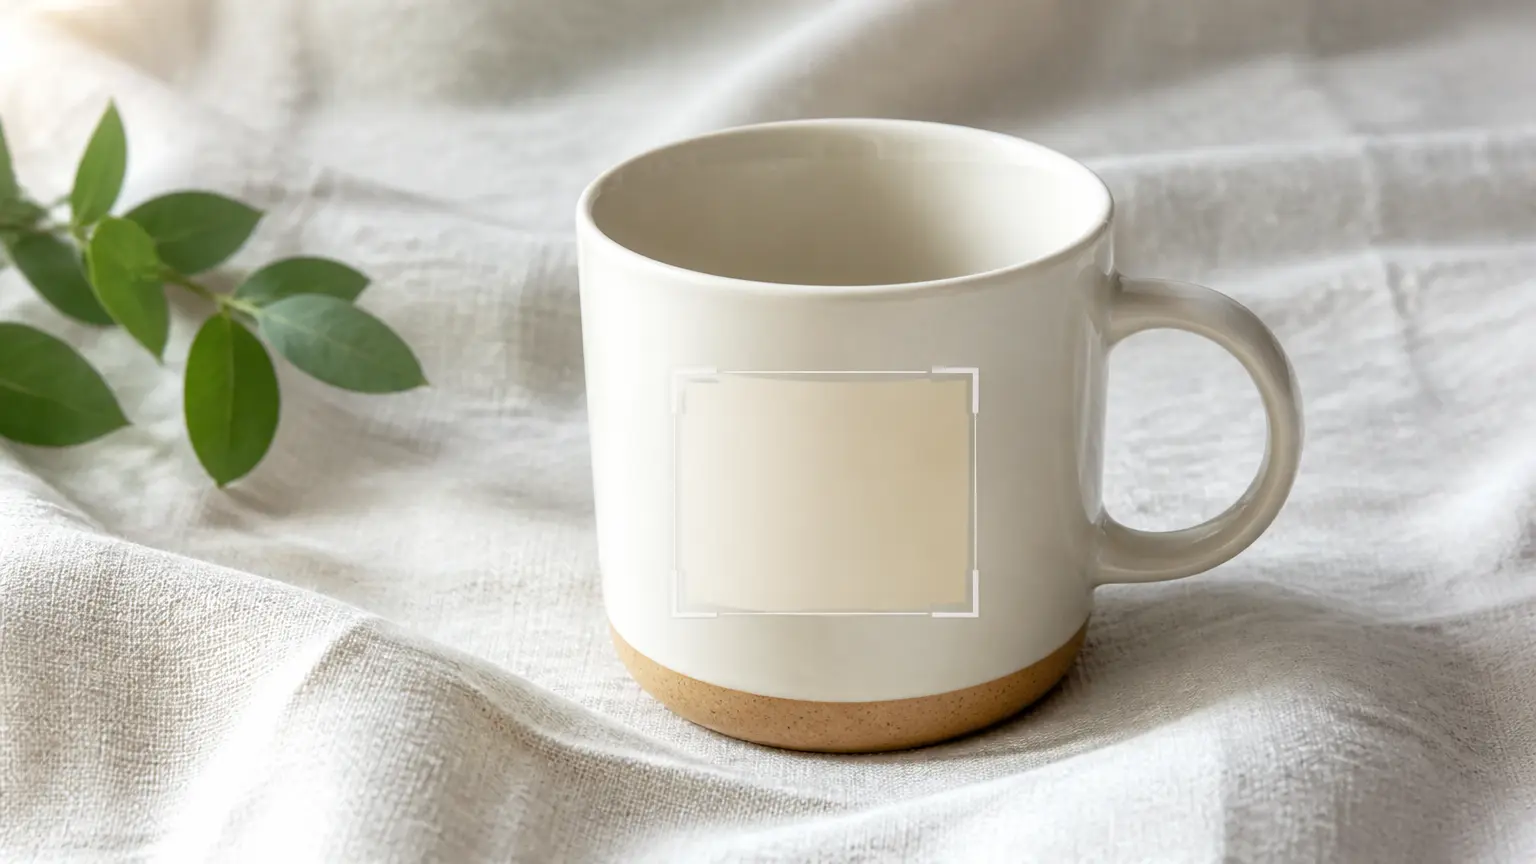
Lower-right text area being identified on a photo before cleanup

Step 02

Describe the Text or Area to Erase

Name the caption, date, label, interface line, or watermark area you want removed. Describe its location when the image contains several text blocks, for example the date in the lower right or the words across the top banner. Clear direction helps the text remover leave unrelated labels and product details untouched.

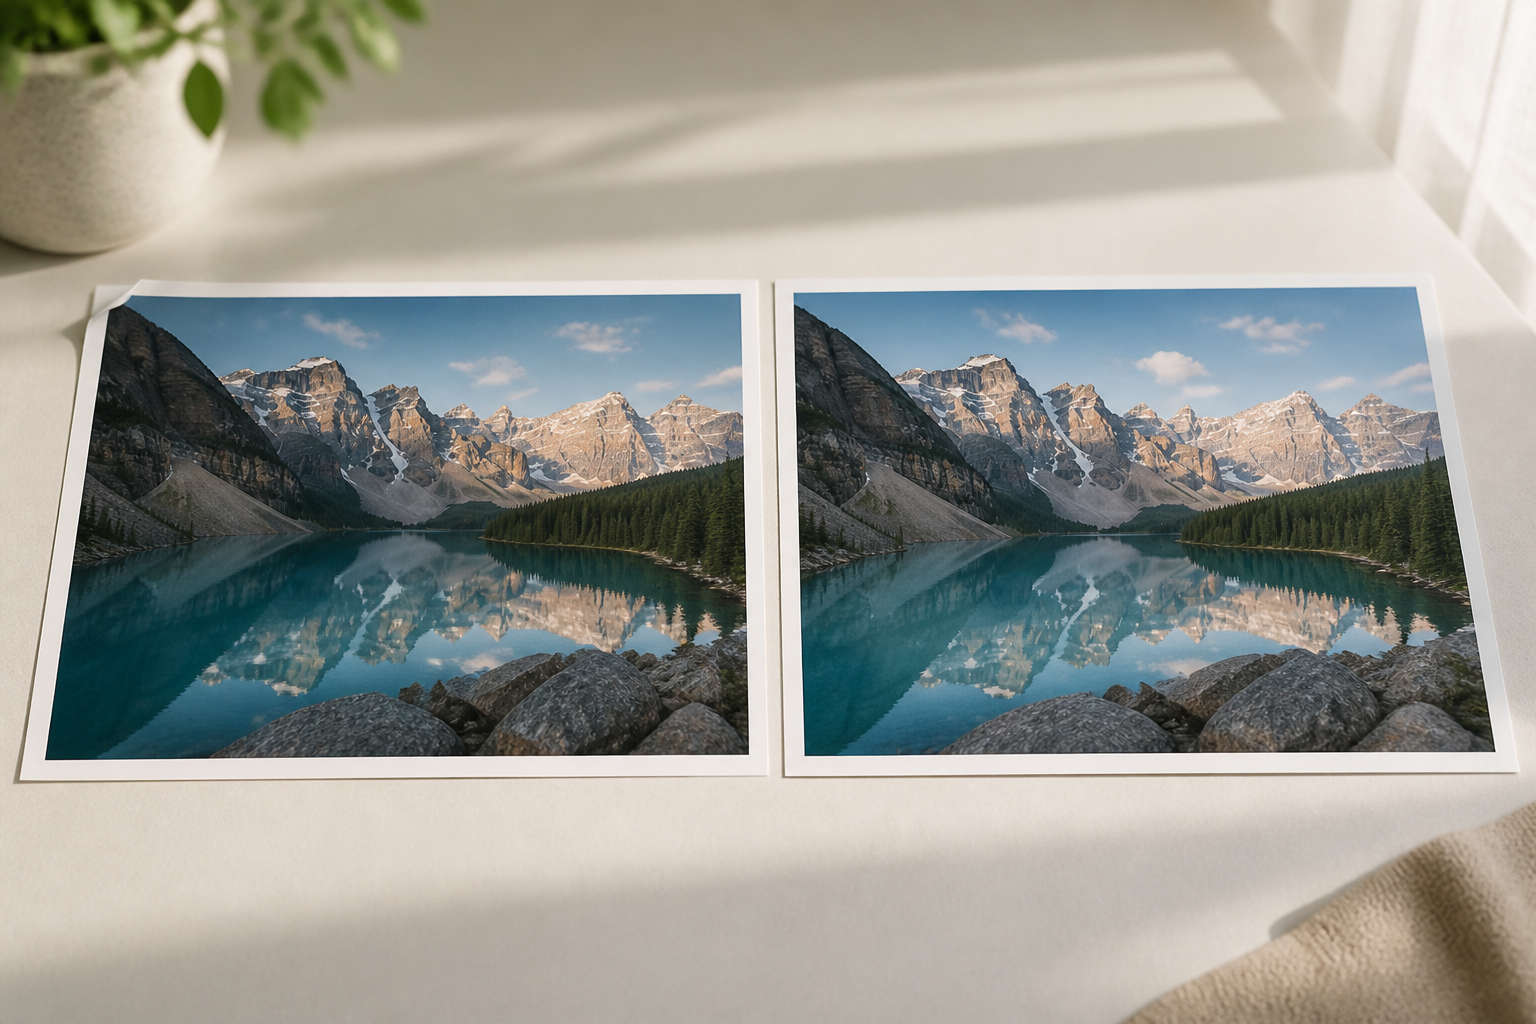
Original and cleaned image compared before downloading the final text removal result

Step 03

Review the Rebuilt Background and Download

Compare the cleaned area with the original texture, color, and subject edge. If the repair looks obvious, reduce the area or describe the background more precisely, then run the text removal again. When the result looks continuous, download the new file and keep the source image unchanged for future edits.

Text Remover Use Cases

Use it for everyday cleanup across commerce, social content, and reference material while respecting ownership and editing rights.

Product listing photo with temporary text removed and surface texture preserved

Product and Listing Images

Remove old campaign dates, supplier marks, or temporary labels from a product photo so the item remains the focus. Keep the actual brand details and product information intact, then inspect the surface texture before publishing the new file.

Social screenshot with an unwanted caption cleared while useful layout remains

Screenshots and Social Images

Clear an old caption, duplicated overlay, or unwanted interface phrase from a screenshot you own. Use a focused description so useful controls and visual context remain. The cleaned image is returned as a separate file that is ready for a post, presentation, or support article.

Scanned document with a temporary mark cleared and paper texture preserved

Scans and Reference Documents

Remove duplicated stamps, page notes, or temporary labels from a scan while keeping the document layout, paper grain, and important fields visible. Work on a copy and verify the final image against the original before using it for a report, archive, or reference file.

Who Uses a Text Remover

Ecommerce editor reviewing a cleaned product image on a bright desk

Clean Listing Assets Without Reshooting

Clear temporary wording from a product image while protecting the product, packaging, and important label information. Compare the repaired area at listing size and zoomed in, then use the cleaned file only when the underlying texture still looks believable.

FAQ

Text Remover Questions

It follows the area or wording you describe. Name the caption, date, label, or unwanted block and explain where it appears. When several text regions are present, mention the one you want removed and what must stay. The text remover then rebuilds that area from the surrounding image. Always review the result before downloading because small or stylized text can be easier to isolate than handwriting or a crowded overlay.

Yes, but a busy background needs more careful review. Wood grain, fabric, foliage, reflections, and detailed artwork can make the rebuilt area harder to blend. Describe the background around the text and keep the target area tight. If the first pass looks unnatural, narrow the selection or remove the letters in smaller sections so the text remover has more of the original texture to work from.

JPG, PNG, and WebP images work with the browser workflow. Start with the highest-quality copy you have because compression, blur, and low resolution can hide the boundary between text and background. The source stays available as a reference, and the text remover returns a new image you can compare, download, and use in a later edit. A clean source gives the text remover more reliable edge information to work from.

The original upload remains your source, so you can compare it with the cleaned version. The text remover returns a new file rather than an overwrite. A watermark on the downloaded result would defeat the purpose of cleanup, so check the preview before using the image. Keep the untouched original if you need to prove what was changed or revisit the edit later.

Only edit images you own or have permission to change. Use the text remover for your own product photos, personal screenshots, notes, or licensed work. Do not use it to hide ownership marks, falsify documents, or remove another creator's attribution. When the image involves a brand, publication, or personal record, confirm that you have the right to modify and republish it.

Use a sharp source, describe the exact text or location, and remove one region at a time when the image is complex. Keep important subjects outside the selection and review the result at 100 percent. If the repaired pattern looks too smooth, add more detail about the surrounding material or change the target area. A second focused text remover pass often works better than clearing a large block at once.
Wide bright workspace with clean product photos and screenshots prepared after text removal

Erase Unwanted Text and Keep the Image Looking Natural

Upload the source, describe the words to remove, review the rebuilt background, and download a clean new file when the result is ready.

Get Started
Text Remover - Erase Text From Image Online - VideoAI