Old Photo Restoration

A damaged print is often the only copy of a face you cannot photograph again, so how much the tool changes matters. Old photo restoration works from the people outward: sharpen and clarify the faces first, repair the scratches and folds you choose, then decide whether to add colour. Upload a scan or a careful phone shot, compare the result with the original, and download a cleaner file to print while the untouched scan stays as your record.

BeforeAfter
Old photo restoration result with sharper faces, repaired marks, and restored tone
Faded and scratched old family photograph before restoration

What Old Photo Restoration Fixes

Four jobs old photo restoration is built for, from faces people recognise to a file that can actually be framed.

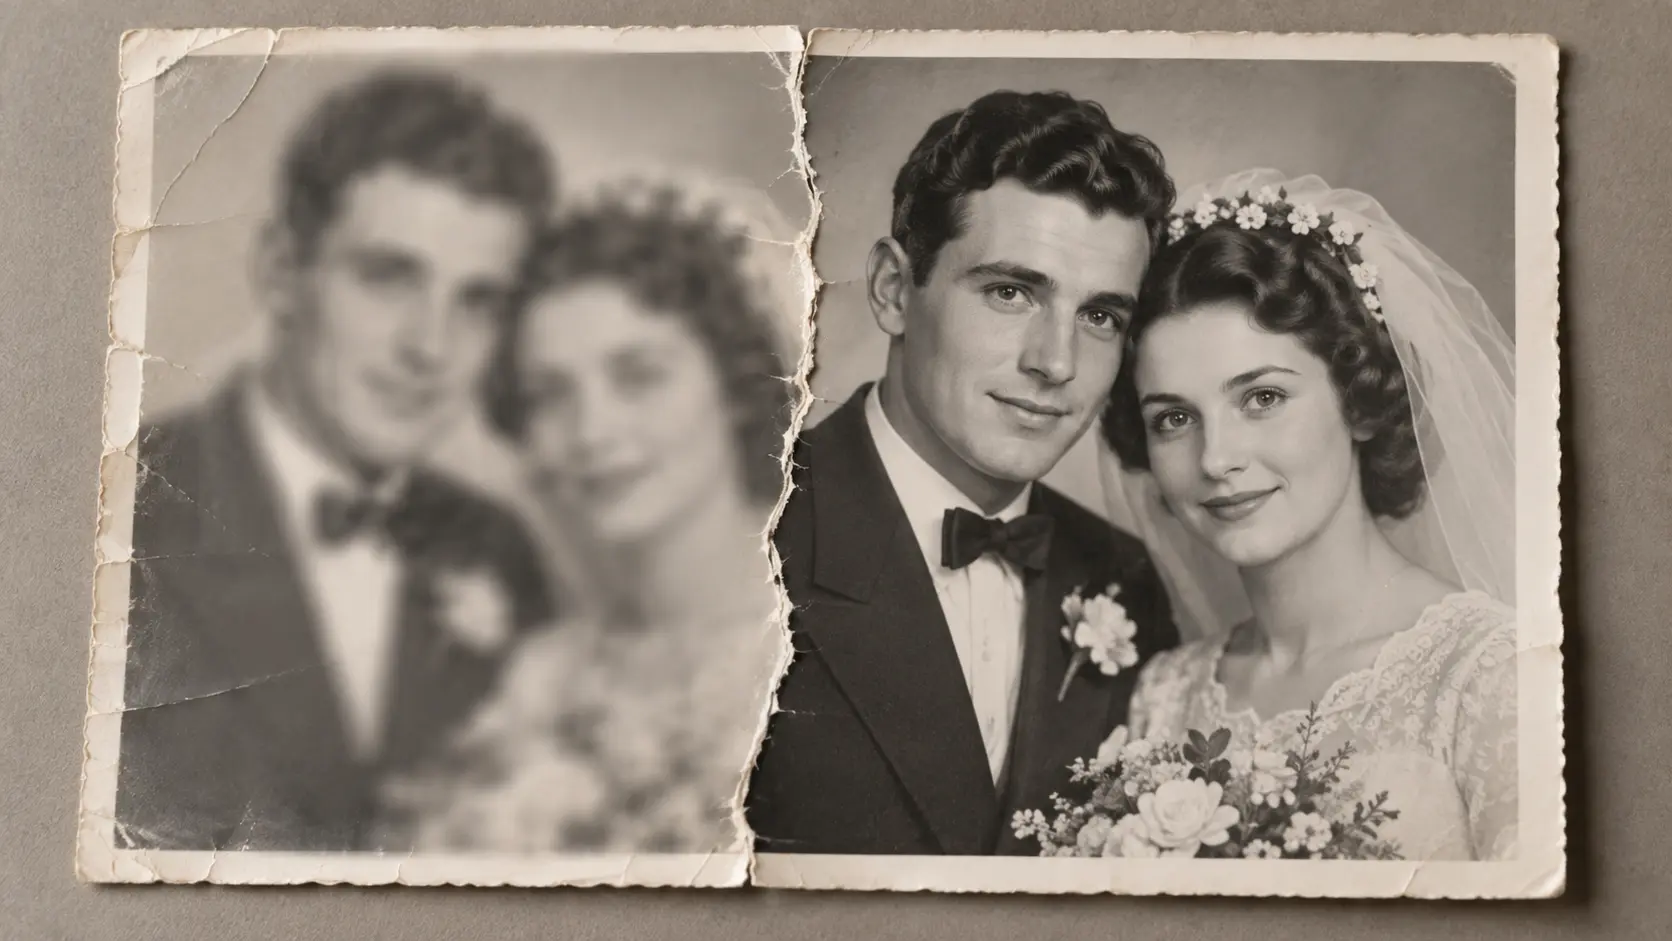
Old photo restoration sharpening a blurry wedding portrait so faces read clearly

Start With the Faces You Recognise

Faces are the first thing people look for in a family photo, and they are also where blur and soft focus hurt most. Old photo restoration starts by locating the people in the frame and improving the eyes, skin, and hair before it touches the rest of the scene. That order matters, because a sharp background with soft faces still feels unfinished. The result keeps the person recognisable instead of redrawing them into someone else.

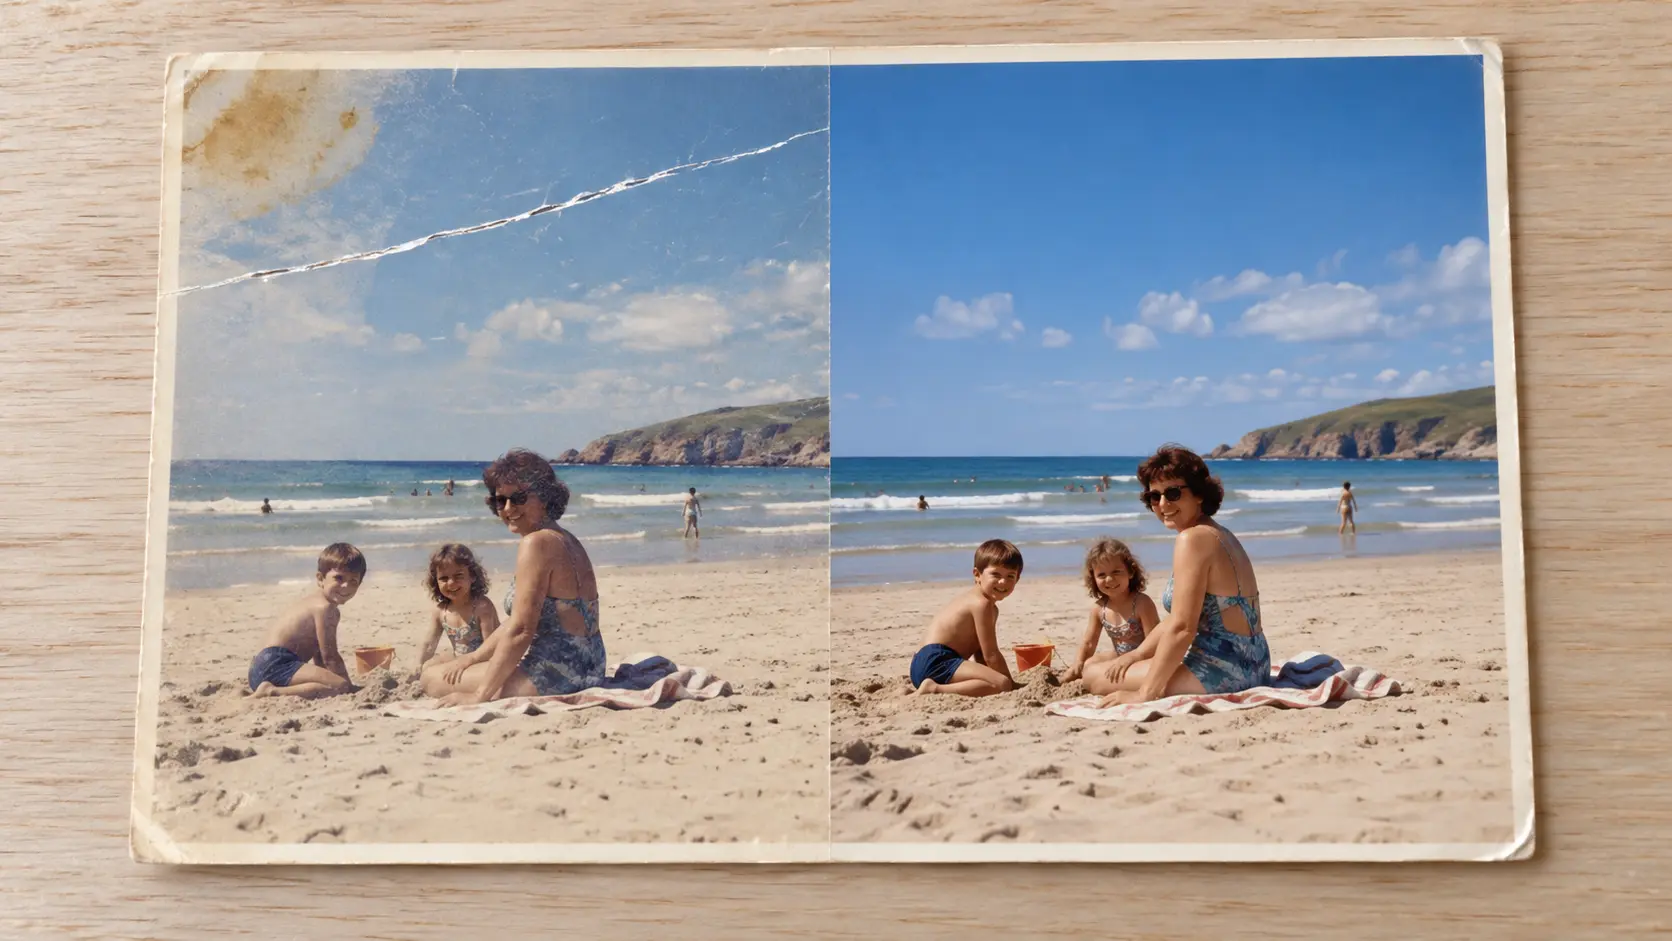
Photo restoration repairing a scratch and stain on an old beach photograph

Repair the Damage Without Erasing the Age

Scratches, dust, stains, and fold lines are the damage that makes an old photo hard to enjoy. Restoration rebuilds the areas you select and blends the repair into the surrounding texture instead of leaving a visible patch. You stay in control of how much is removed, so a treasured print keeps its character while the distracting damage disappears. That is the difference between a cleaned scan and a careless repaint.

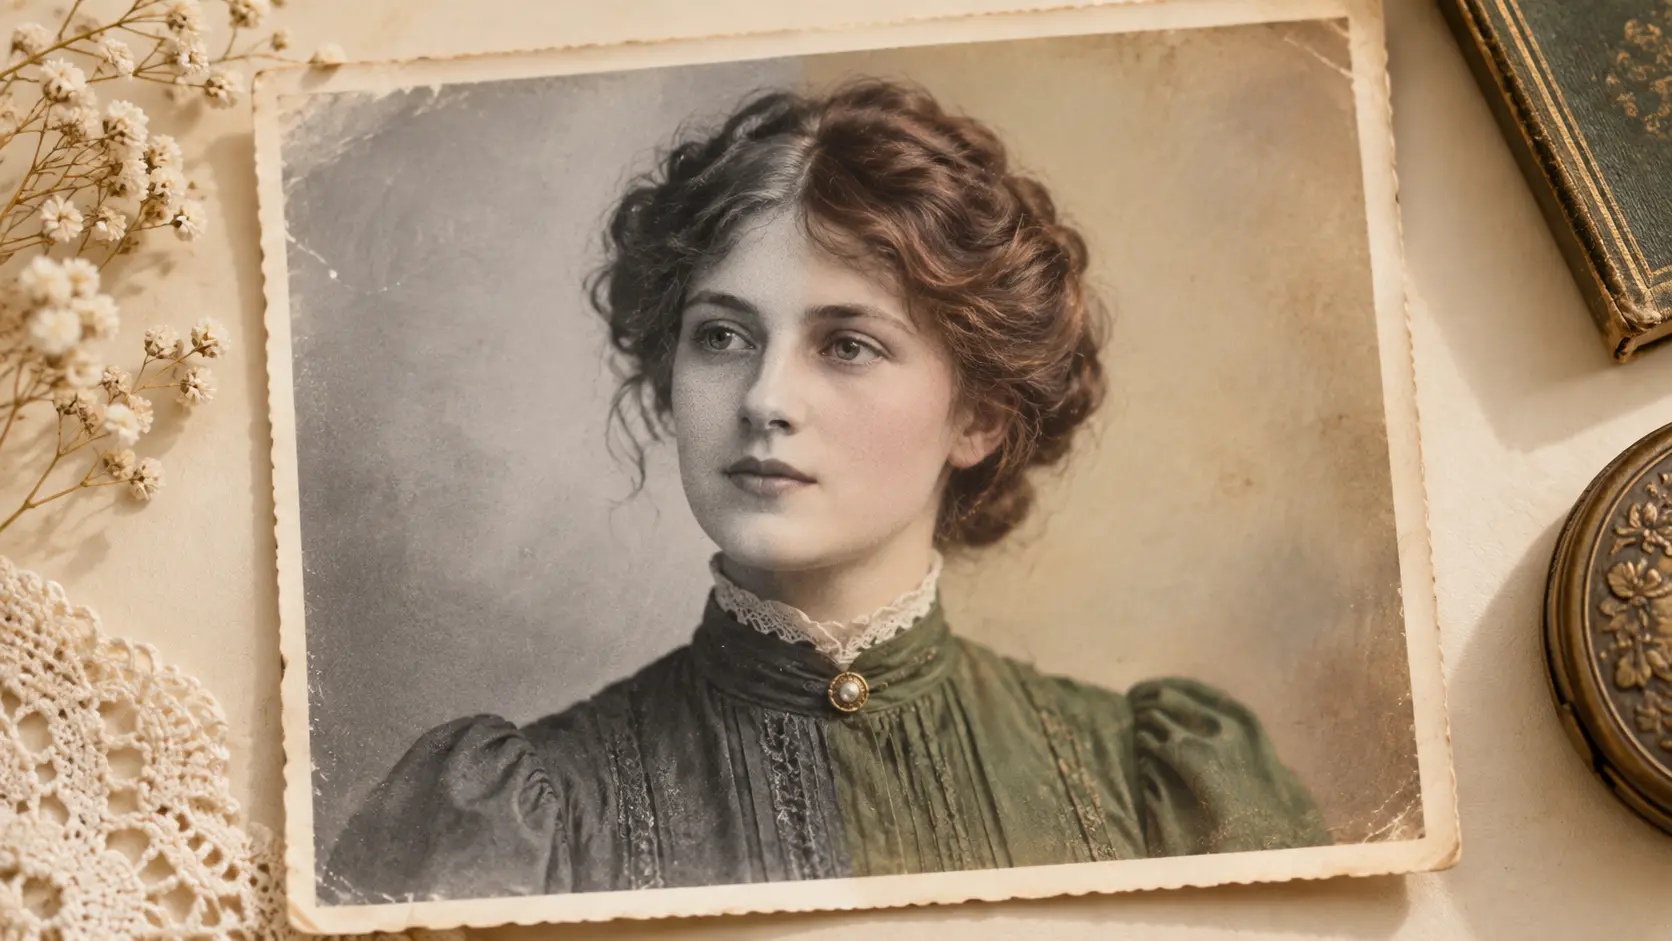
Black-and-white portrait colourised with natural skin tones and muted clothing colours

Add Colour Without Rewriting the Photo

Faded colour and black-and-white prints can both be given new life. Colourisation estimates natural skin tones and clothing colours from the image content, then applies them gently so the photo still looks like the original era rather than a modern snapshot. Because the colour is generated, it is an artistic interpretation rather than a record of fact. Keep the original file so the colour version stays a choice, not a replacement.

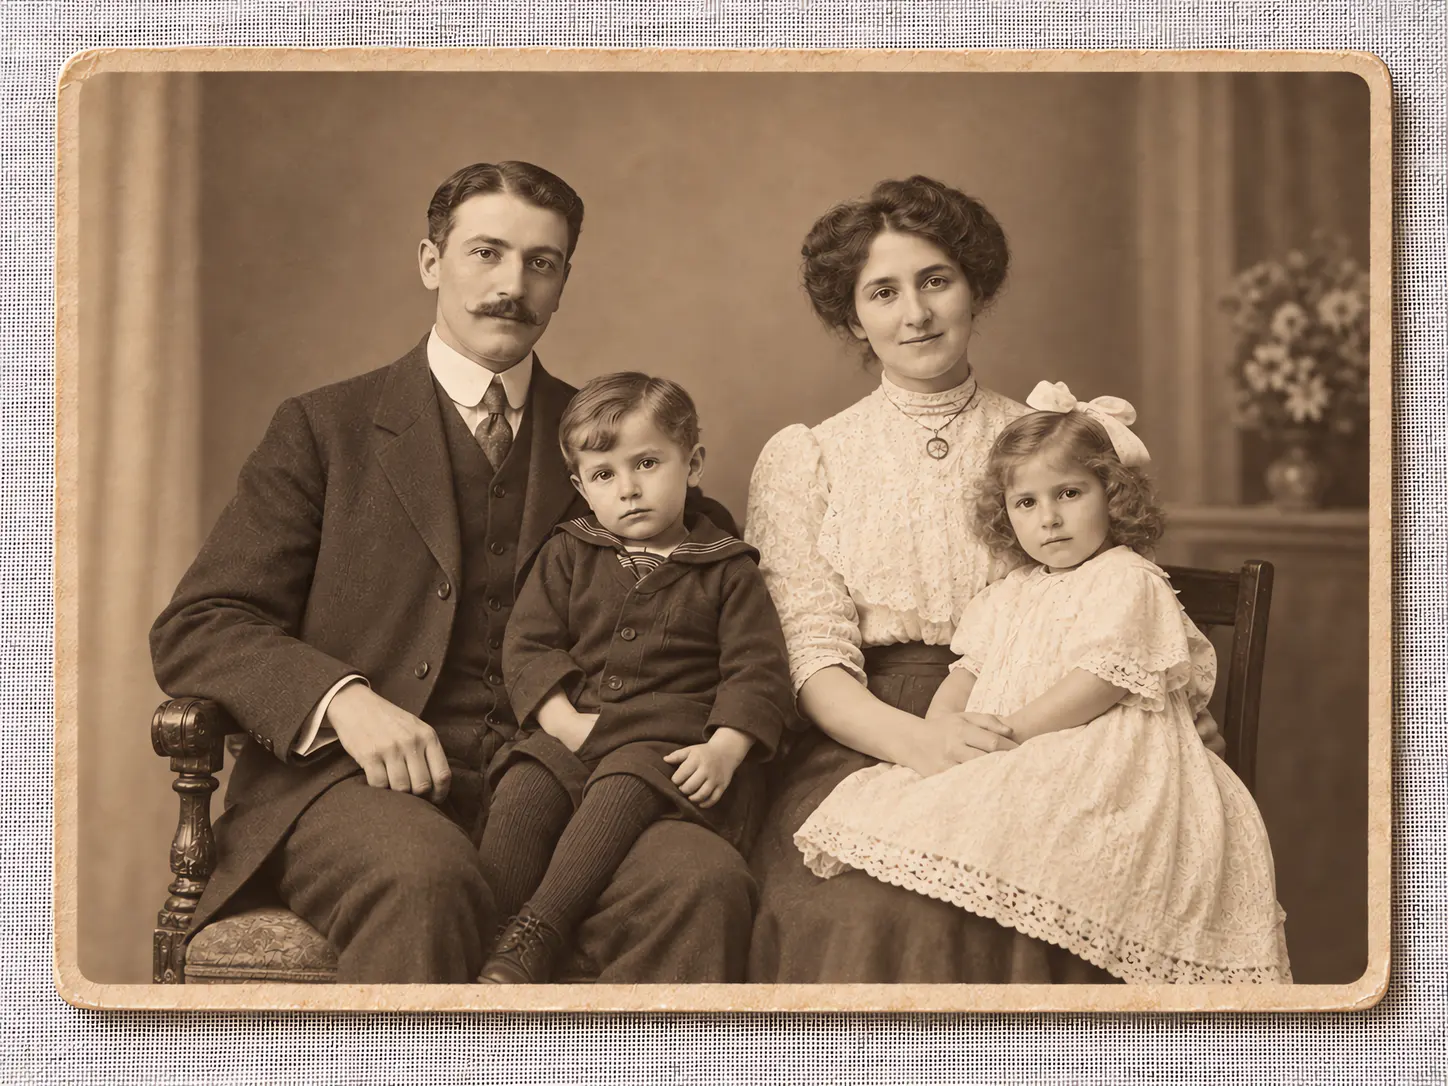
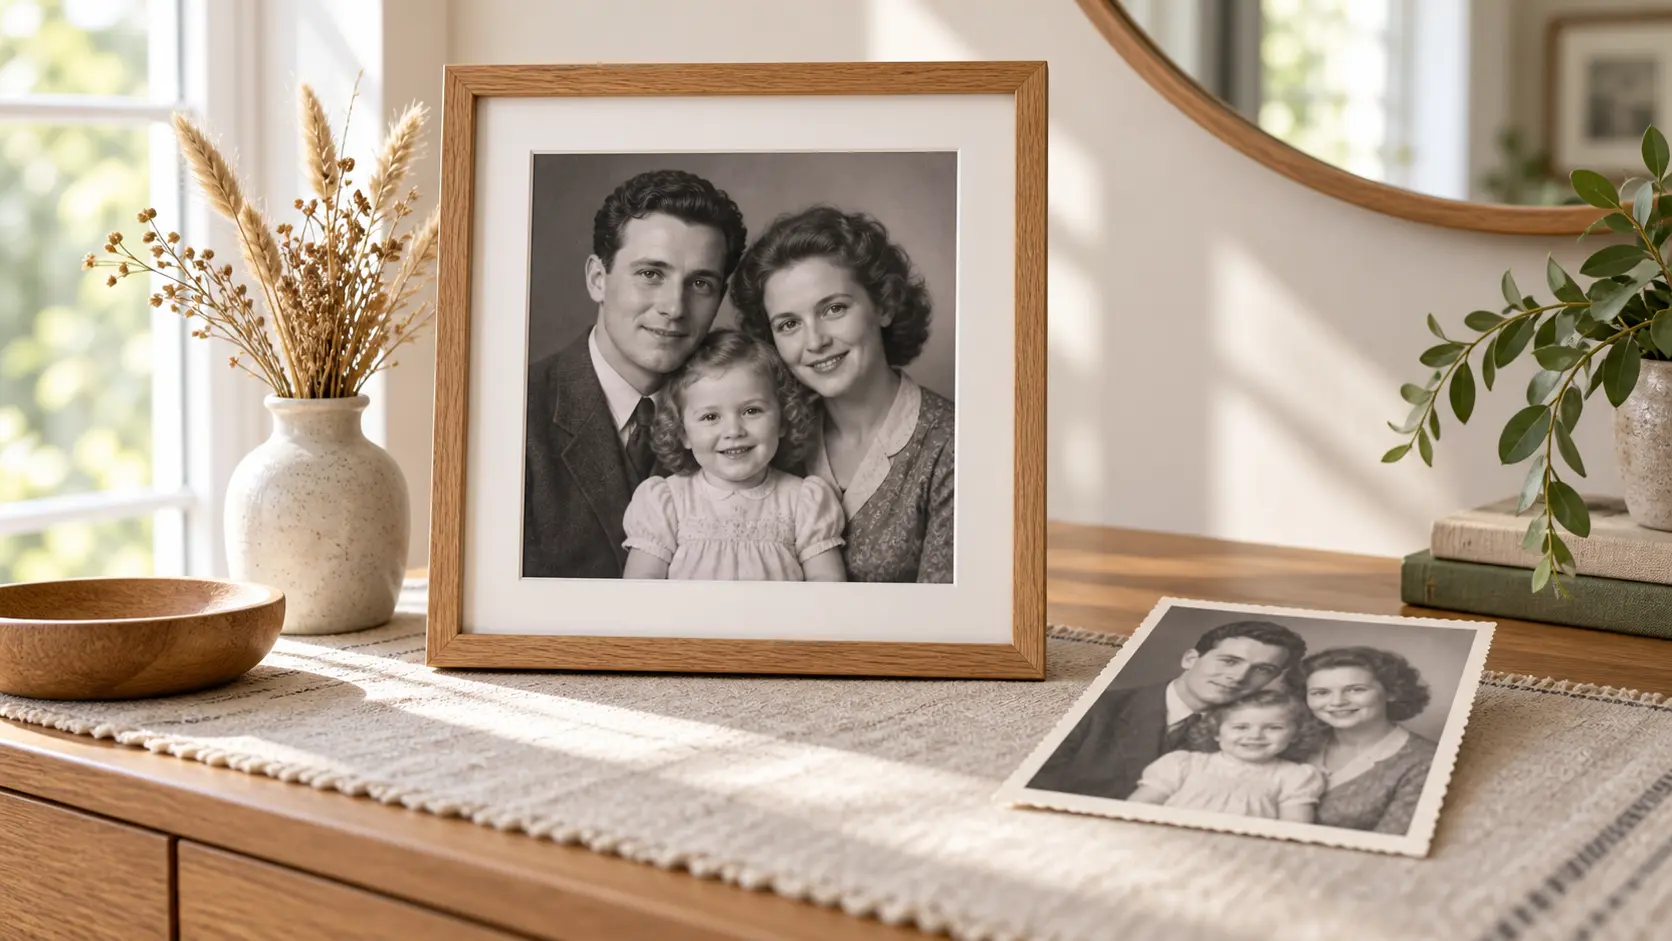
Restored family portrait framed for printing beside the original paper copy

Enlarge a Restored Print for Framing

A restored photo is only useful if it survives being printed or enlarged. VideoAI improves resolution so edges, fabric, and facial detail hold up at a larger size, and you can export a higher-resolution file for frames, albums, or gifts. The goal is not to invent detail that was never there, but to make the existing detail cleaner and the final print sharper than a straight scan would allow.

How the Restoration Works

A careful three-step old photo restoration path from a paper print to a restored digital file.

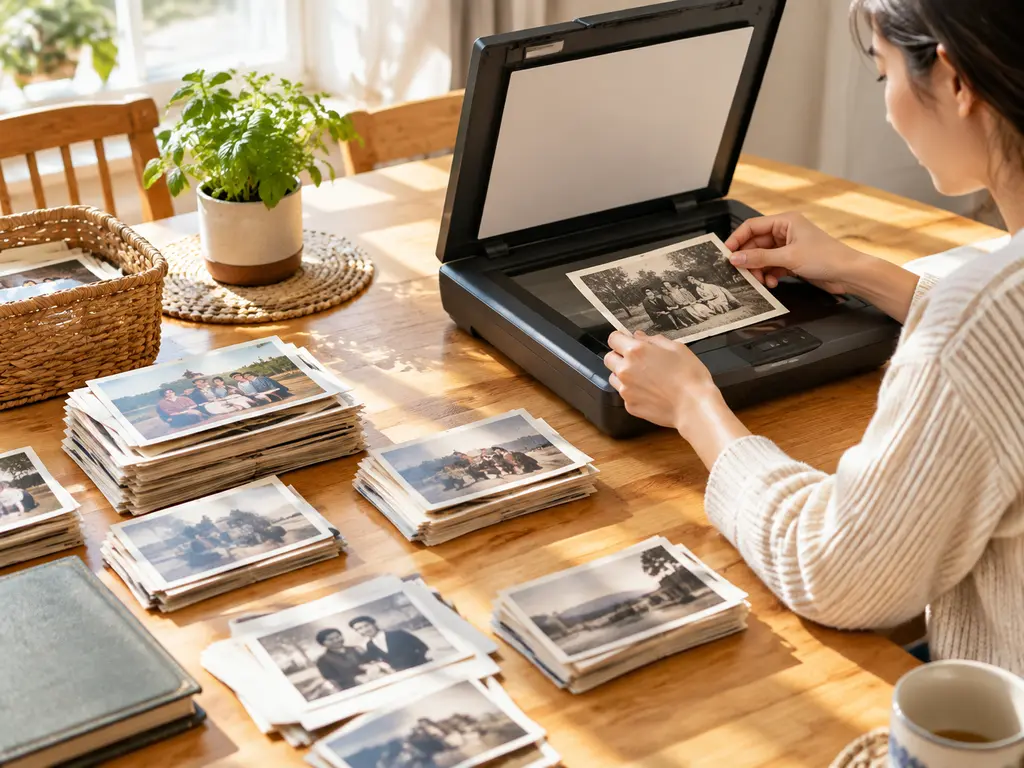
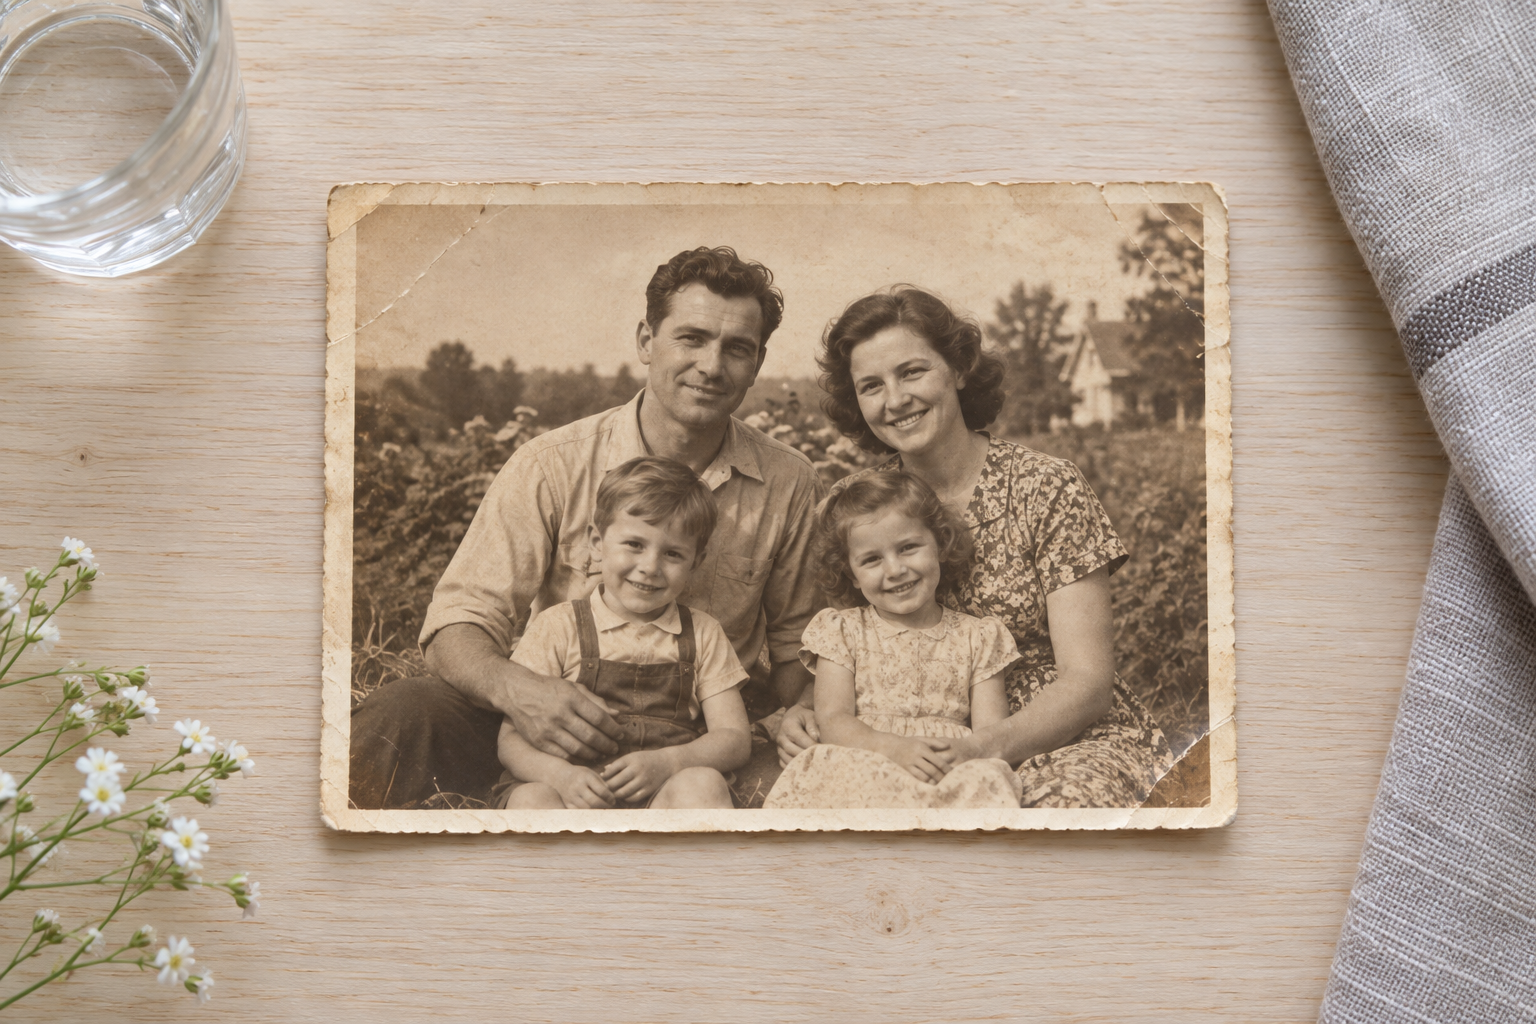
Old paper photograph placed flat and photographed from above before restoration

Step 01

Scan or Photograph the Print

Place the paper photo flat on a clean surface, scan it if you can, or photograph it from directly above in even daylight. Keep the whole print inside the frame and avoid shadows from your hands or phone. A flat, well-lit capture gives old photo restoration more real detail to work with and reduces the risk of reintroducing blur.
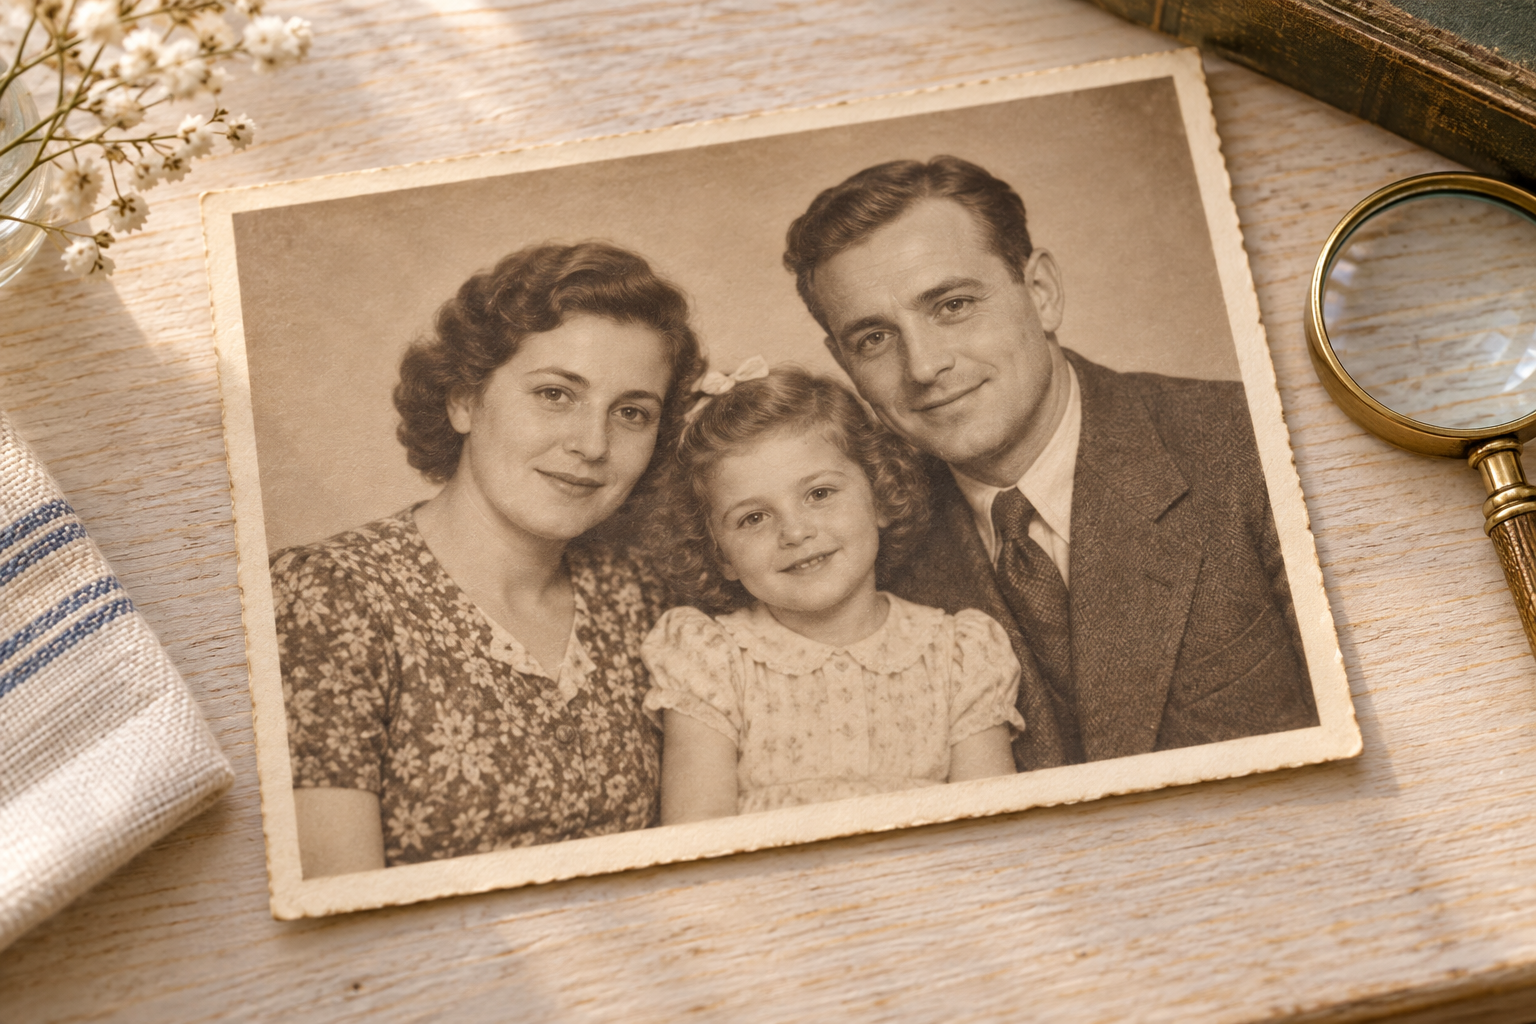
Old photo restoration repairing creases and sharpening faces on a family portrait

Step 02

Repair and Enhance

Upload the capture and let old photo restoration improve clarity, reduce noise, and rebuild the marks you choose. Work from the face outward: sharpen the people first, then clean the background, then decide whether to add colour. If a repair goes too far, step it back so the photo keeps the age and character that make it yours.

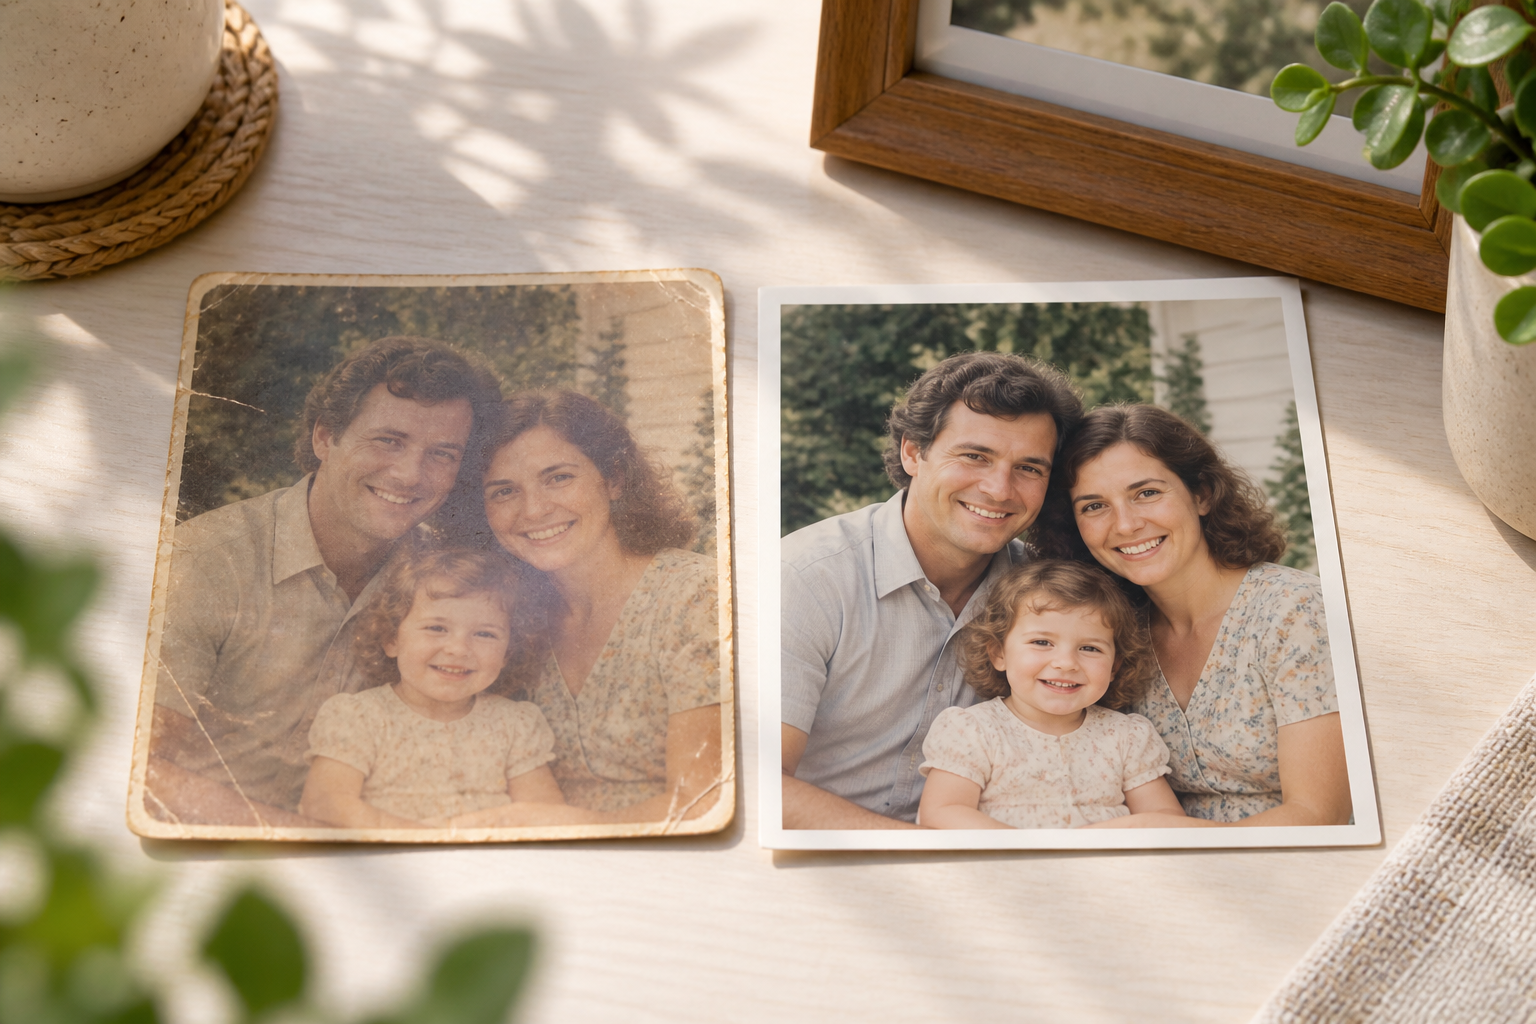
Original and restored family portrait compared side by side before download

Step 03

Review and Download

Compare the restored file with the original, check the faces, and look for any area that reads as too smooth. When the balance feels right, download the higher-resolution result for printing or archiving. Keep the original scan as well, so you always have the untouched version alongside the restored copy.

Old Photo Restoration Use Cases

Common old photo restoration jobs that bring a damaged or faded print back to life.

Restore a Family Portrait

Old photo restoration lets you repair the faces first, then clean scratches and folds, then decide whether to colourise. A restored family portrait can be printed and framed as a gift or shared with relatives who only remember the damaged copy.

Fix a Damaged Print From a Phone Scan

A phone photo of a print is enough to begin. Straighten the capture, keep the light even, and let old photo restoration improve clarity before you repair any damage, so the tool works from the cleanest possible starting point.

Colourise a Black and White Photo

Black-and-white photos can be colourised with natural, period-appropriate tones. Treat the result as an interpretation rather than a record, review the skin and clothing colours, and keep the original beside it when the colour matters.

Repair Scratches and Stains

Scratches, dust, water stains, and fold lines are common in old prints. Select the area you want rebuilt and blend the repair into the surrounding texture, so the photo looks cleaned rather than repainted.

Enlarge a Small Print for Framing

Small prints often fall apart when enlarged. Improving resolution first keeps faces, fabric, and fine detail cleaner in a larger frame, so a restored photo can be printed at a size that suits the wall.

Who Uses Old Photo Restoration

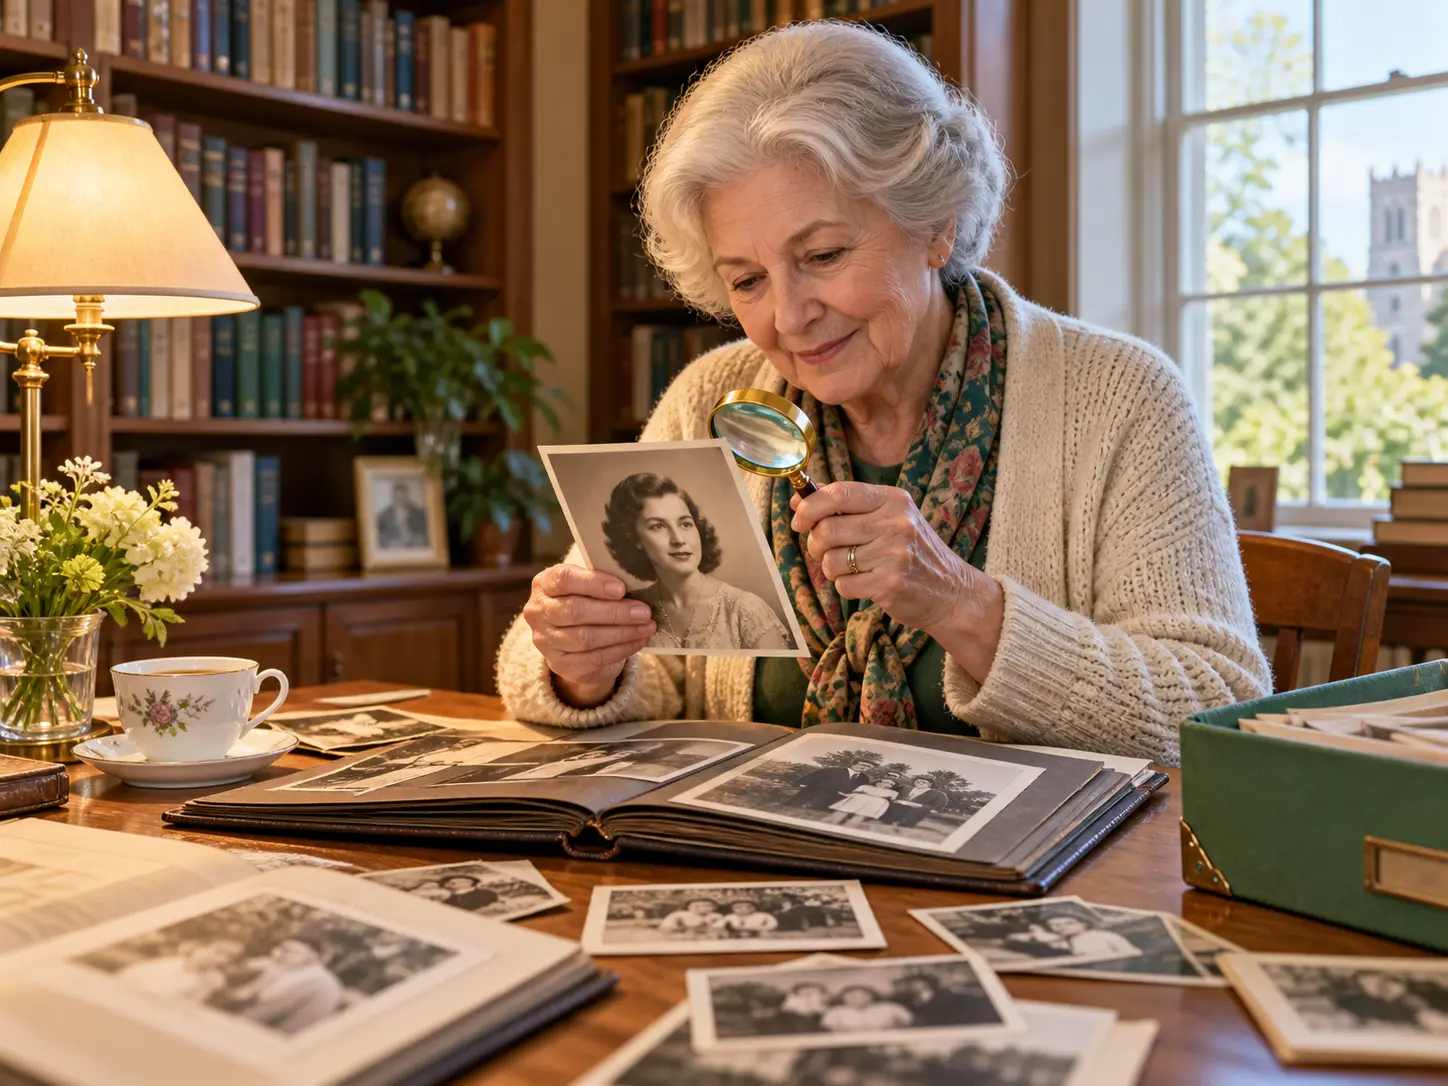
Family historian studying restored old photographs in a bright library

Family Historians

People tracing a family tree often work from faded prints and damaged albums. Restoration makes those images readable enough to study faces, clothing, and settings, and gives the family archive a cleaner copy for the next generation.

FAQ

Old Photo Restoration Questions

Yes. Old photo restoration can reduce blur and noise, repair scratches and folds, restore faded tone, and colourise a black-and-white image. Upload a scanned or clearly photographed print, then review the result against the original. Because AI repair reconstructs some detail, treat the output as a carefully cleaned version rather than a perfect record, and keep the untouched scan for reference.

Restoration works from the detail already in your scan, so the goal is to make eyes, skin, and hair clearer, not to redraw the face. In badly damaged areas some reconstruction is unavoidable, and a heavy repair can end up smoother than the original print. Compare the result with your scan, step the effect back on any area that looks too smooth, and keep the untouched file as the record of what the person actually looked like.

Start with the best capture you can make. Scan the print, or photograph it flat from directly above in even daylight, keeping the whole image inside the frame. A clean, sharp starting file gives old photo restoration more real detail to preserve and makes every later repair easier. Avoid glare, heavy shadows, and steep angles, because a poor capture limits what any restoration pass can recover.

Place the print on a flat surface, take an overhead shot in soft daylight, and upload it through the browser. Old photo restoration sharpens edges and reduces noise first, then you can repair marks and add colour. A brighter, closer capture will almost always give a better result than a dark or angled photo, because the restoration has more real detail to work with.

Softness and noise are handled automatically, while visible scratches, stains, and folds are rebuilt from the area you select. That keeps you in control of how much damage is removed. Big tears need the most care, so check the repaired area closely and step the effect back if the texture starts to look too smooth. Compare the repaired version with the scan before you download, and rerun the clean-up if any scratch still distracts from the face.

Faded and black-and-white photos can both be colourised. The colour is estimated from the image content, so skin tones and clothing colours are an interpretation rather than a record of fact. Review the result, adjust if needed, and keep the original black-and-white file alongside the colour version. Treat colour as a creative choice on top of the repaired image.

Yes. Old photo restoration improves resolution, which helps a small print survive enlargement by keeping faces, fabric, and edge detail cleaner. Restore the image first, then export a higher-resolution file for printing. The result will not invent detail that was never captured, but it will usually look noticeably sharper than a straight enlarged scan, which makes a framed print far more presentable.

No. The upload stays untouched, and the restored image is a new file. You can compare the two versions in the workspace and download the result you prefer. Keeping the untouched scan is good practice, because it preserves the original evidence of the photograph and lets you rerun old photo restoration later with different settings. Download the restored file under a new name, keep the original scan untouched, and compare both versions before printing or sharing the result.
Warm archive table backdrop with open space for the old photo restoration CTA

Restore the Print Before It Fades Further

Upload a scan or a careful phone shot, let old photo restoration repair the damage you choose, and download a cleaner file to print and keep.

Get Started
Old Photo Restoration - Repair Family Photos | VideoAI