Step 01
Upload a Clear Picture
Choose an image where the subject or private detail is easy to identify. A sharp source helps the editor understand what should change and what should stay untouched.

Pixelate image details with a square-block mosaic, or give an entire photo a deliberate low-resolution look. Upload a picture and describe the region or whole-frame effect you want in the image editor. Use the examples below to plan your edit, then review the generated result before downloading. AI edits can alter other details and are not guaranteed secure redaction.
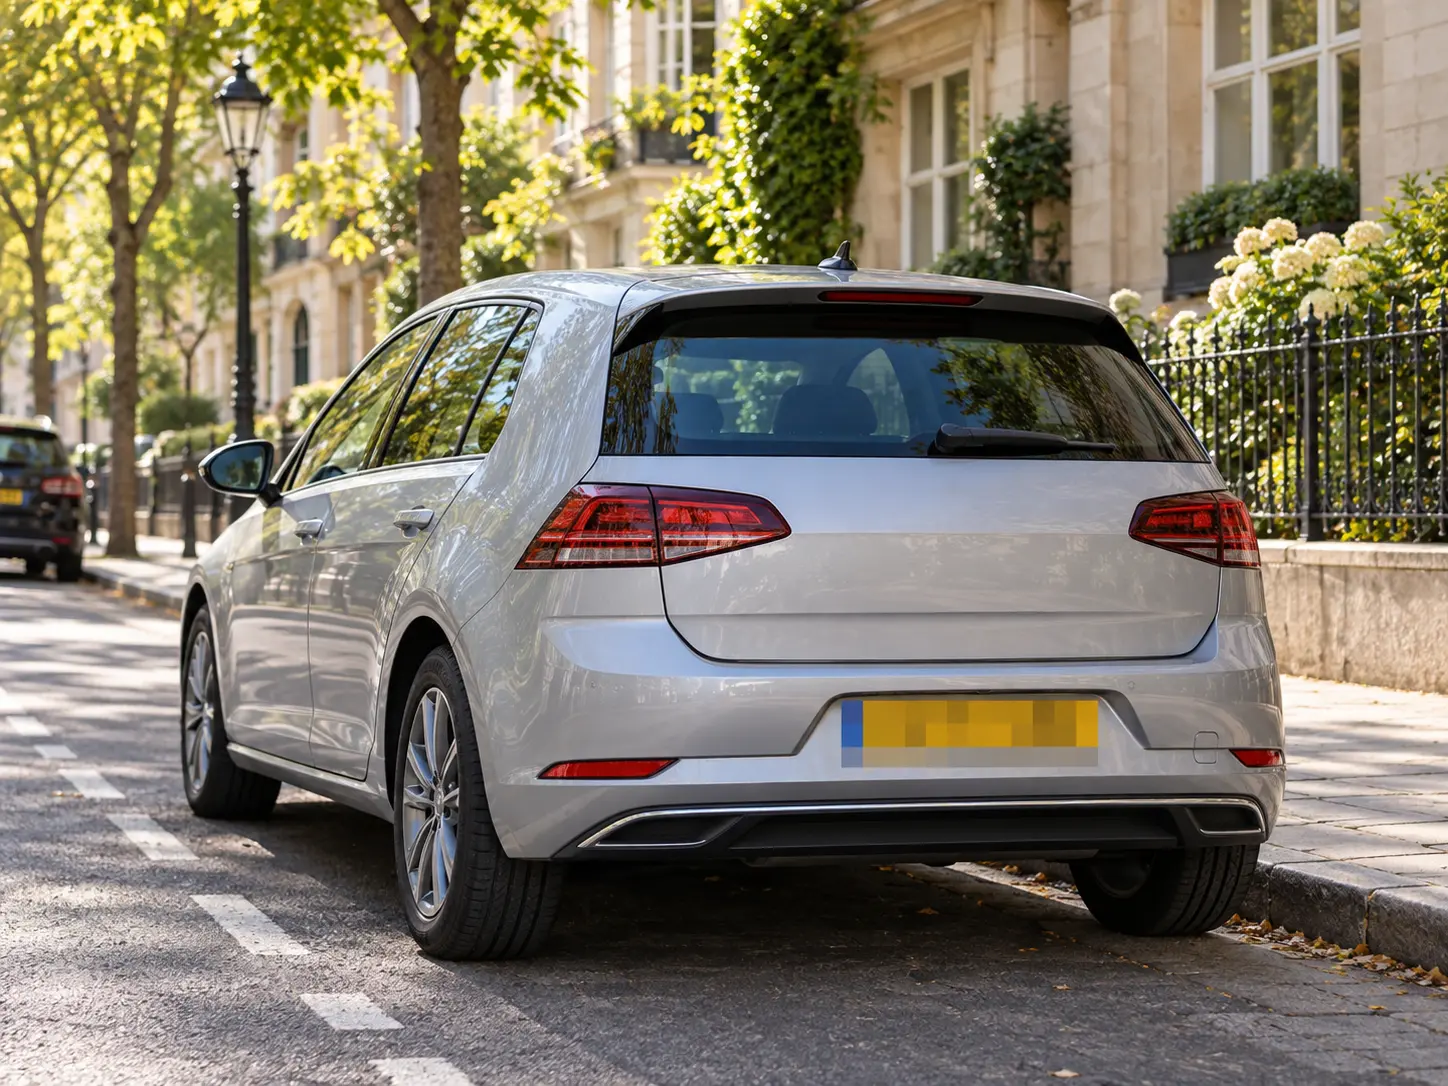
Use the image pixelator for targeted privacy coverage, a controlled mosaic strength, or a full-frame pixelated style.

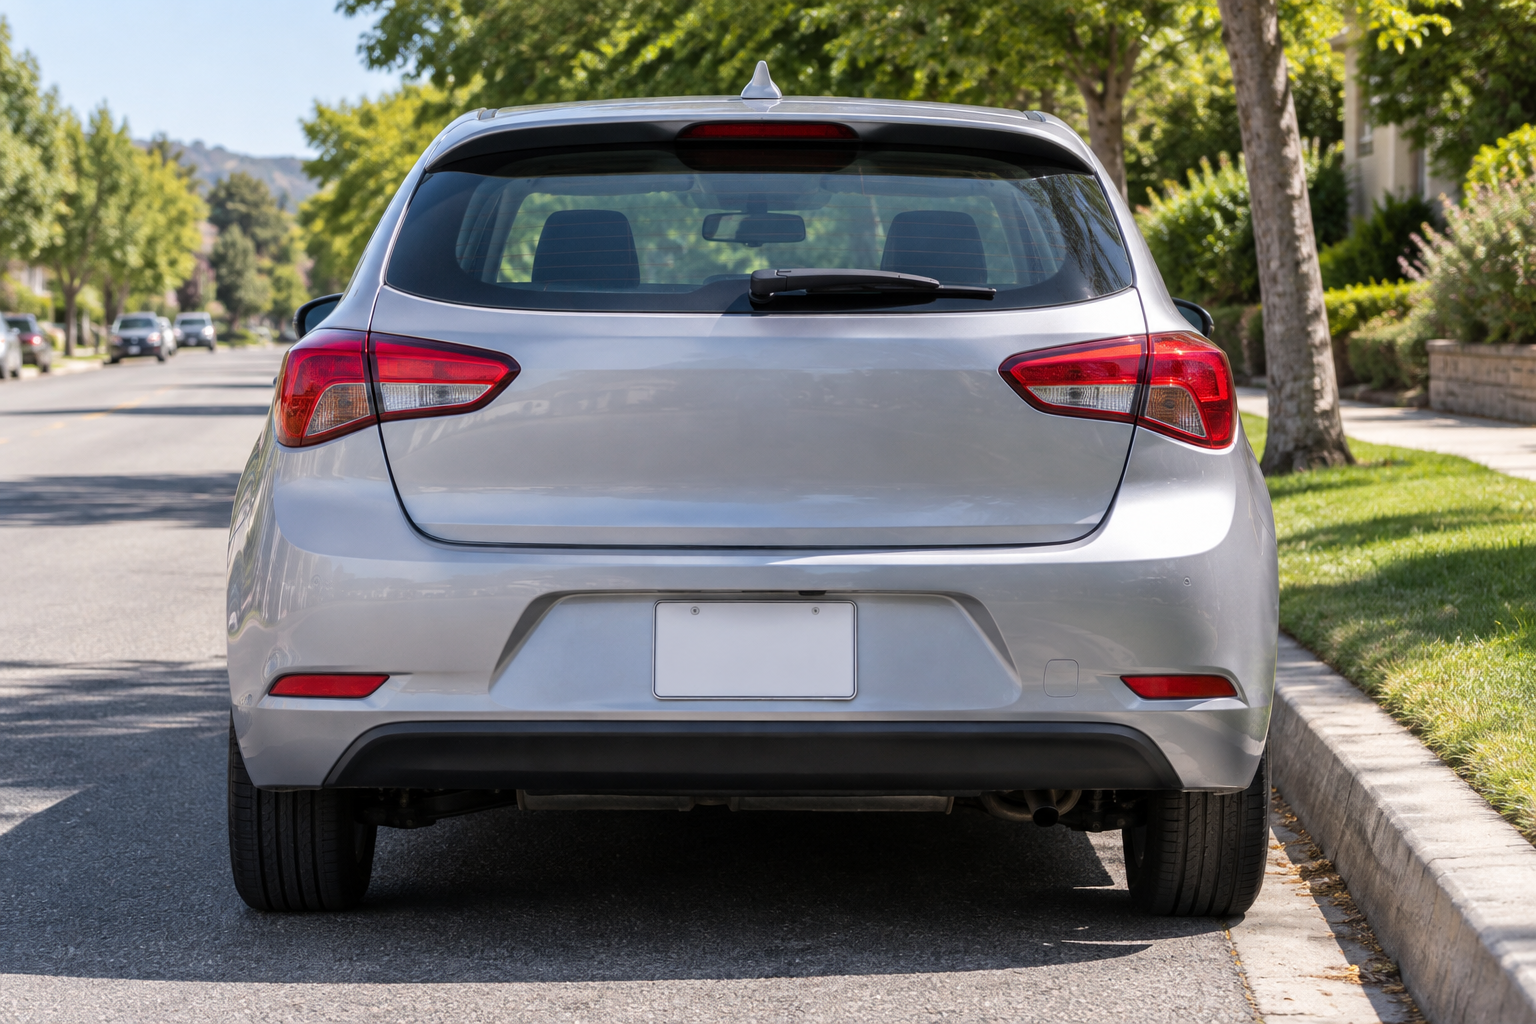
To pixelate image regions rather than the whole frame, describe the subject and its position: the background face on the left, the rear vehicle plate, or the address label on a parcel. Ask for square mosaic blocks over that area and request that surrounding details remain unchanged. This is an AI editing instruction, not a precise selection brush; compare the result with your source because unrelated details may change.
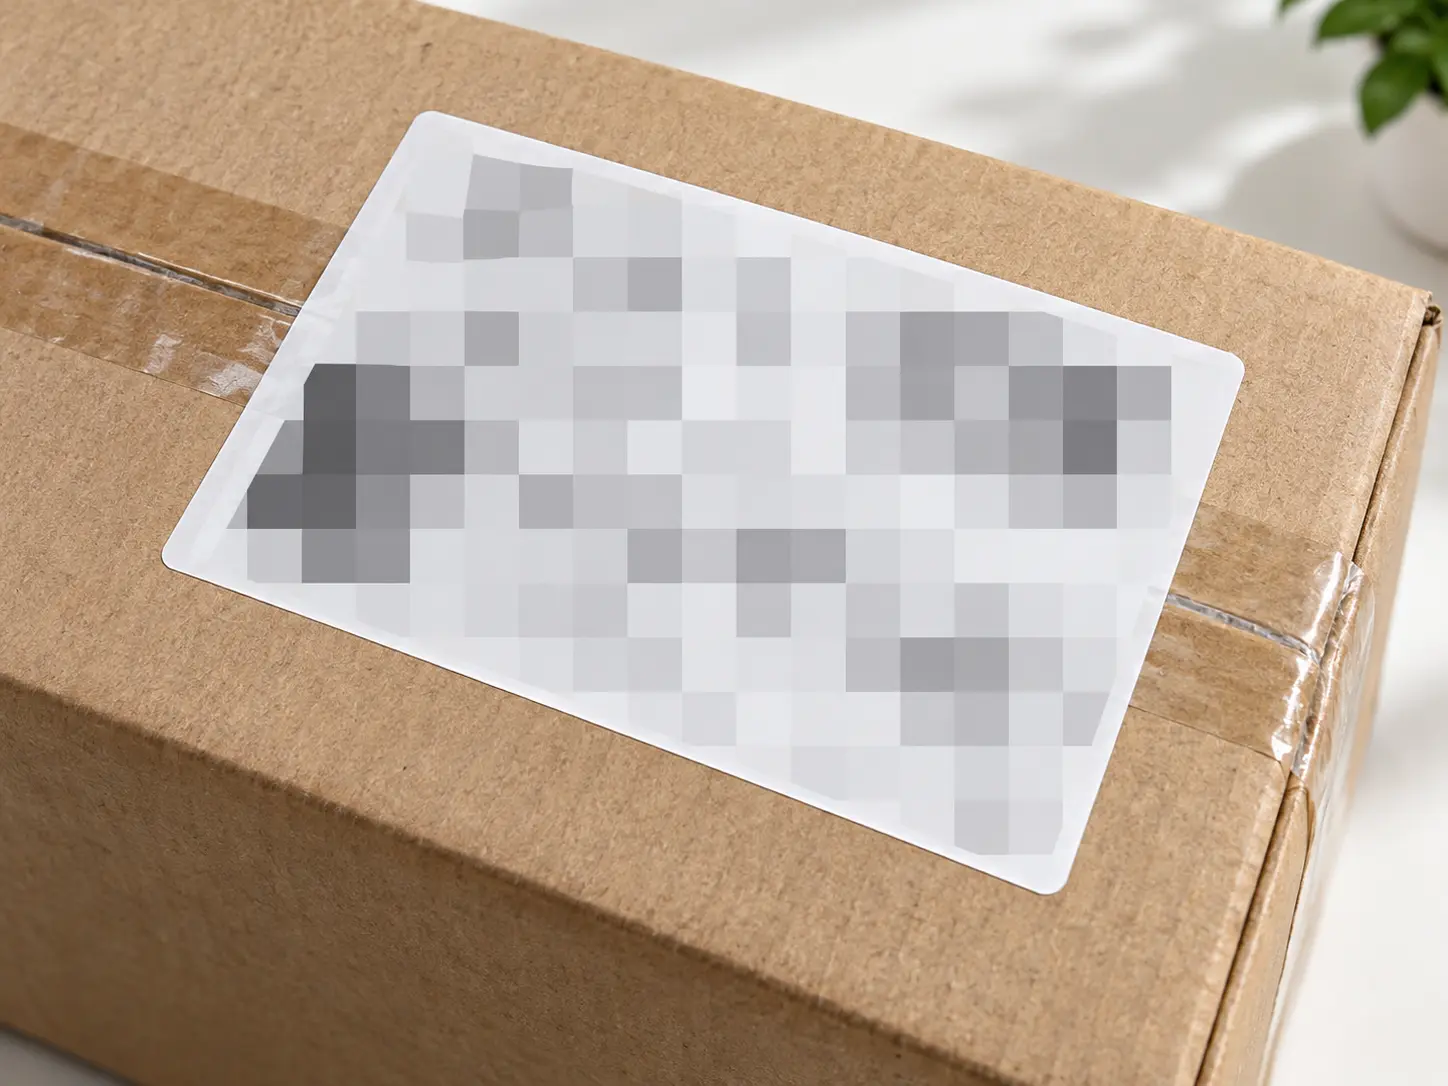
When you pixelate image details, block size changes how much visual information remains. Describe small blocks for a subtle mosaic texture or larger blocks for a more obvious effect. These are prompt directions, not a numerical block-size slider. Inspect the generated image at its intended display size and check the entire target region. Do not assume unreadable-looking blocks make confidential information safe to publish; remove highly sensitive material with a trusted redaction workflow instead.
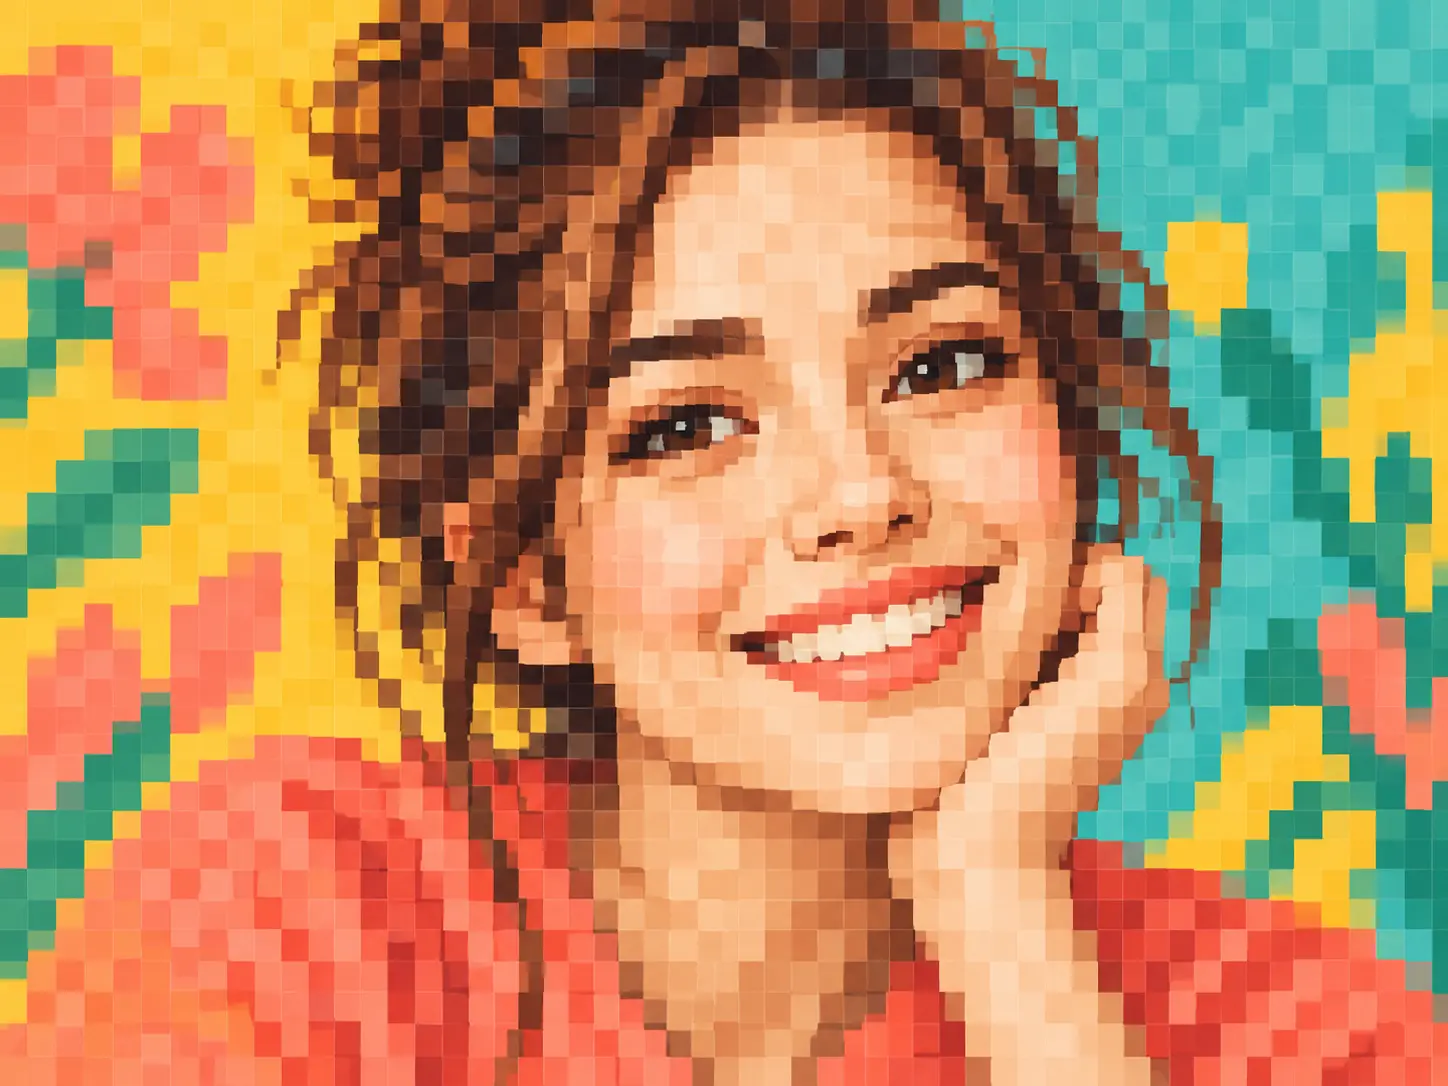
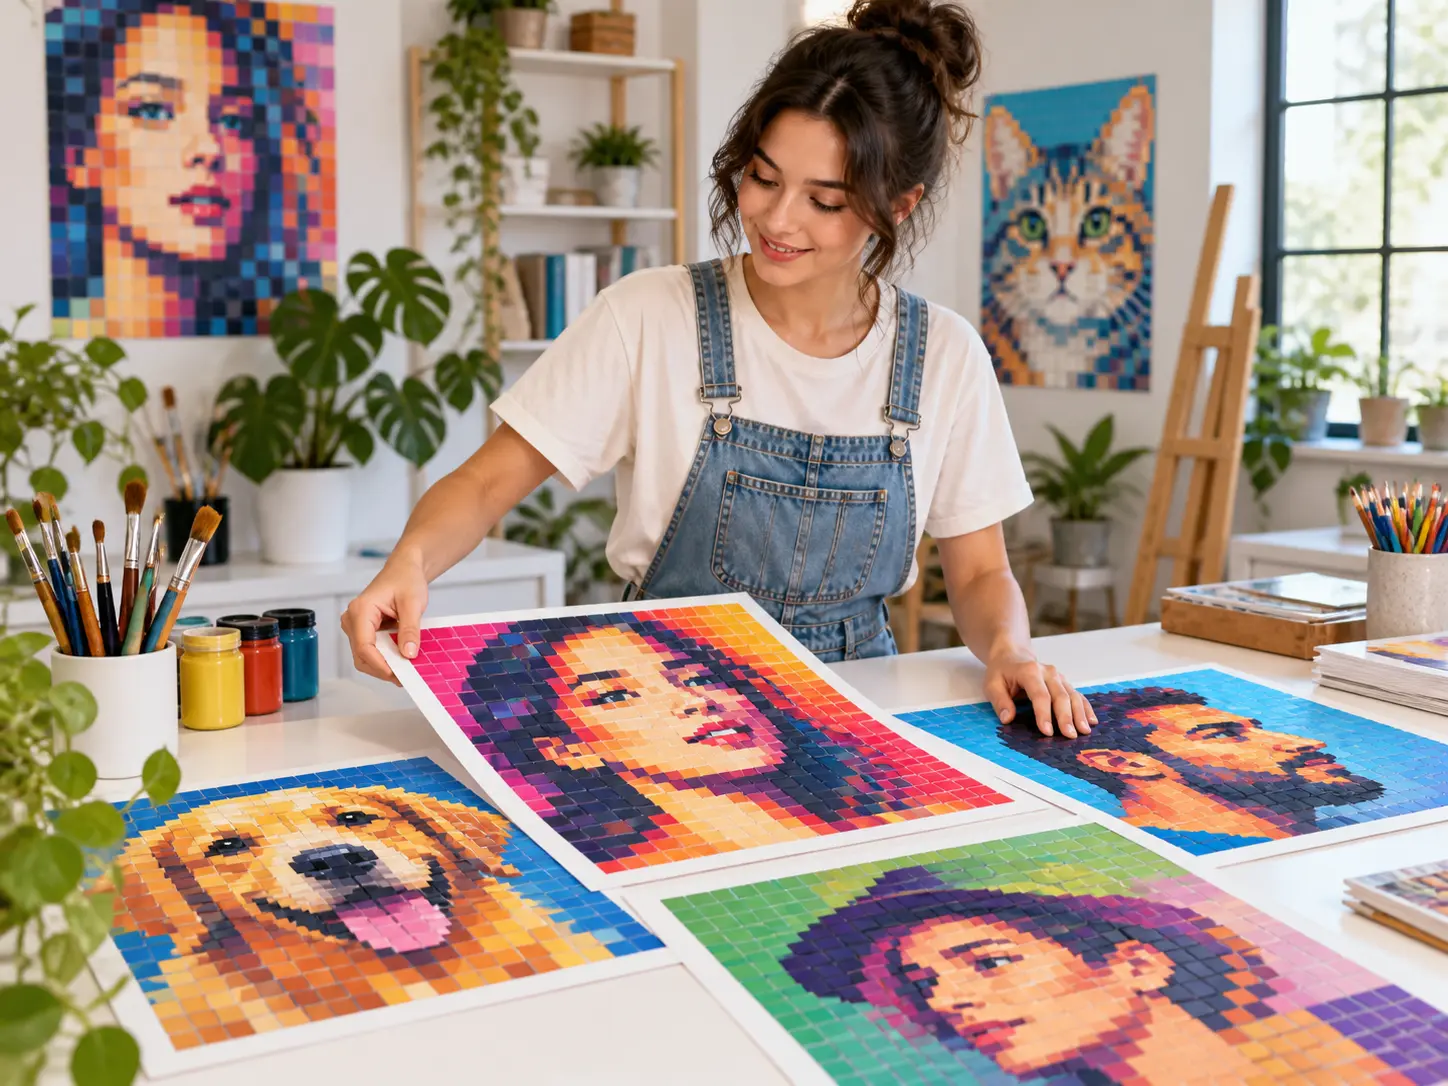
Pixelate image compositions across the whole frame when a blocky aesthetic is the goal, rather than covering one detail. Try a portrait, landscape, product photo, or meme and describe an even square-grid treatment. Smaller blocks can retain more recognizable shapes; larger blocks create a more abstract look. Review faces, outlines, and colors after generation. A mosaic treatment of a photograph is different from carefully drawn pixel art, so choose Pixel Art Maker for that separate task.
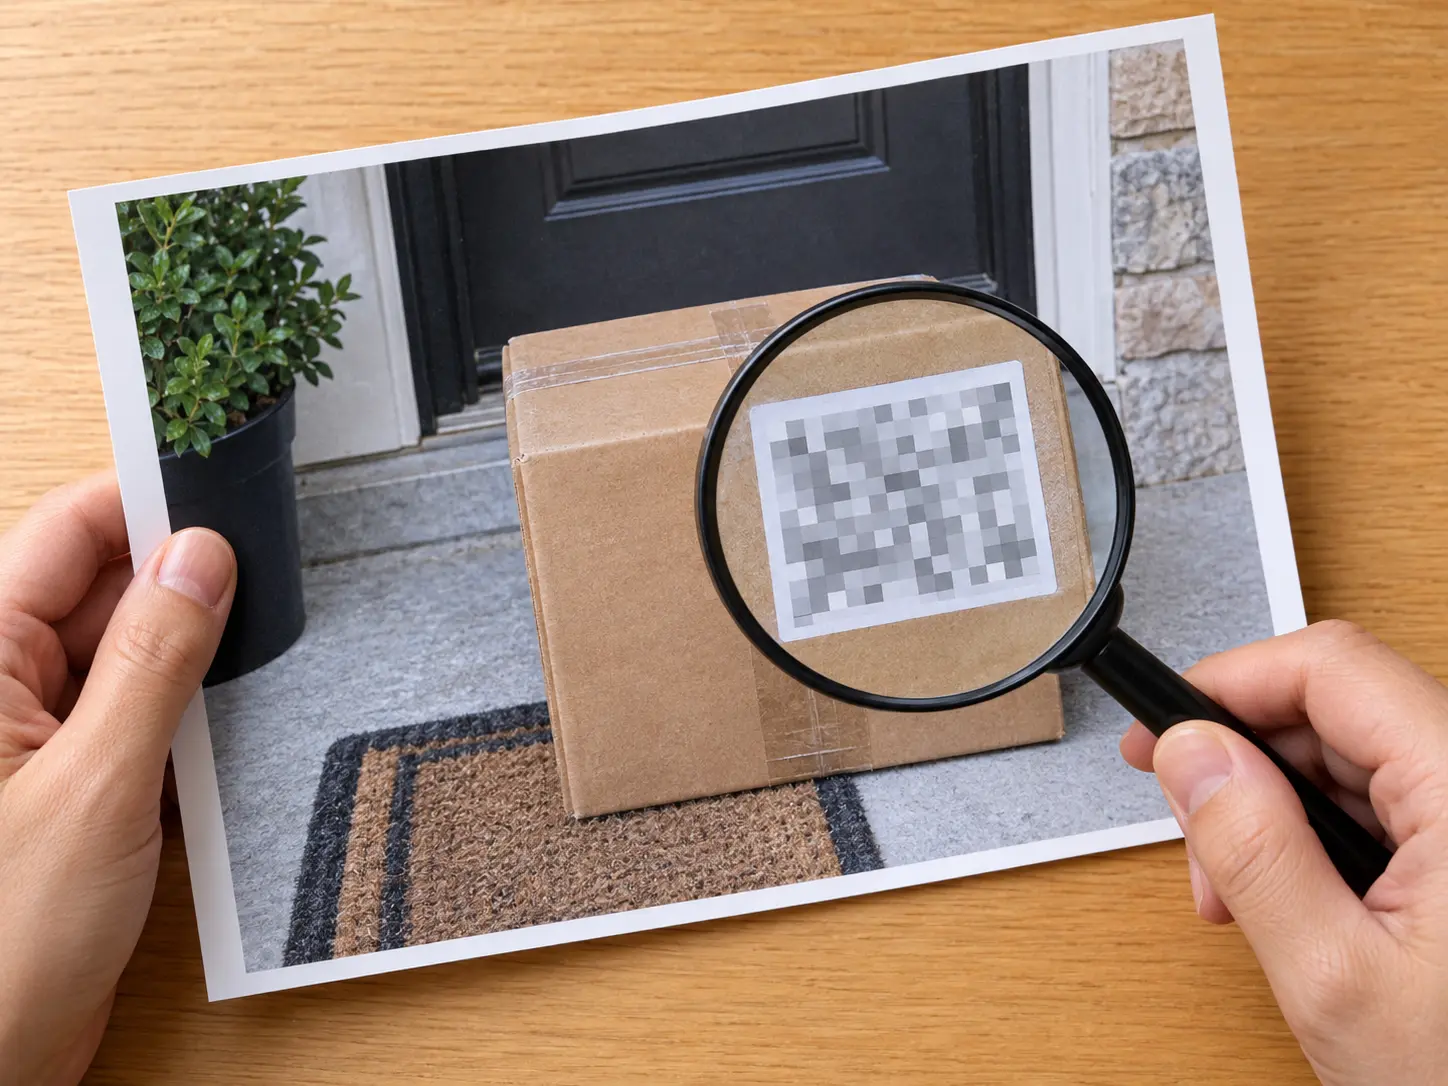
After you pixelate image regions, compare the output with the original in an image viewer. Check the target edges, nearby reflections, repeated details, and any unintended changes elsewhere in the frame. If the effect is too weak for your visual purpose, revise the instruction and review another result. Keep the original private. For passwords, account identifiers, or other high-risk information, do not rely on AI-generated mosaic blocks; use verified irreversible redaction before sharing.
Go from an ordinary picture to a targeted pixel censor or full mosaic effect in three steps.
Step 01
Choose an image where the subject or private detail is easy to identify. A sharp source helps the editor understand what should change and what should stay untouched.
Step 02
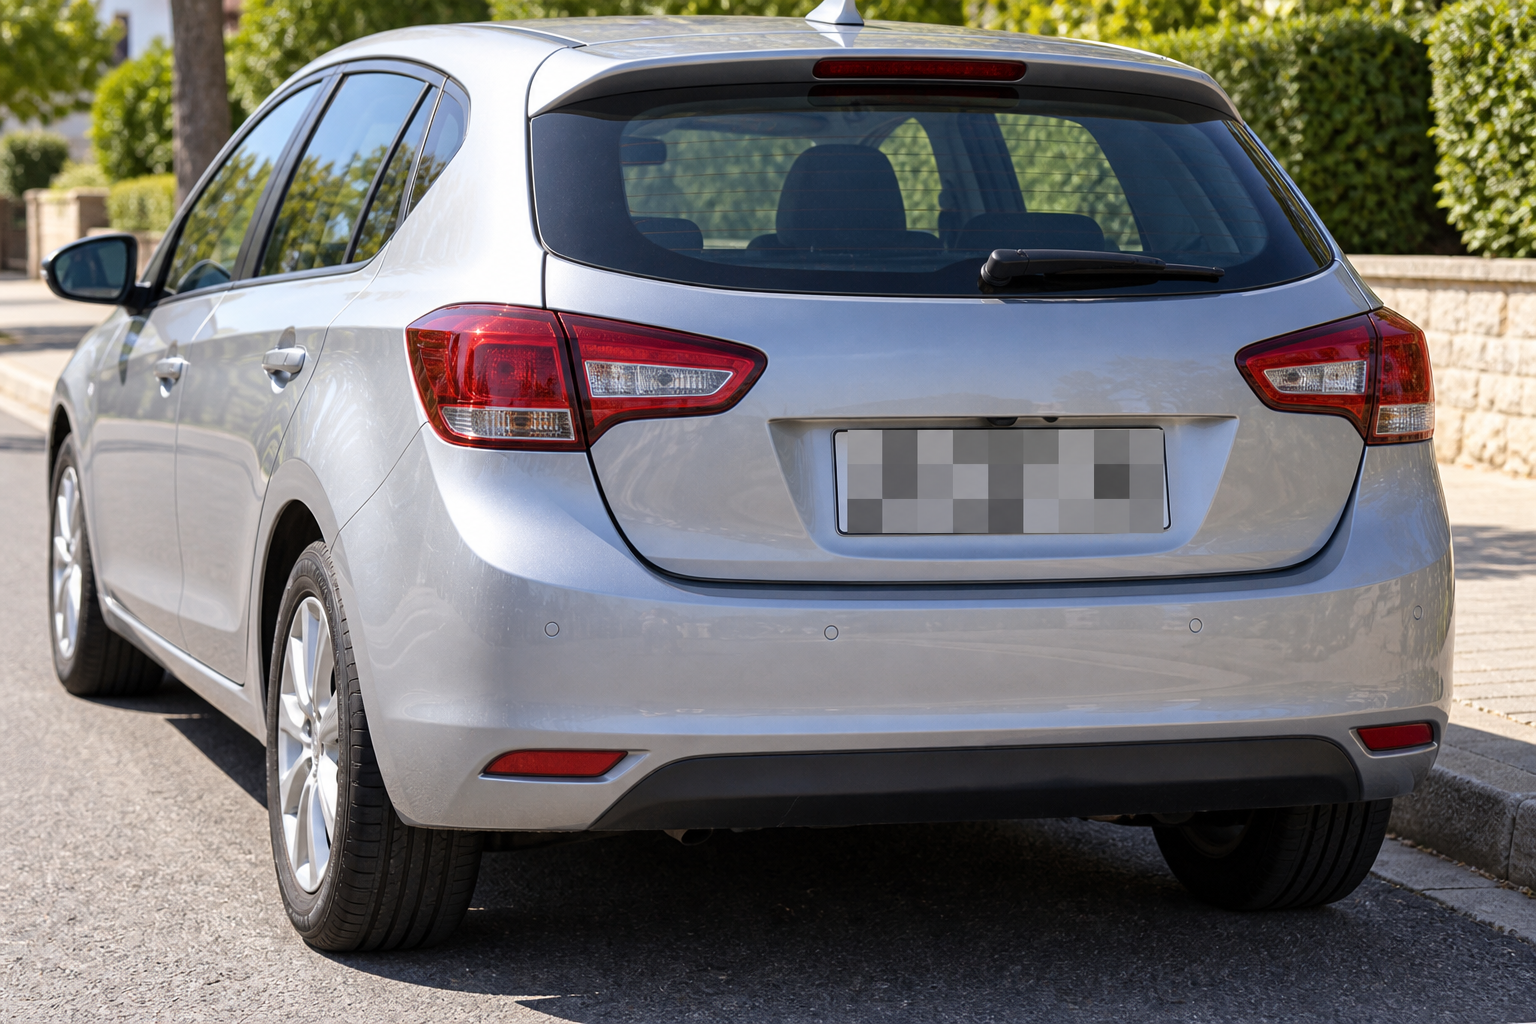
Name the exact region and desired strength, for example: pixelate the rear license plate with large square blocks, or make the entire picture softly pixelated.
Step 03
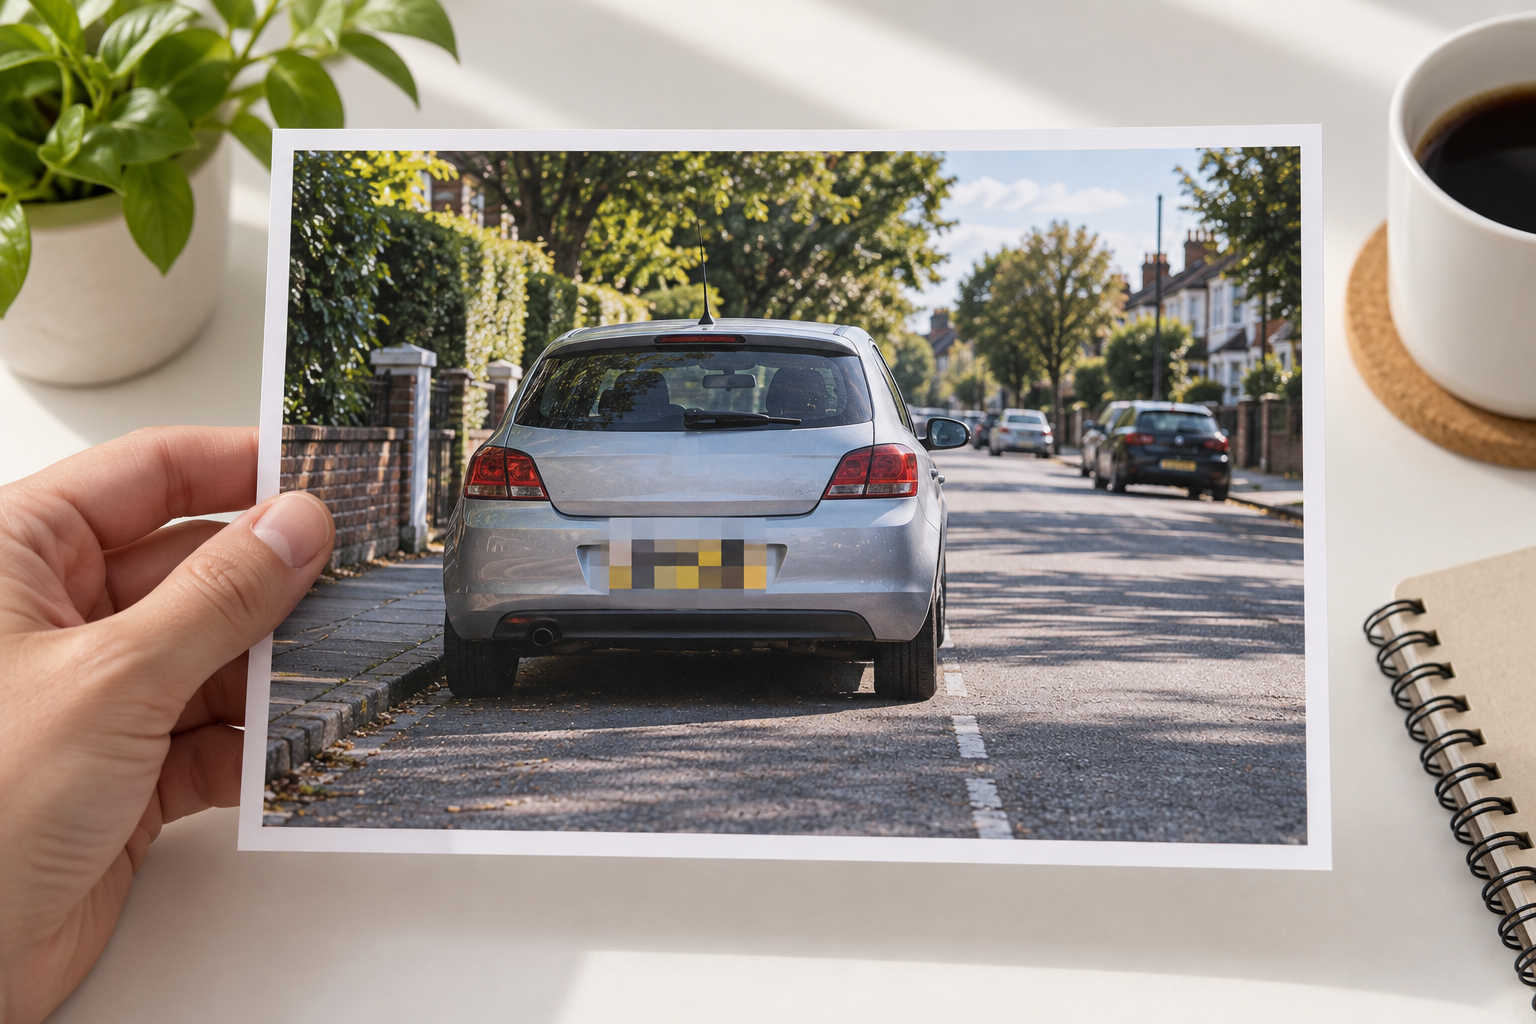
Compare the generated image with the source and inspect the target area and surrounding details. Revise an unsatisfactory mosaic before downloading. Use trusted irreversible redaction, not an AI effect, for high-risk private information.
Keep the useful context in a photo while covering the detail that should not be readable.
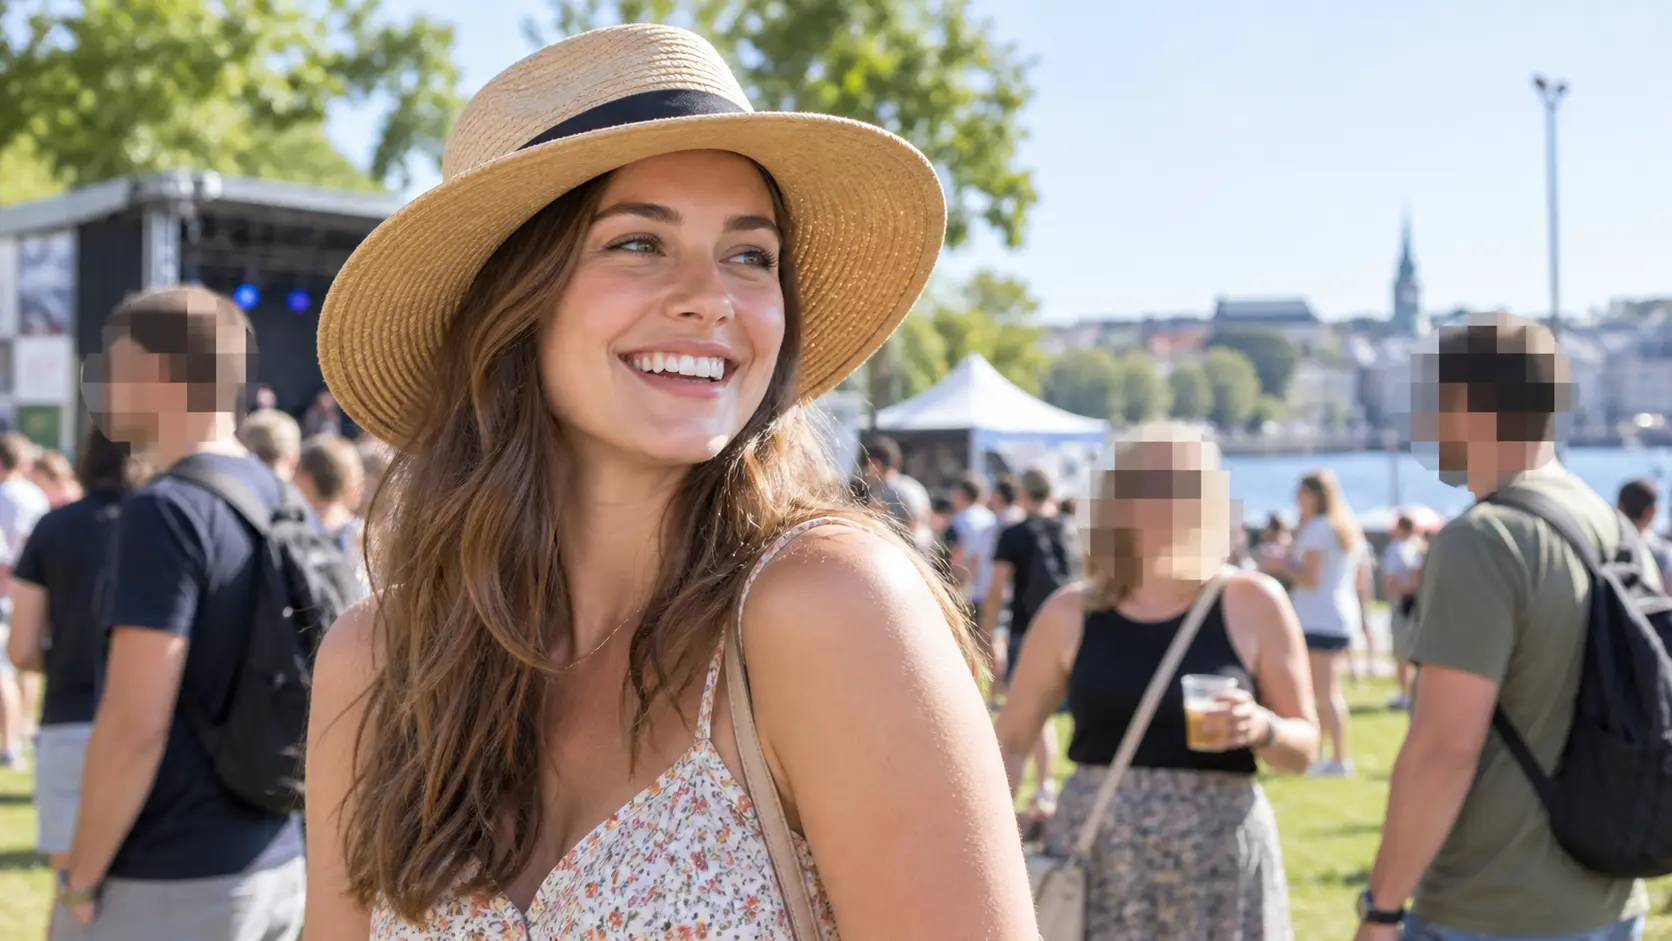
Pixelate a bystander, child, customer, or other person who should not be identifiable before sharing a photo publicly.
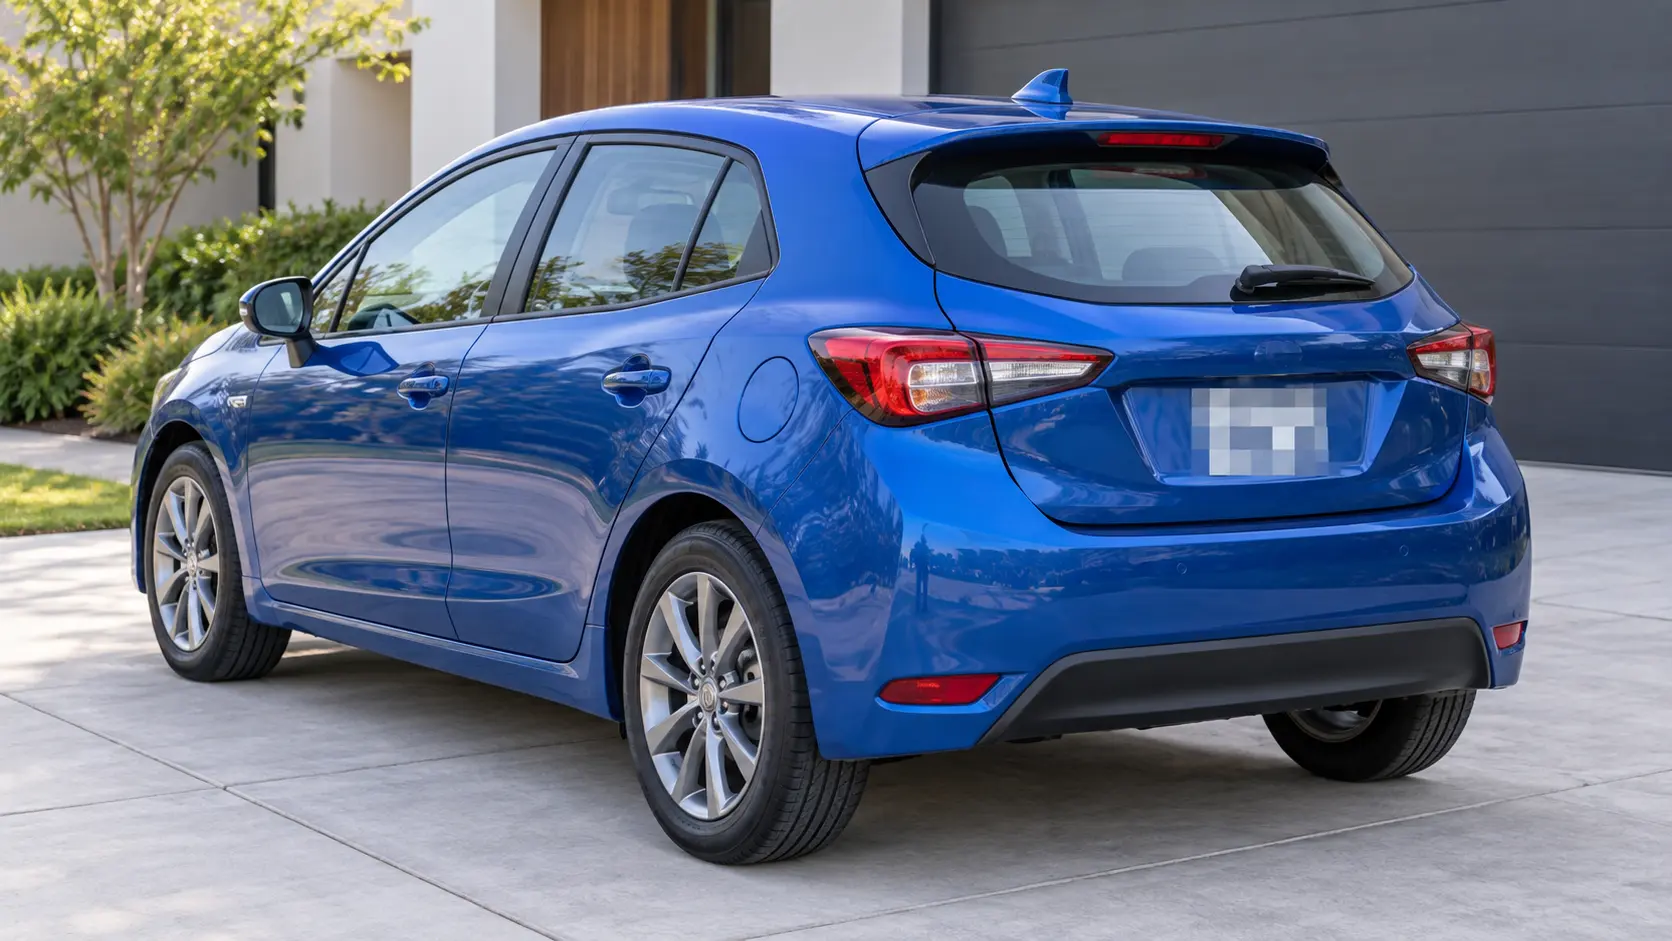
Obscure a vehicle plate before posting a sale listing, street photograph, delivery record, or incident image while keeping the surrounding scene visible.
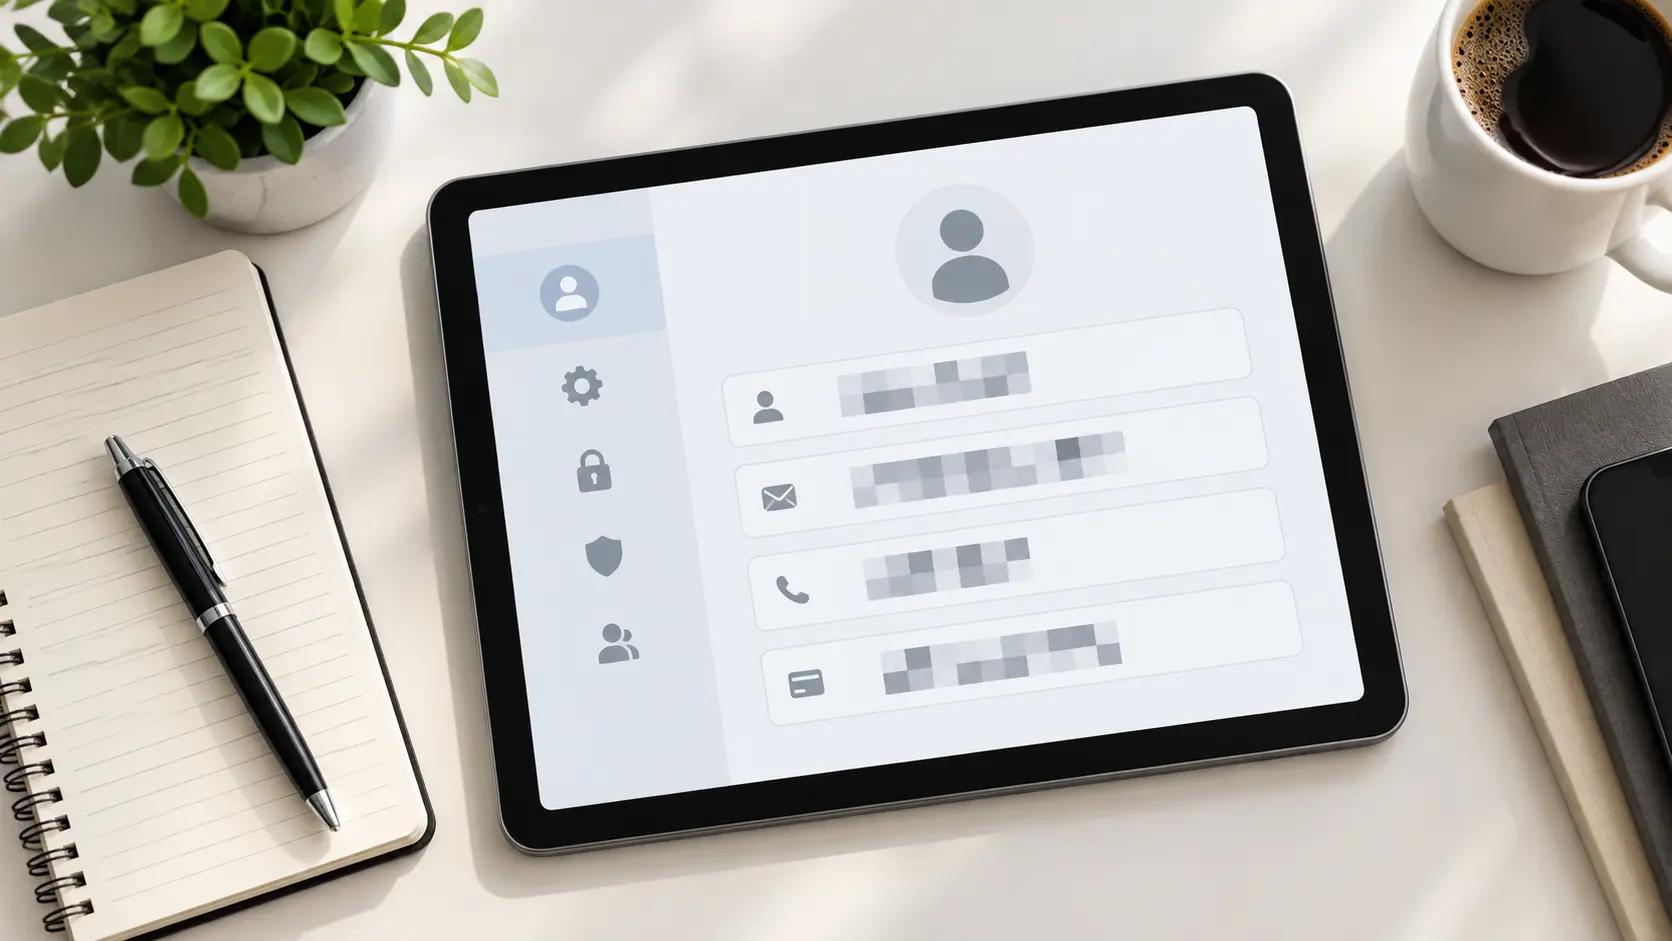
Use a pixelate image effect for non-sensitive tutorial mockups while keeping the surrounding layout visible. Do not upload live credentials or confidential records; remove them with a trusted redaction tool first.
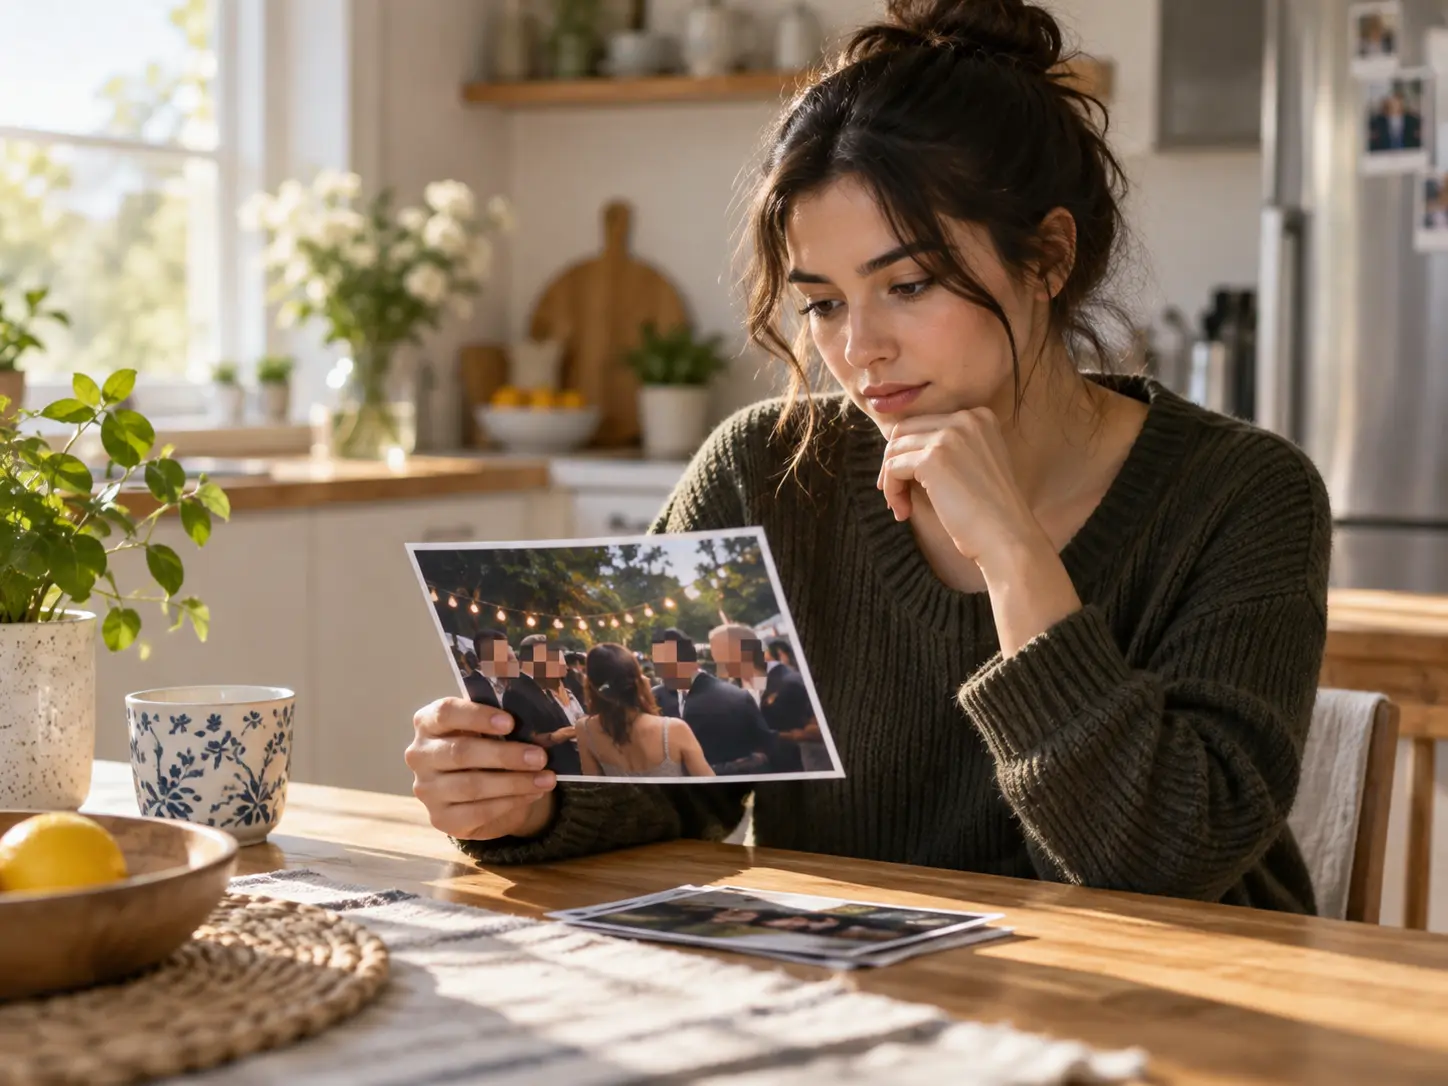
Use targeted pixelation when a useful photo also contains a bystander, child, address, plate, or message that should not be identifiable. The final inspection matters as much as the effect itself.
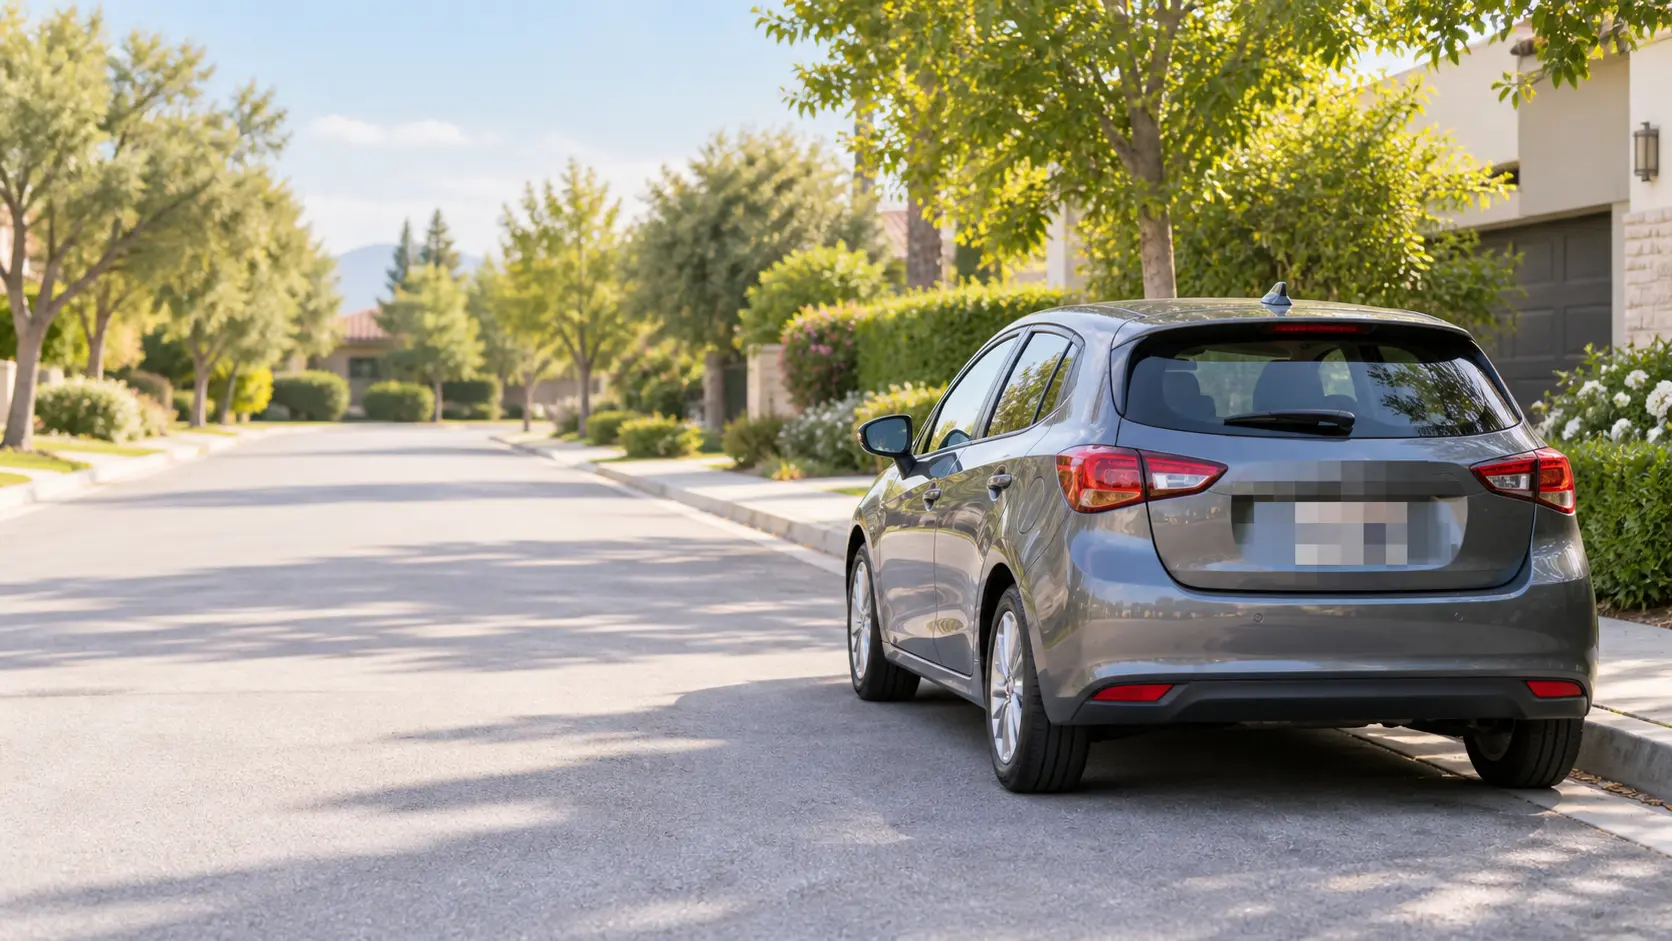
Upload a picture, describe the target area and block strength, then inspect and download the pixelate image.
Get Started